Interactive Demo
How to approve membership requests
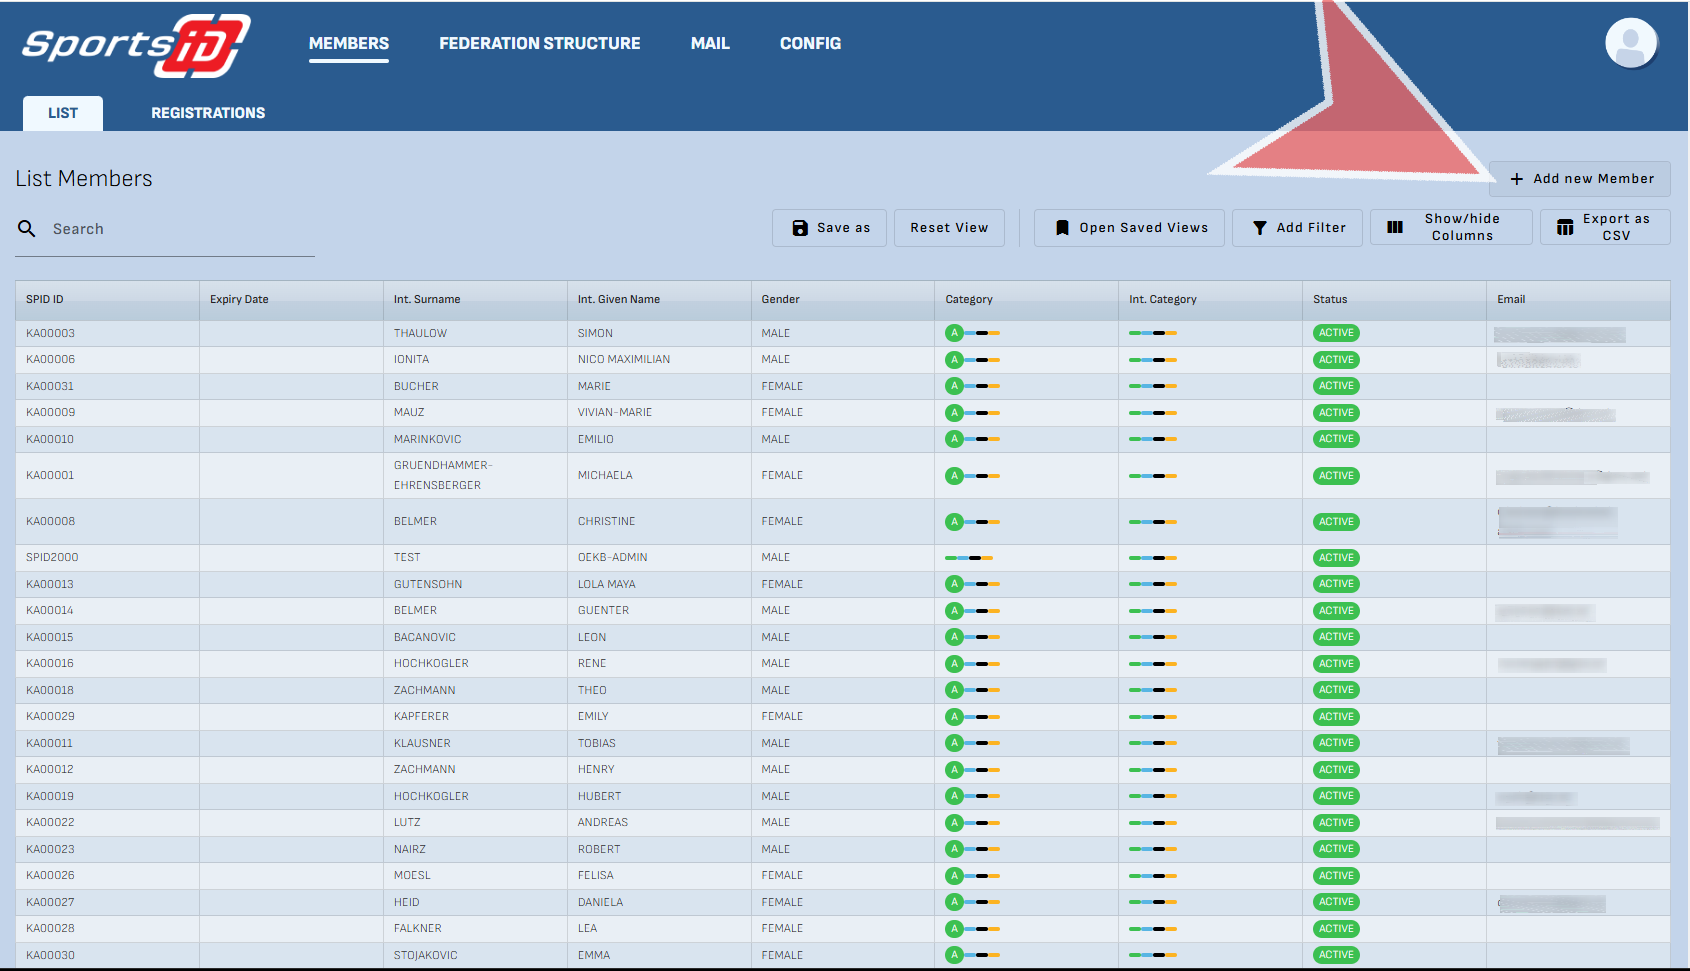
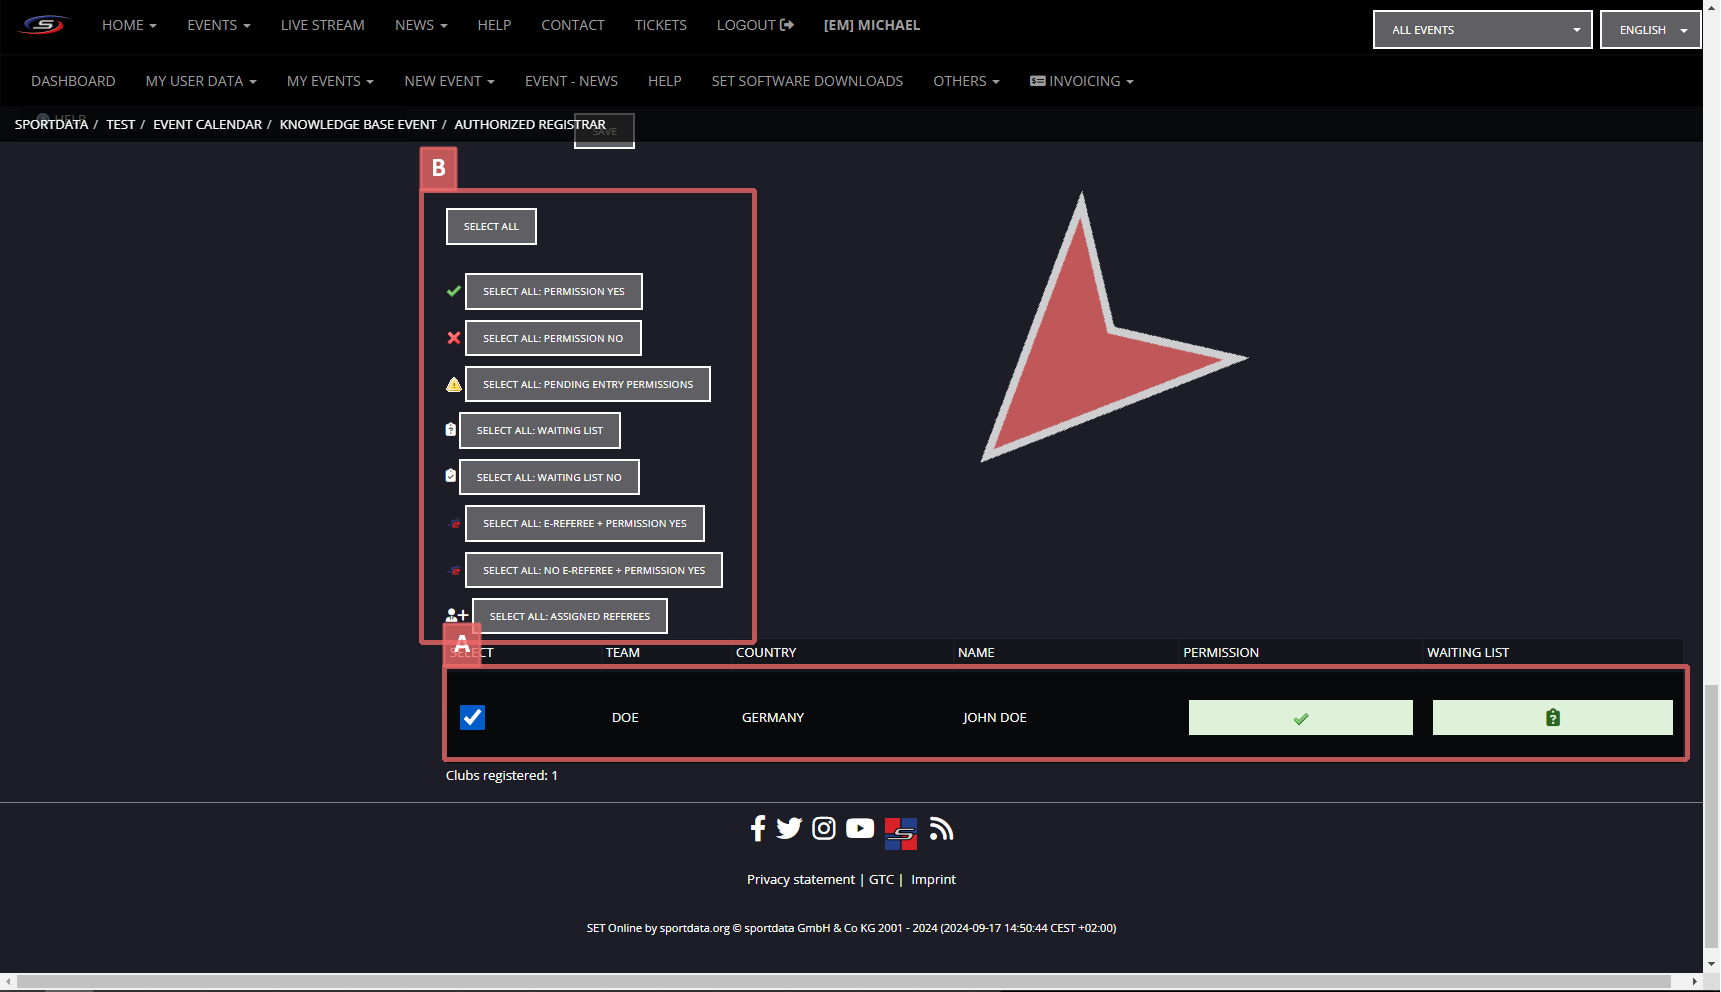
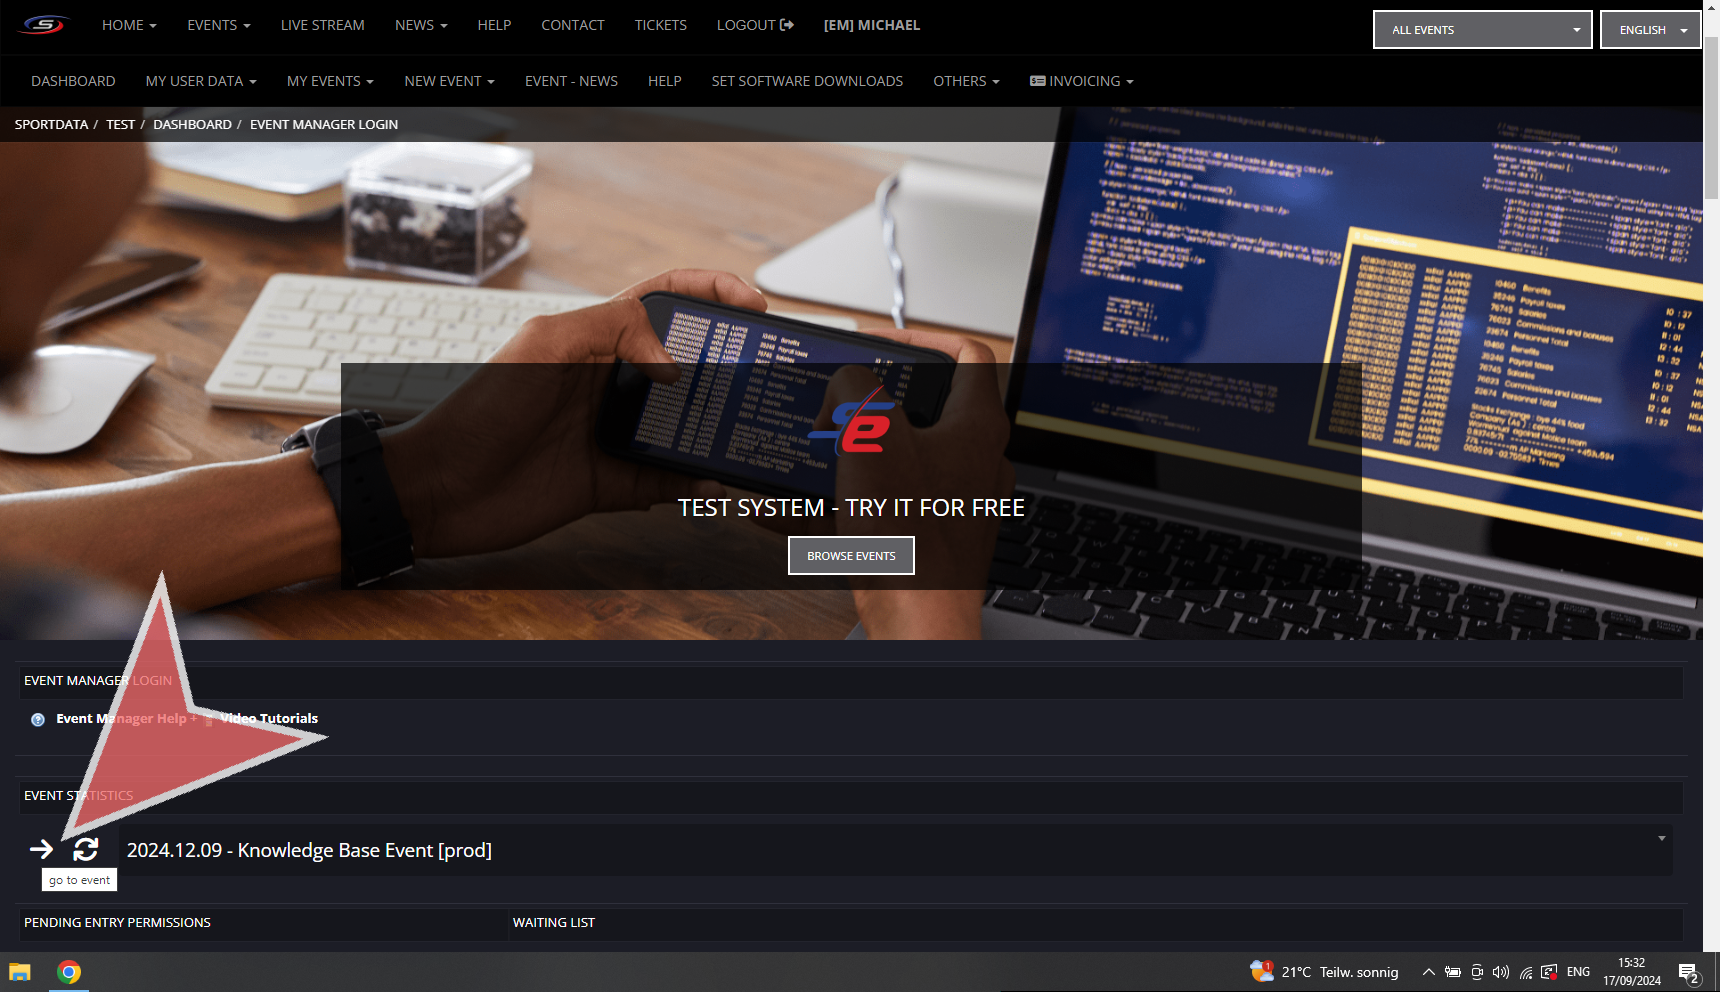
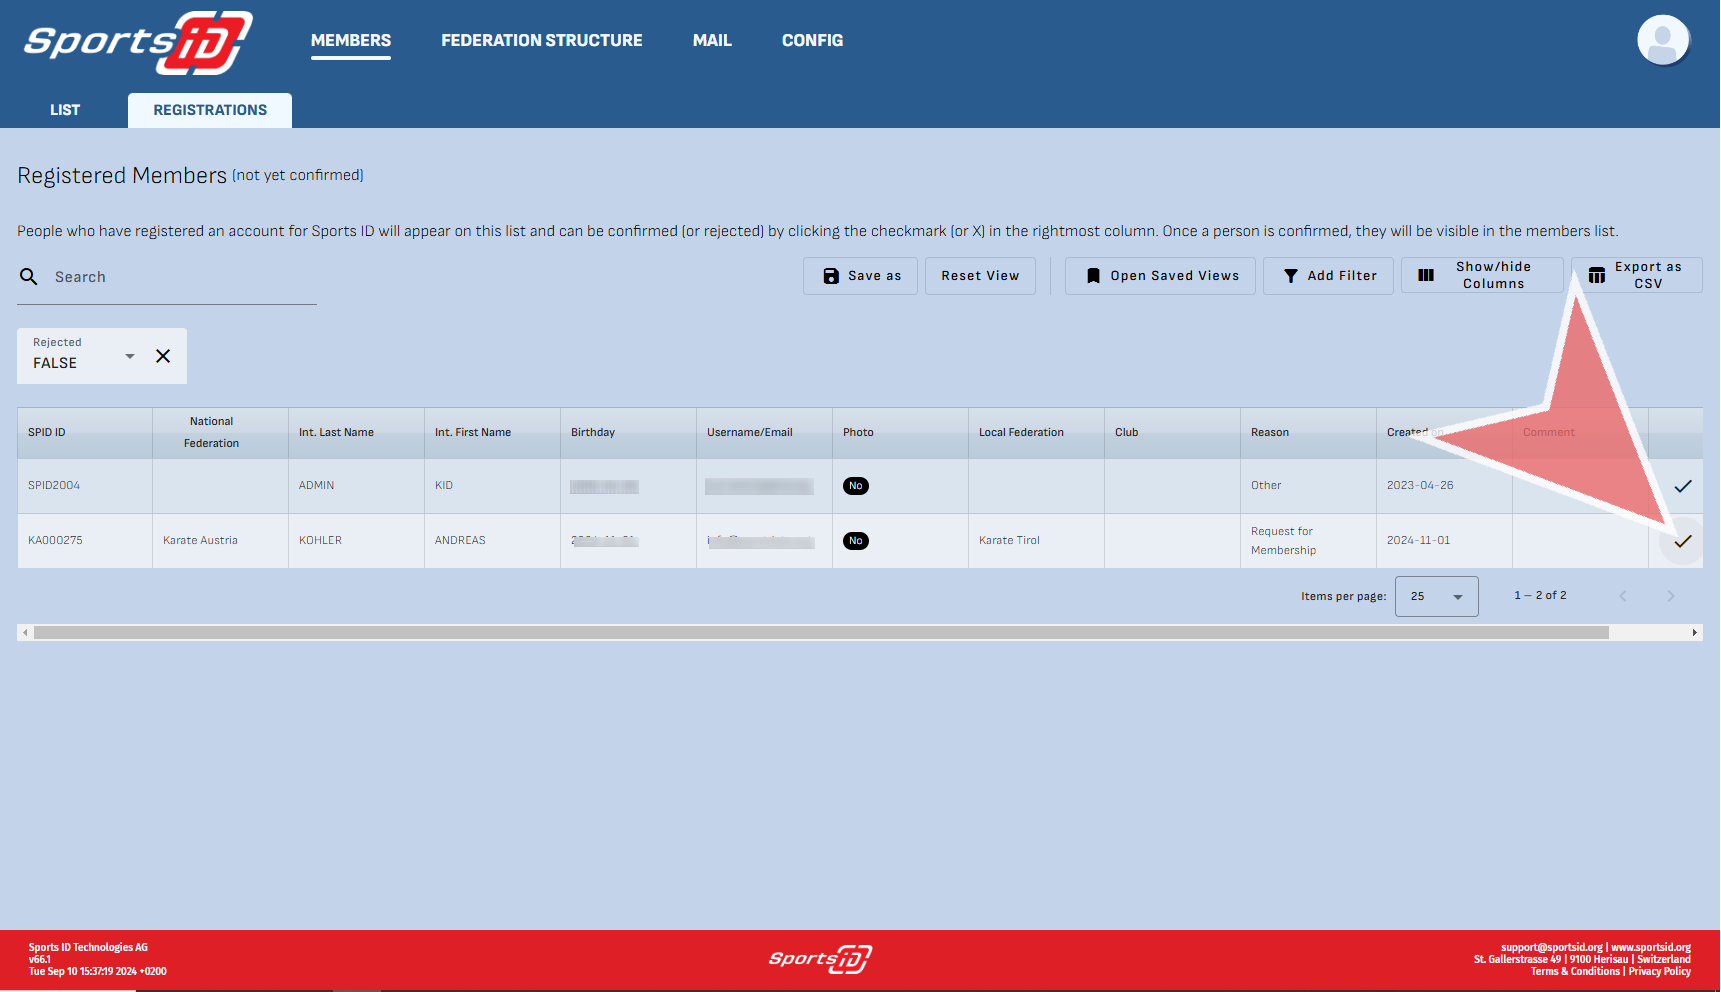
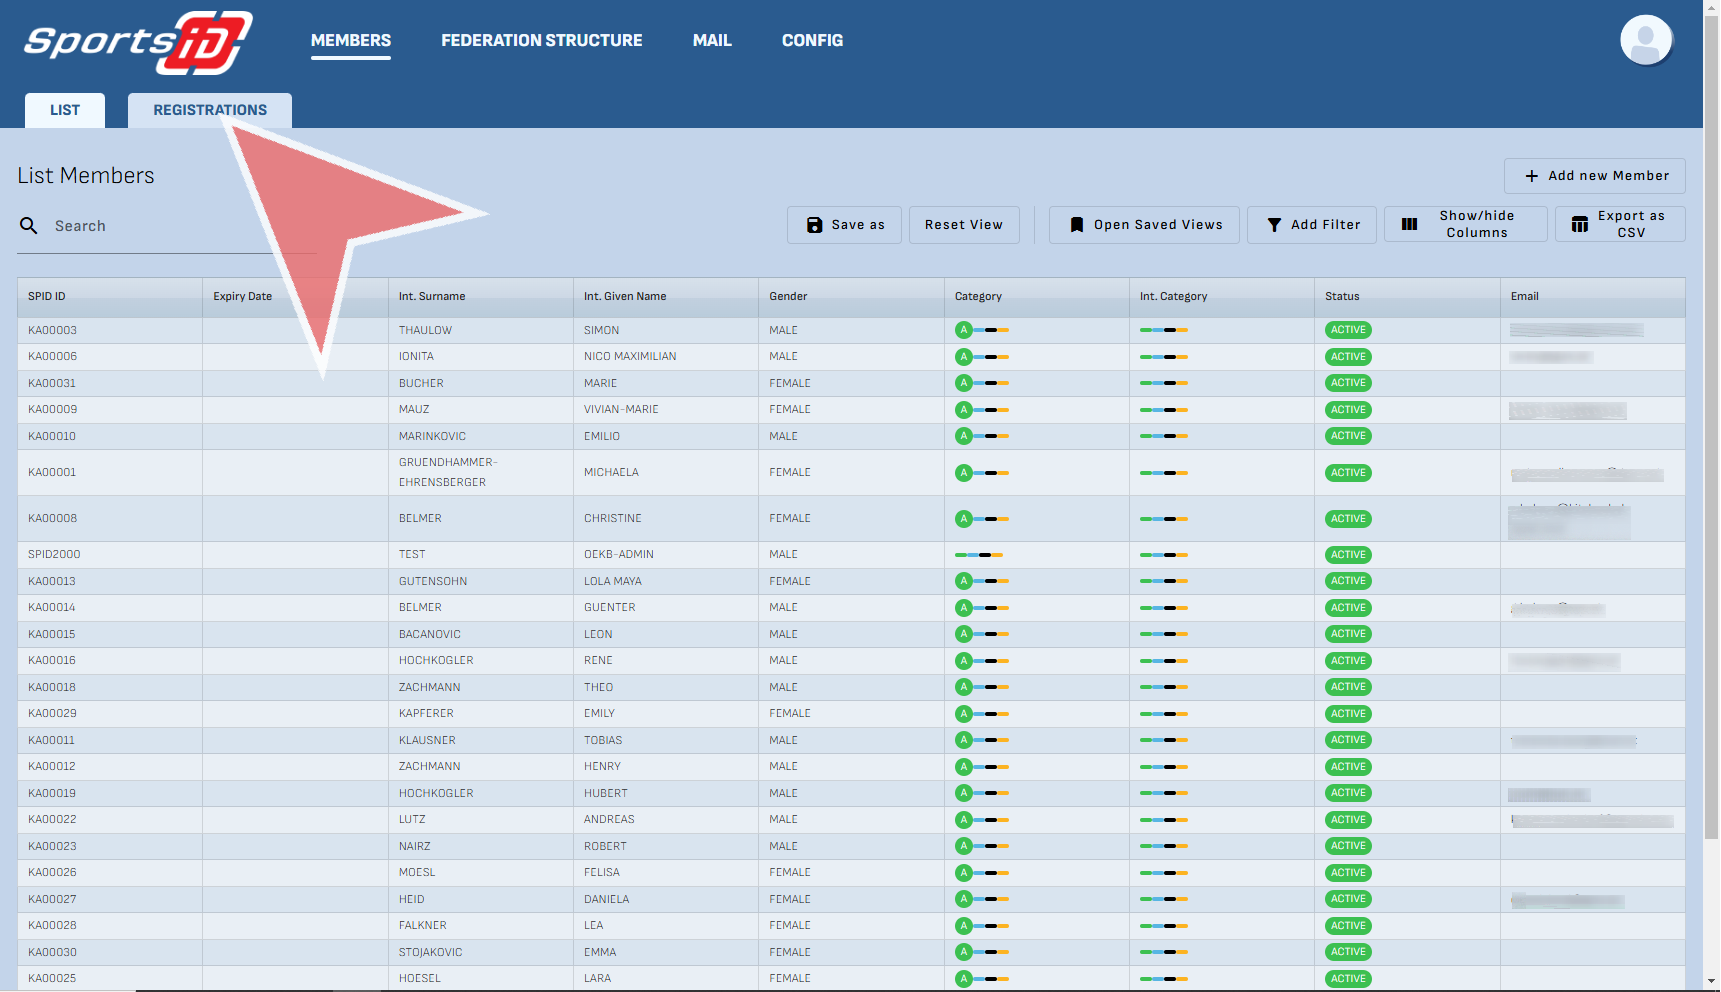
To approve new member that have registered, click on the ‚Registration‘ tab to see all pending members.
You can see all members who have not been approved. In order to approve their registration, click the check mark on the right hand side and the account will be transferred to the Member’s ‚List‘ Tab.

Change status & add category
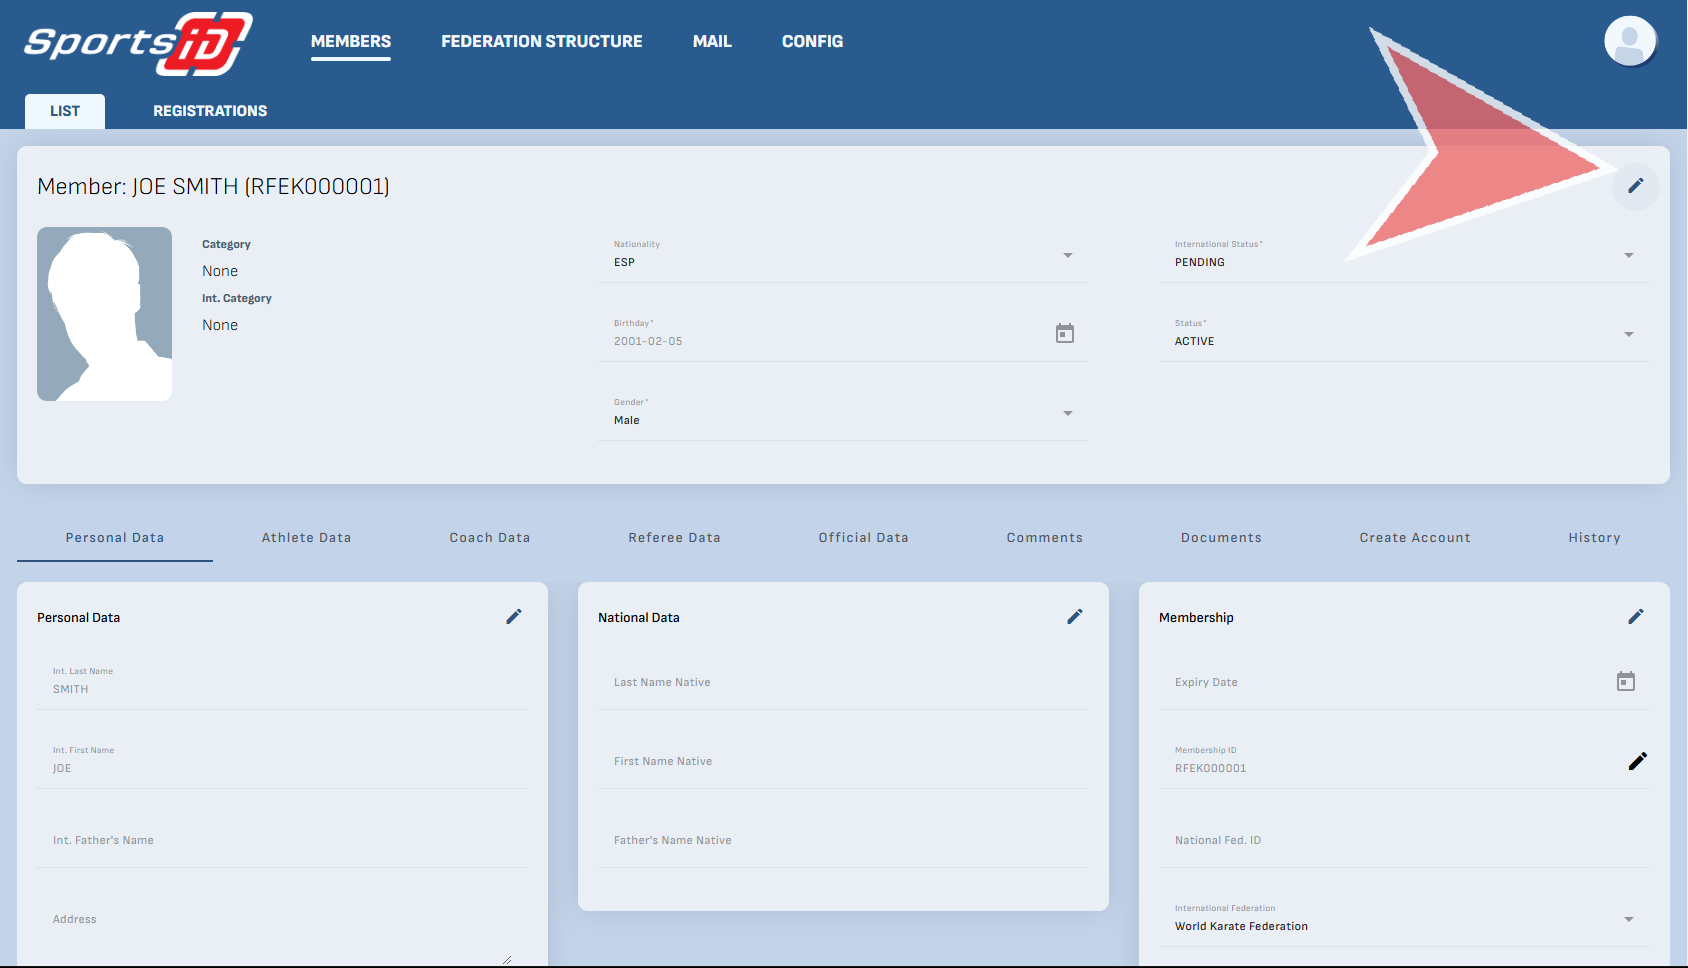
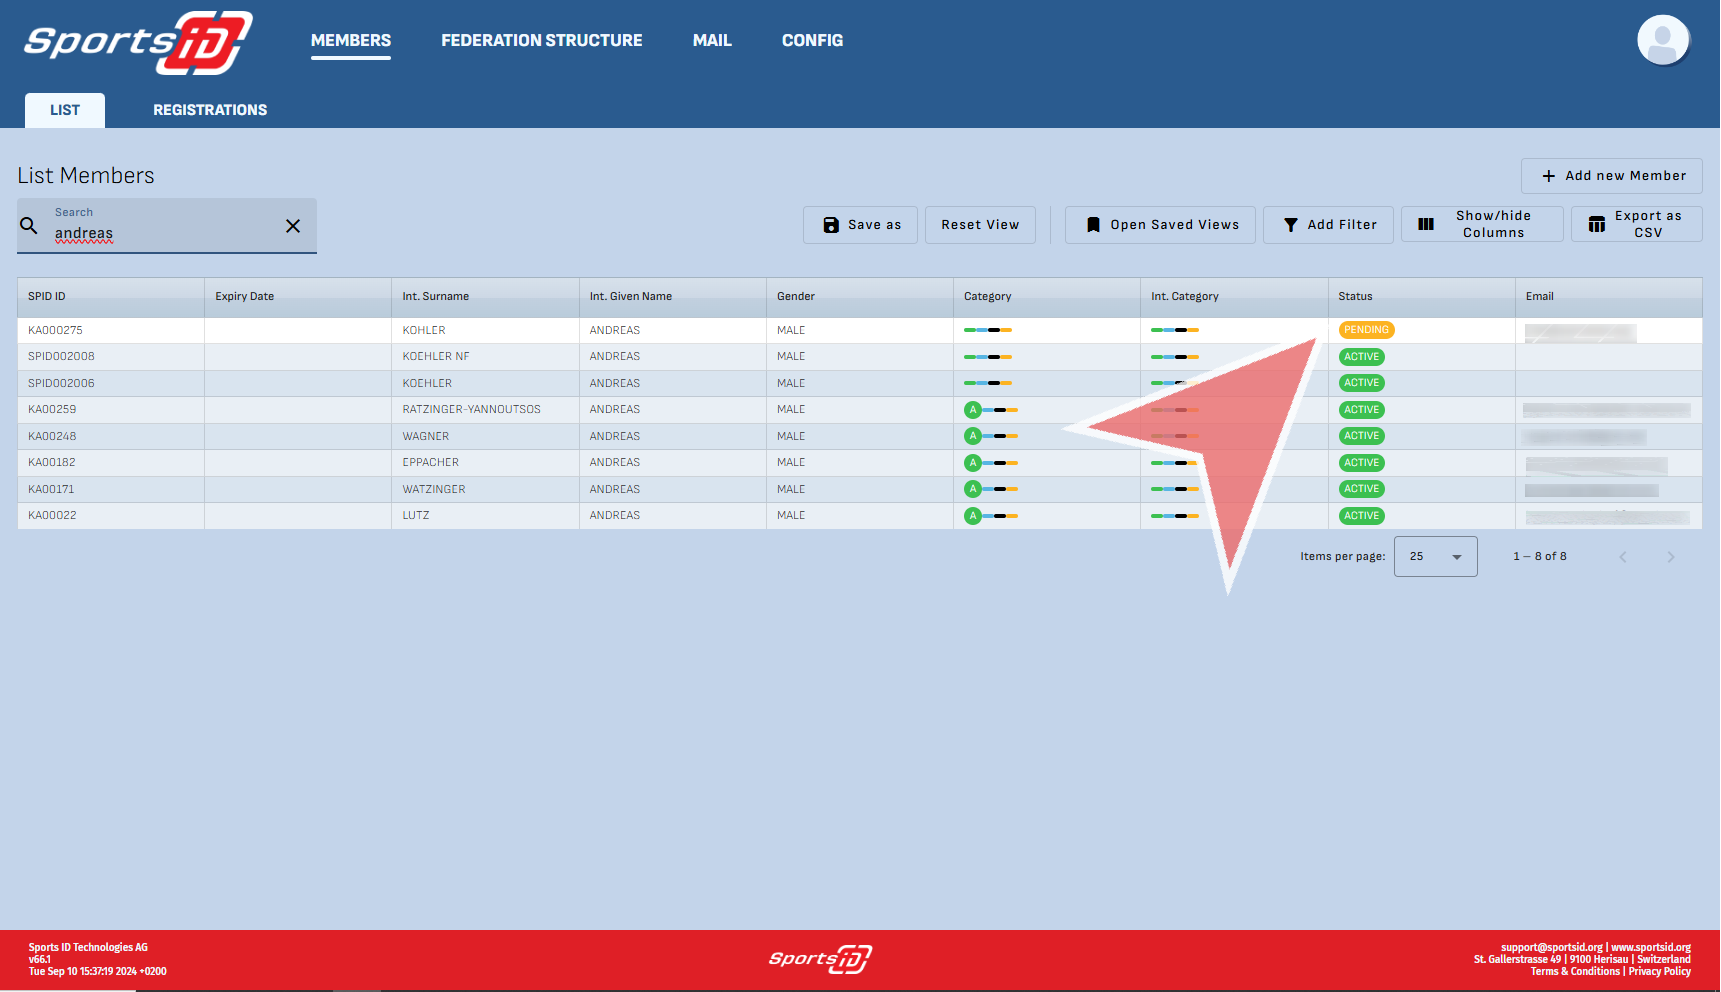
You will see that the status of the individual is pending, and has no category (athlete coach, referee) assigned to them. Click on the profile to edit their data.
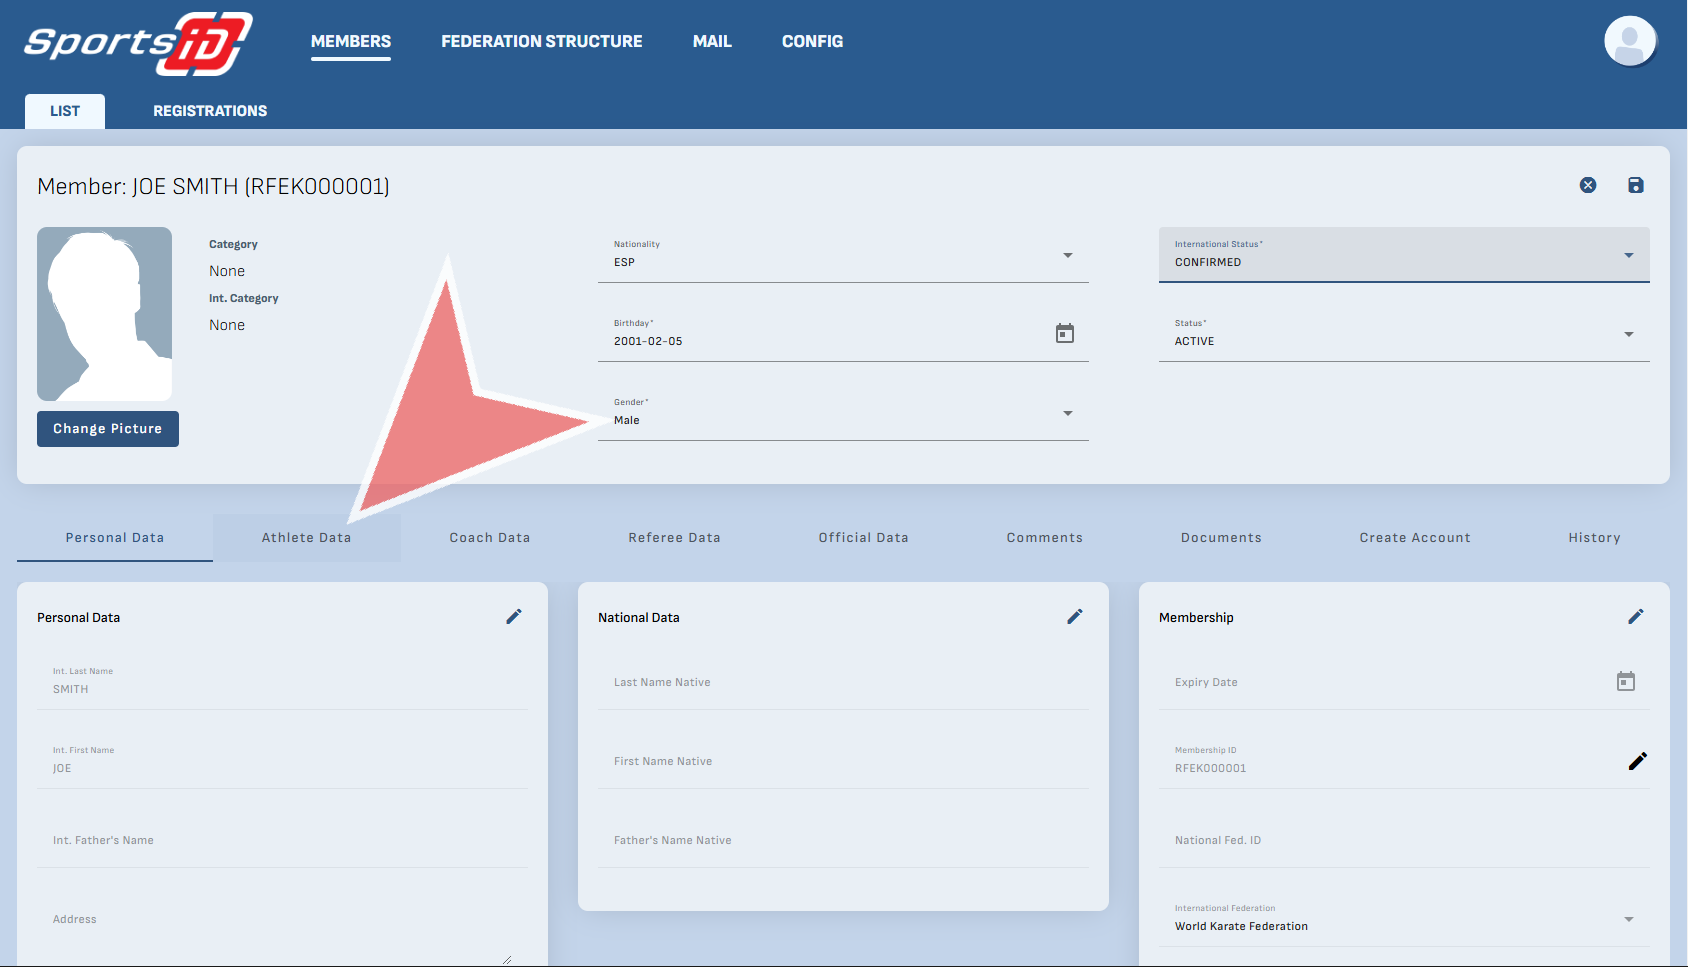
International Status
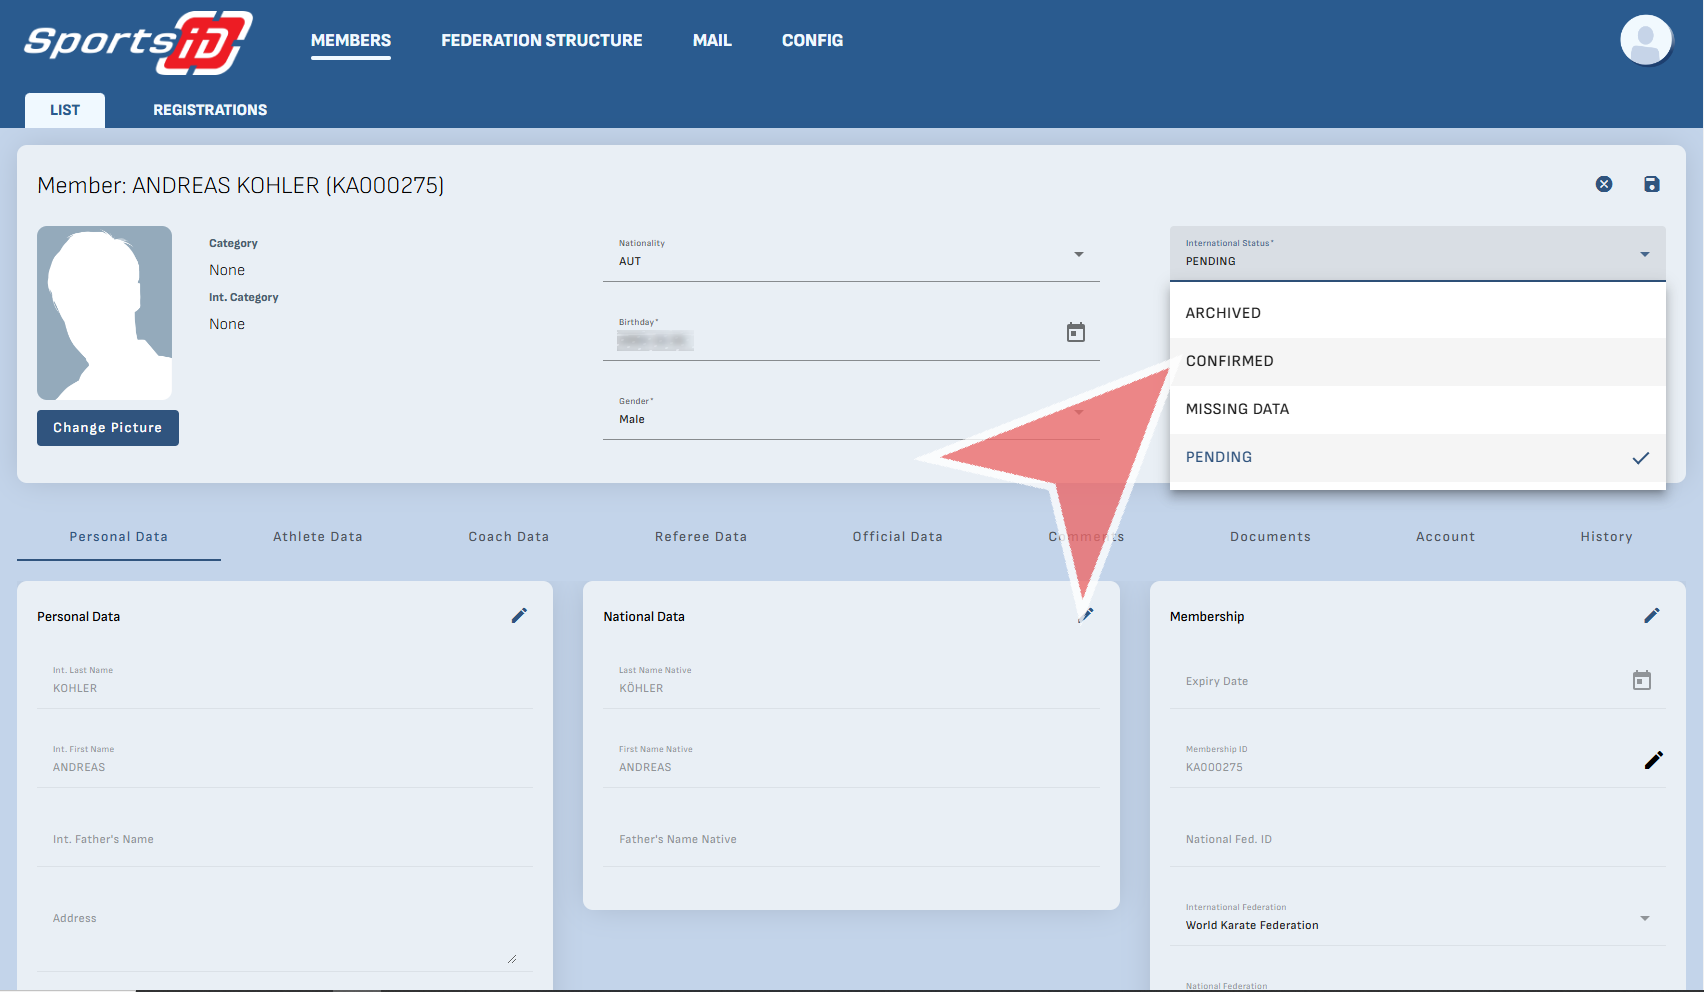
Now, as the international federation you can confirm a new member as internationally active by clicking on ‚International Status‘ field and selecting ‚Confirm‘. Additional you could add ‚Archived‘ if the account becomes inactive, or ‚Missing Data‘ if you are waiting for them to provide additional information like a photo or certificates.
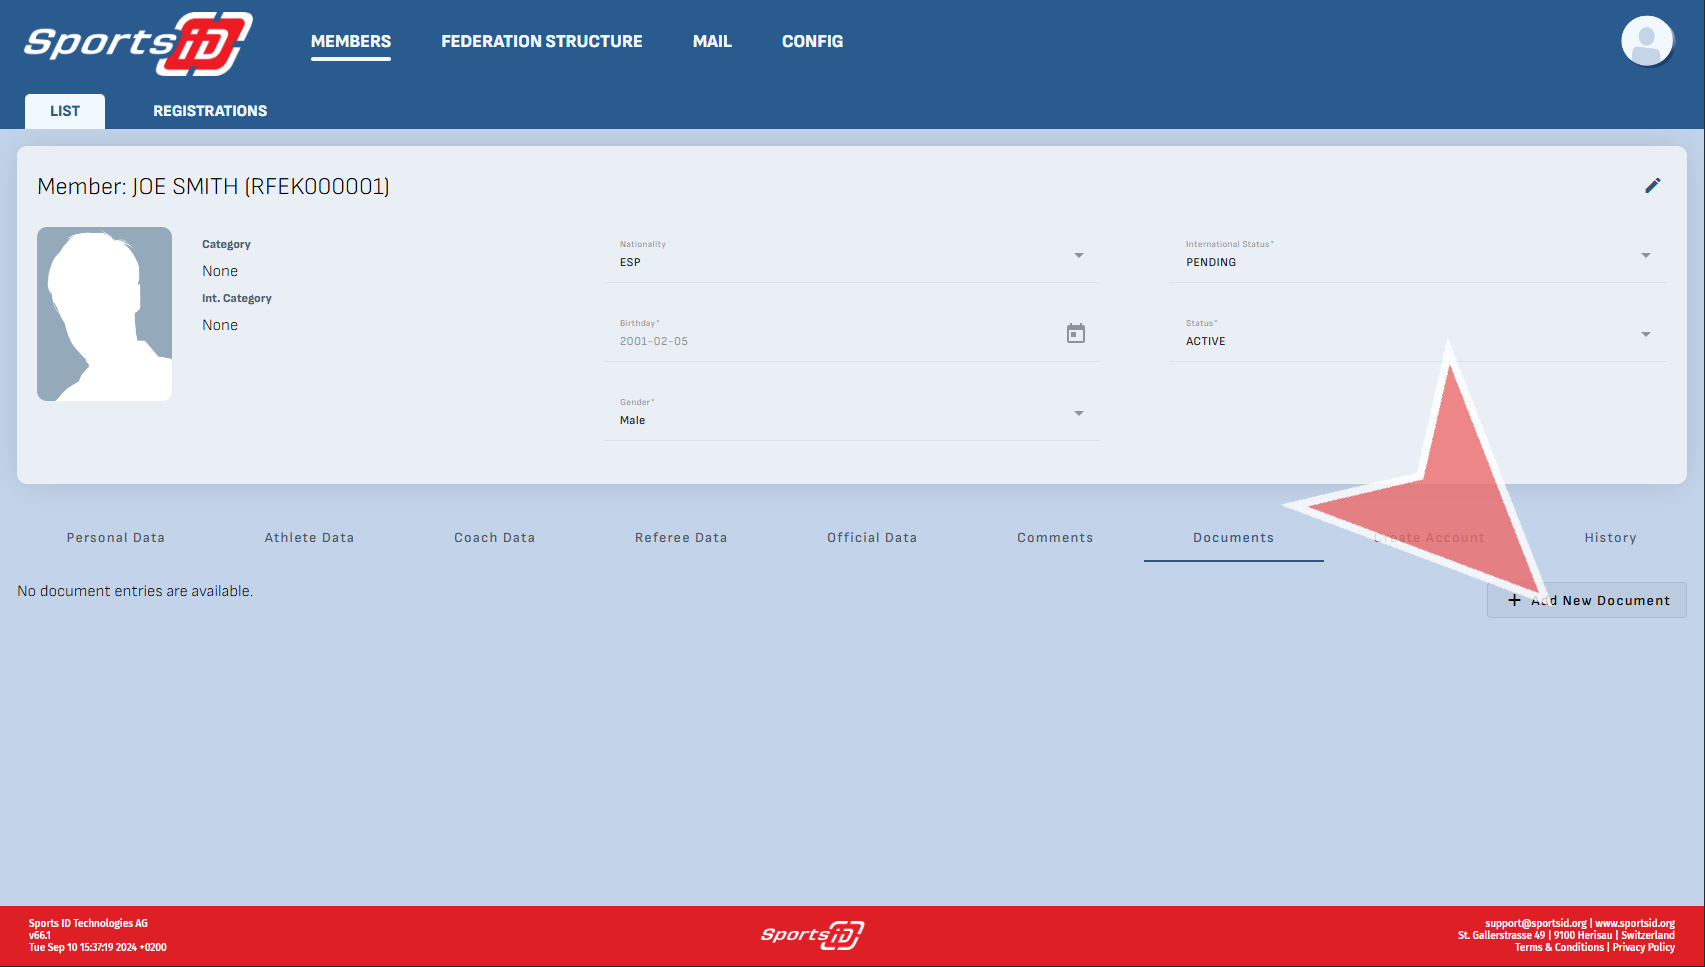
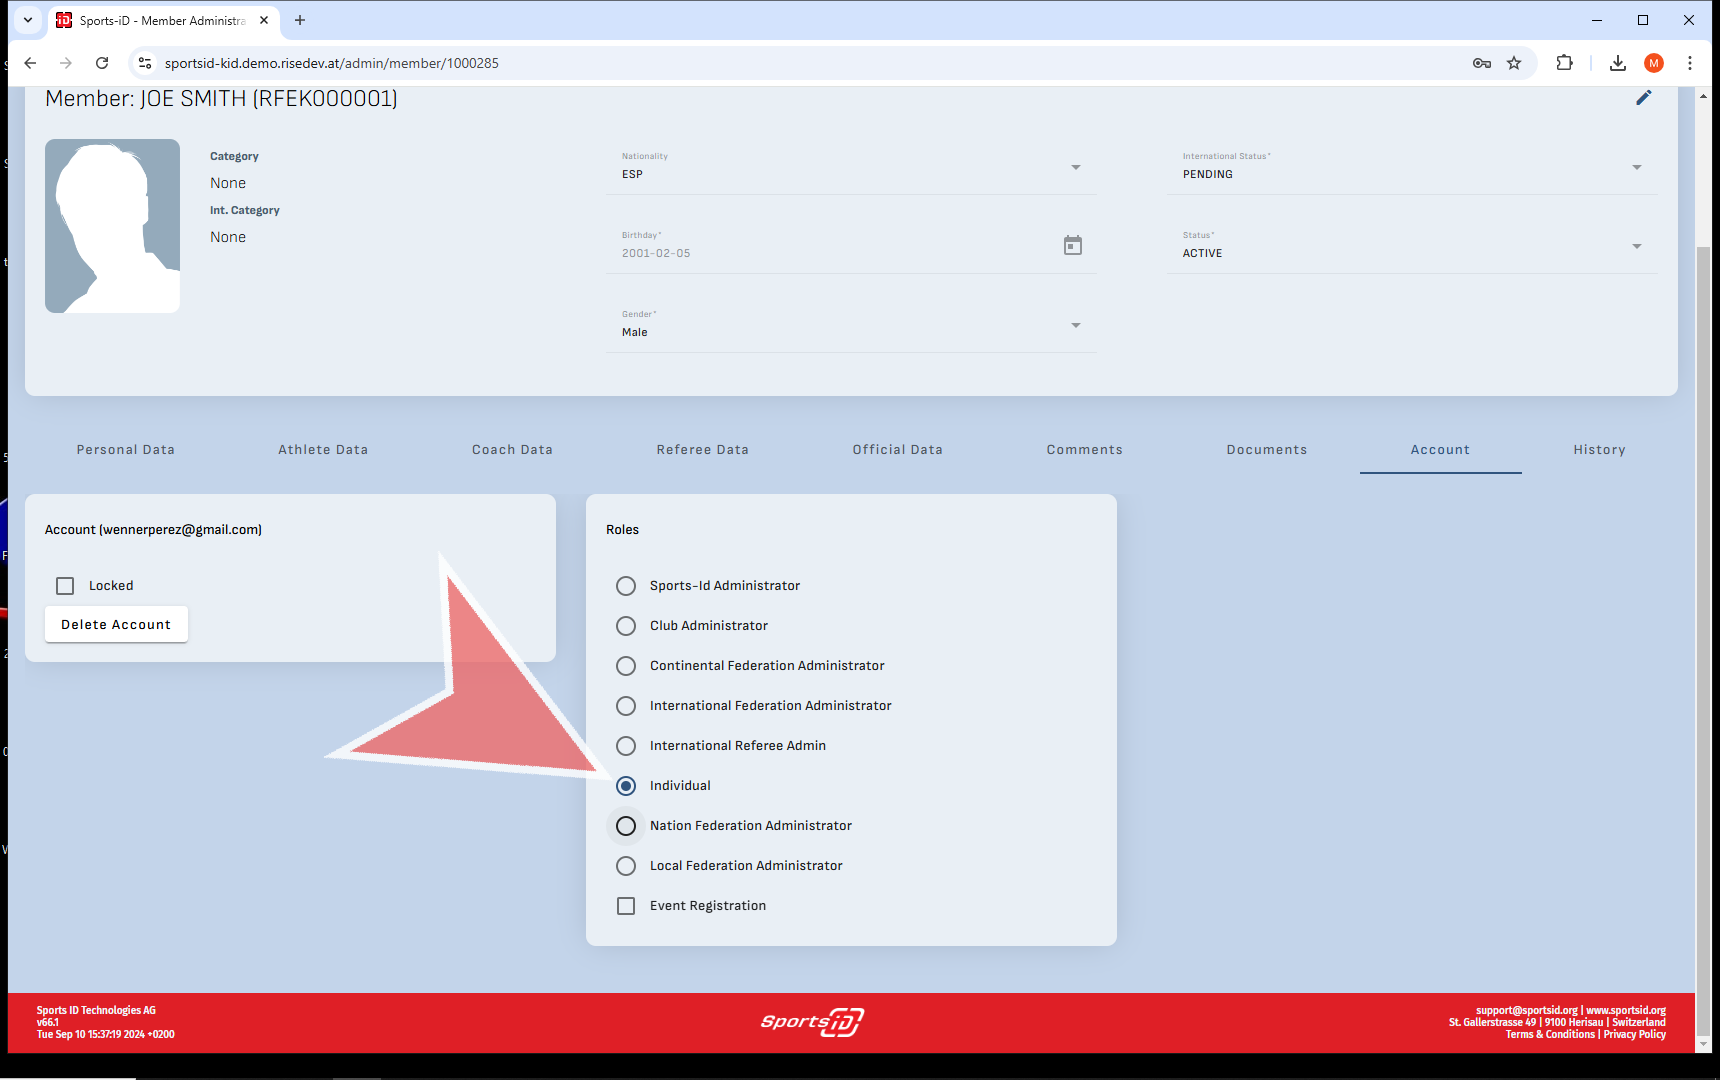
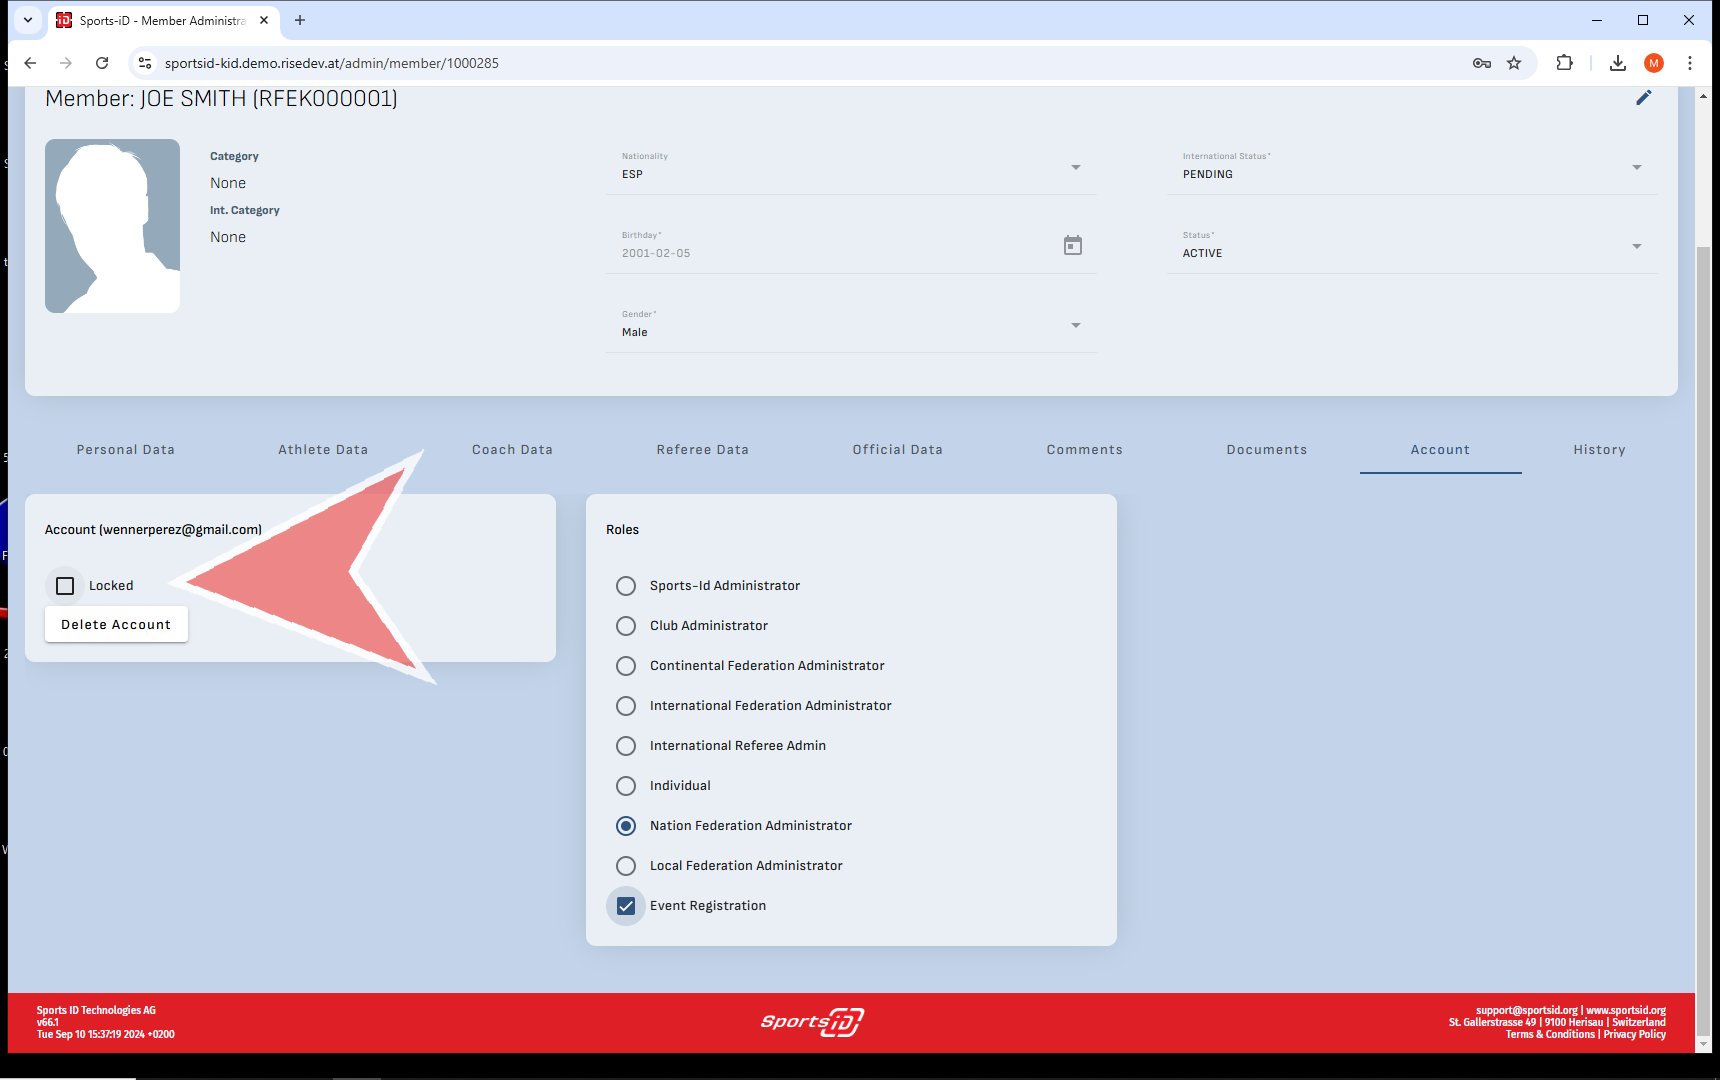
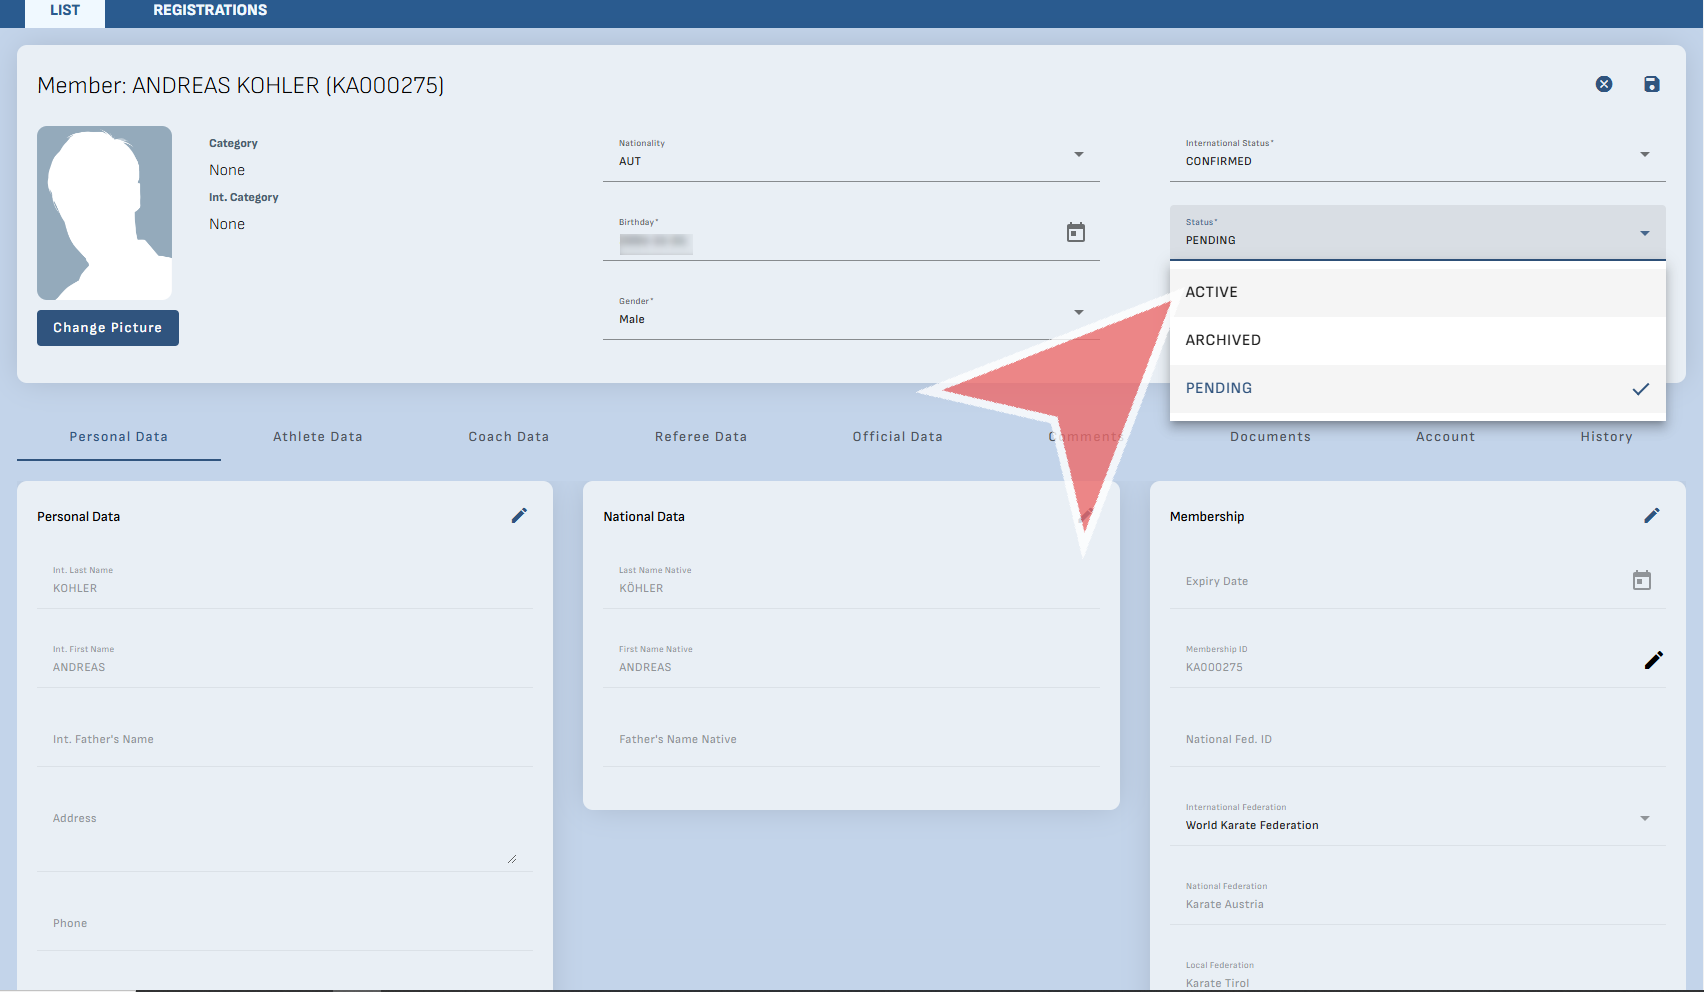
Status
Parallel to the international status, there is also the status within your structure which you can decided as a federations.
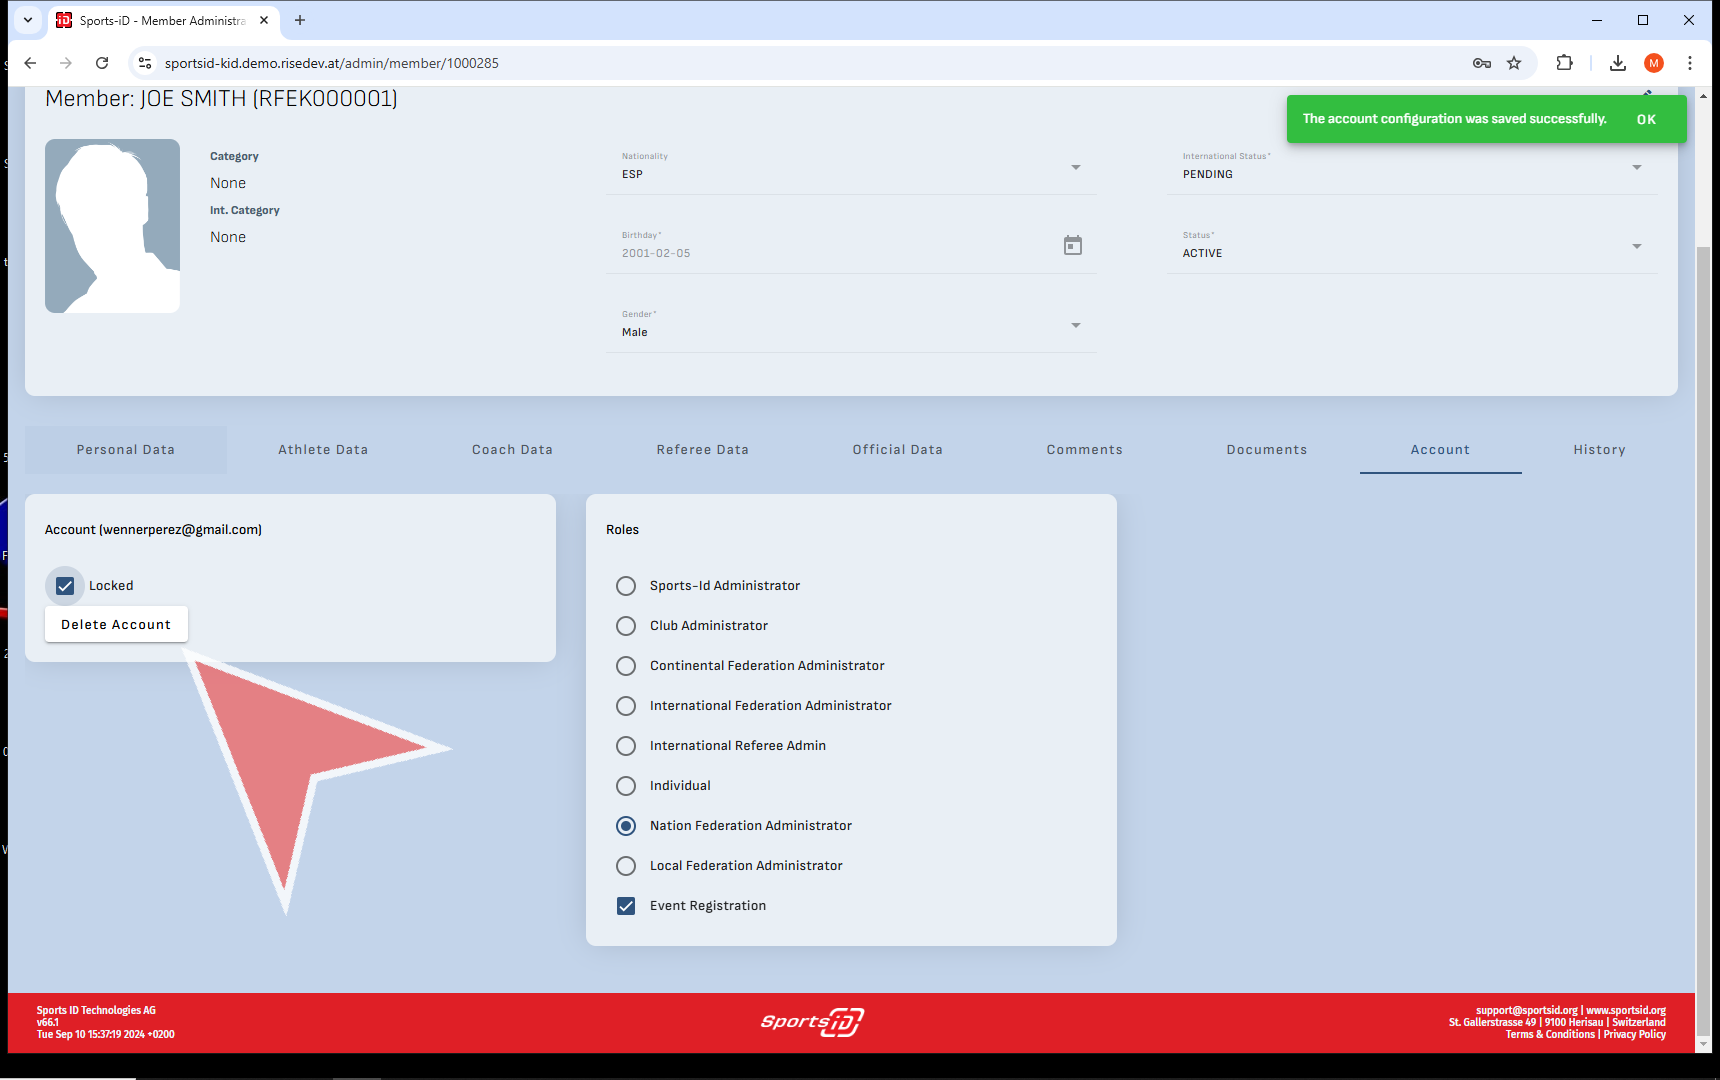
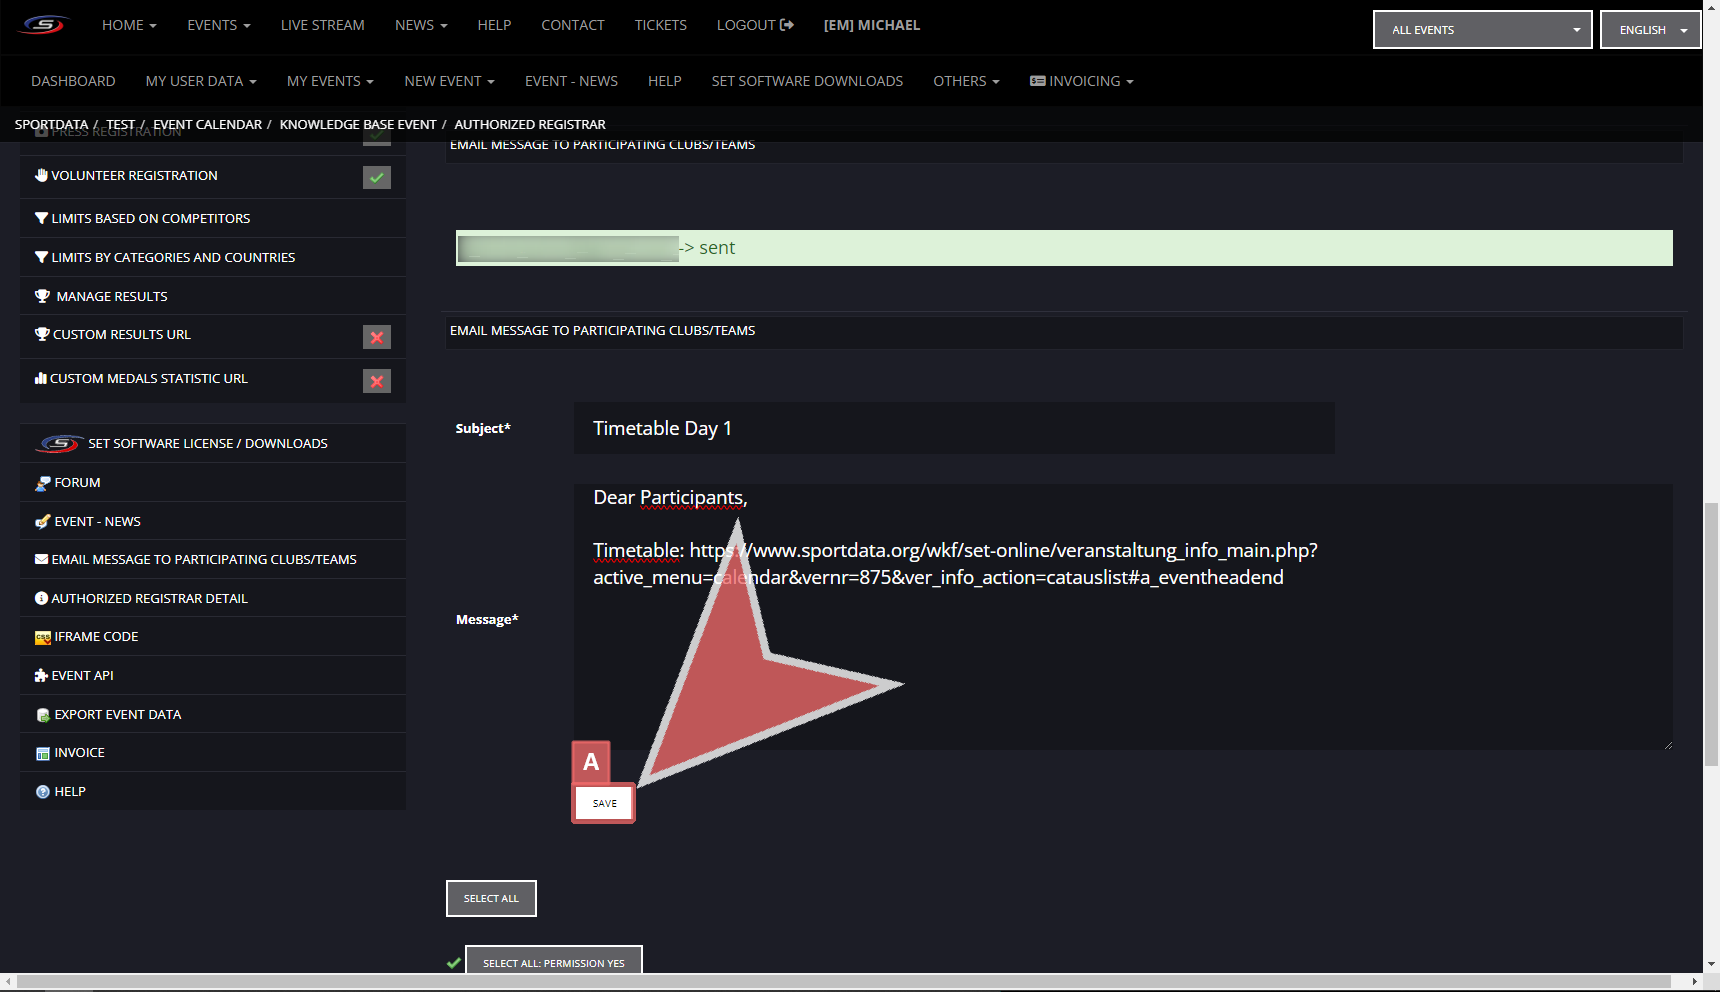
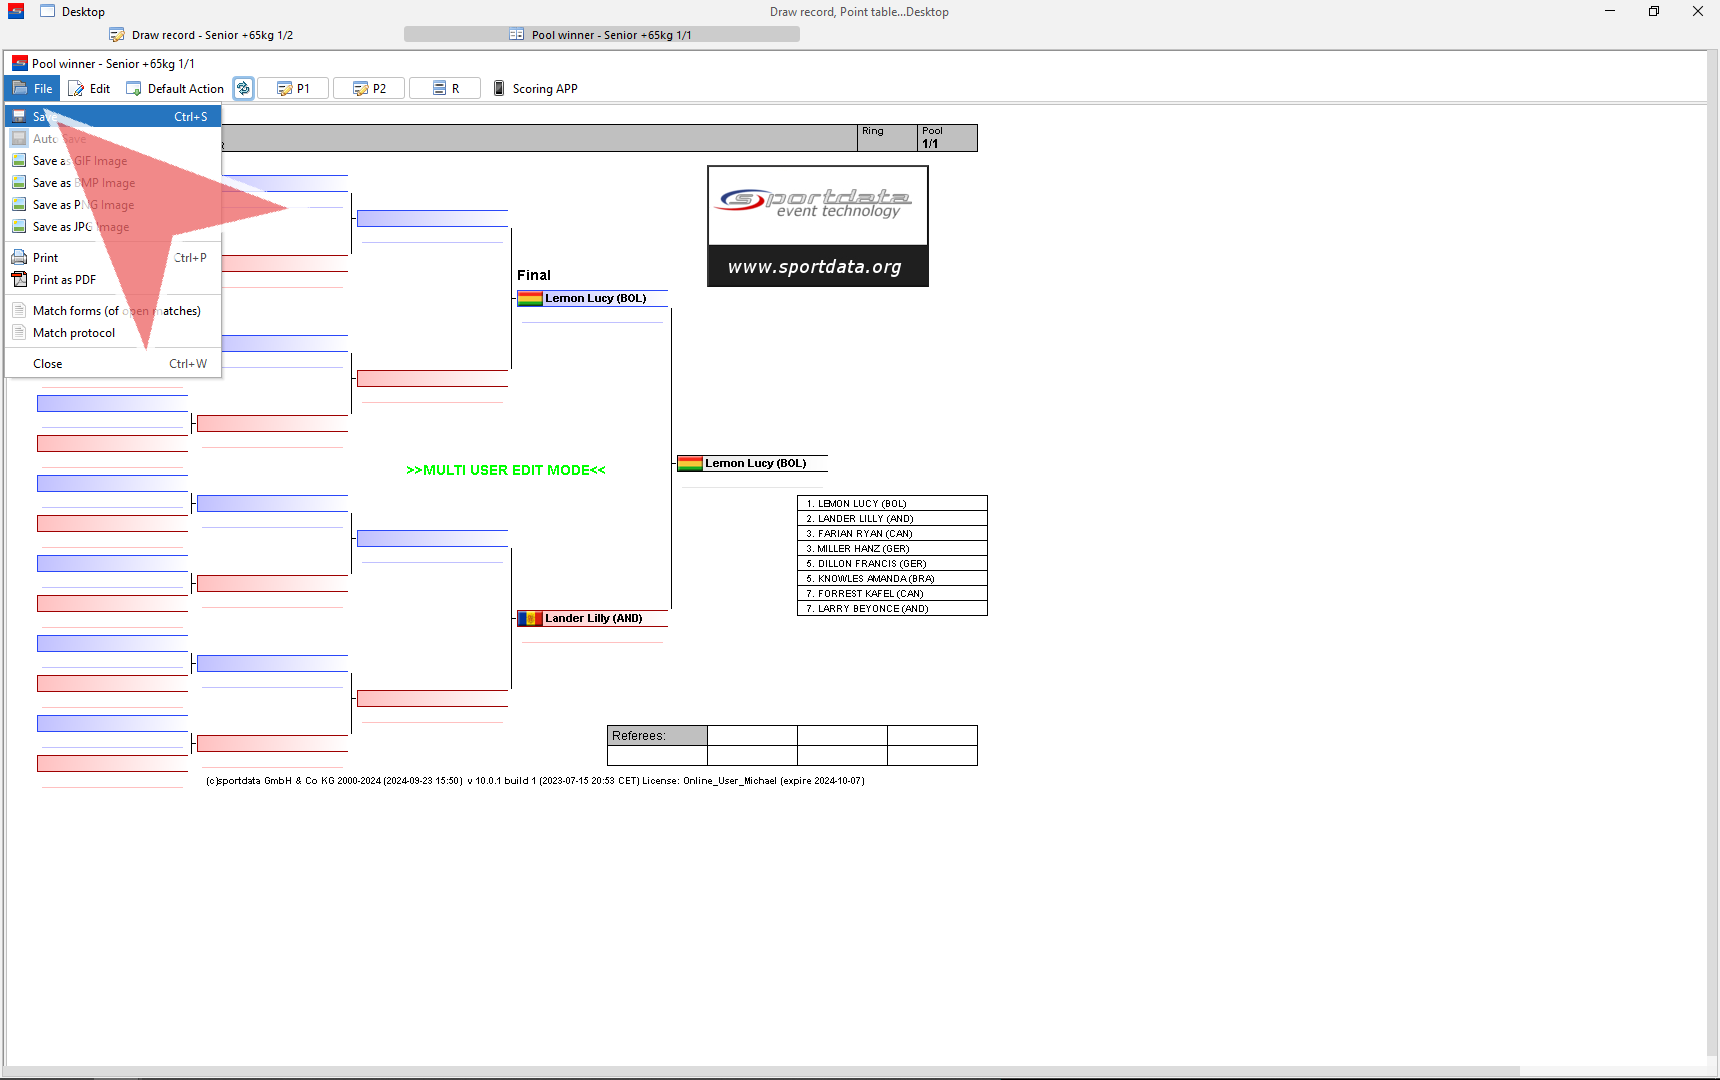
To save, click the ‚Save‘ Icon.
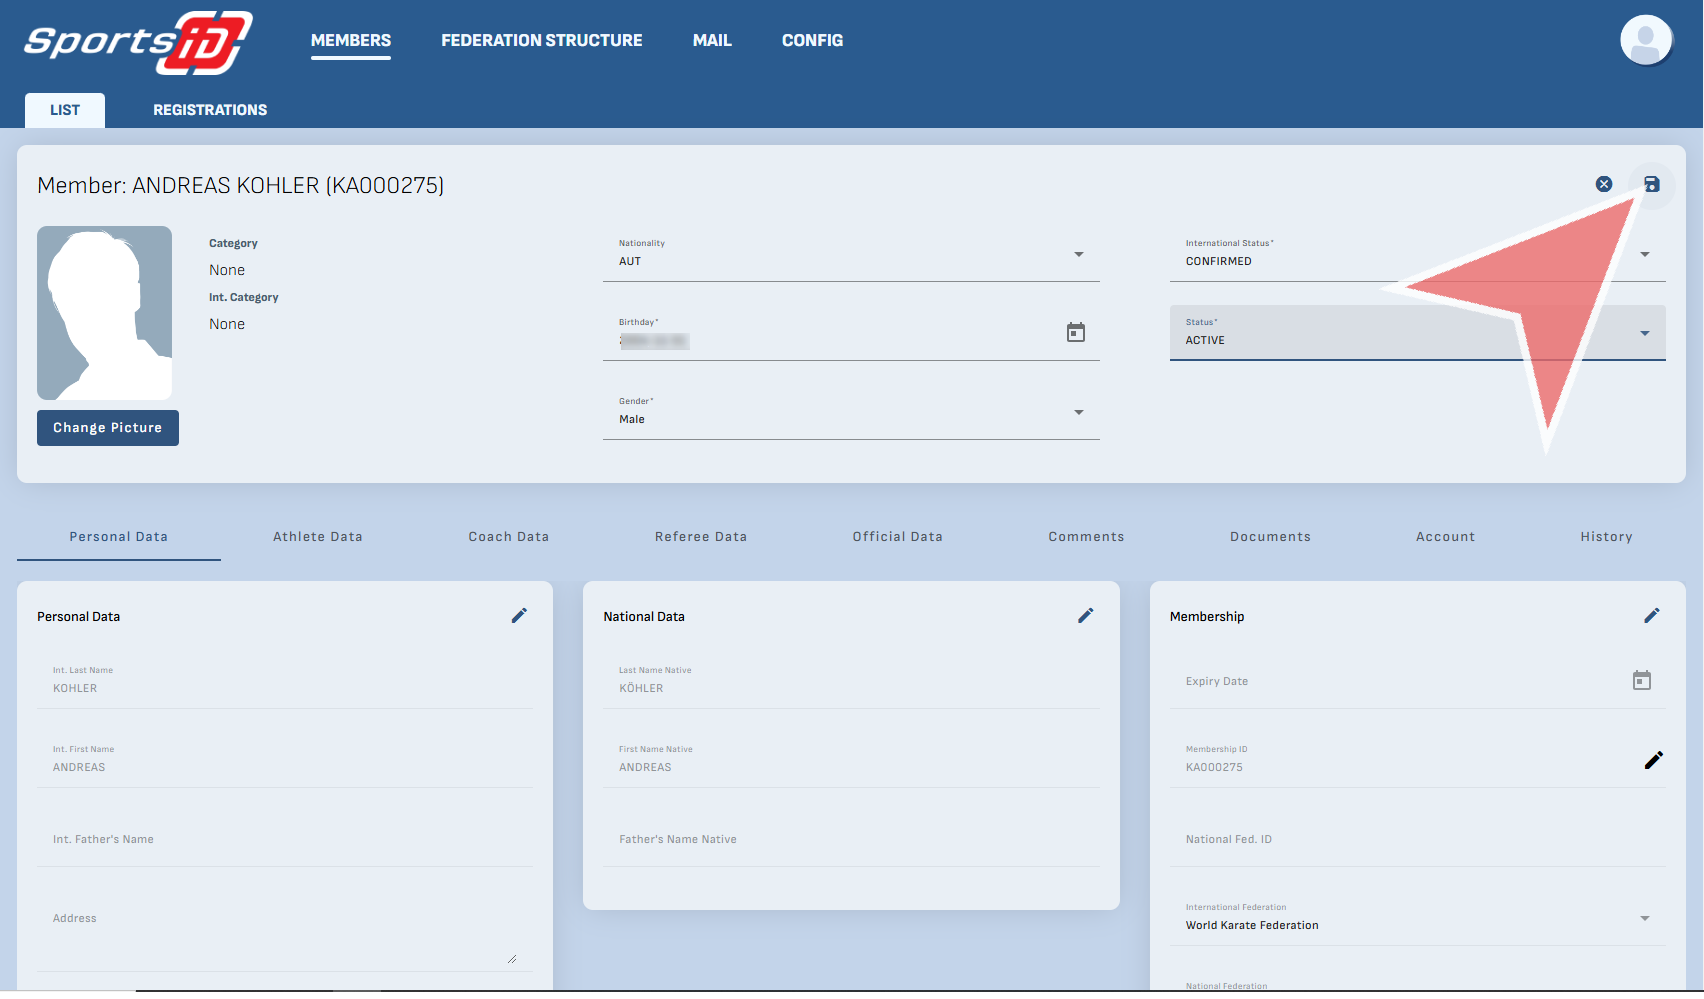
Finally, you will notice that their status has been changed to ‚Active‘.