Interactive Demo
Make it easy for your participants to find all the relevant documention required for the event by uploading them to the event page. This may include documents like the event bulletin, shuttle pick-up times, competition timetable, waivers, and the result book. The format is either a PDF or a URL.
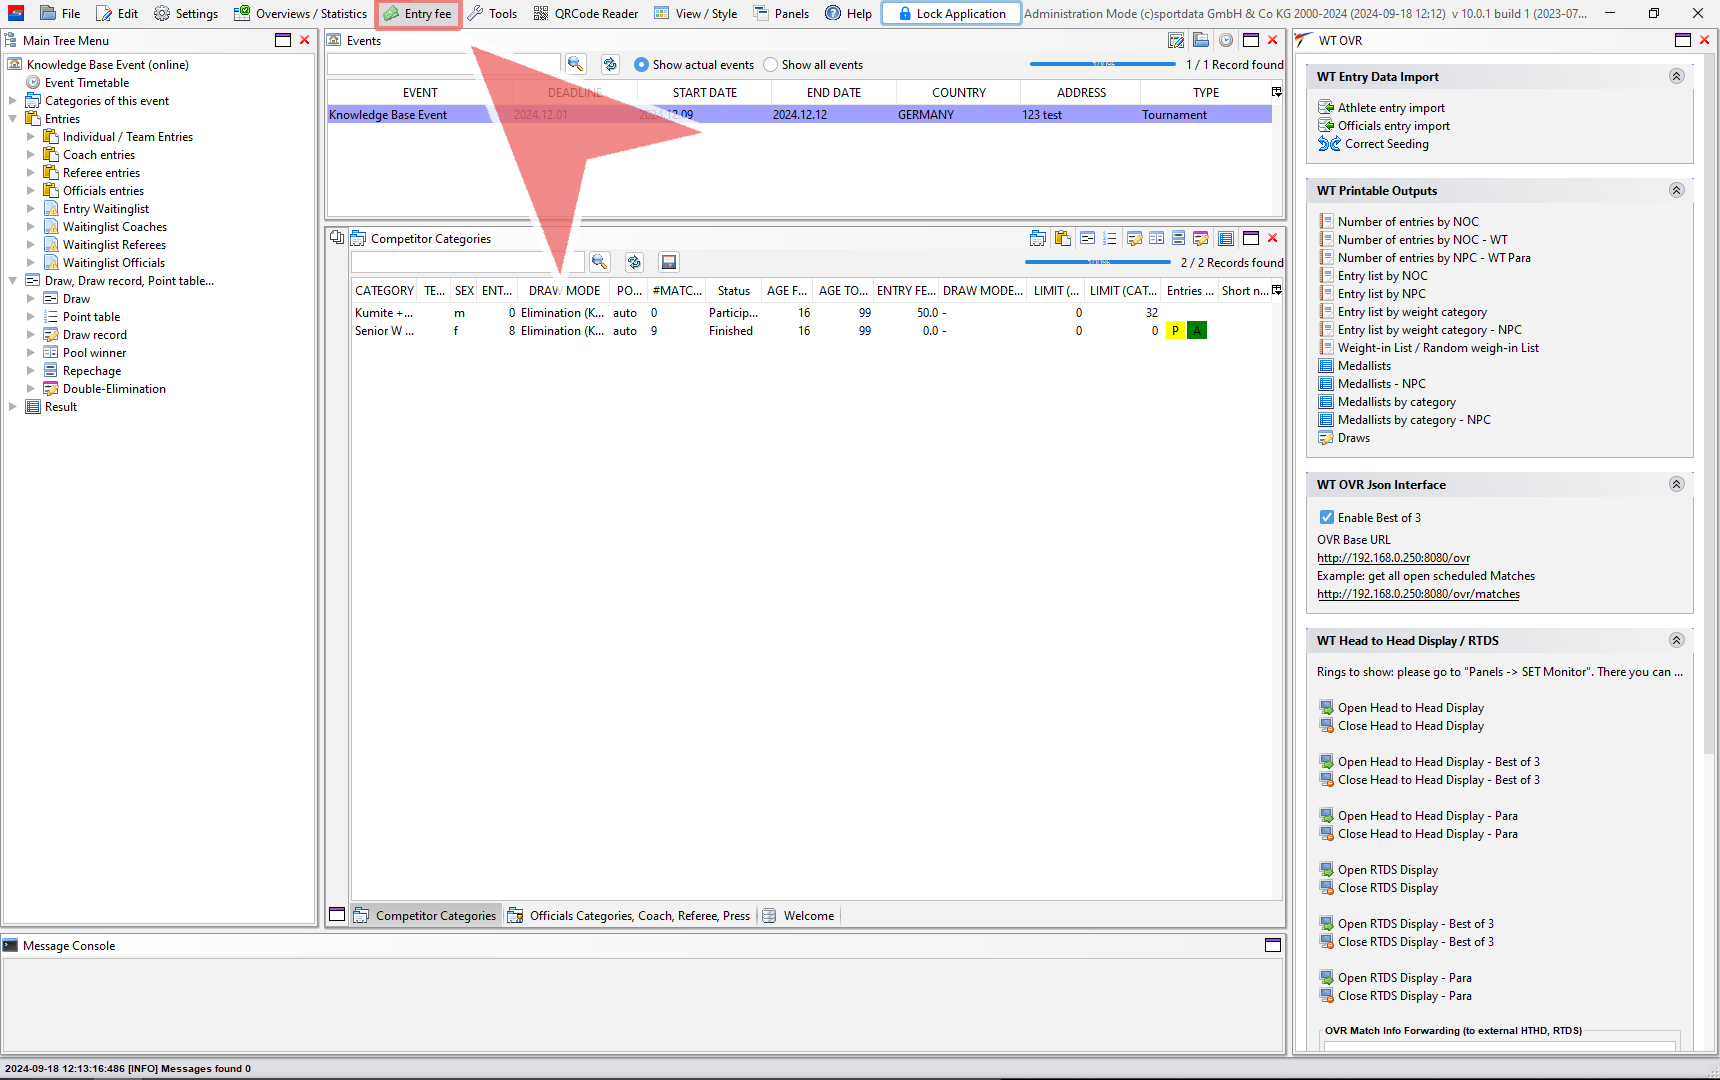
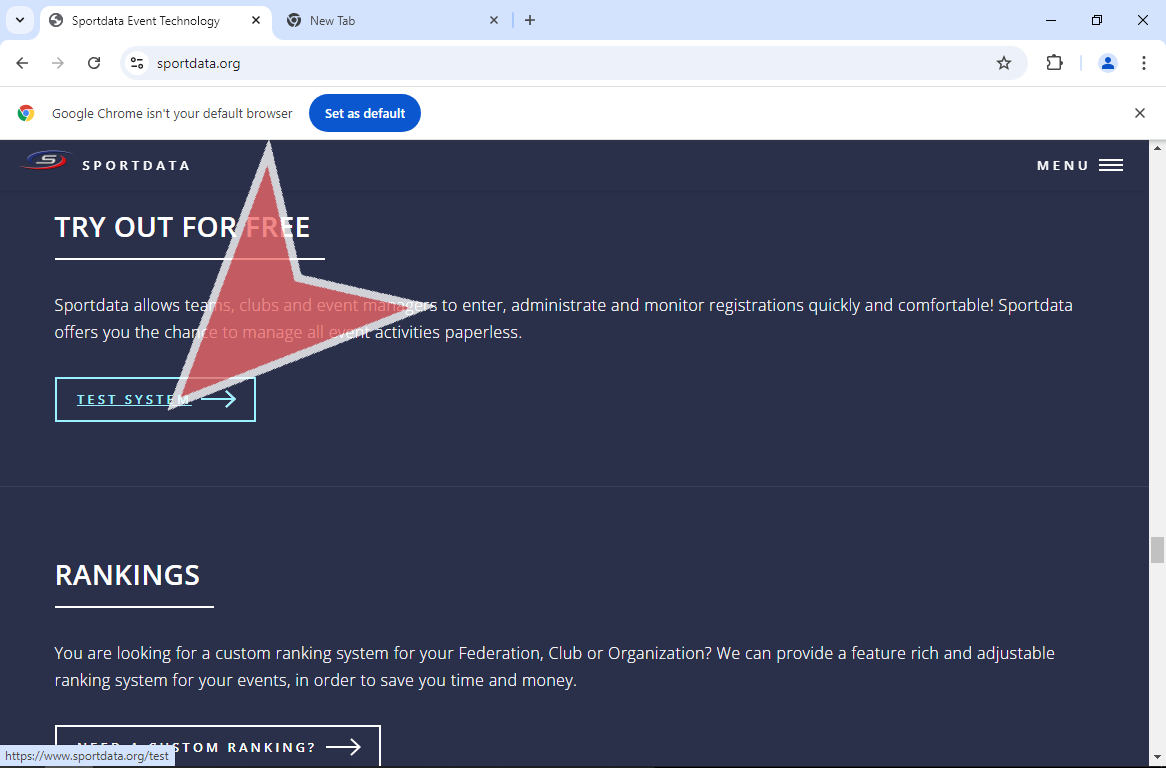
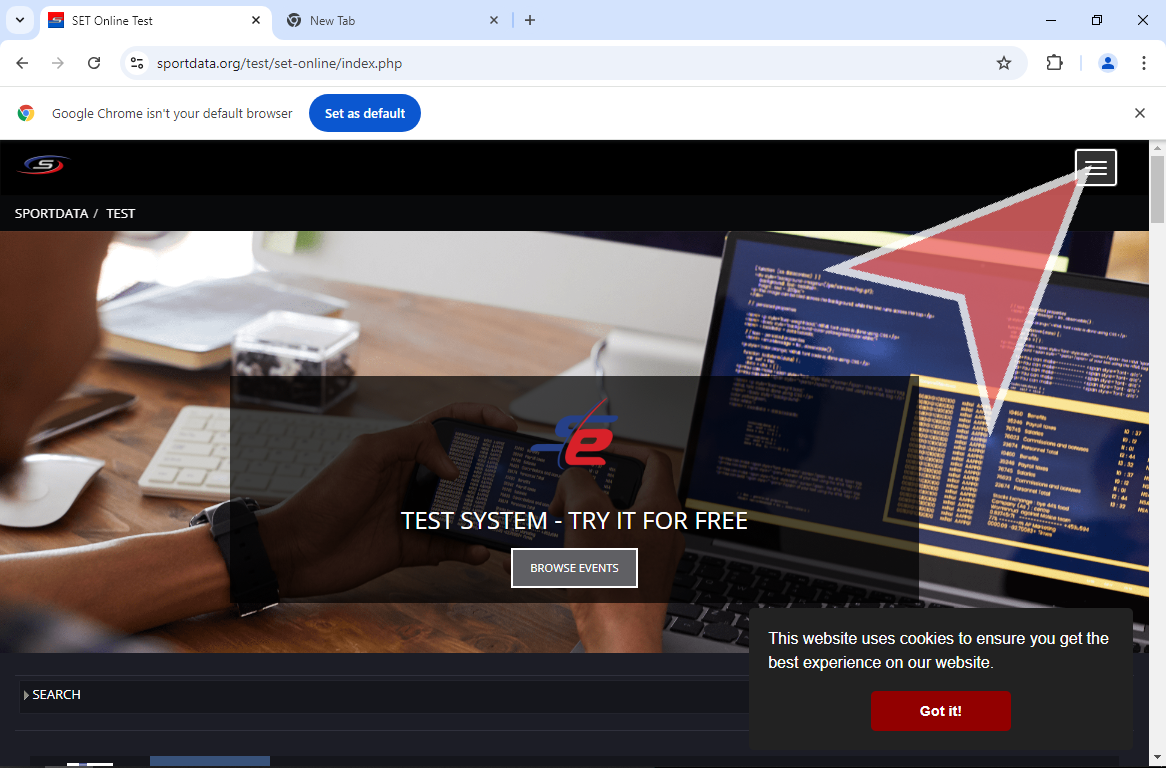
Go to Event Page
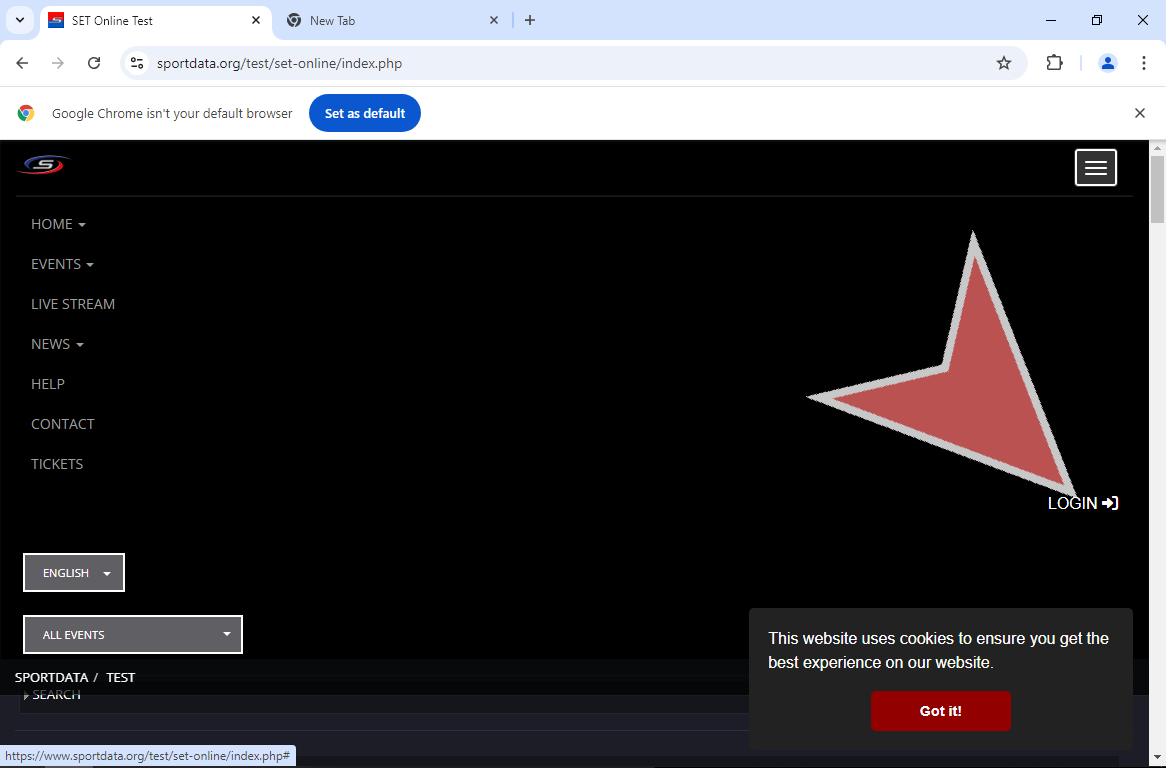
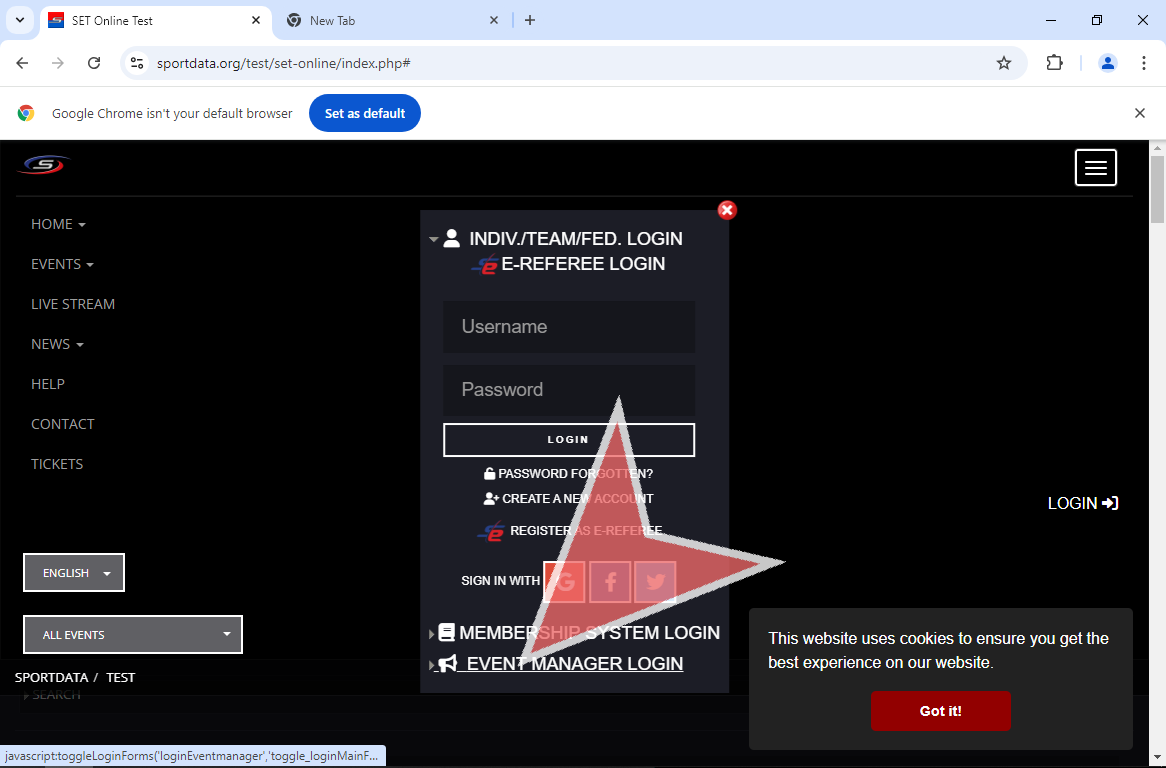
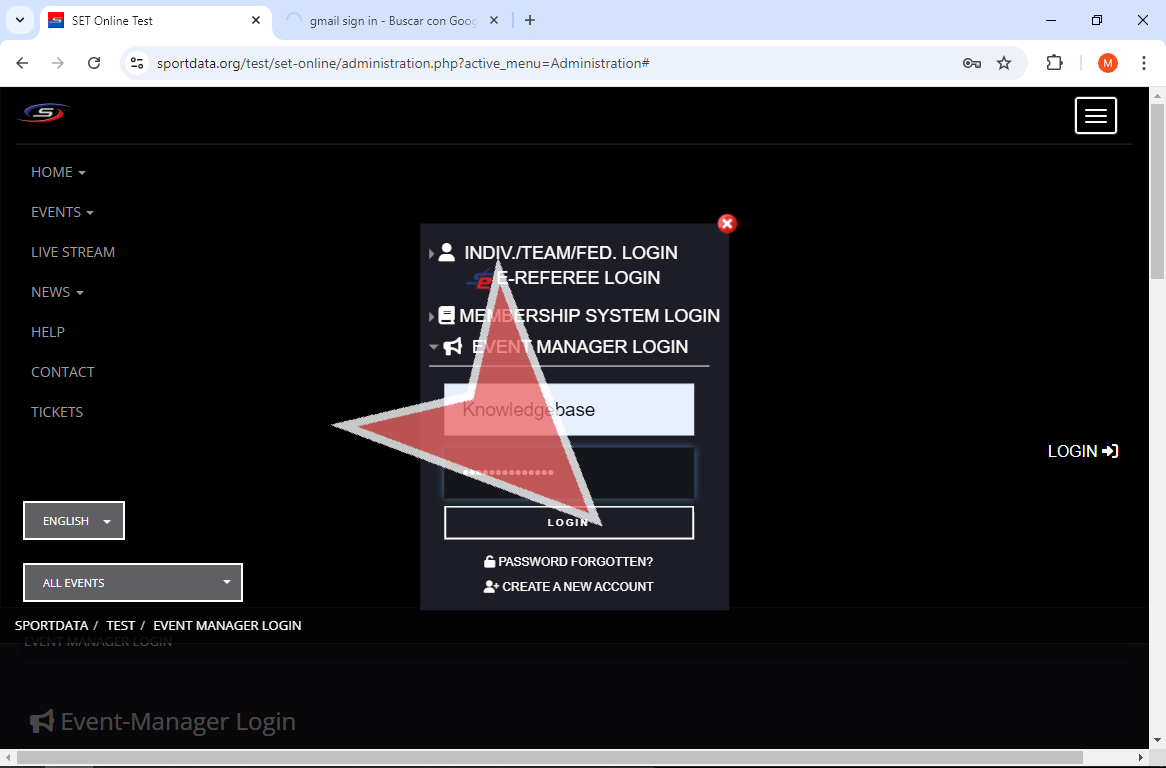
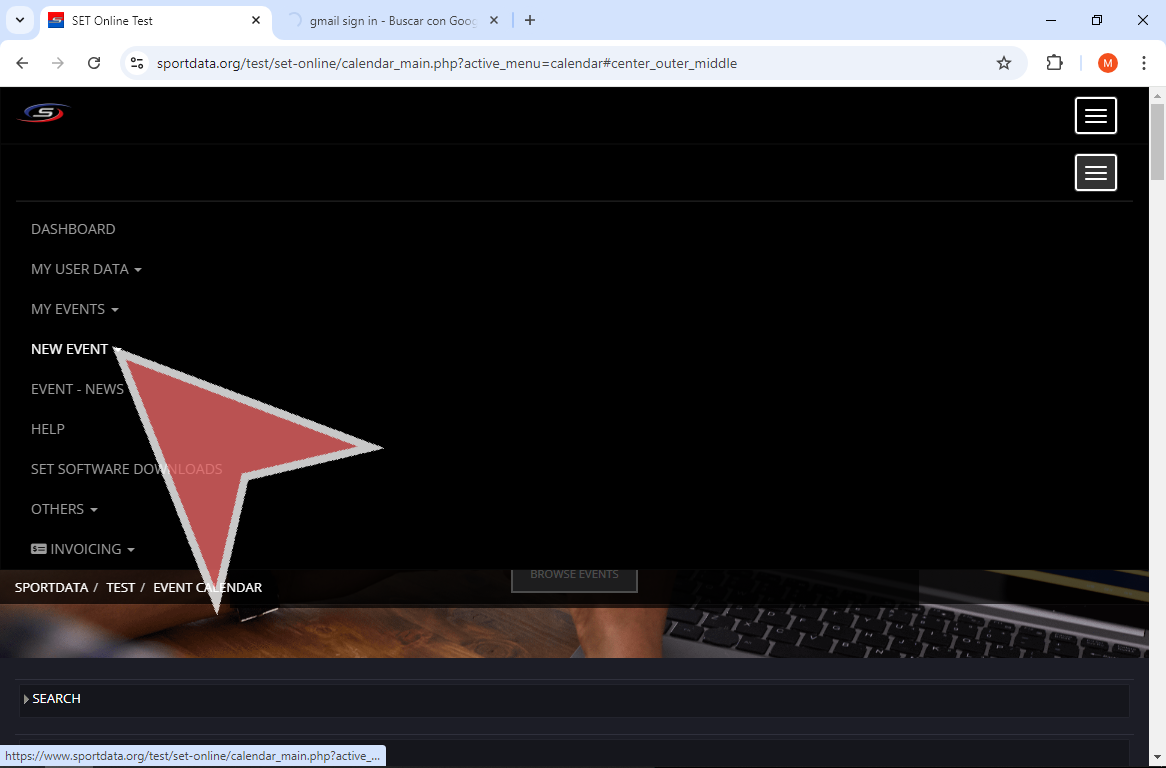
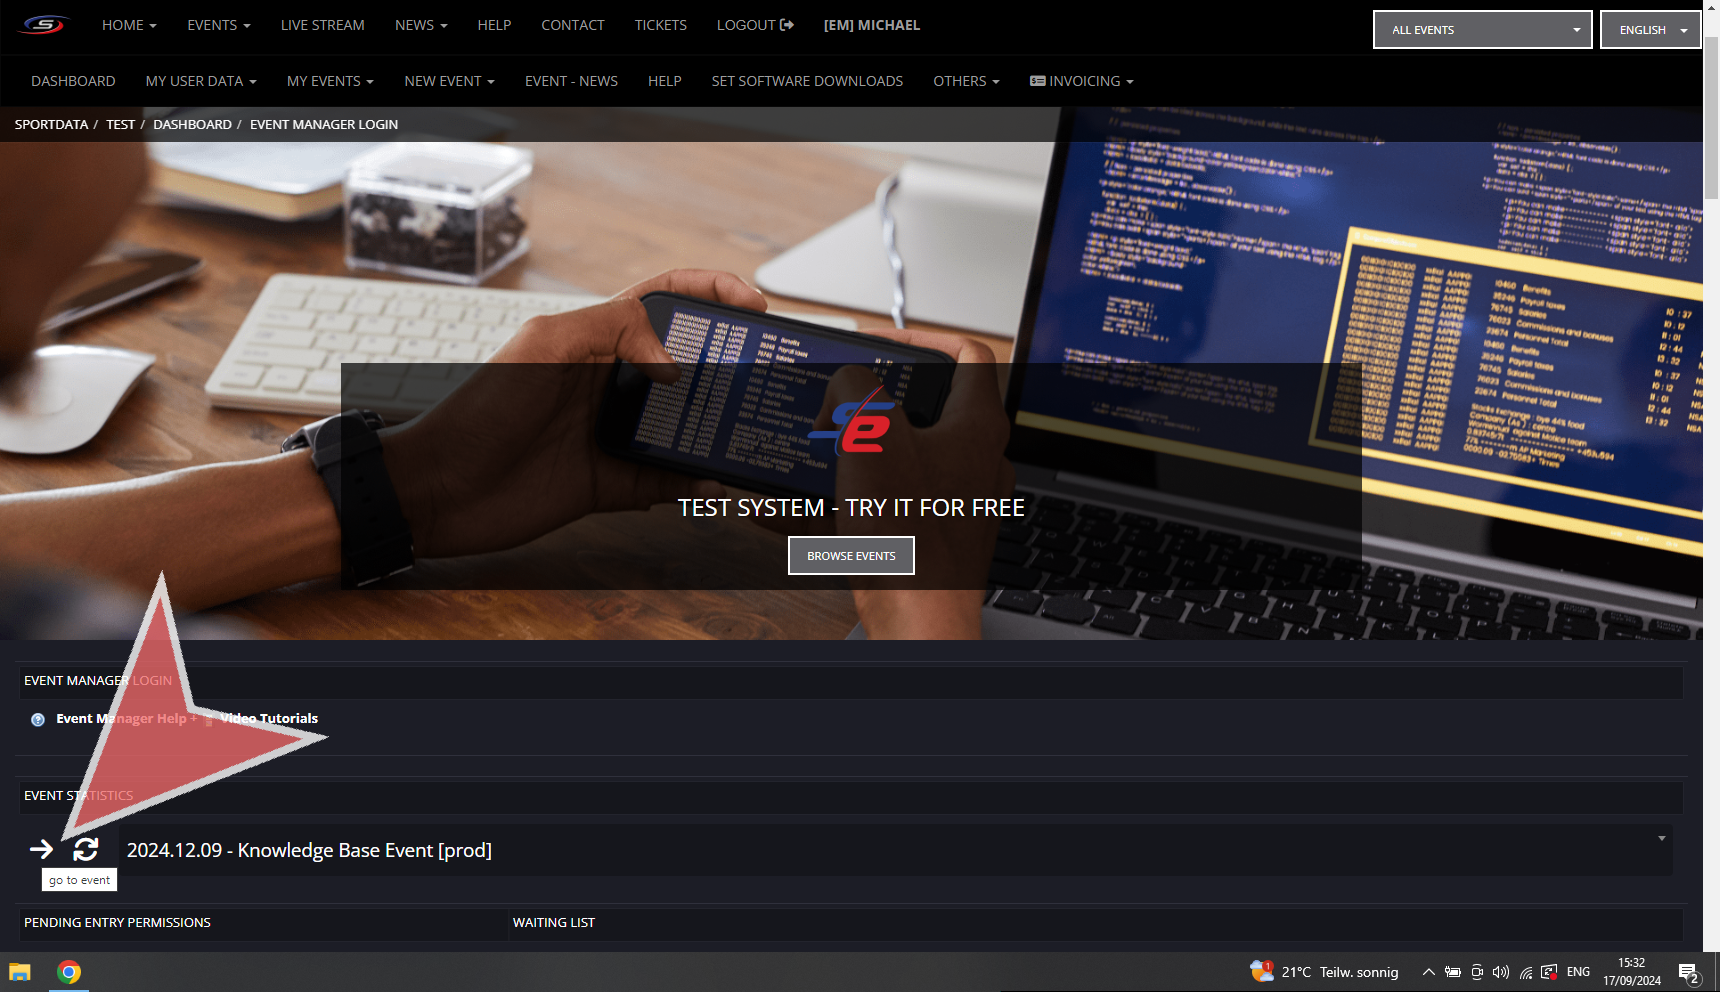
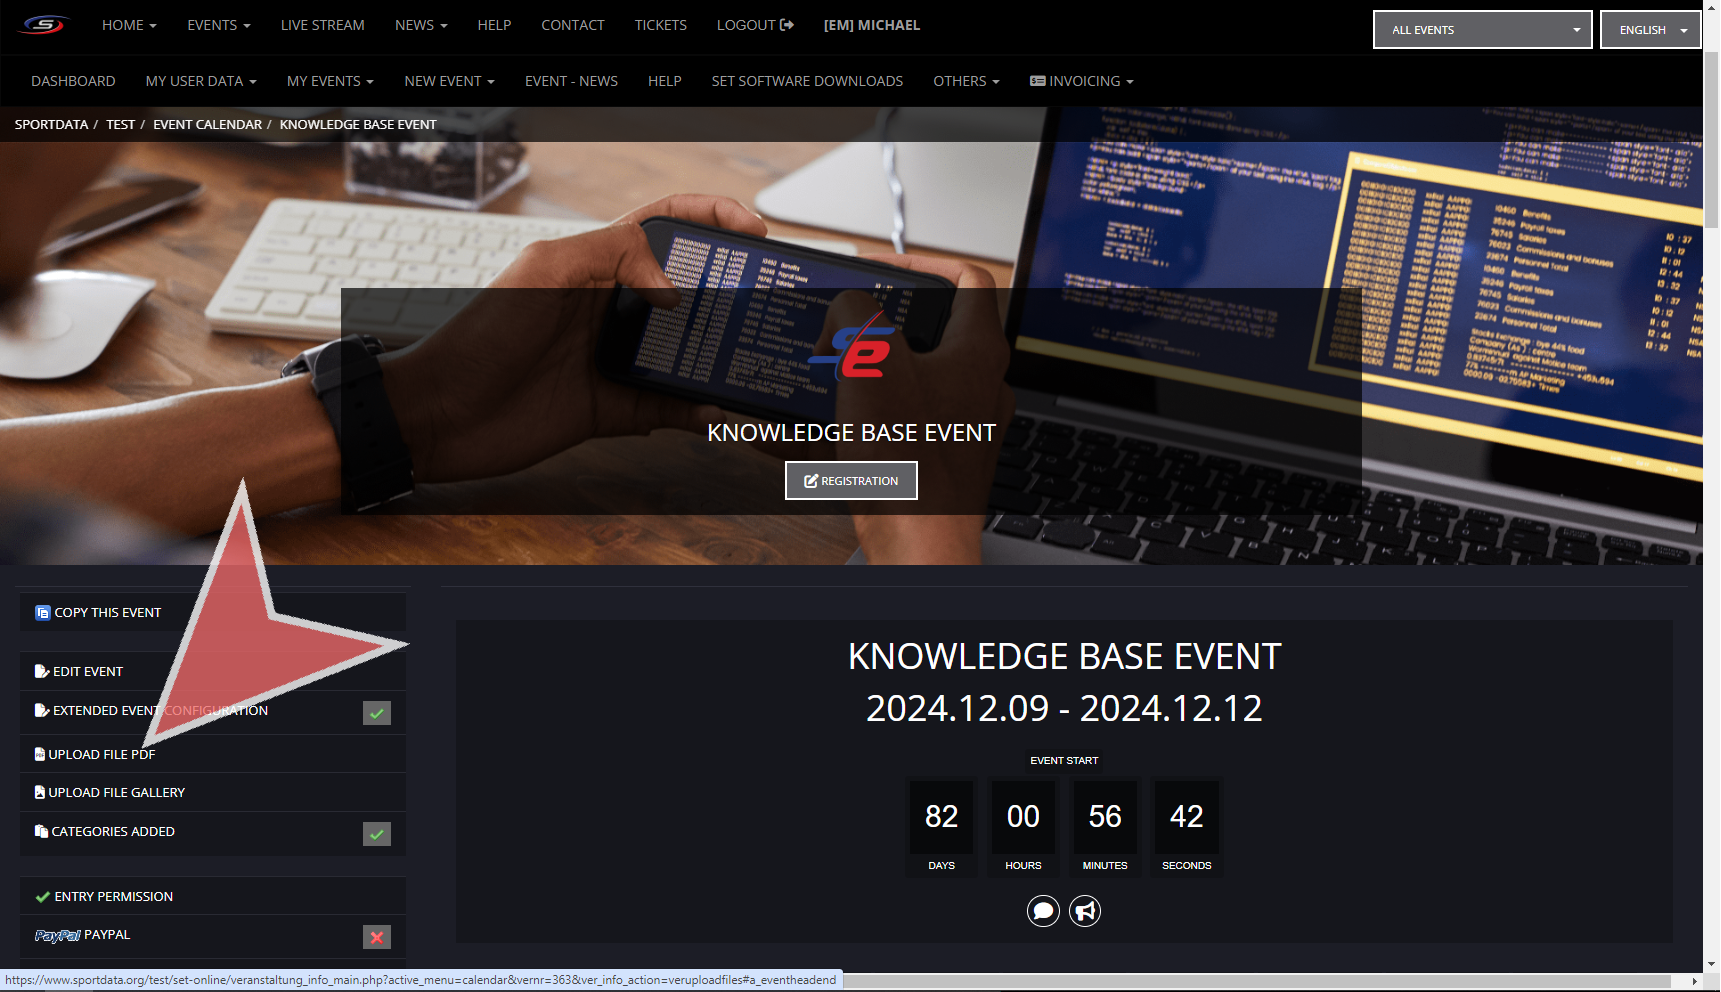
After logging in to your event manager account, select your event and click on the arrow button
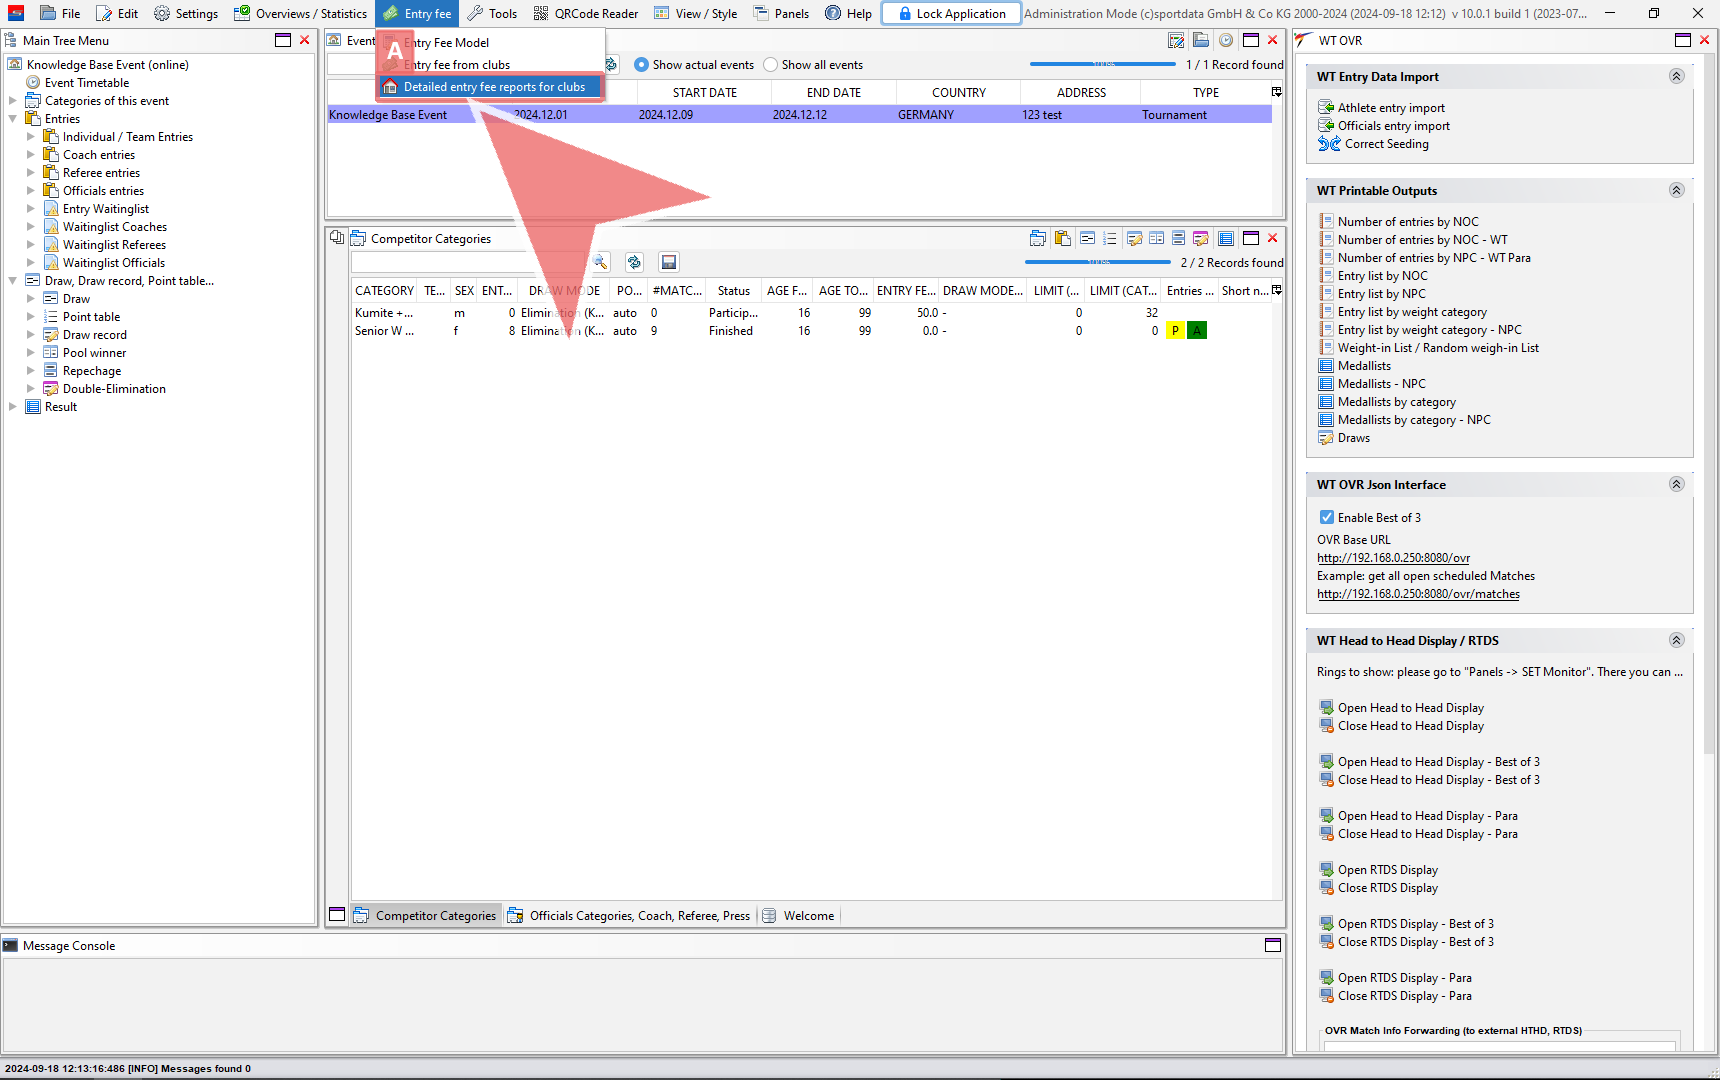
Upload File
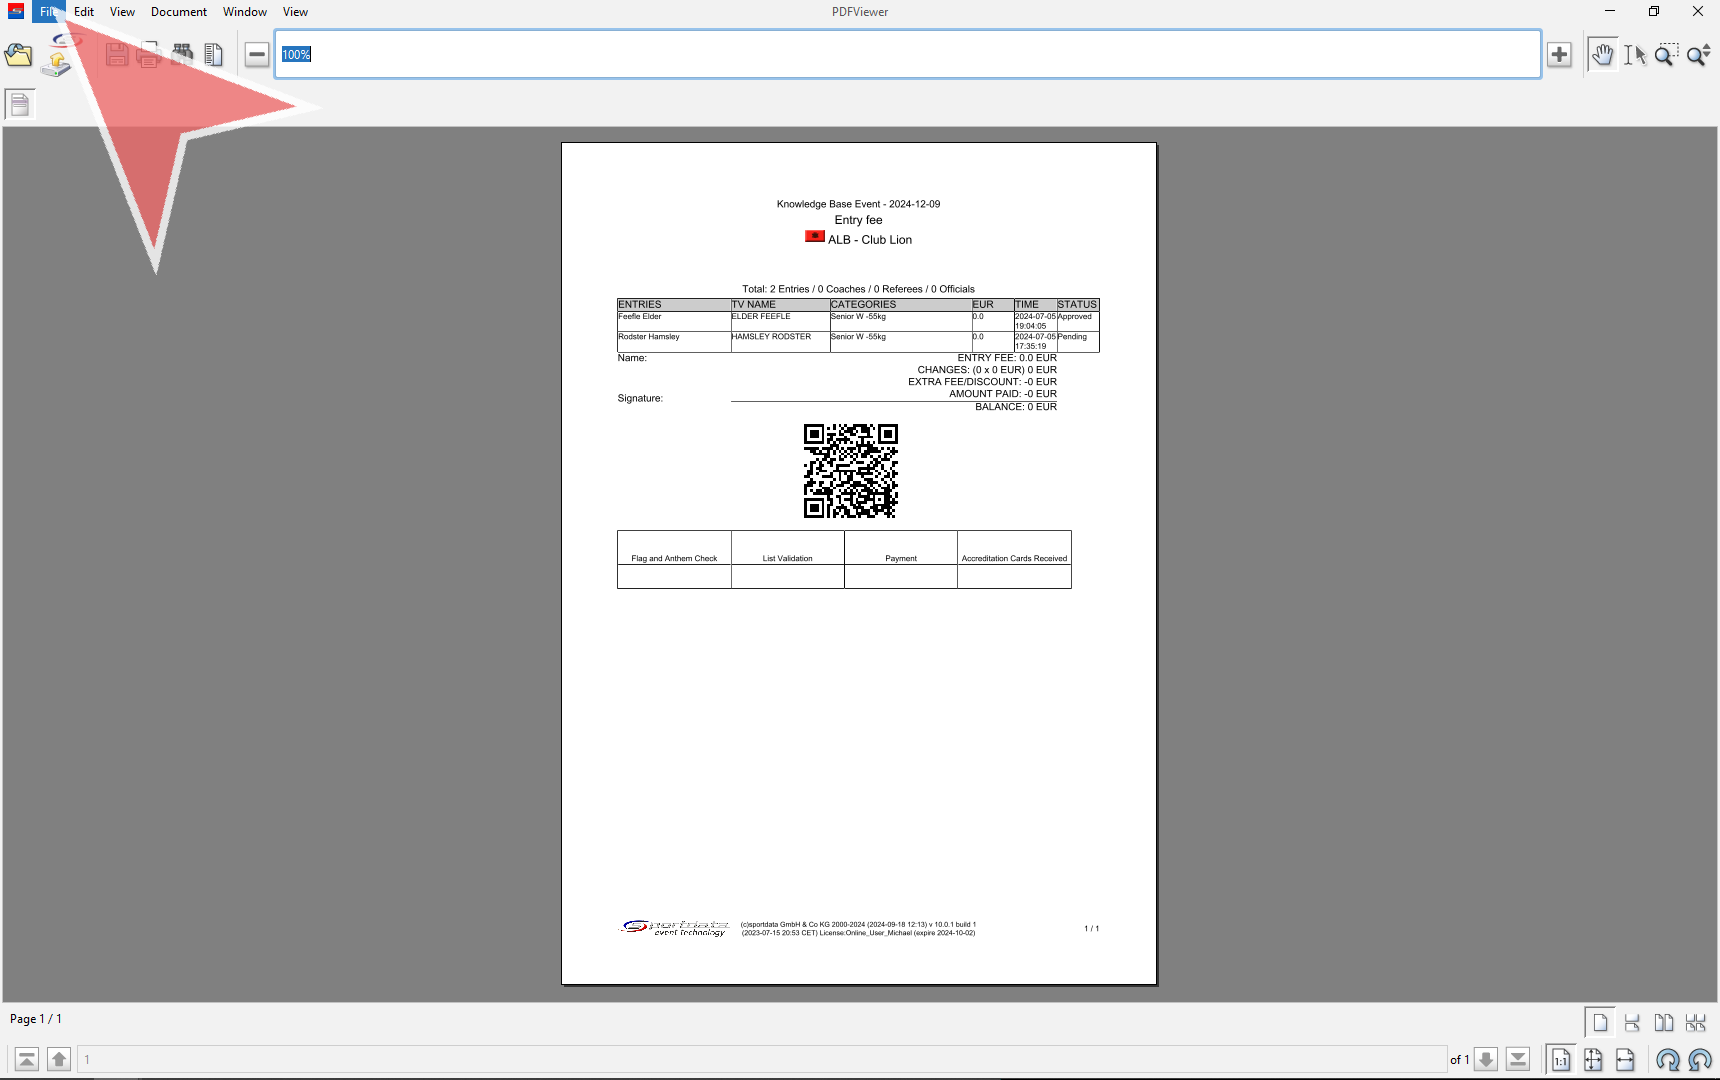
On the left hand side, you will find the event page settings. Click on the “UPLOAD FILE PDF” button.
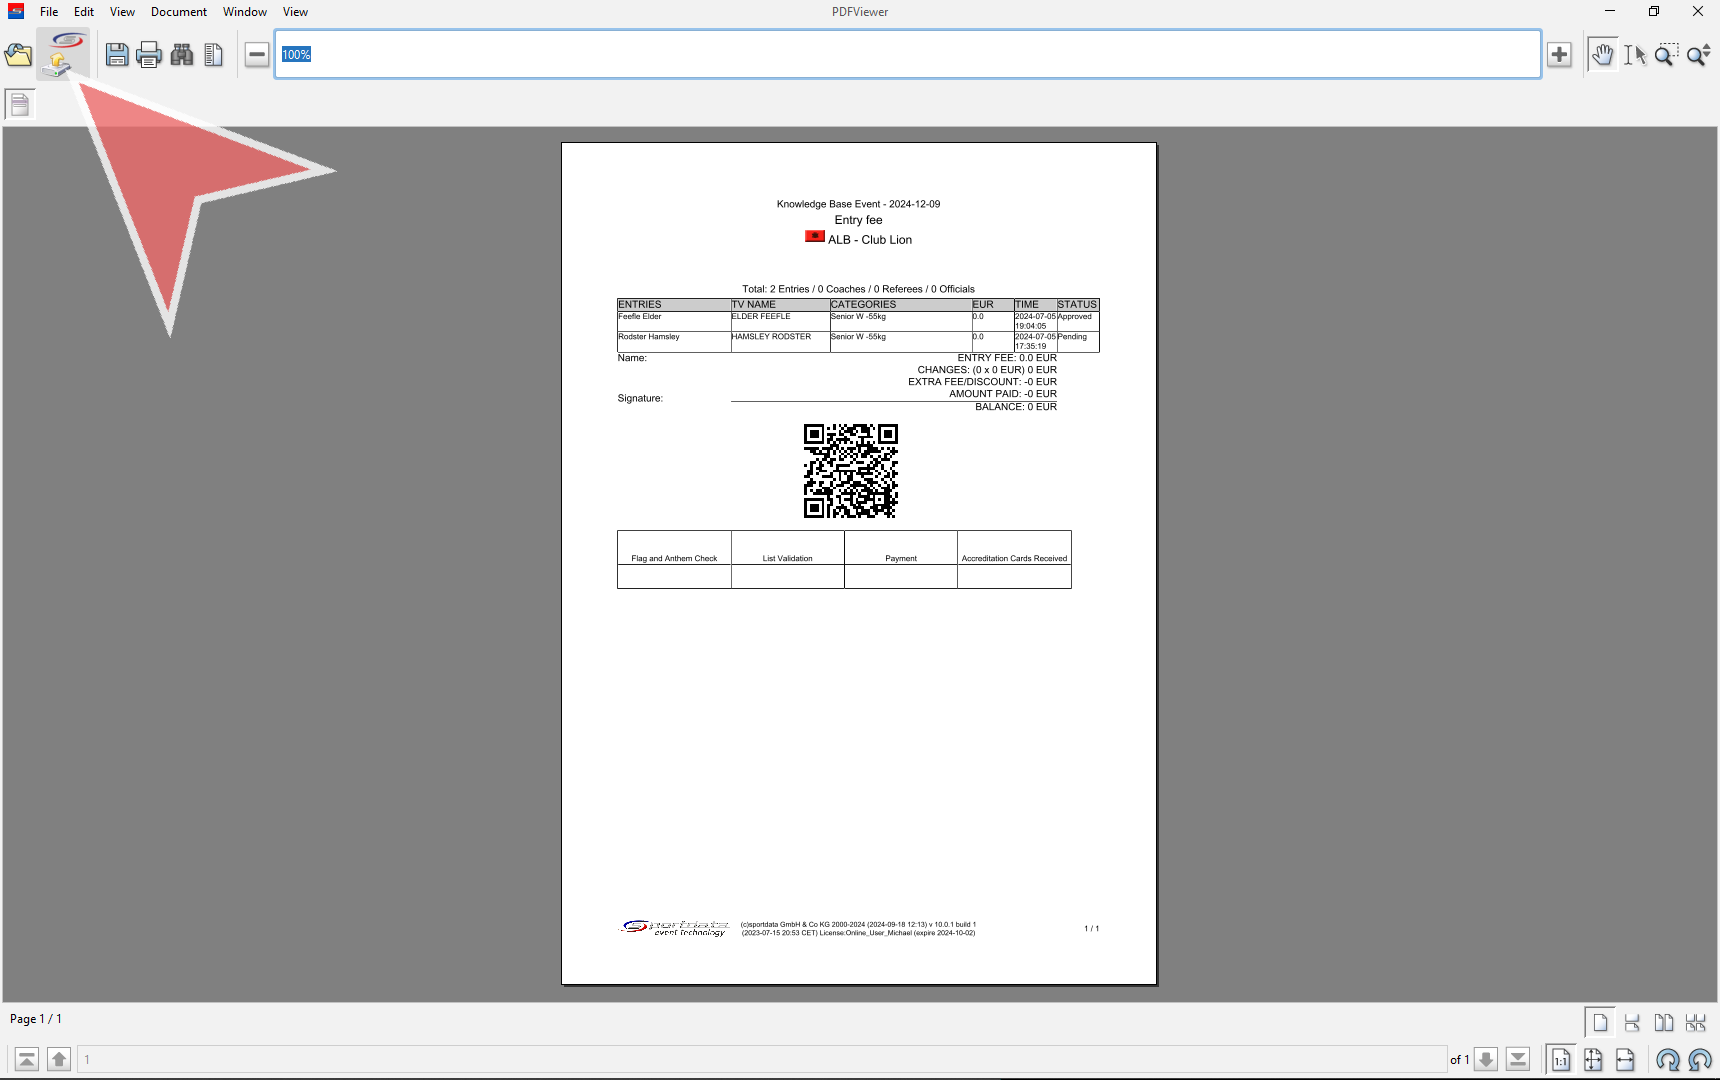
Click on the “UPLOAD FILE” button.

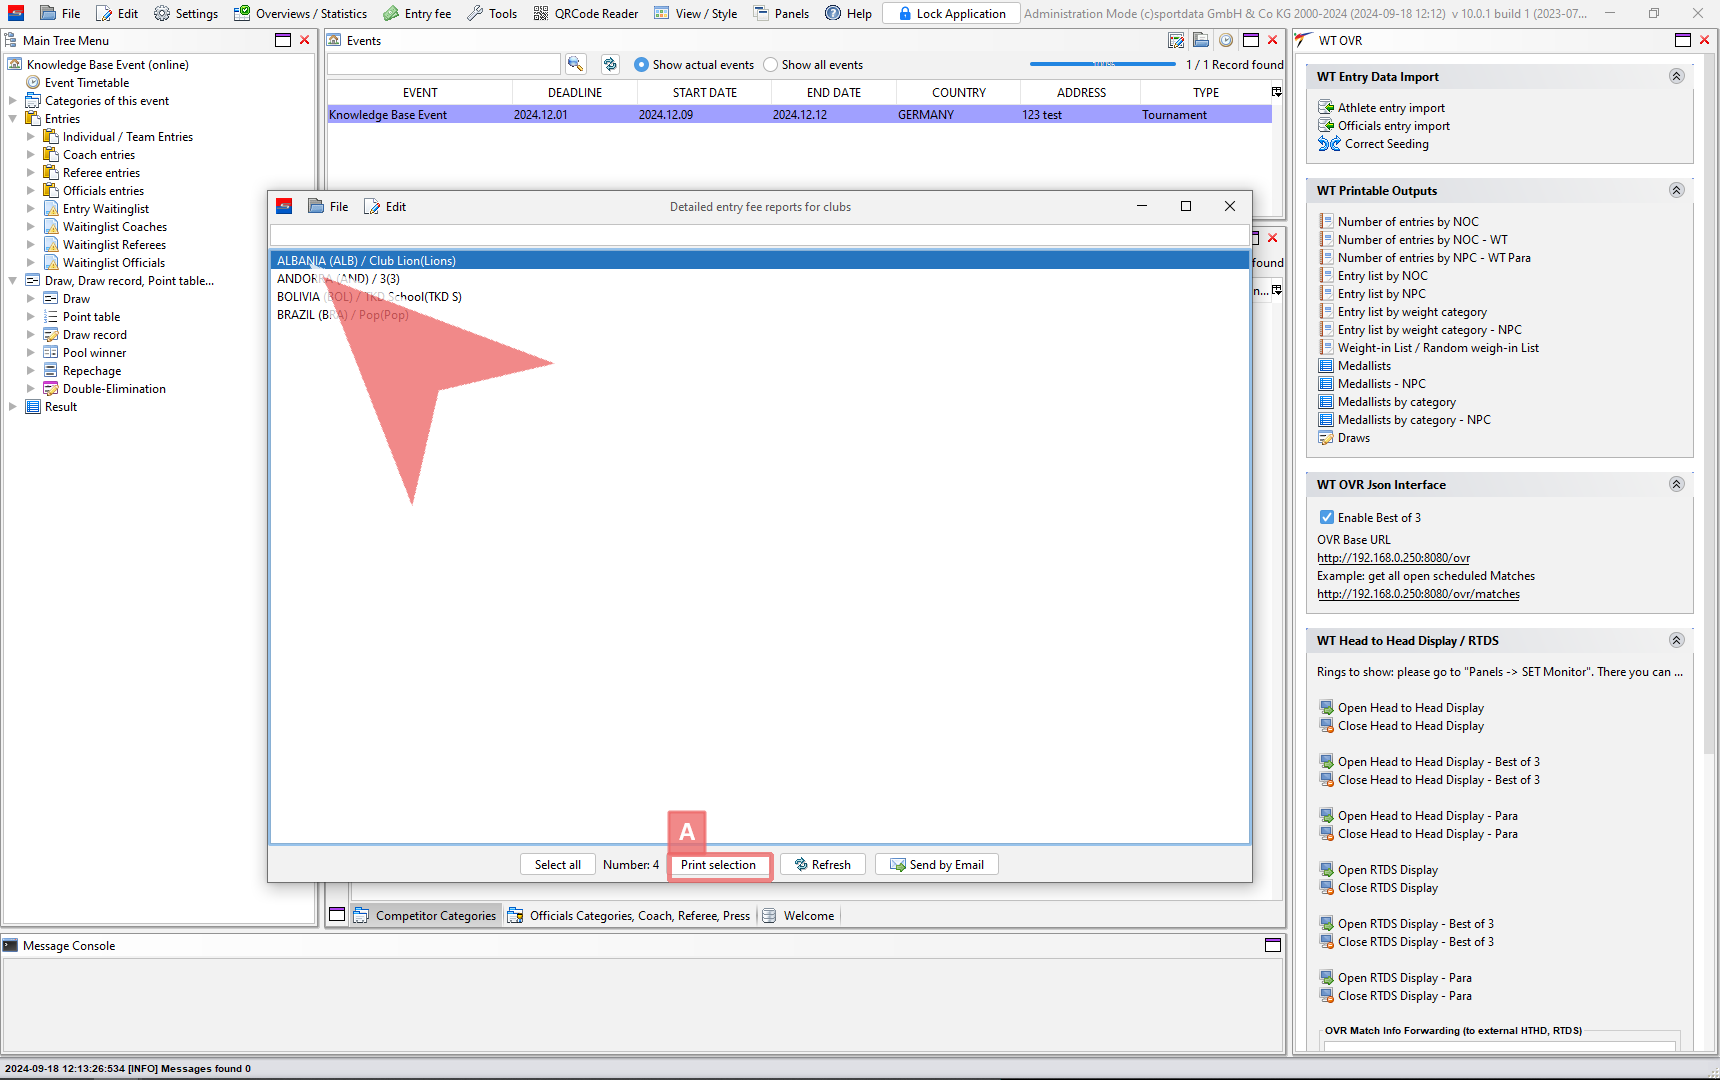
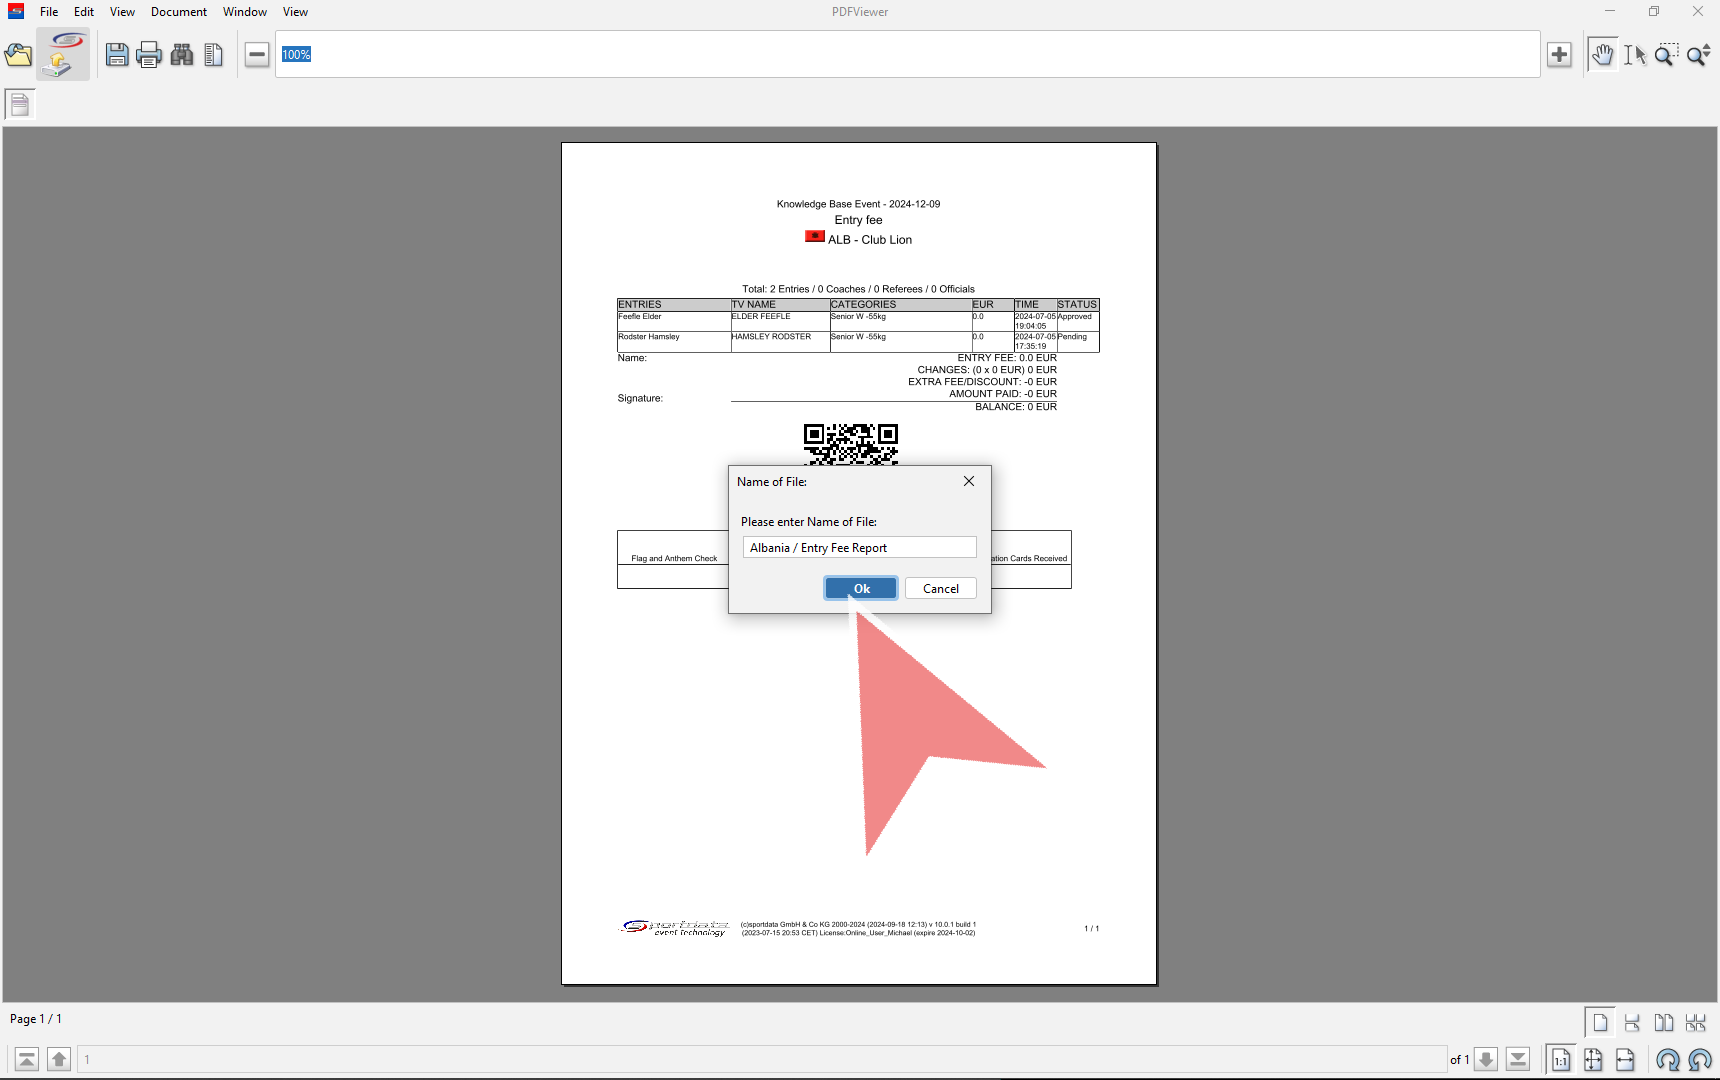
Give the file a name and either upload a file by clicking choose a file or enter a URL link. Afterwards, click submit to upload the file to the document page of the event page.

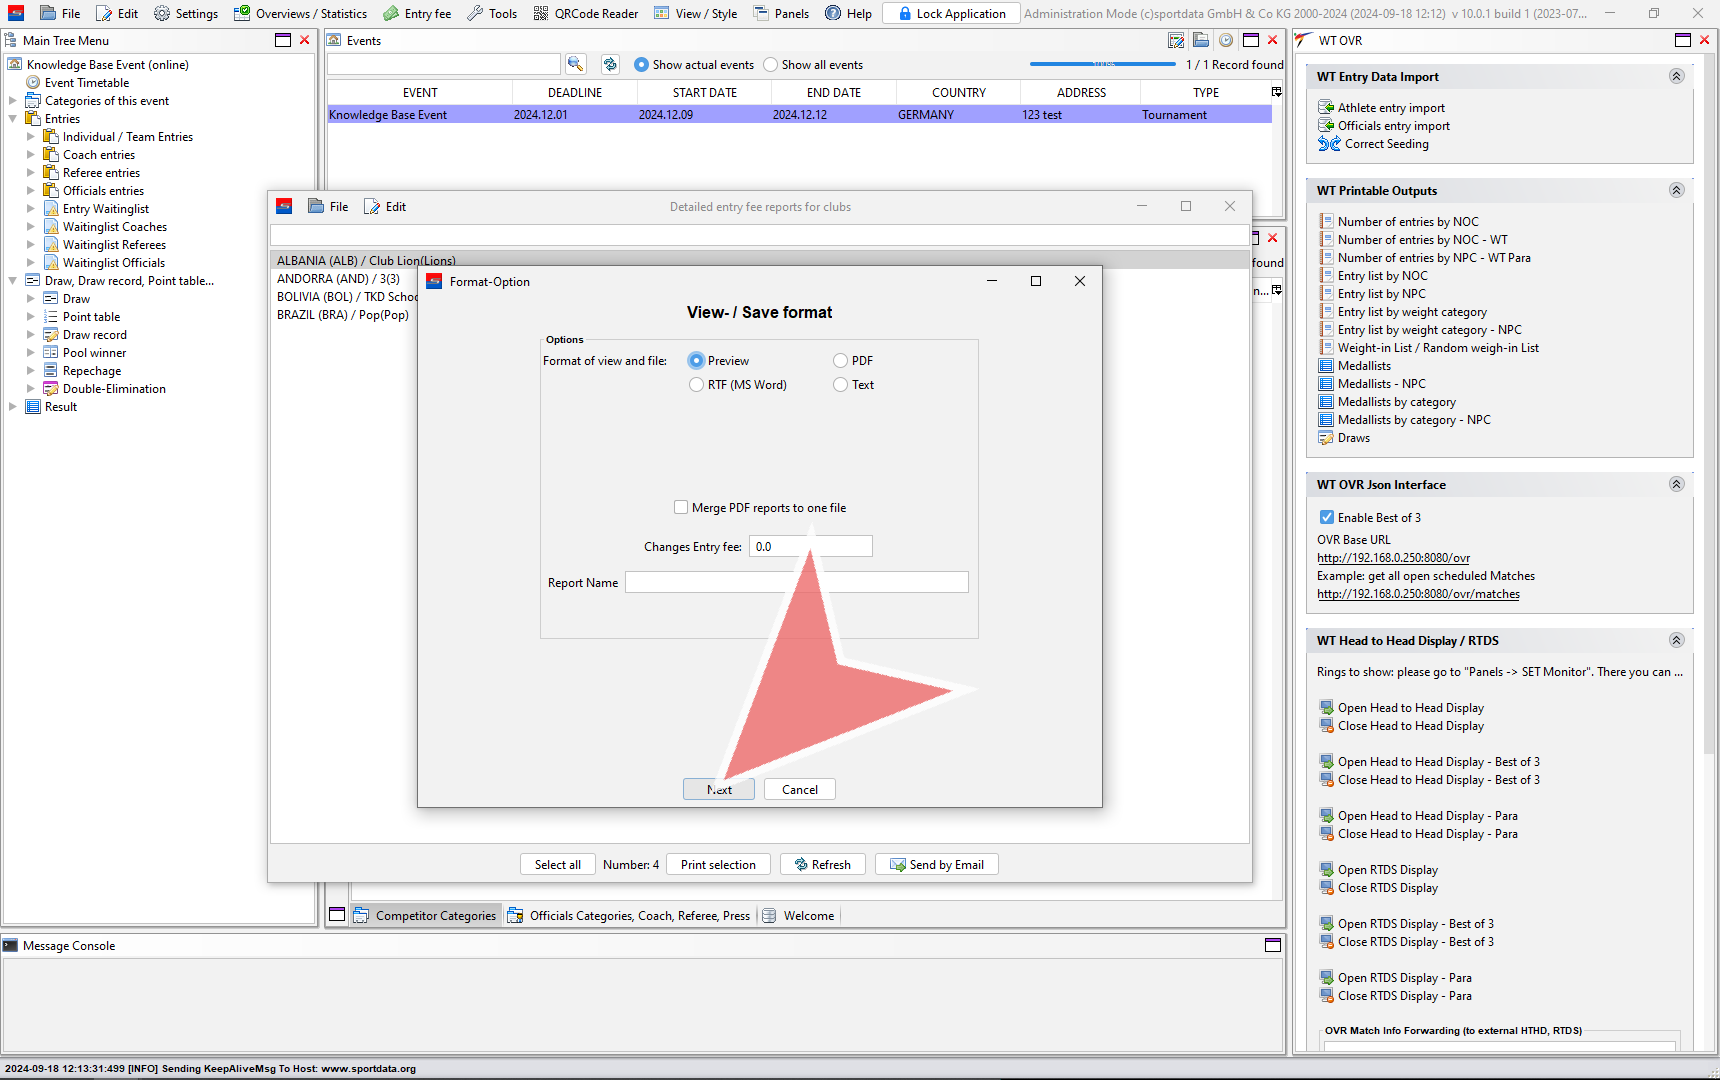
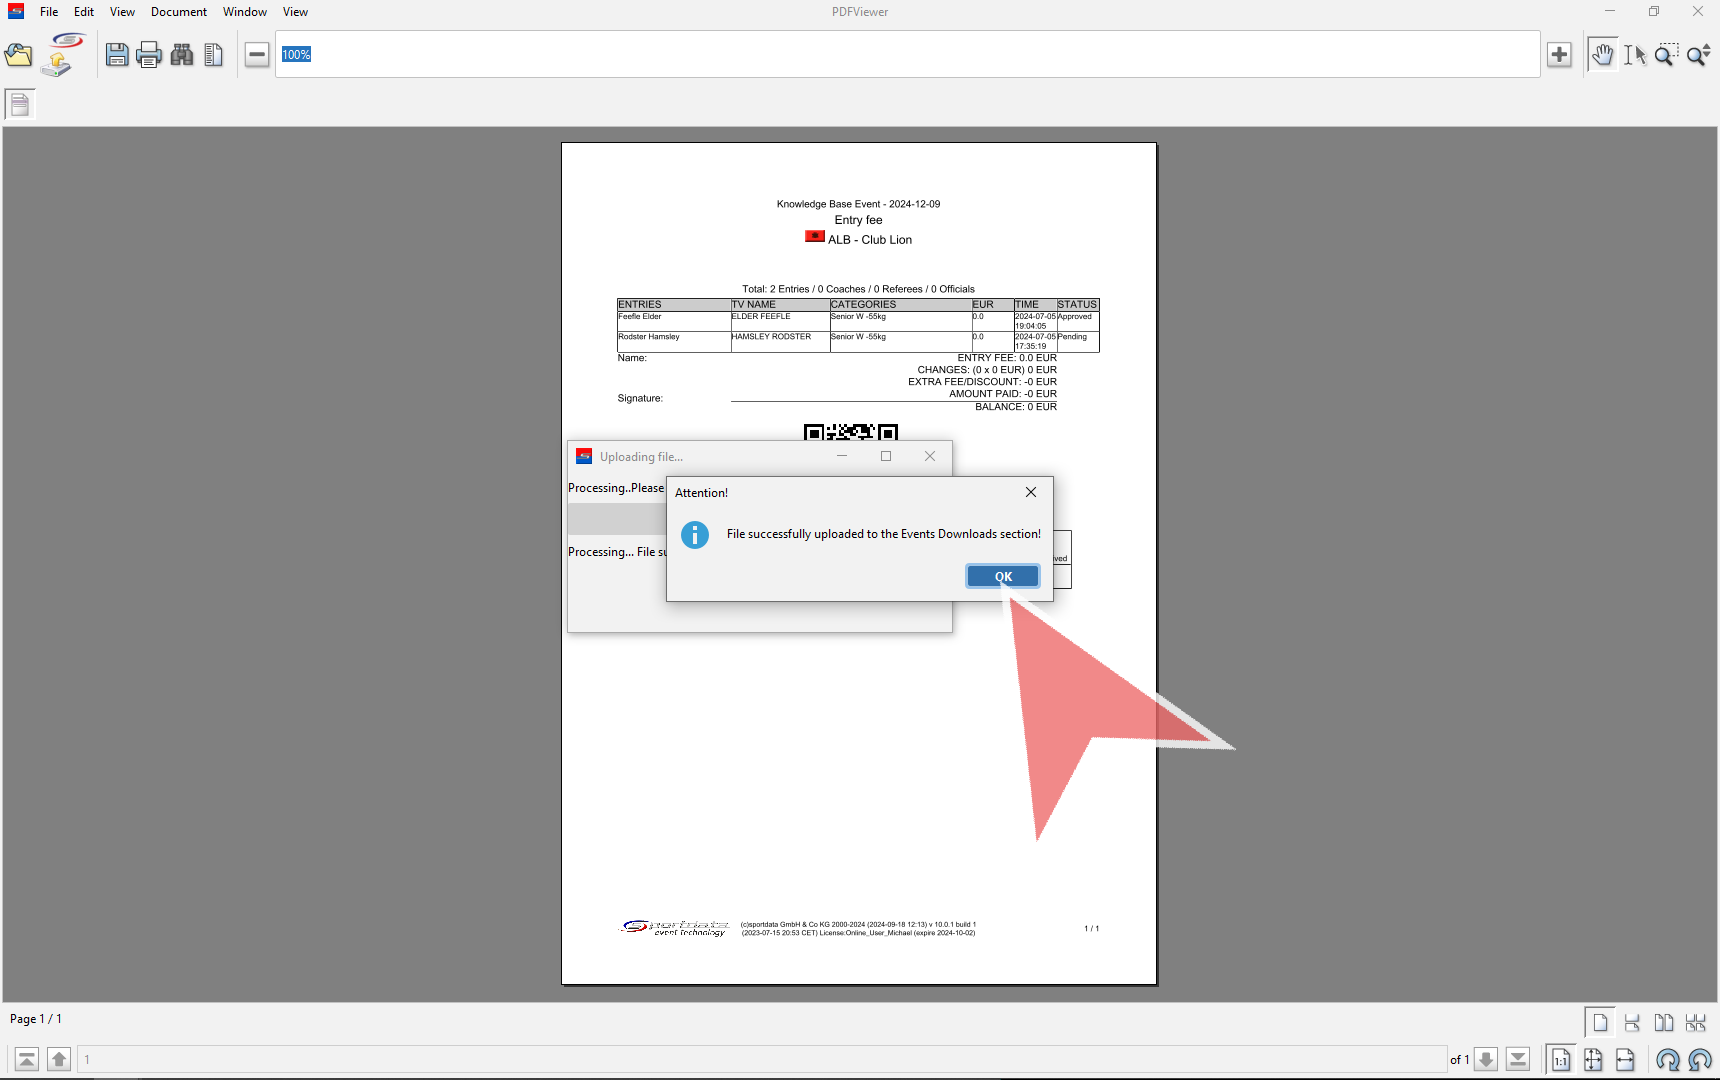
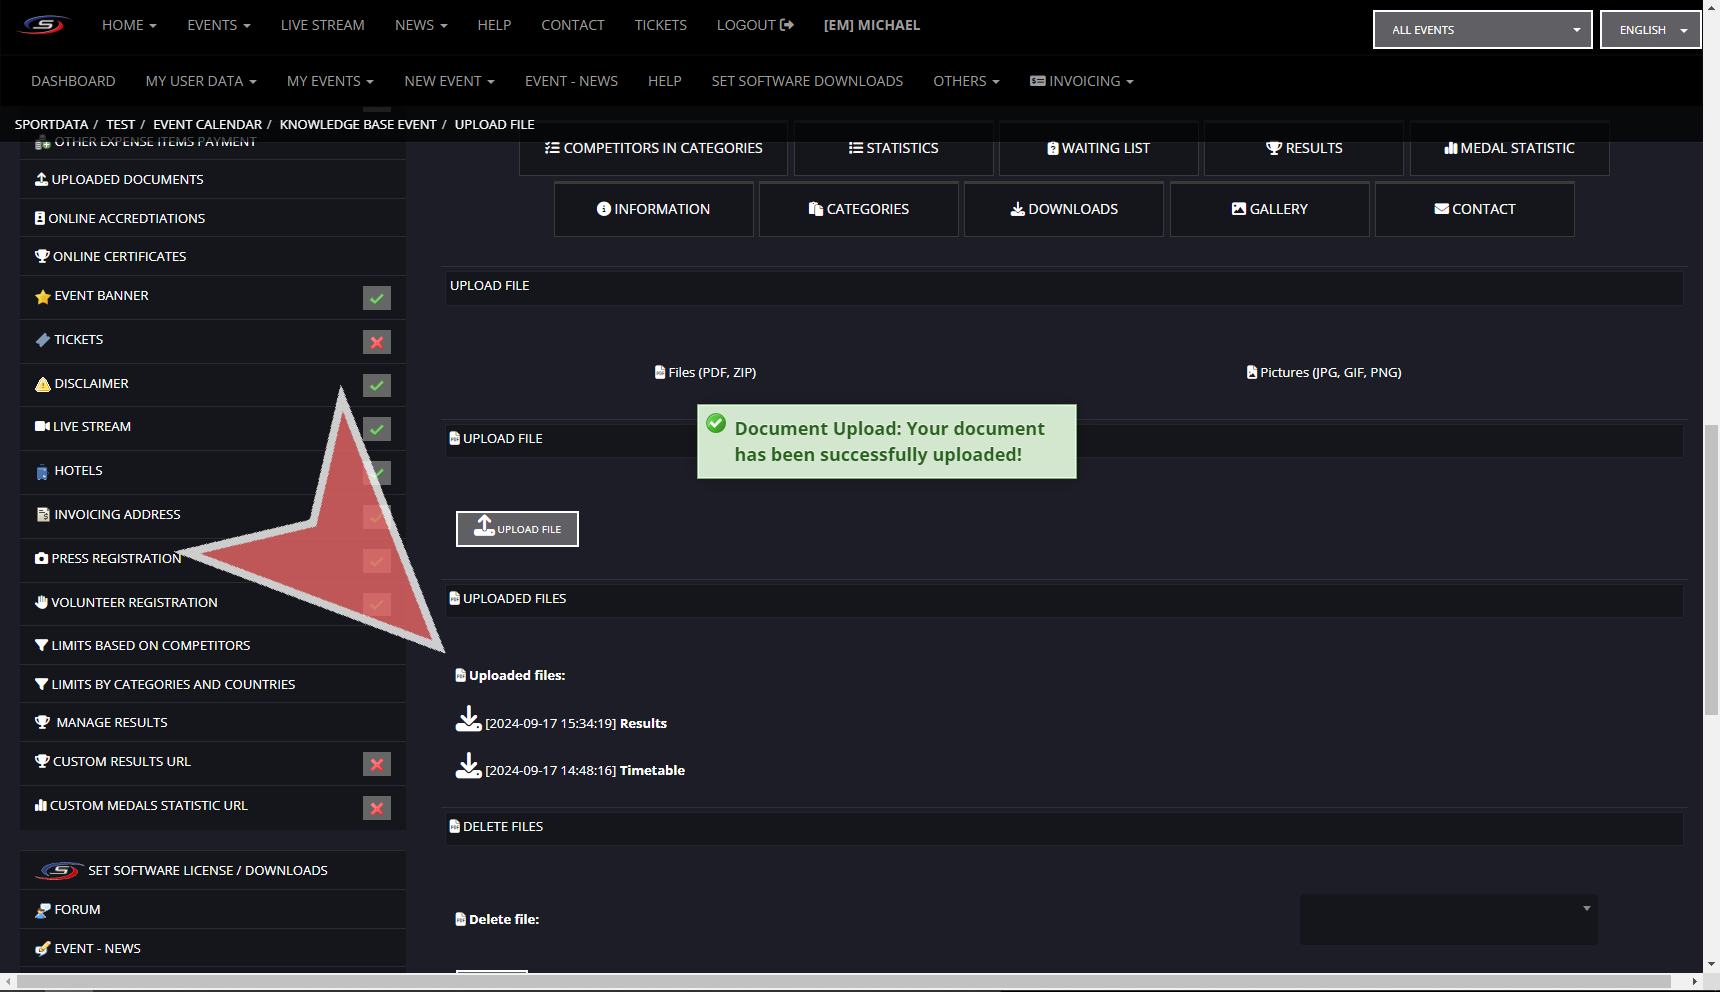
Confirmation will appear after completion and you can now see it under the uploaded files section.
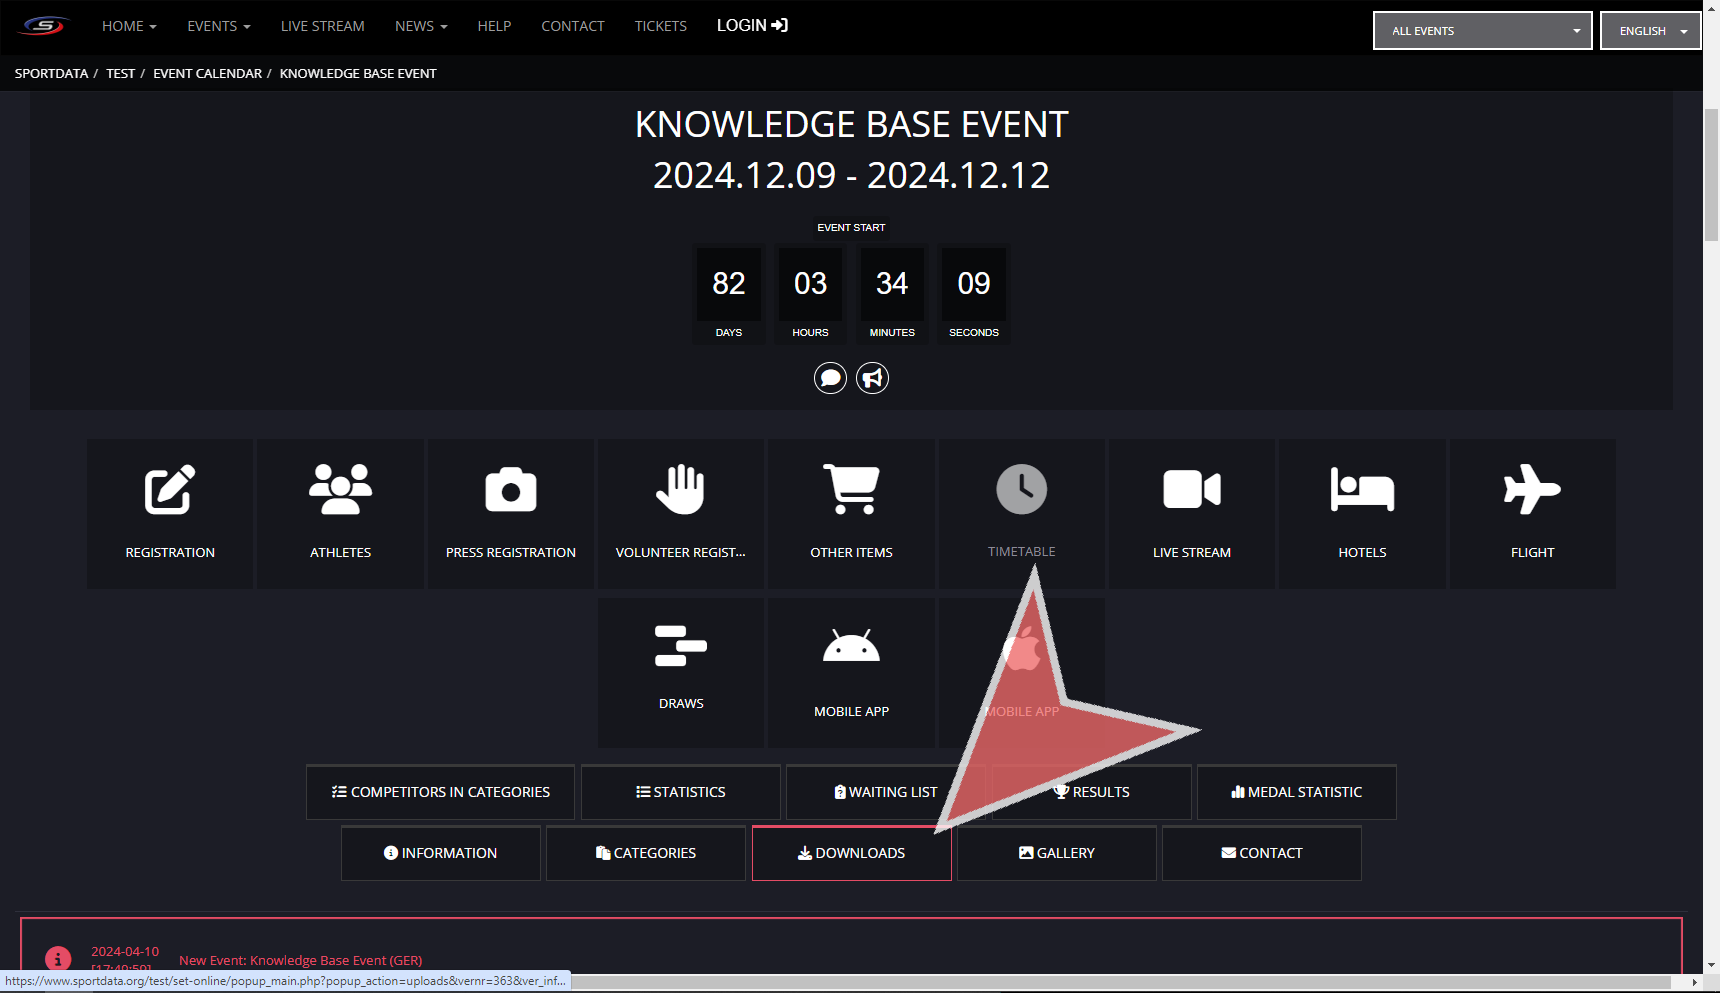
To see the document as seen on your event page, you can click on the “DOWNLOADS” button.
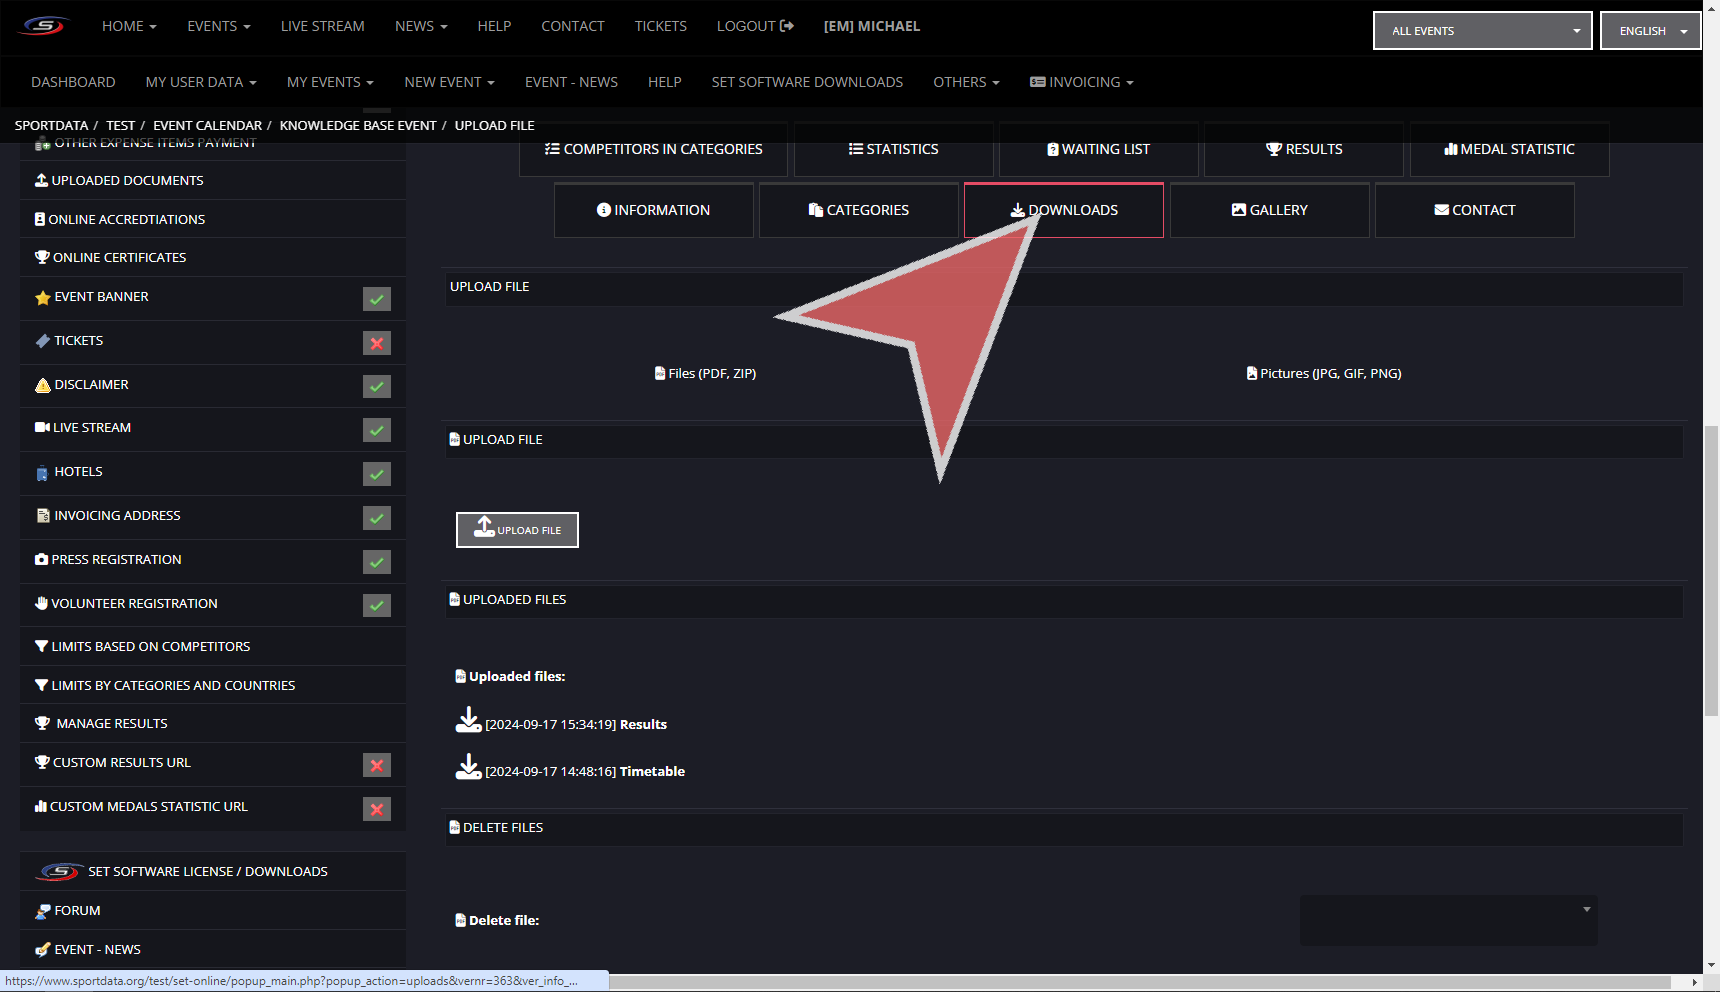
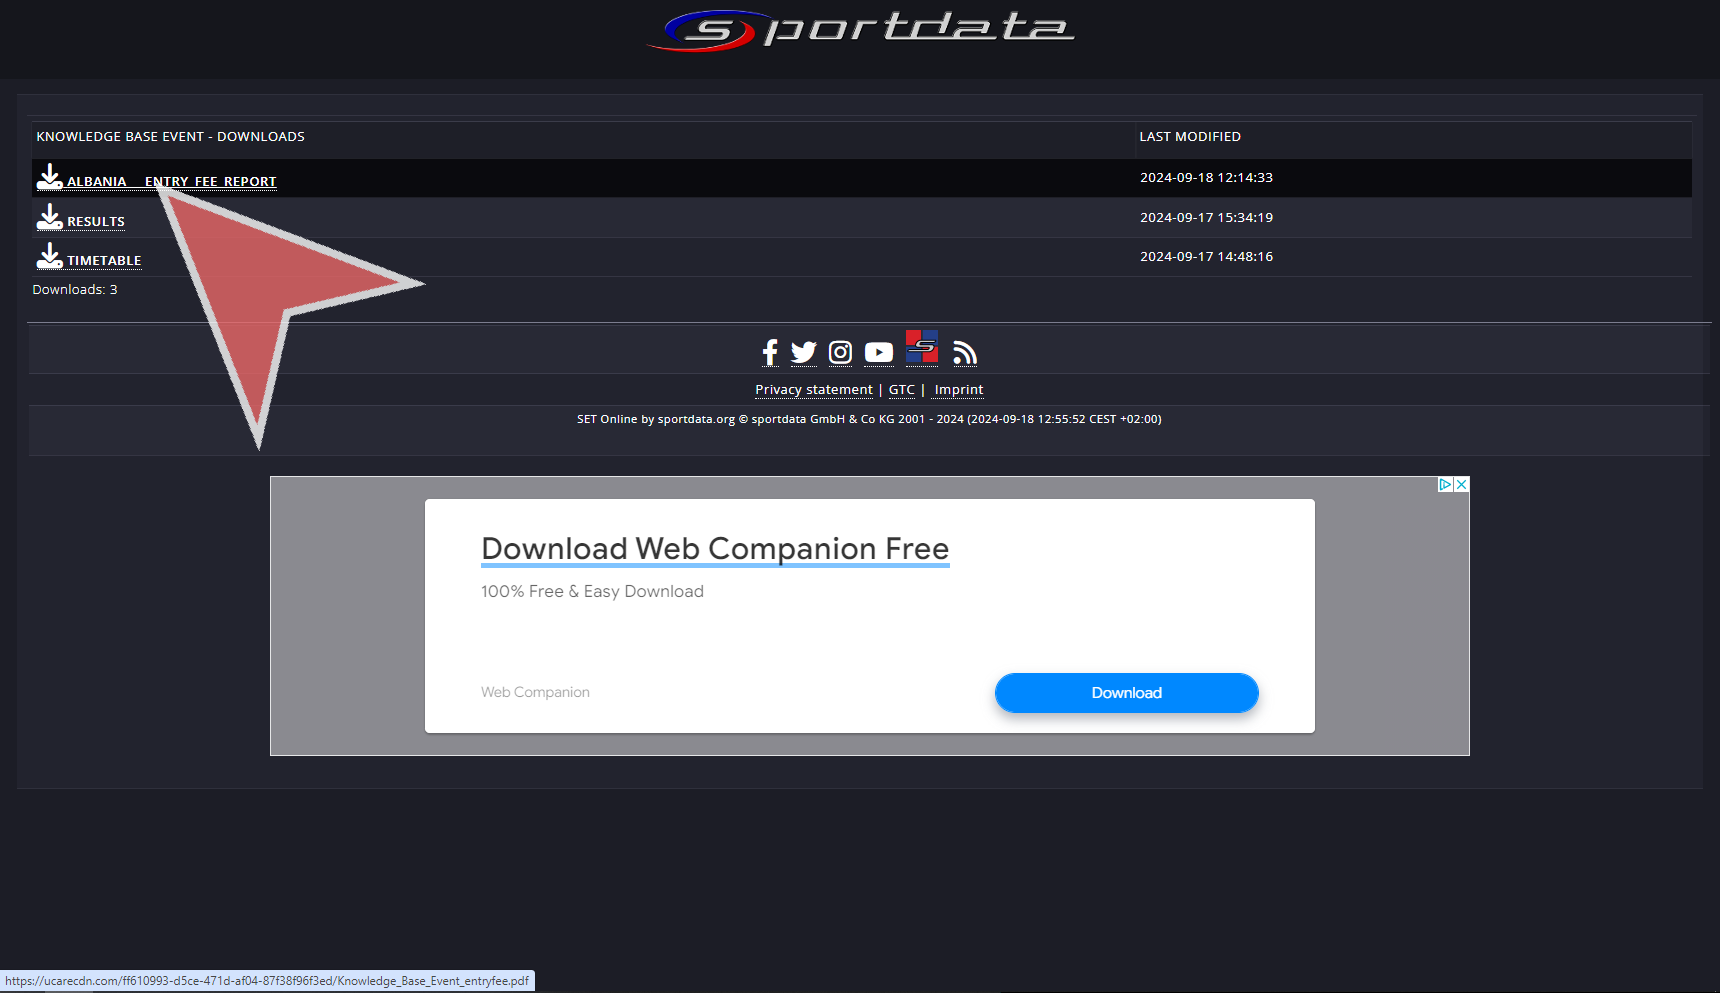
Click on the document to see what you have just uploaded.