Create an account for clubs & teams

Interactive Demo

How to create an account for clubs & teams

Click on the “LOGIN” button.

On the website, click on the option to create a new account under your individual/team/fed. login.

Select the account type club/team/federation/organization, and complete the form, making sure to remember the username and password because they will be used for both the event platform and SET OVR.

Press save to create the account.

You will see the confirmation that your account has been created successfully. Next, you will receive an email where you will activate your account.

You will see your username, and the link for you to activate your account. Click it.

The activation confirmation will appear in green, and if the account has already been activated it will appear it red.

Add your username, and password you used during the creation of your account and click login.

You have now arrived in the main dashboard of your account, where you can see your registration data, and events.

Manually Changing Results

This article explains how to adjust the final results manually in situations where corrections are necessary i.e. protests.

Interactive Demo

How to change results manually.

After a category is finished in SET, save the results in the draw record. You will notice an increase in the number of results on the main tree menu. To see which categories have been completed, click on results.

To make changes to a category, right click on it and select the edit option.

If you want to change the order, click the drop down arrow to view the available options.

Choose an athlete from the list.

Save the changes by clicking on the save button.

If you want to overwrite the previous results, click yes.

Here you can view the results of other categories.

To edit the results of another category, double click on that category.

Add names to their places.

from here you can also produce the results sheet by going to the file tab, hovering over show results, and clicking on results.

Click on the format-option button.

Click on the format-option button.

Finally, you can choose to print, save or upload to your event page online.

View Results by Selection

Interactive Demo

How to view results by selection

Go to the panels, and select the analysis option.

To see all available results, click the results button.

Choose between All, no award ceremony hold, or award ceremony hold, and click next.

Select the viewing option, write the report name, and click next.

You can save, print or send it to the download section of your event page.

To select specific categories, click on results by selection.

Select multiple categories, by pressing the shift button and moving the arrow button, then double click.

Return to the “Format Options” and click on it.

Select the “PDF Viewer” from the available options.

Operate the award ceremony manager

How to operate the award ceremony manager

In the Tools section, select the desired award ceremony.

Click the drop-down arrow to view the available categories.

Choose the categories you want to include.

Activate or deactivate the Show names, clubs, countries, and 4th place options as needed.

To present the medalists one by one, simply click on their respective places.

If you prefer to show all medalists at once, click on Show all.

Feel free to download the national anthems that you need from the anthem download manager.

You have the option to mark countries with results or individually select the country anthems.

Once you have marked the desired country anthems, click on the download button to start the download process.

Once the downloads are complete, you can click on the close button.

When you are ready, click on the play button to start playing the chosen anthem.

You can check the duration of the anthem to have an idea of how long it will play.

Matchcaller – Session Matchlist – Timetable

This article explains how to build the match caller, transfer the information to the SET DTM (Dynamic Time Manager) and generate session matchlist.

Interactive Demo

How to create the matchcaller

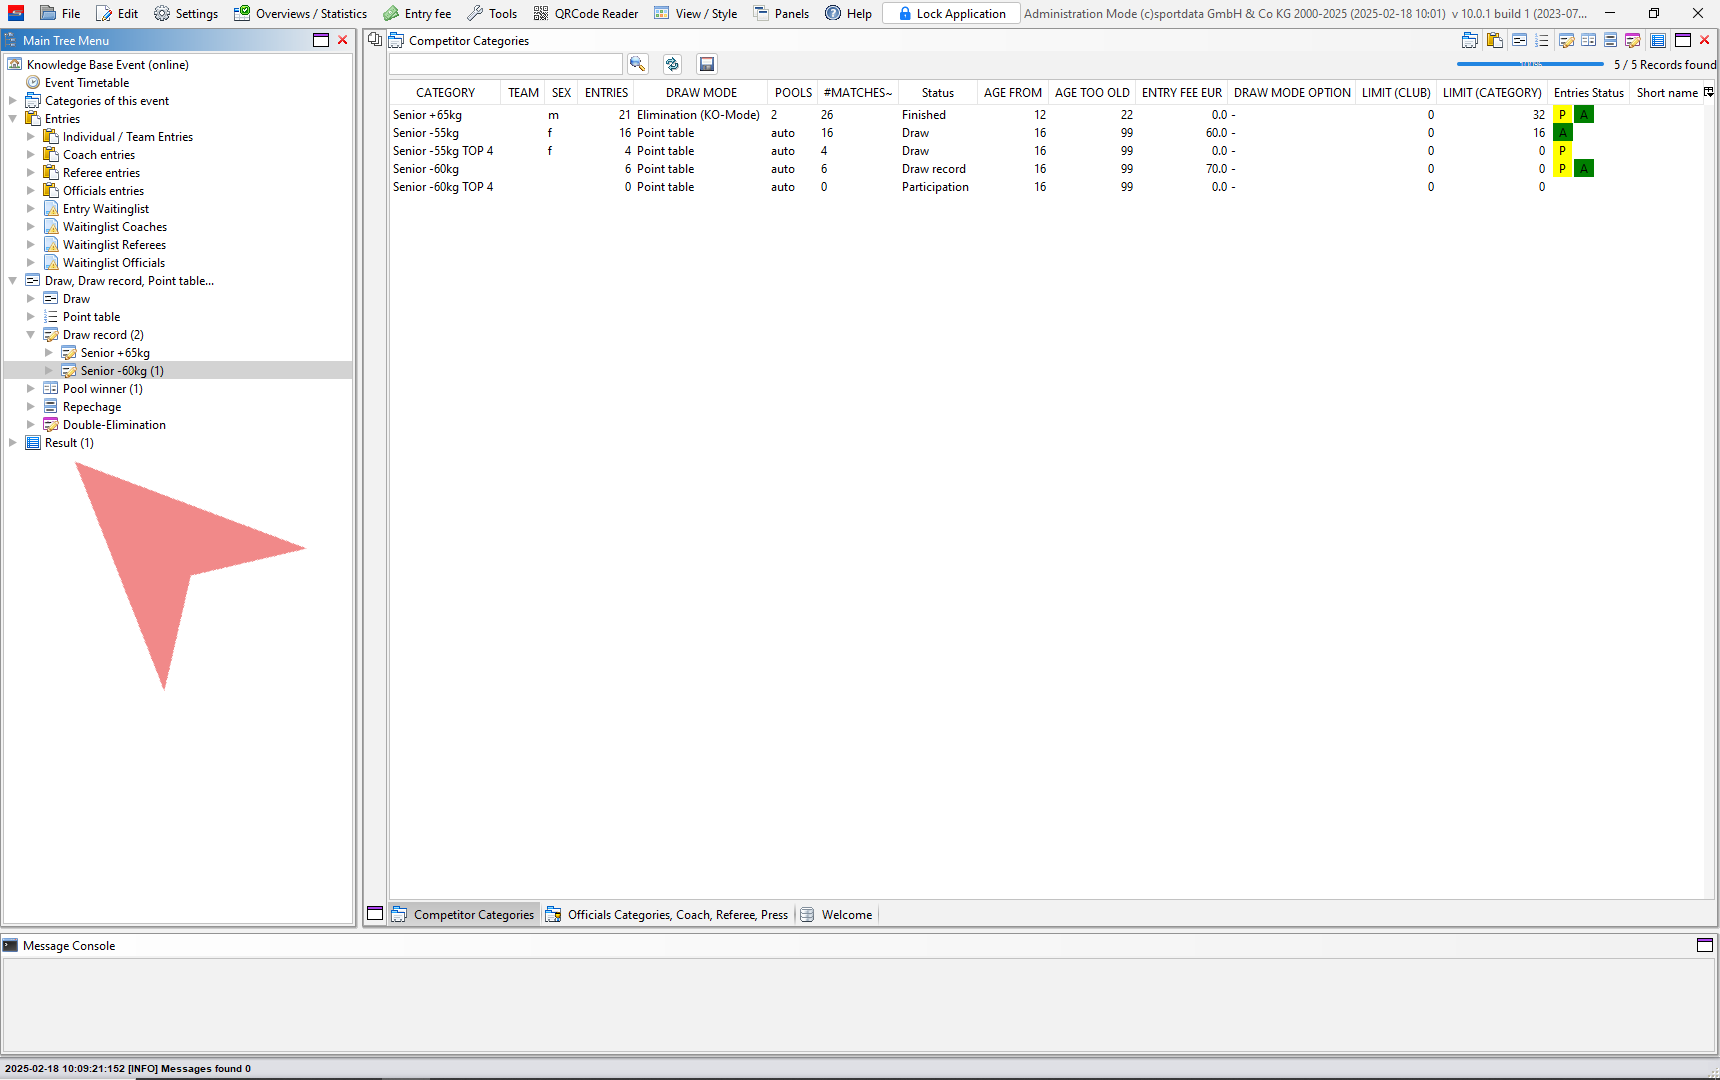
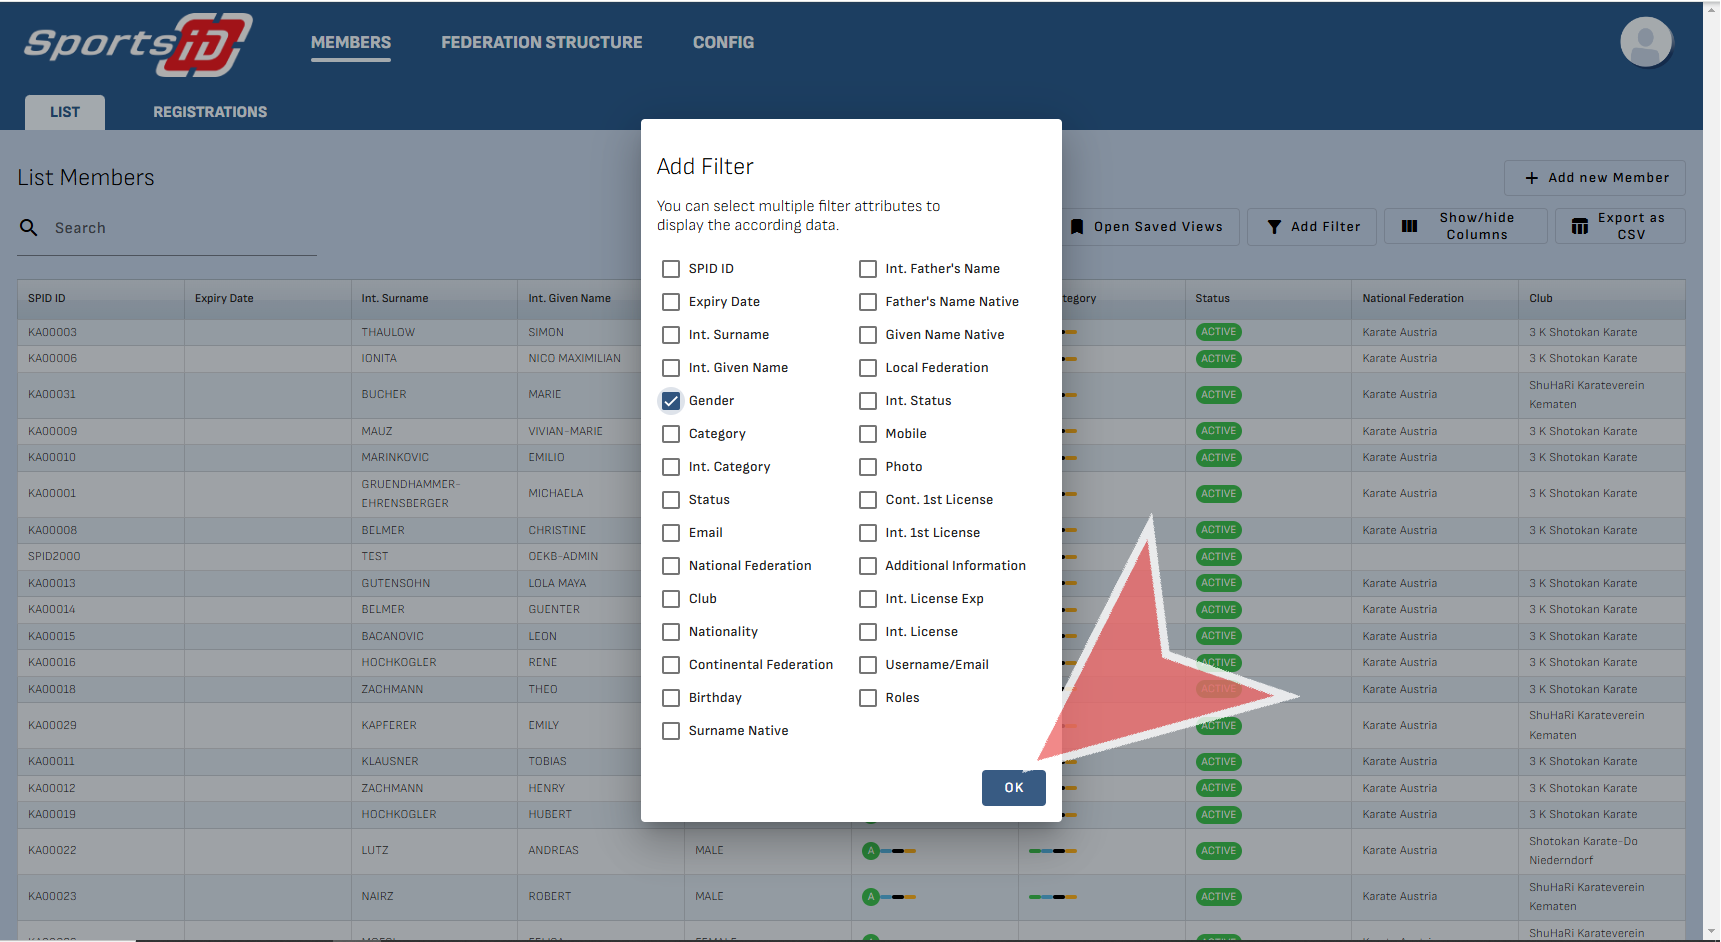
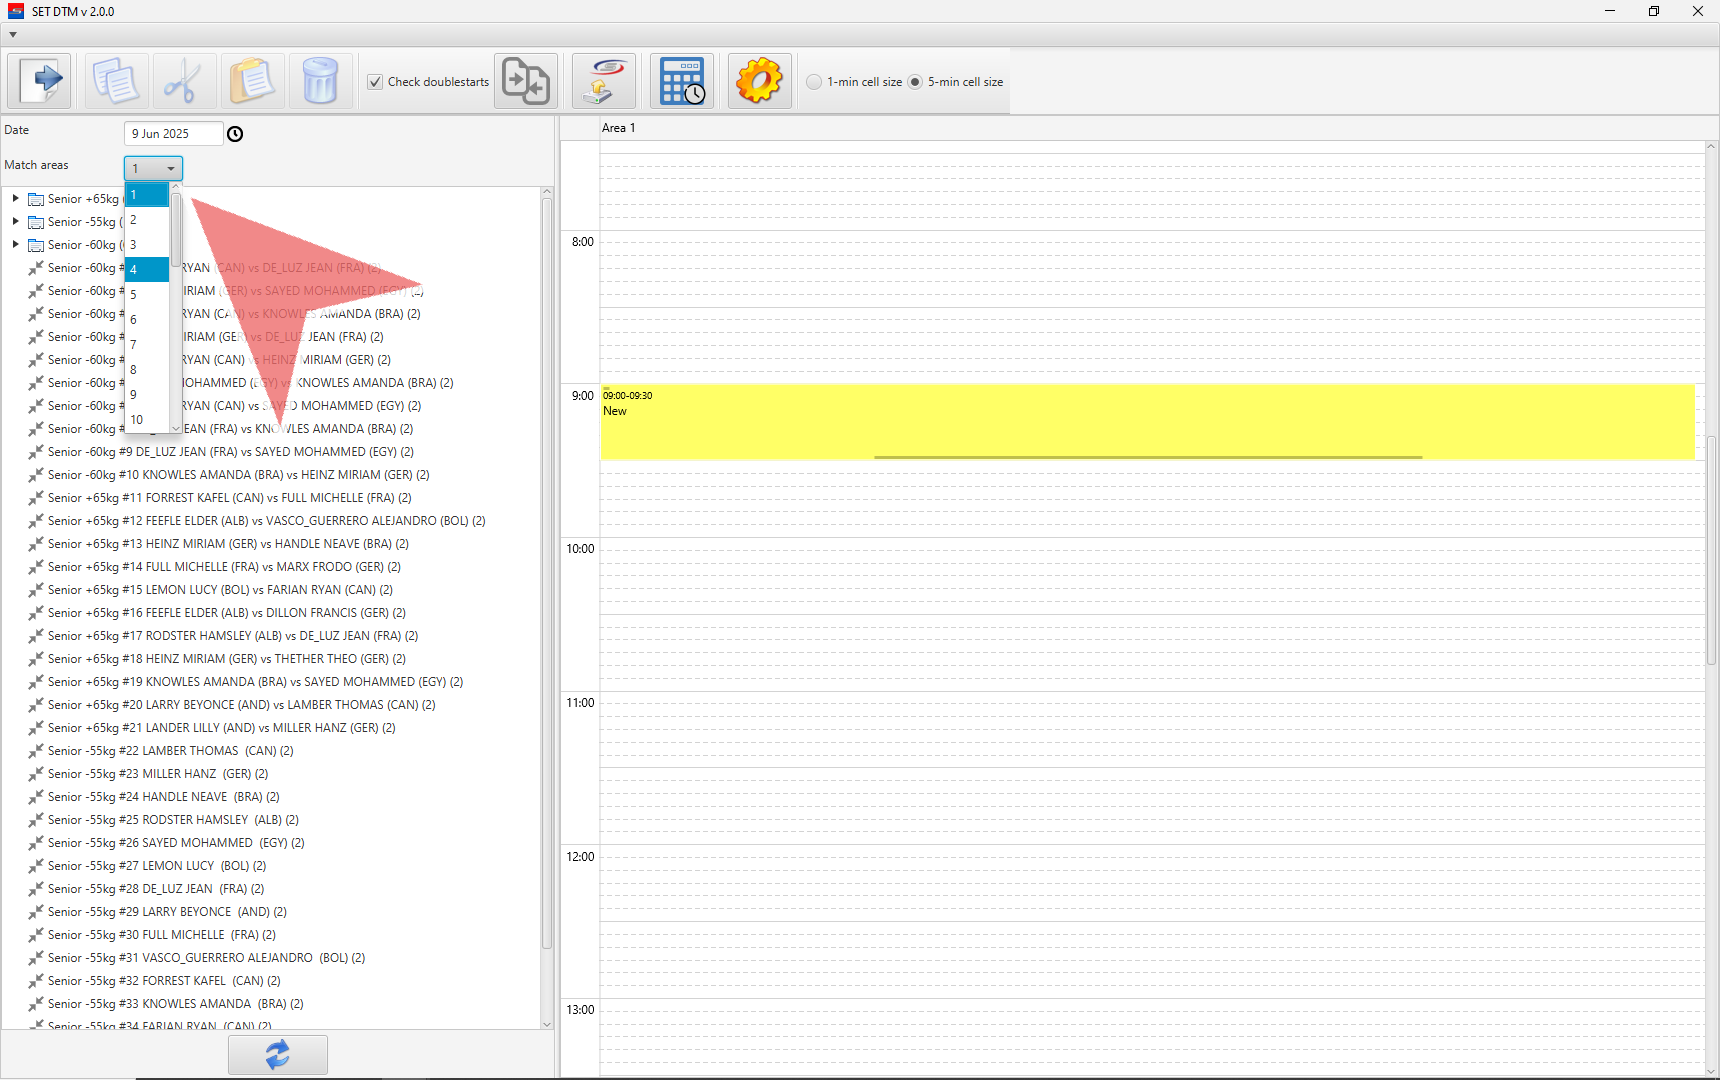
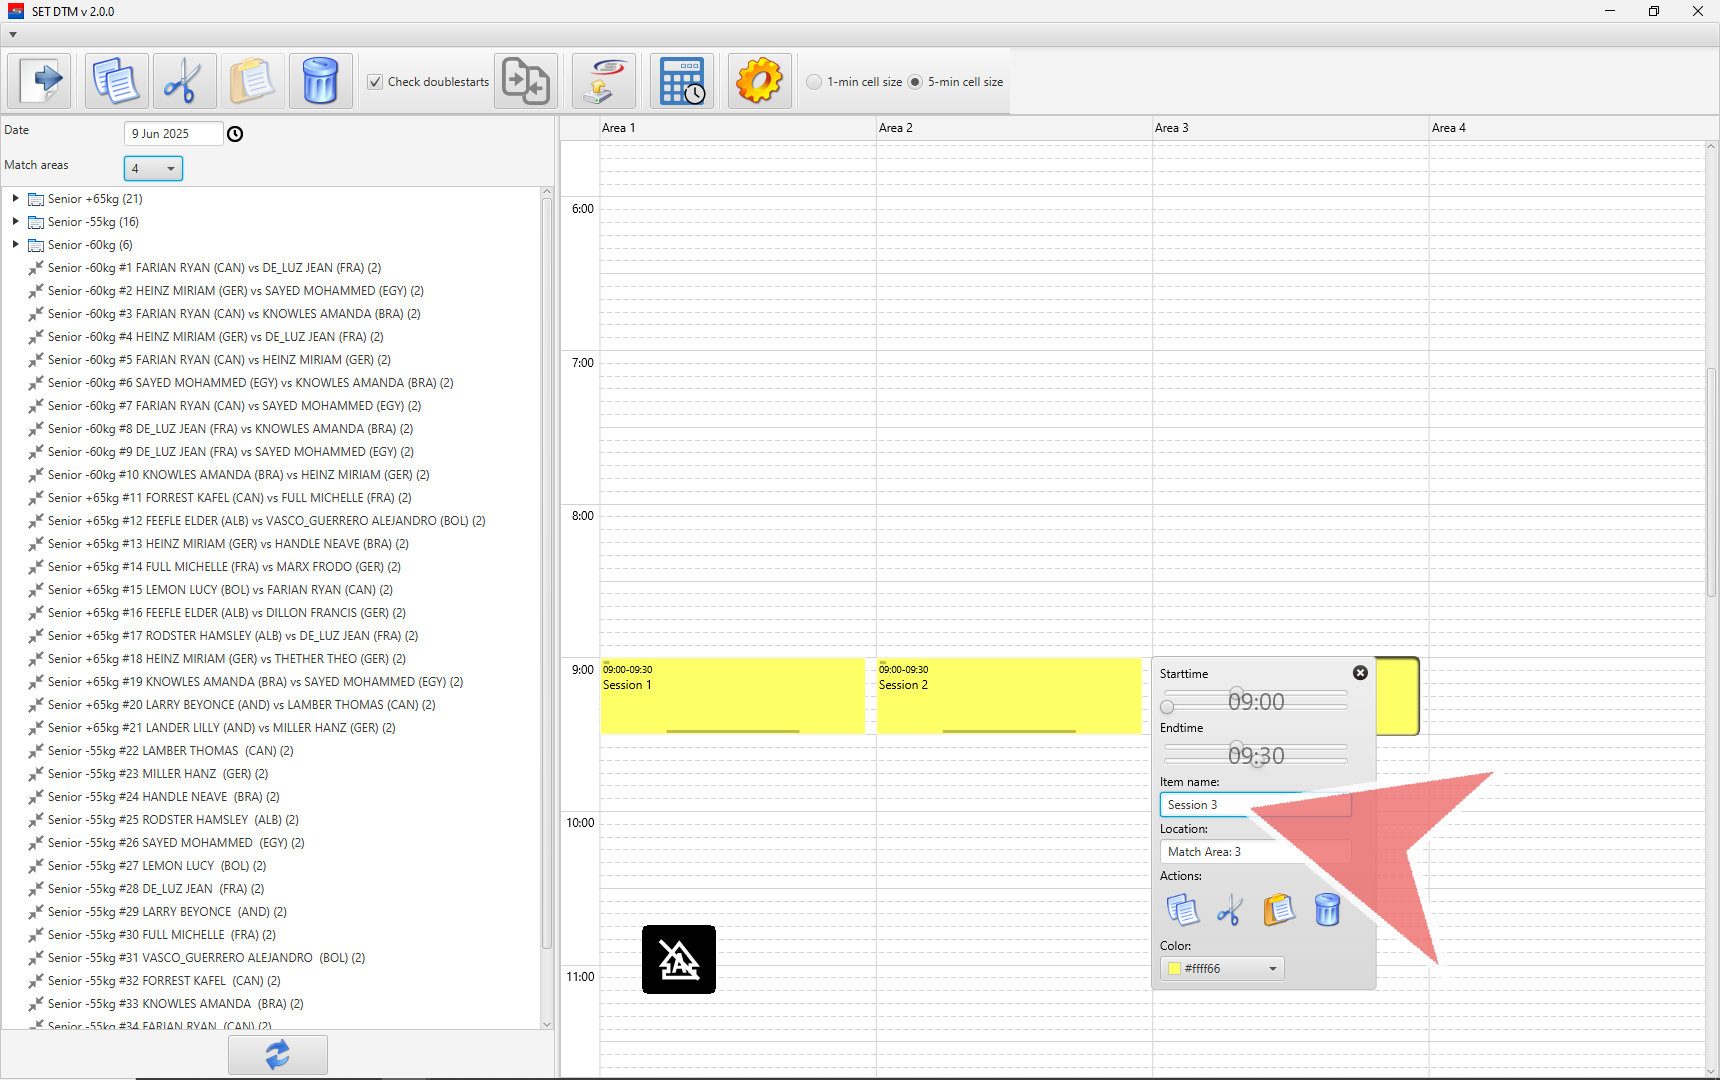
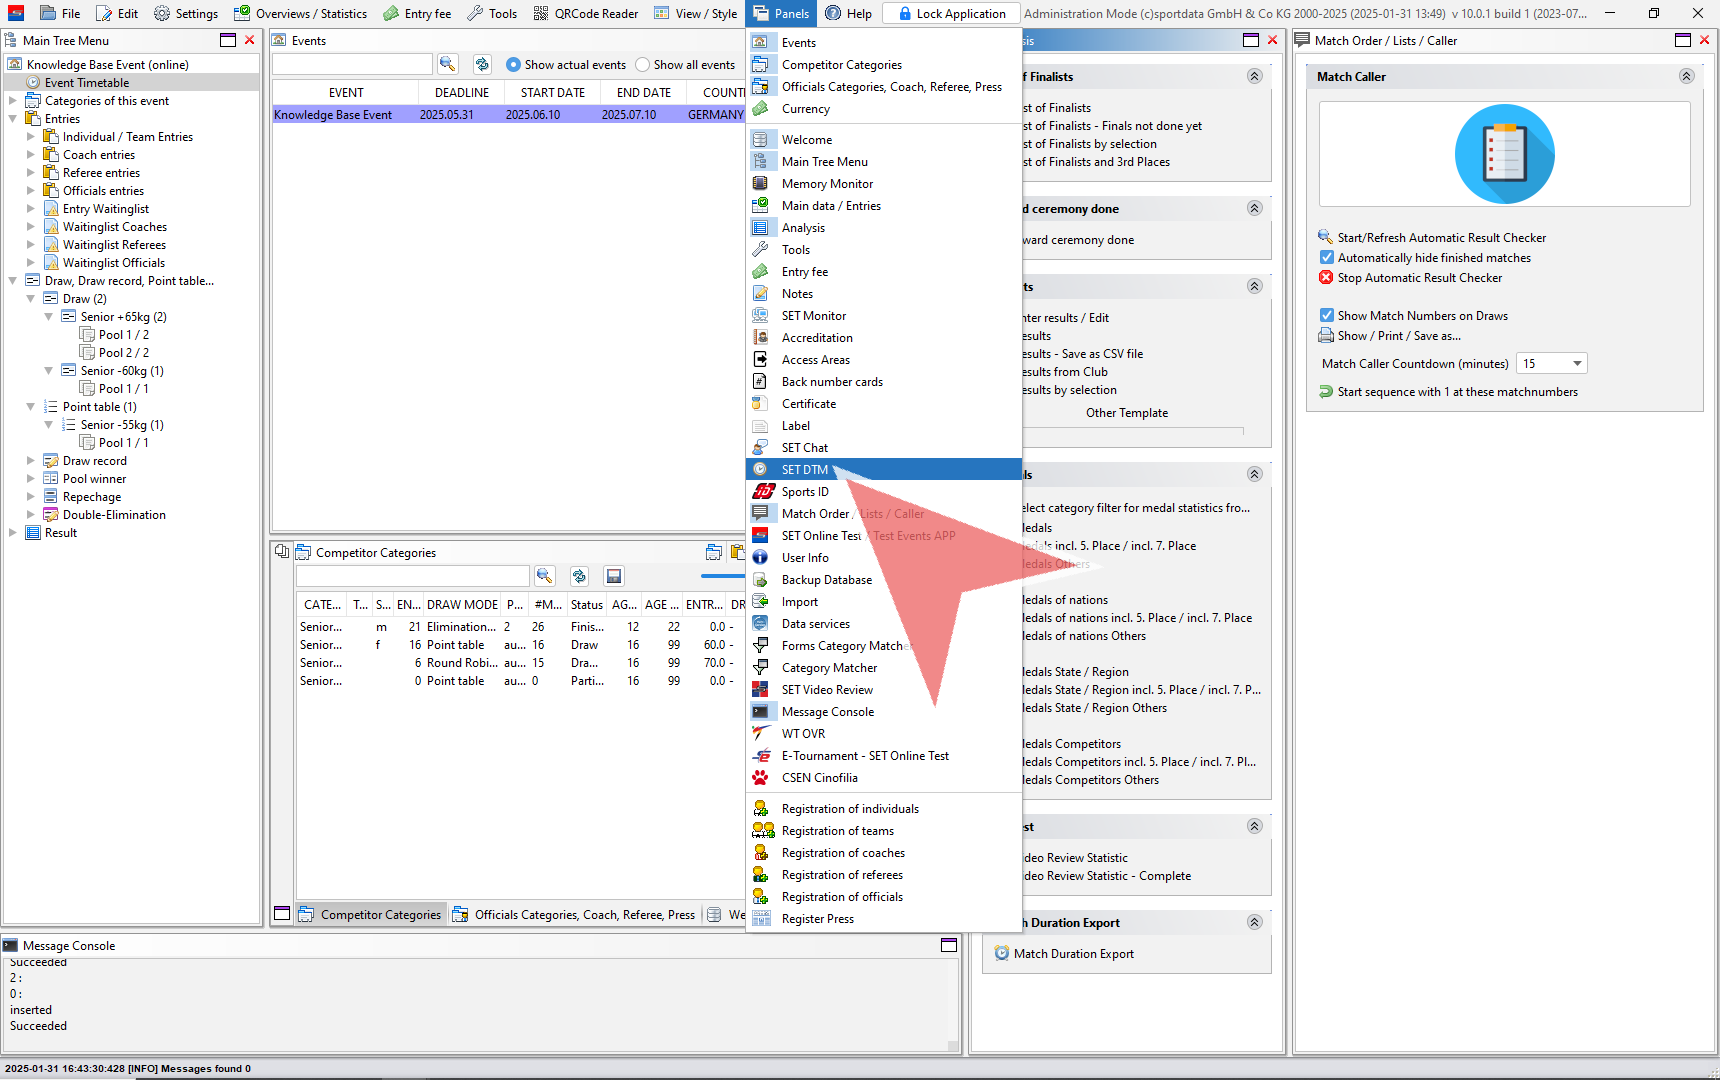
After finishing the draw record and before creating a matchcaller, go to SET DTM and select the number of match areas, which you can find in Panels.

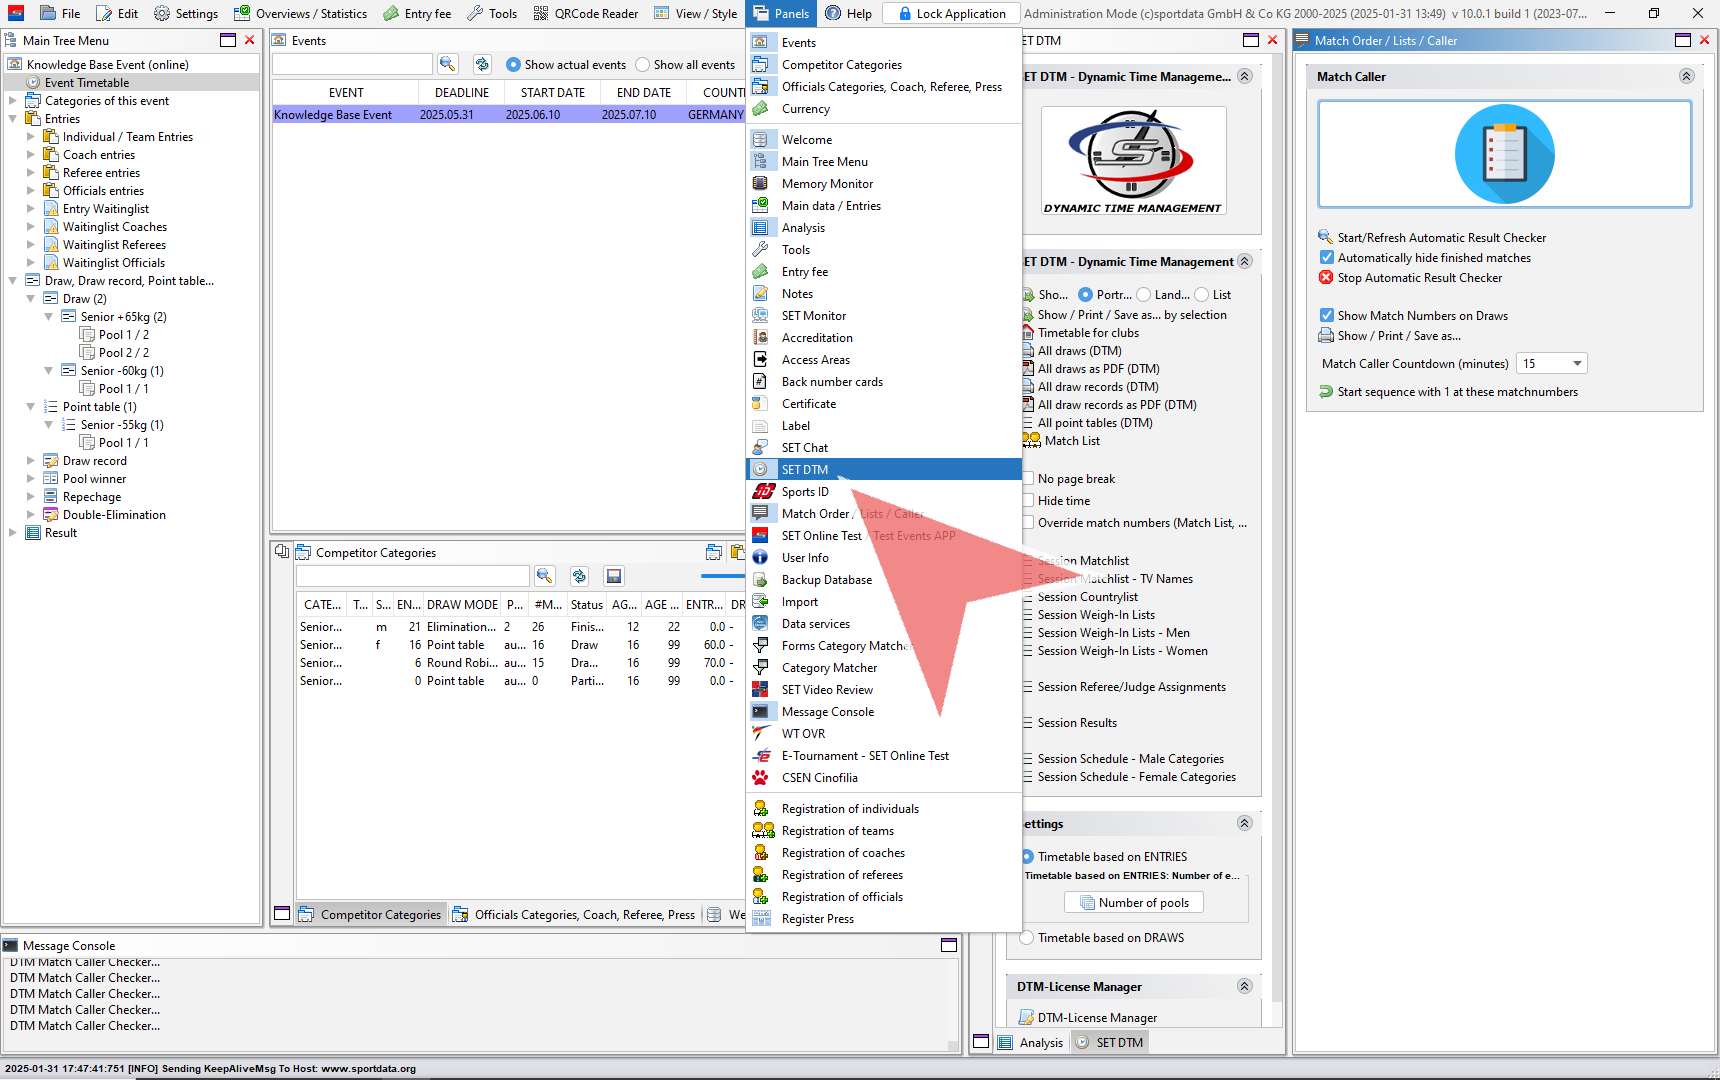
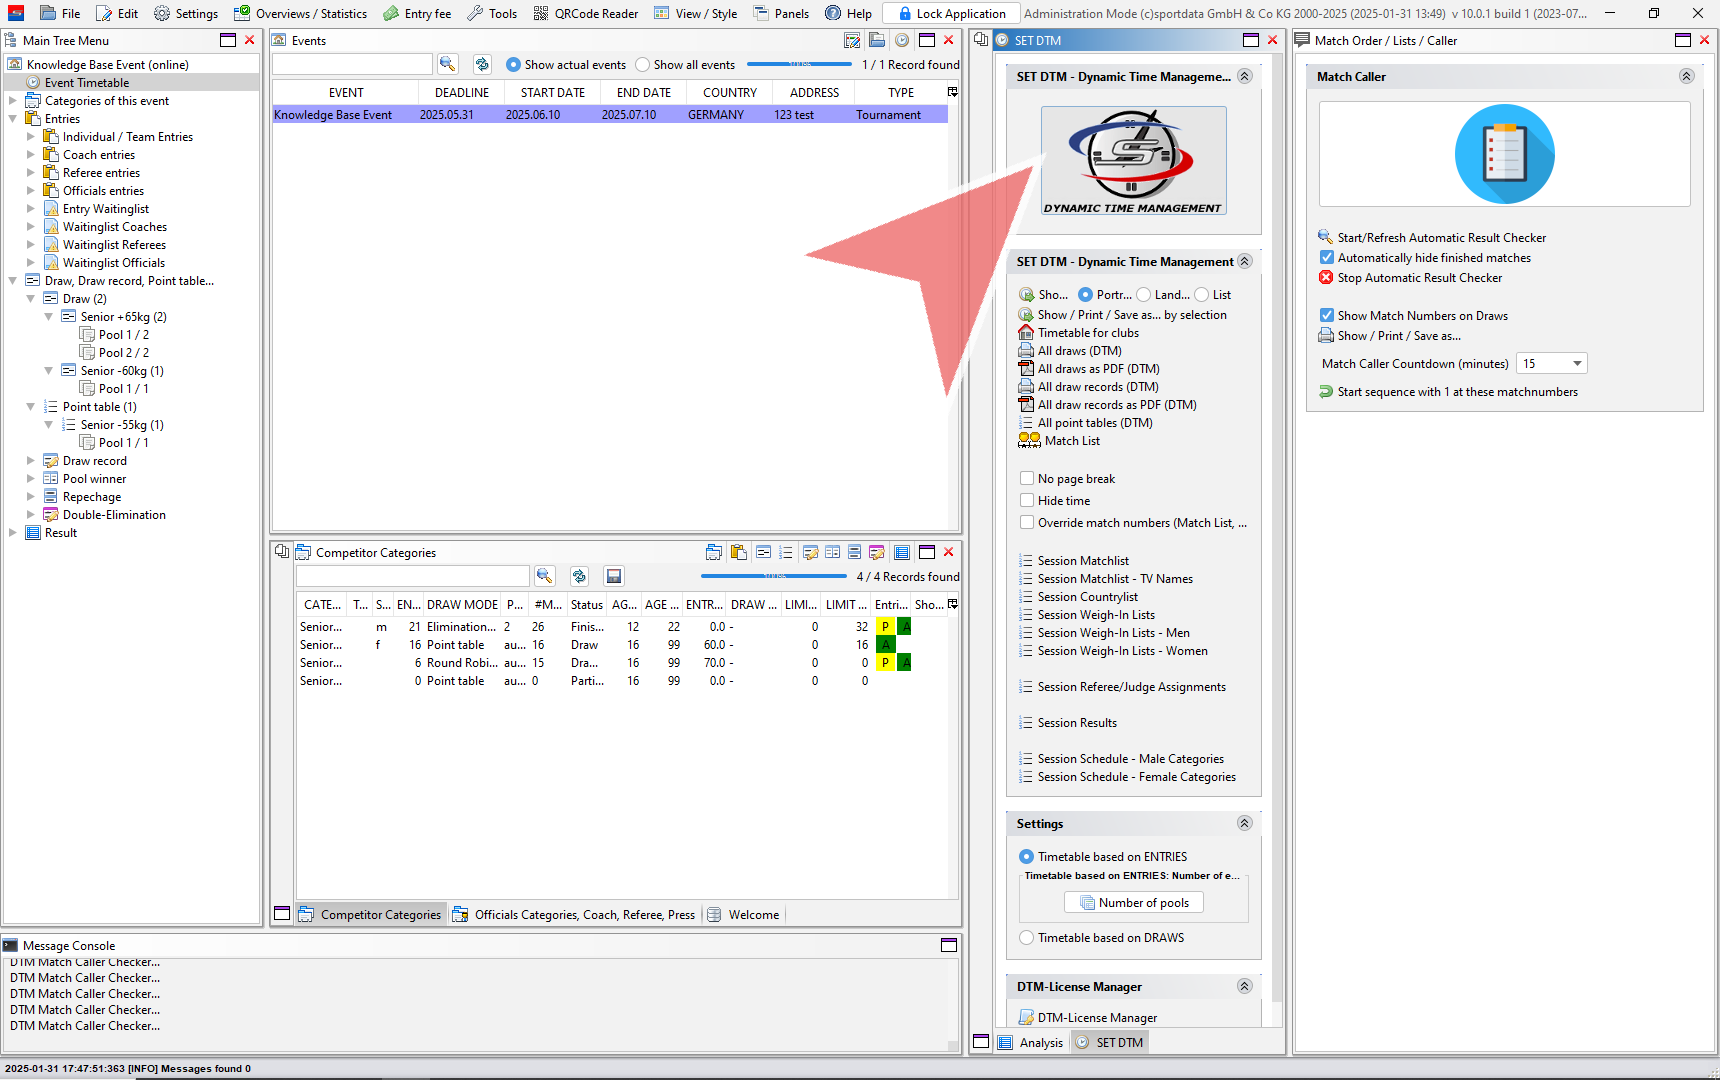
Click the button to be able to enter SET DTM.

Select the number of match areas you will have at your event.

If you will be generating a matchlist, you will need to add the custom item with ´Session #´ to the item names of each custom item. Additionally, placing custom items will maintain the number of areas while you are working in the matchcaller. 
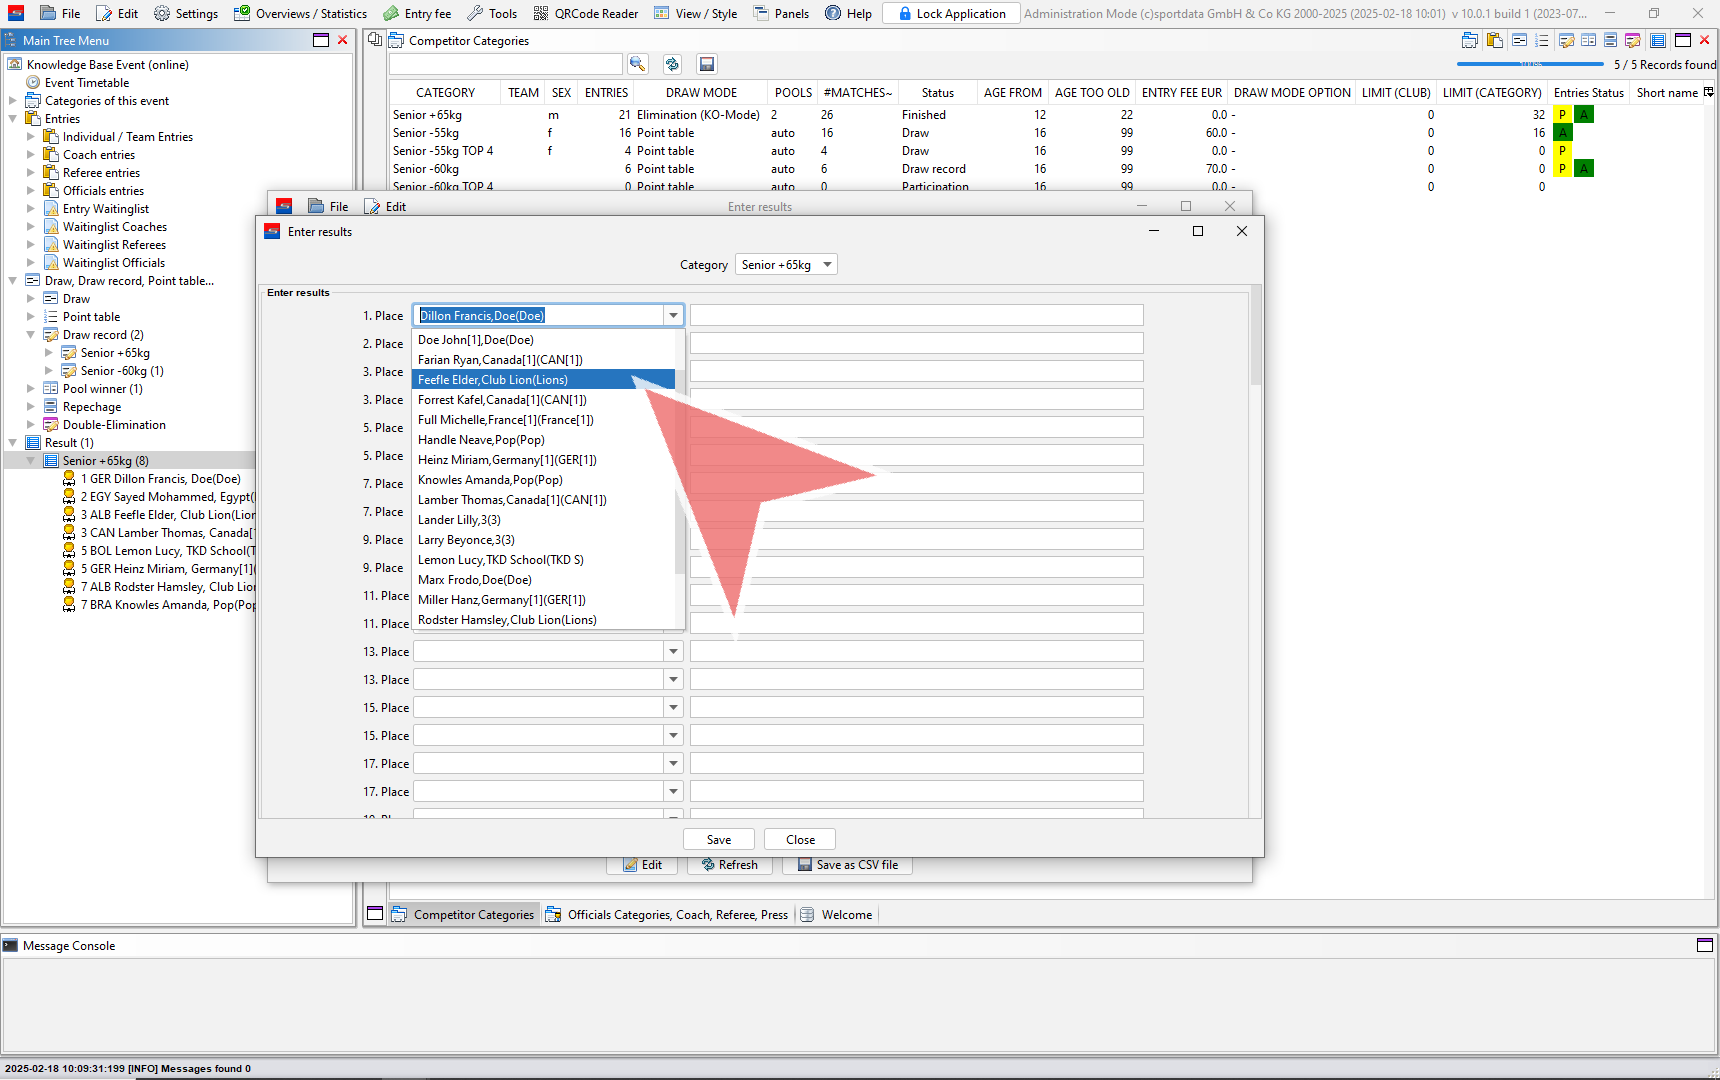
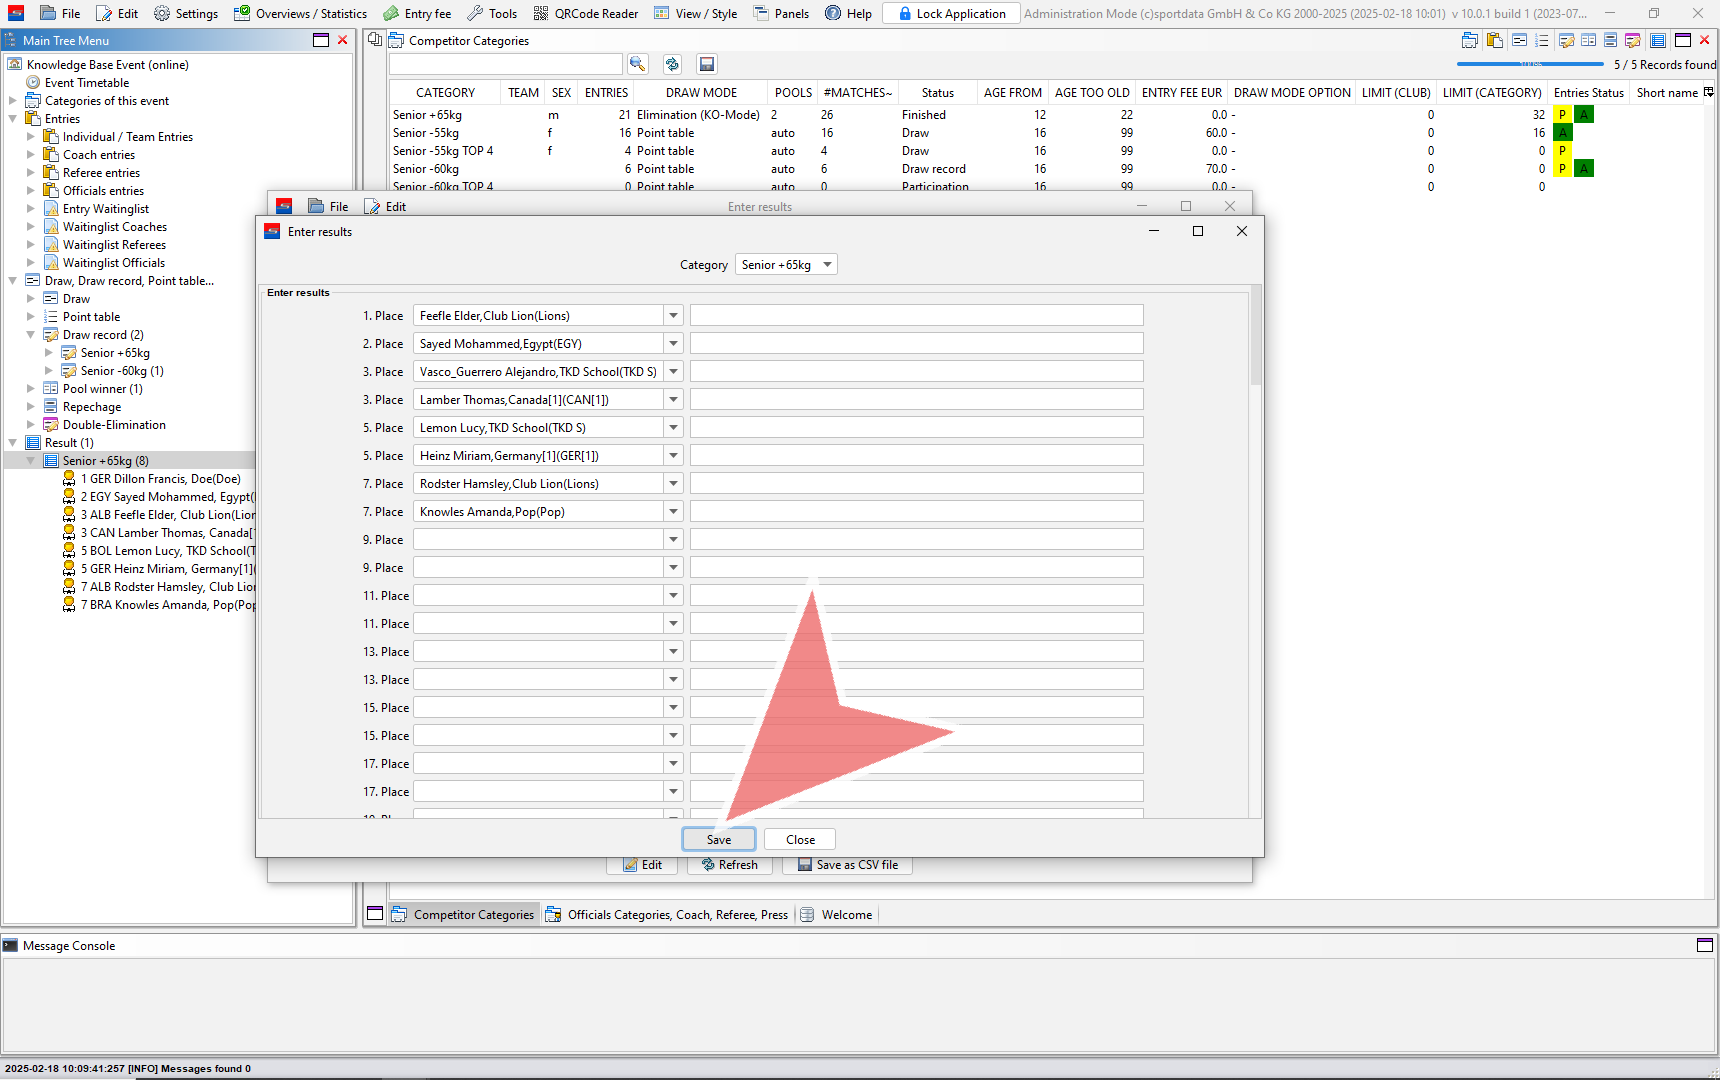
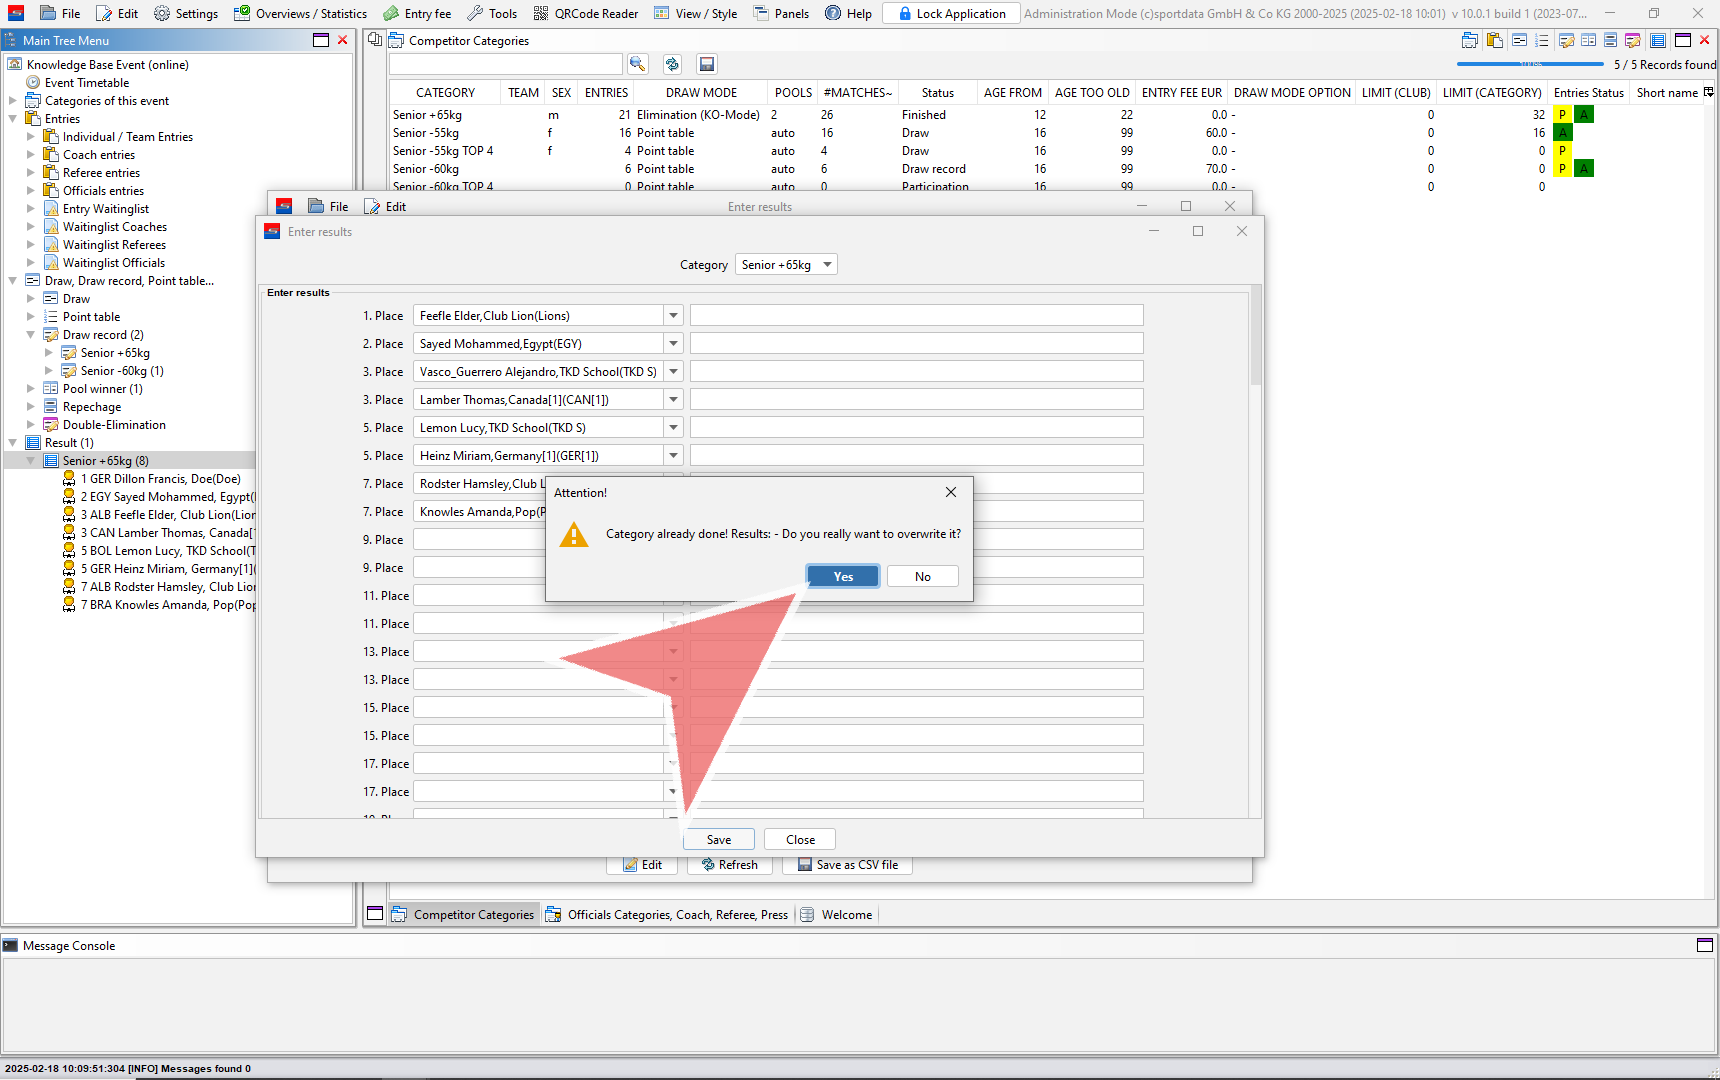
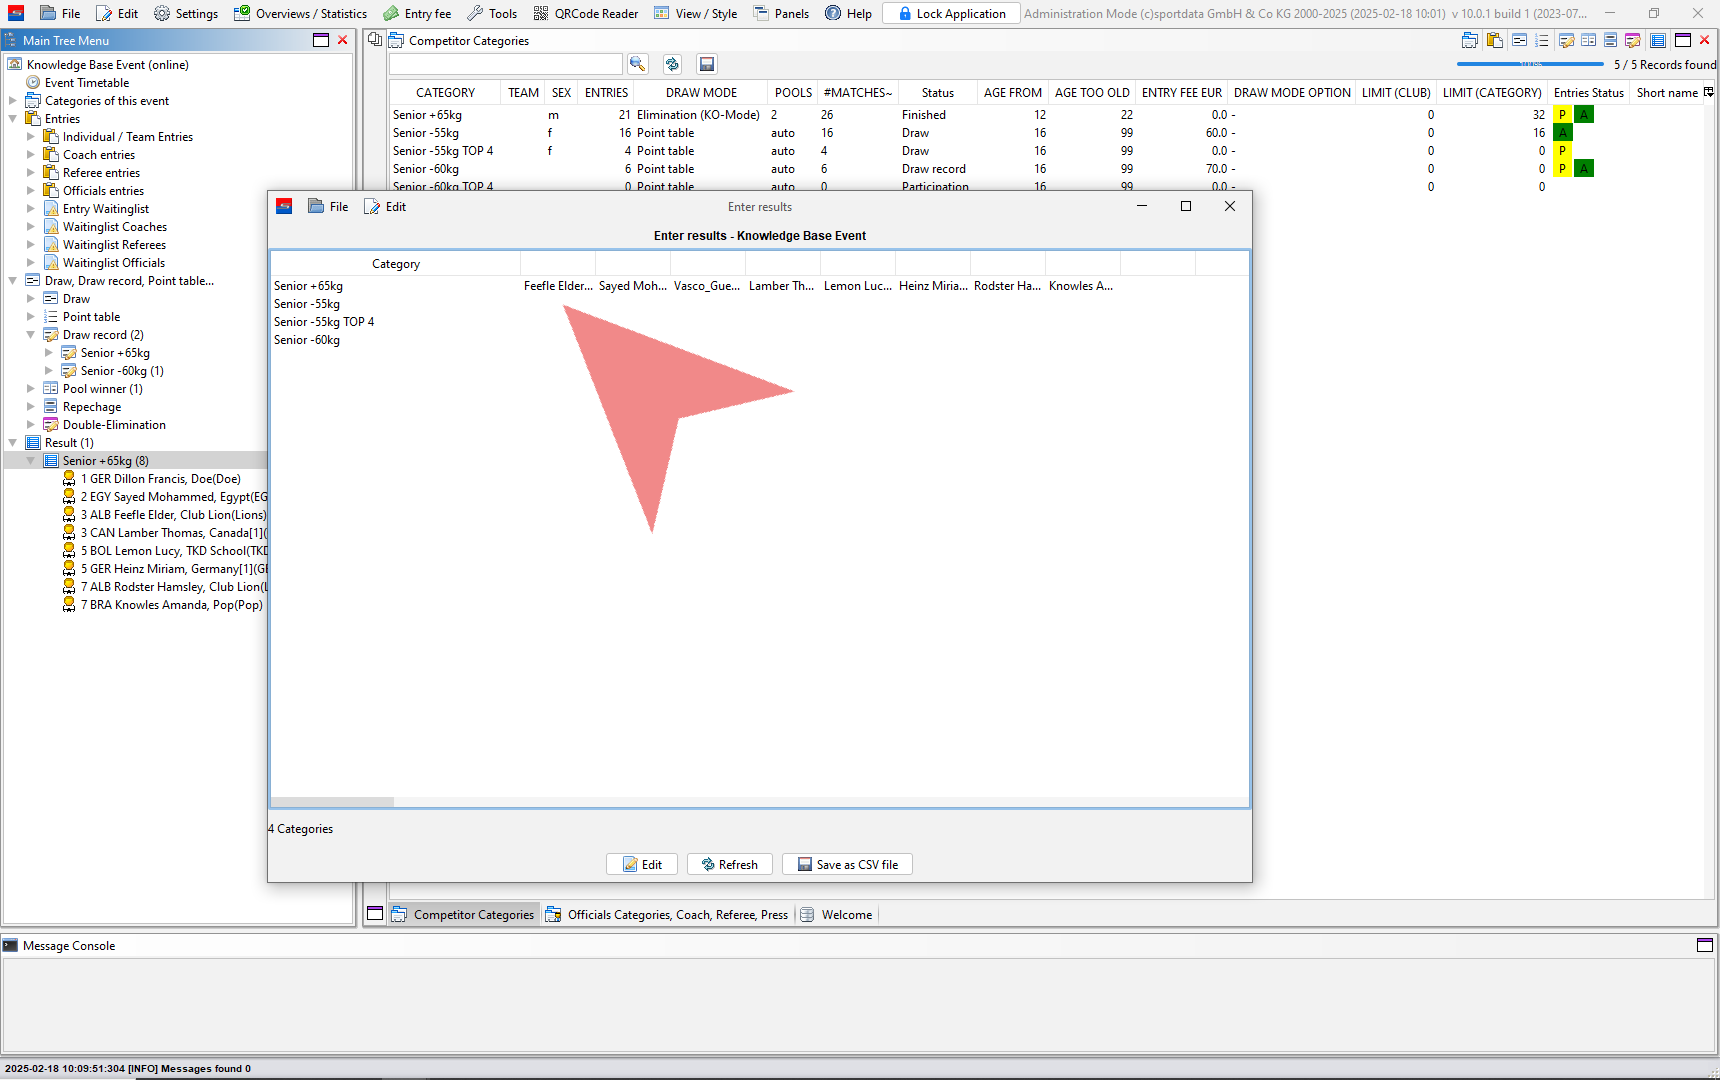
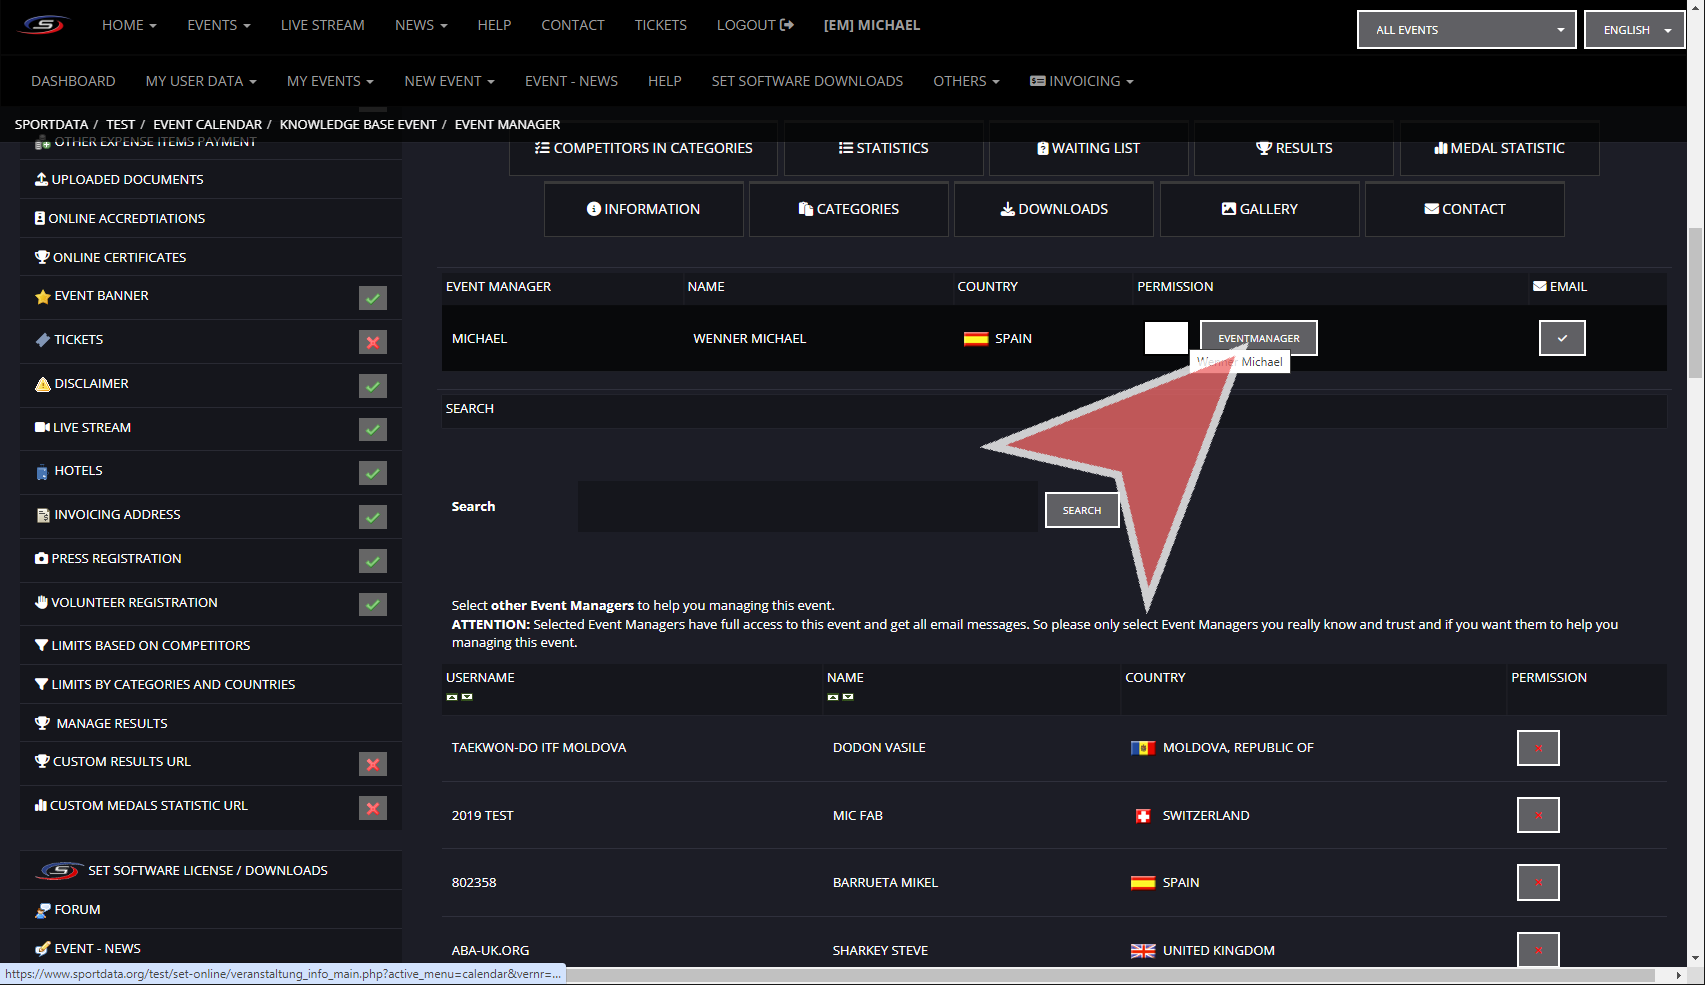
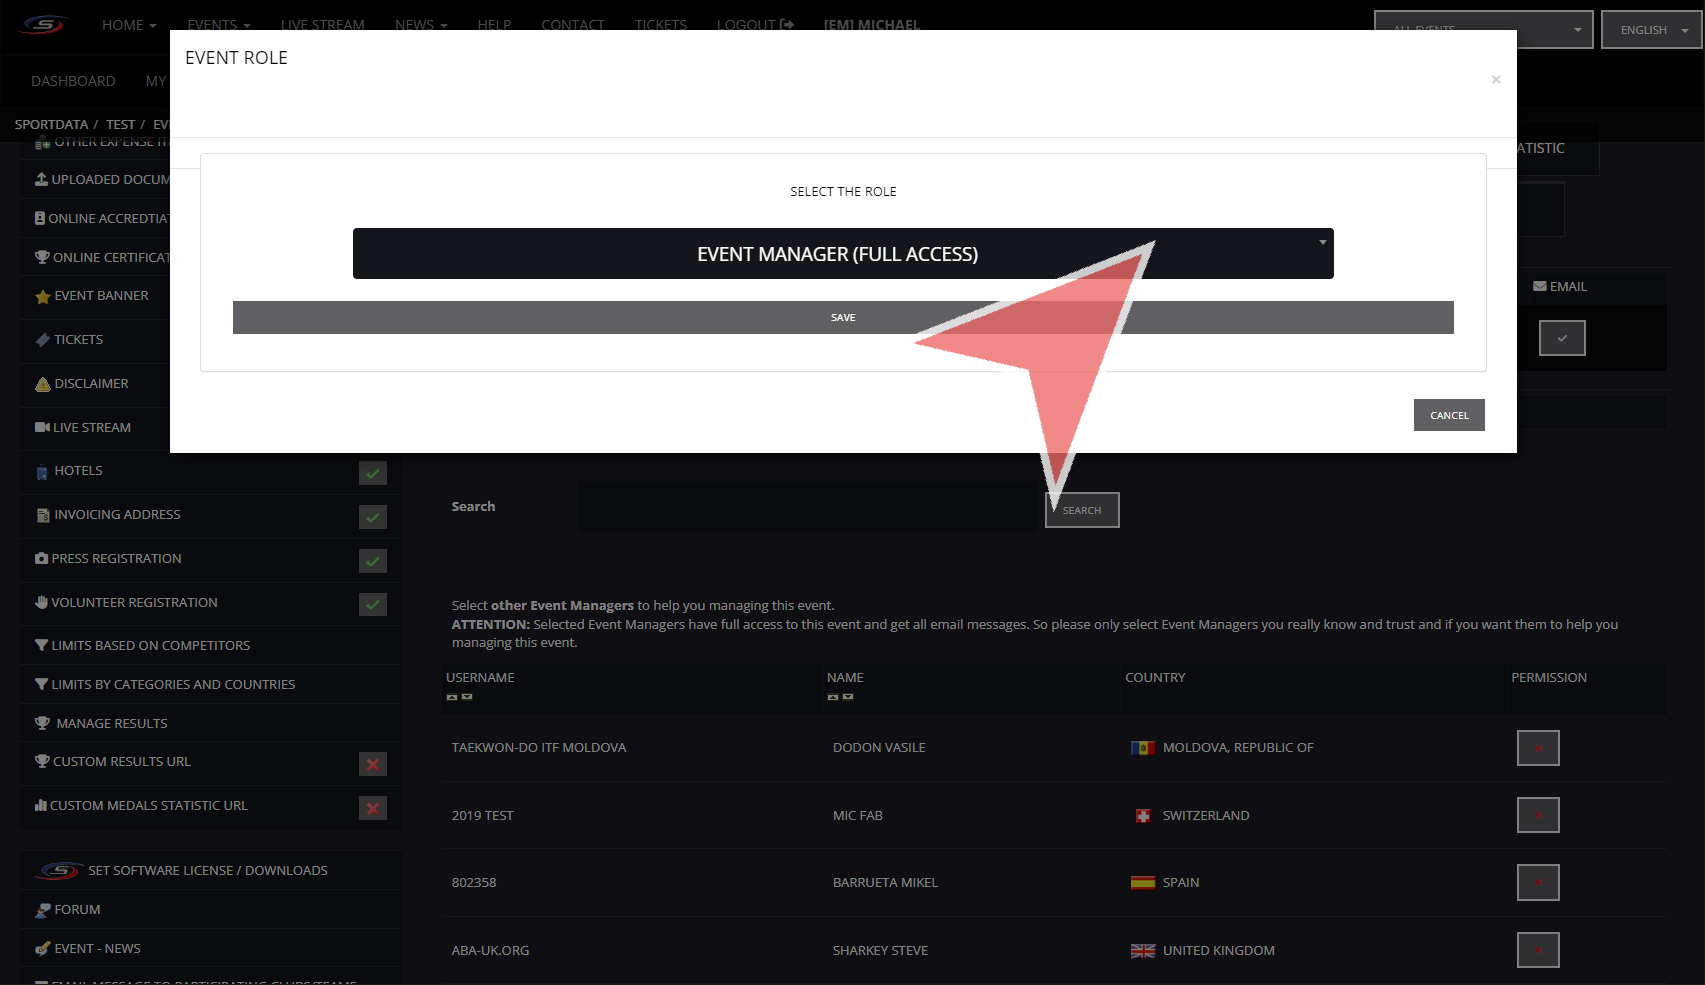
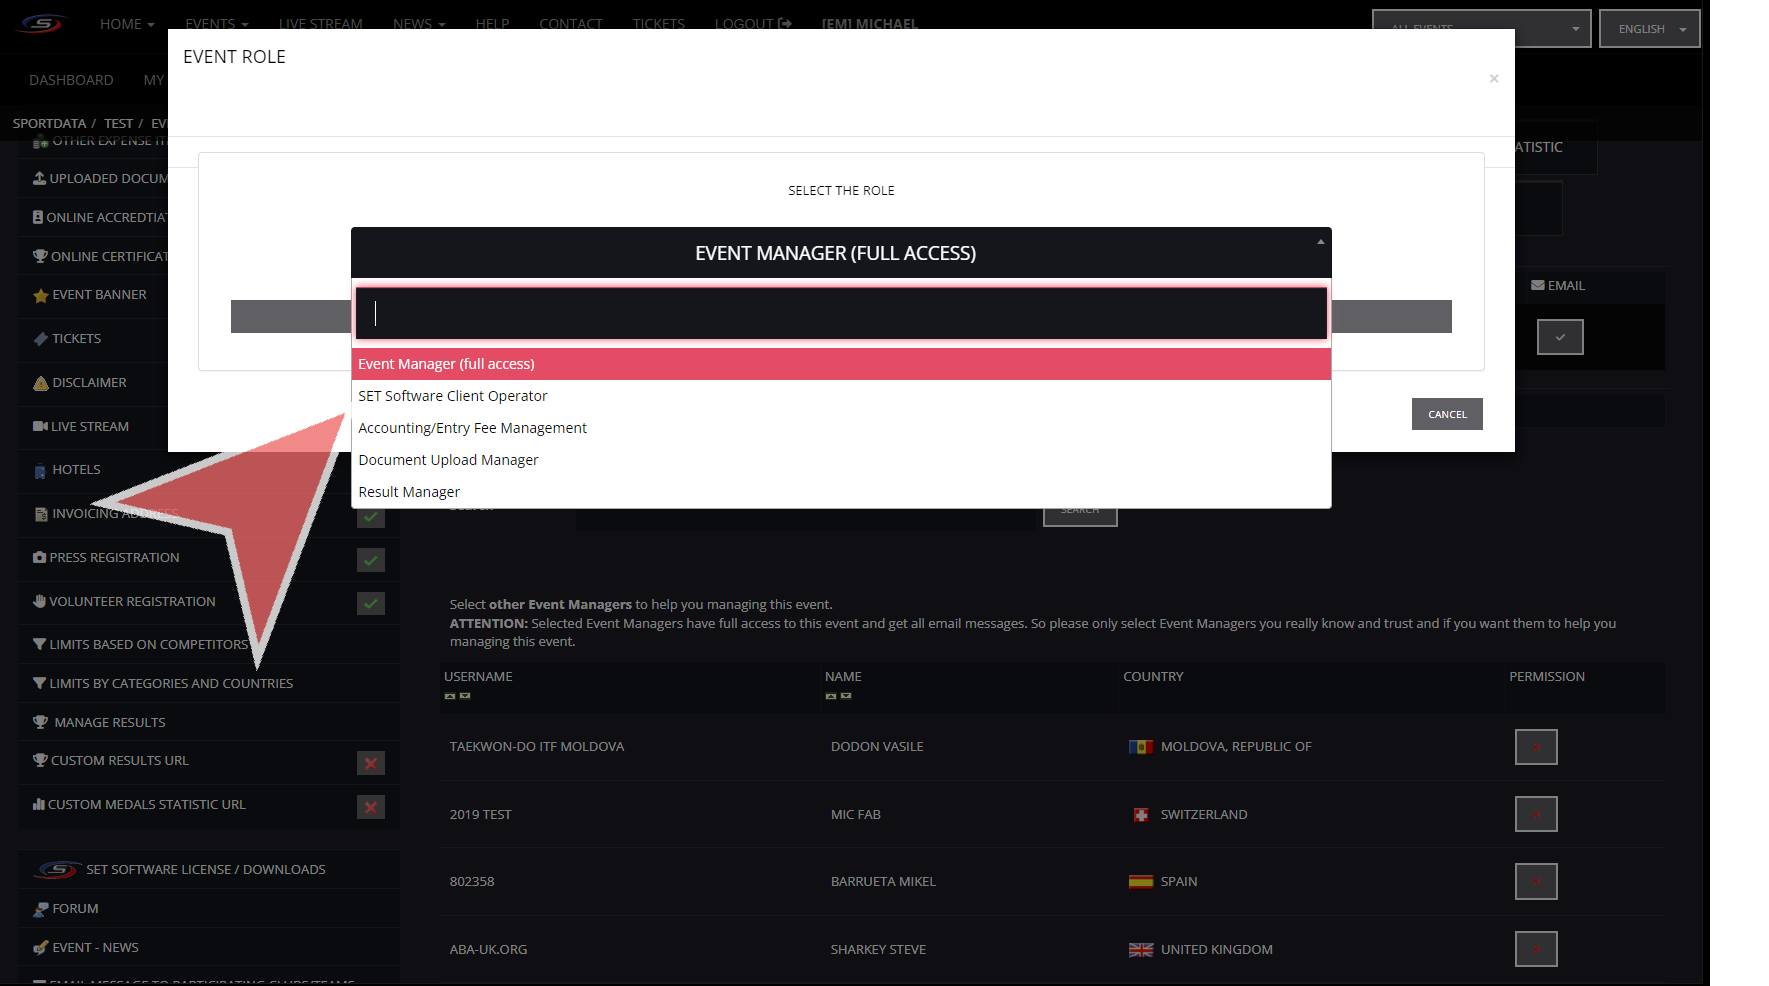
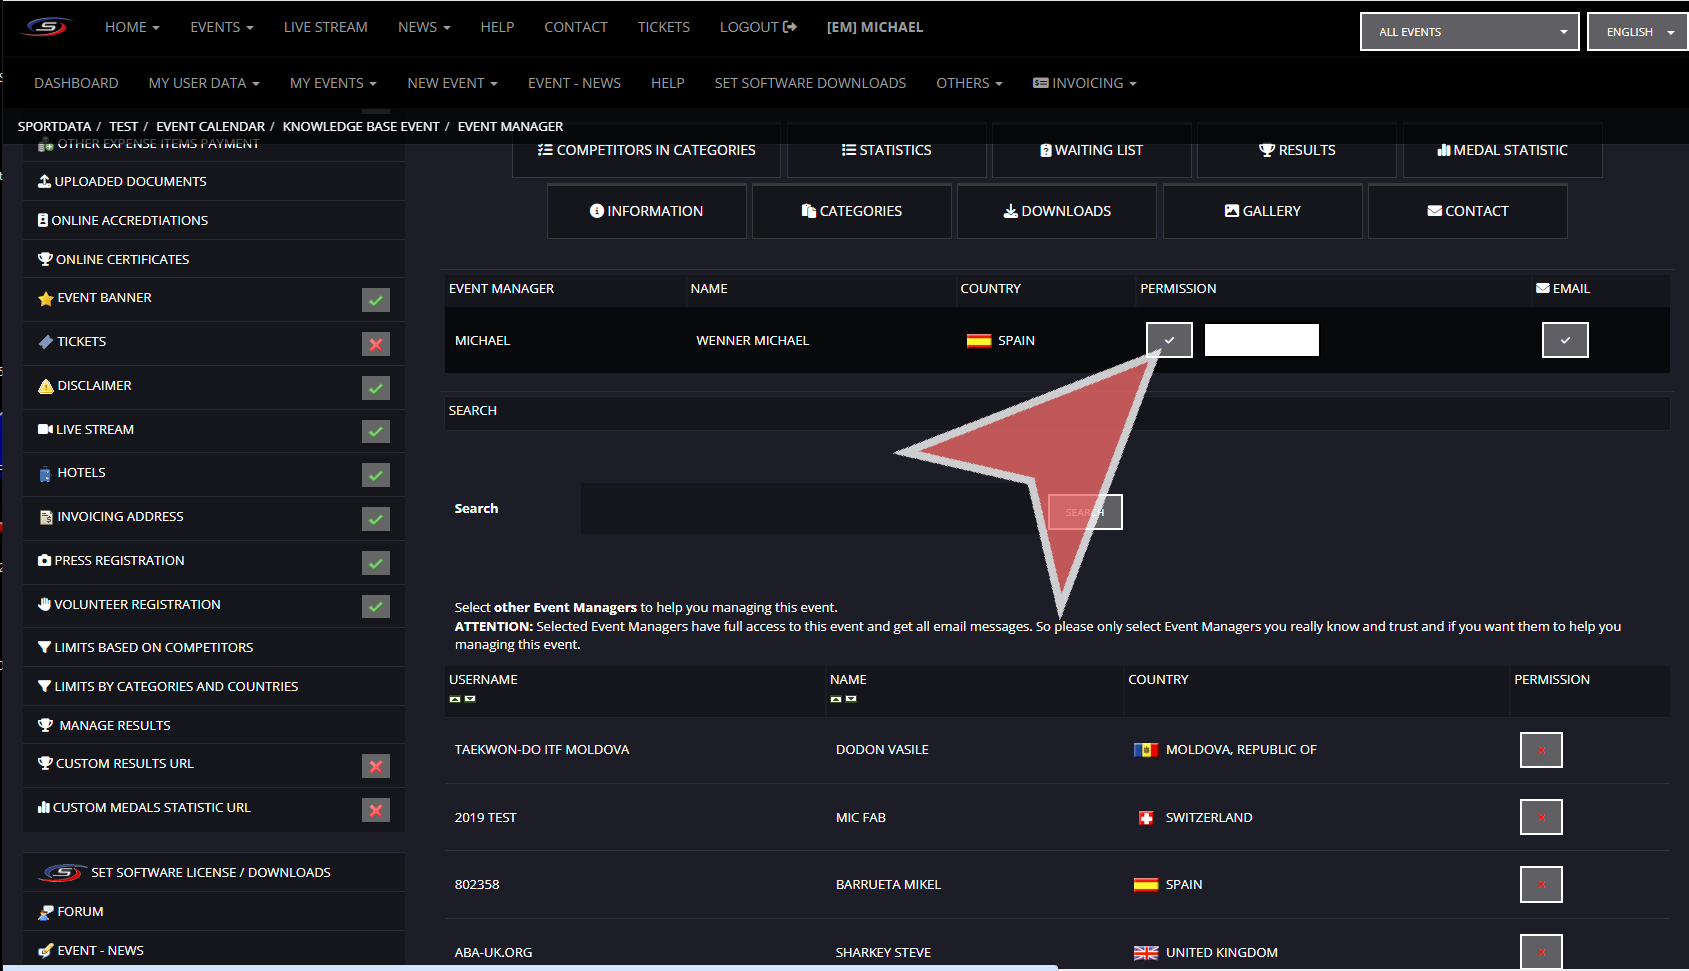
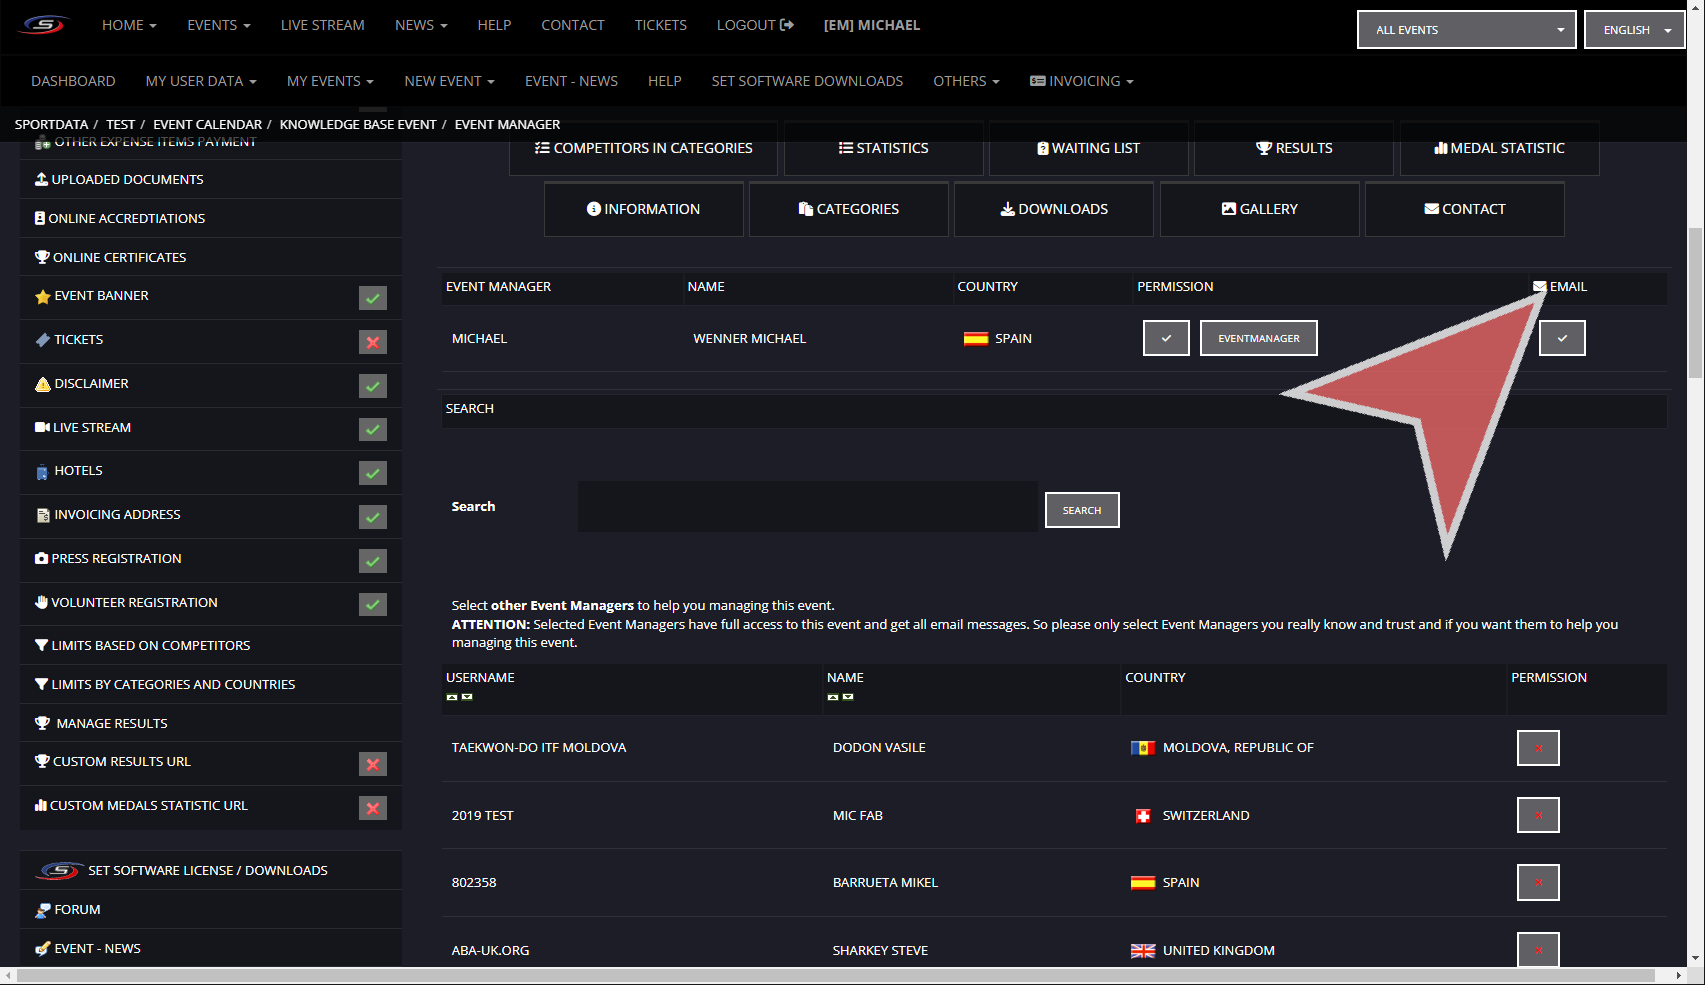
Matchcaller

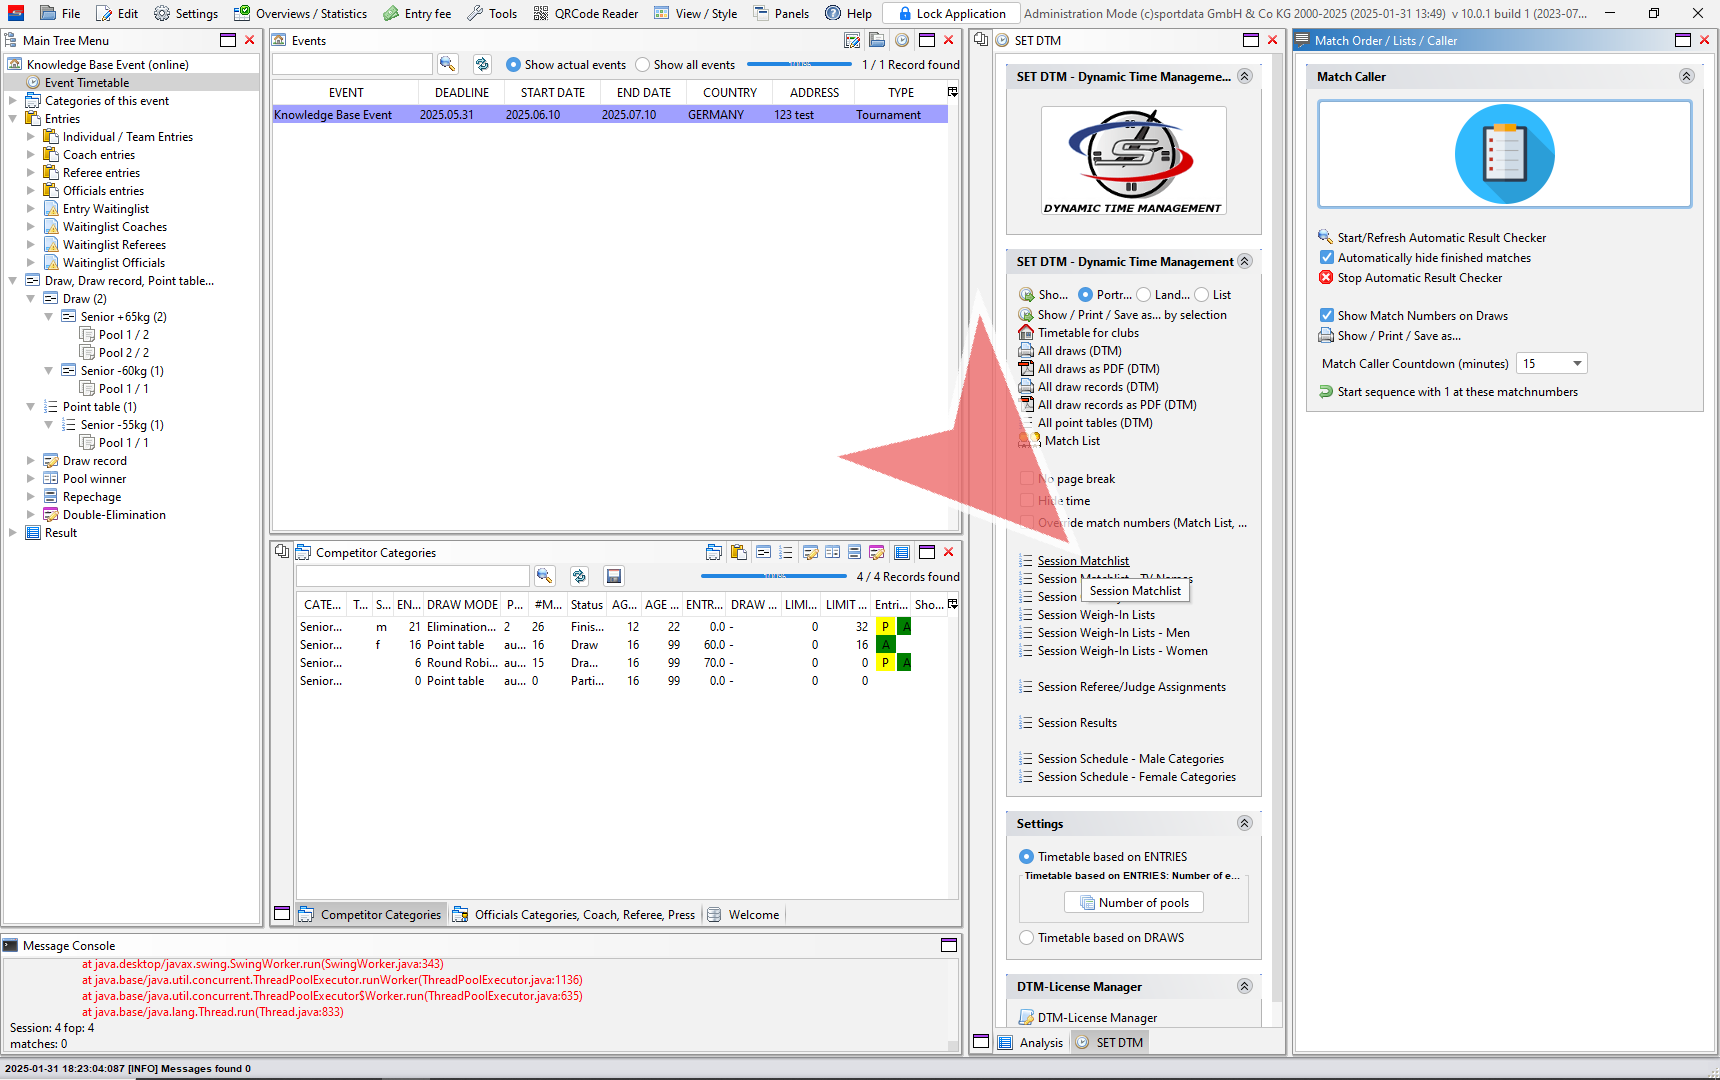
After determine match areas and creating custom items, go to Panels and click on Match Order/ Lists / Caller.

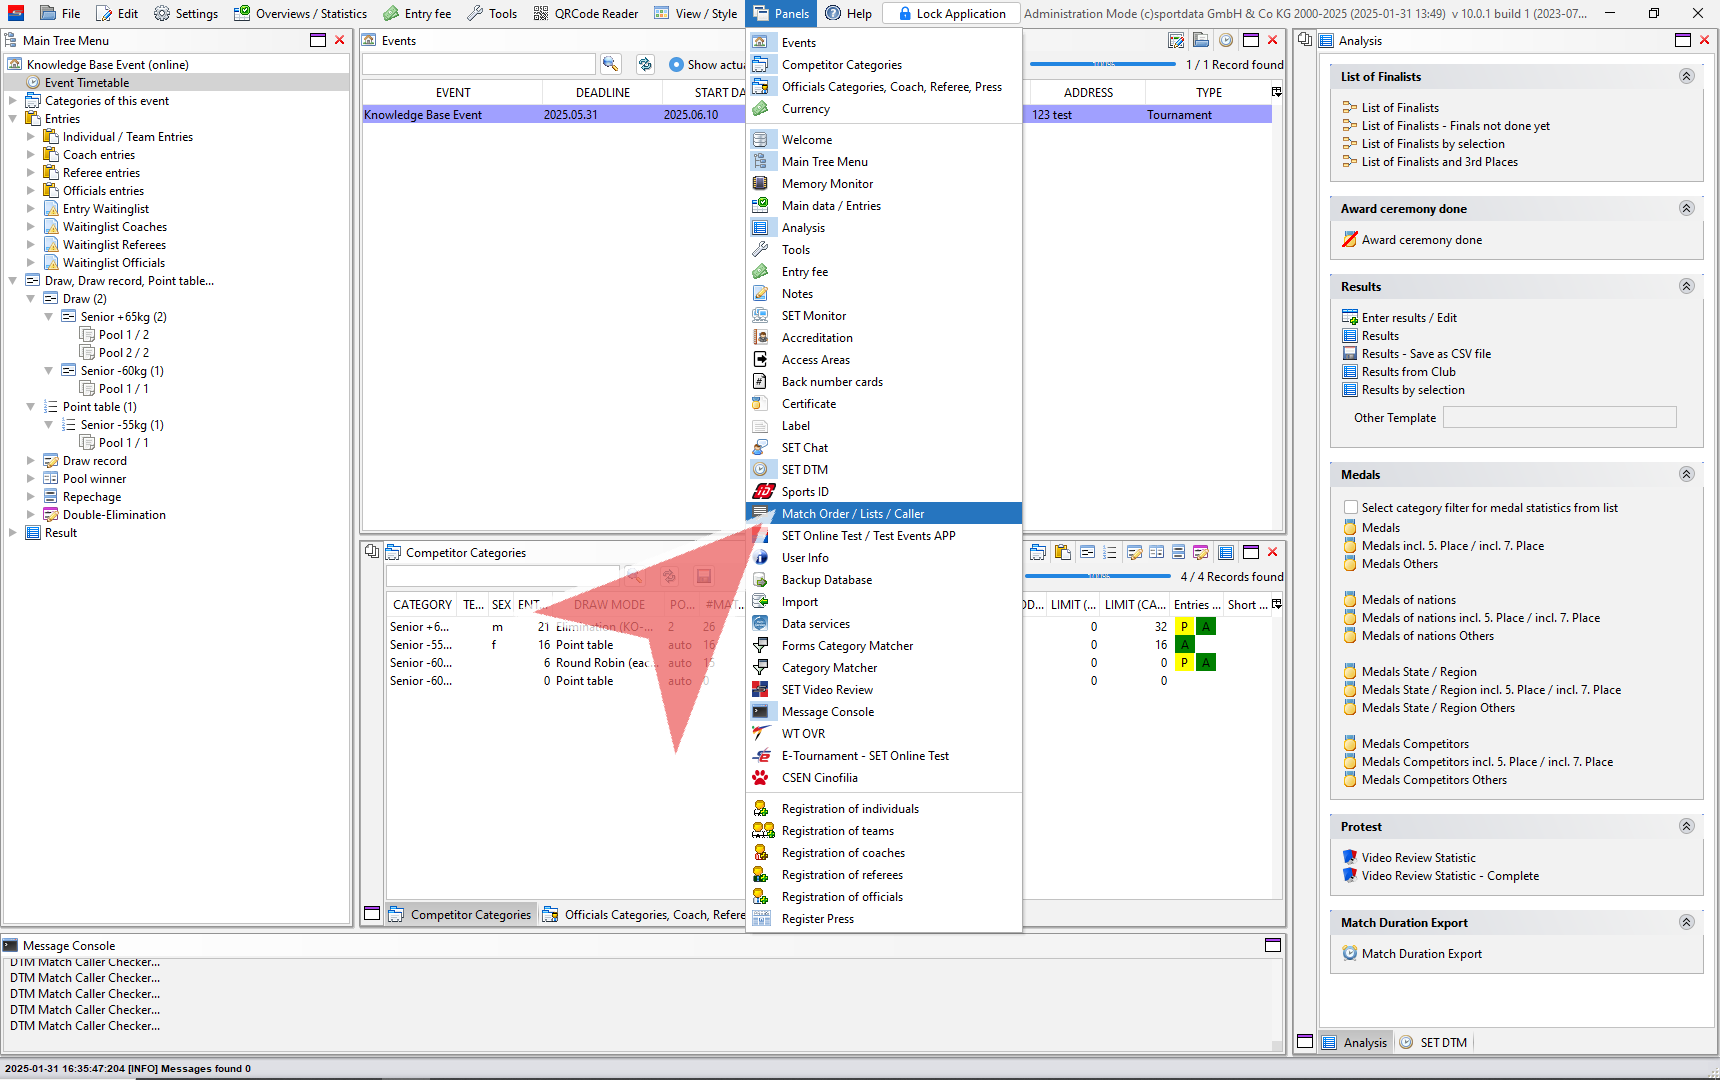
The matchcaller window will pop up with a button. Click this button to begin.

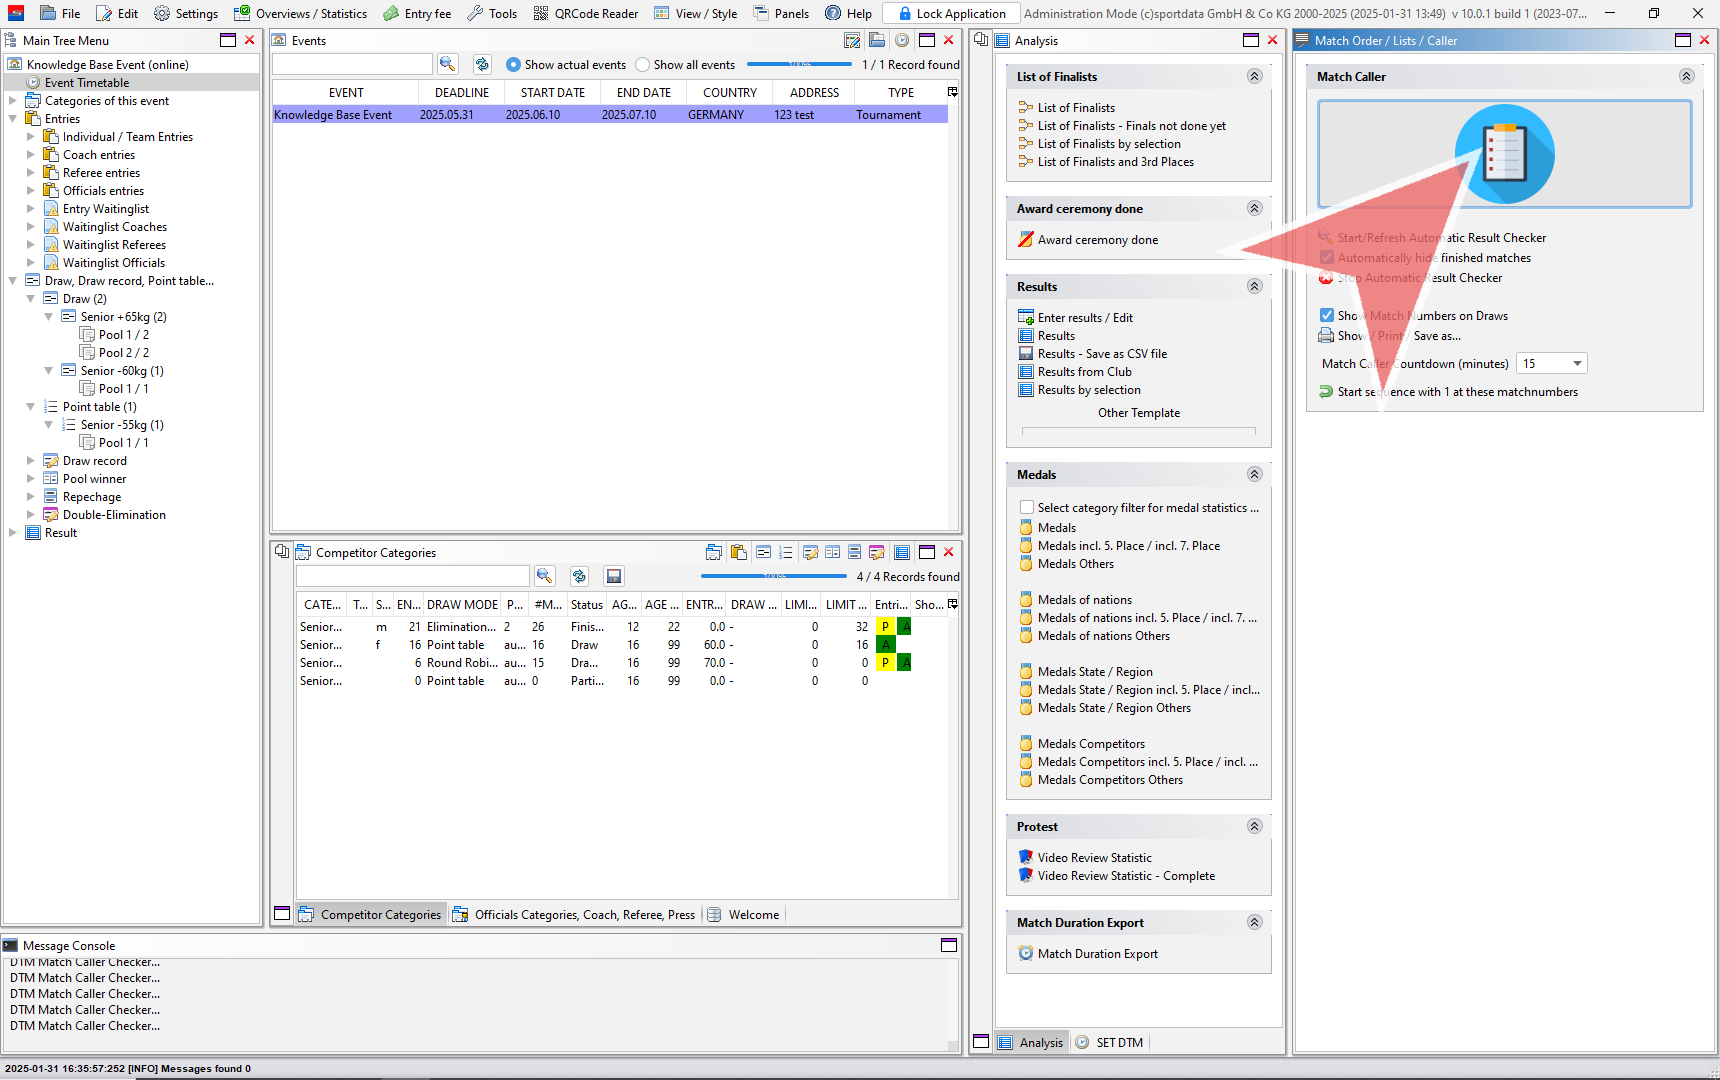
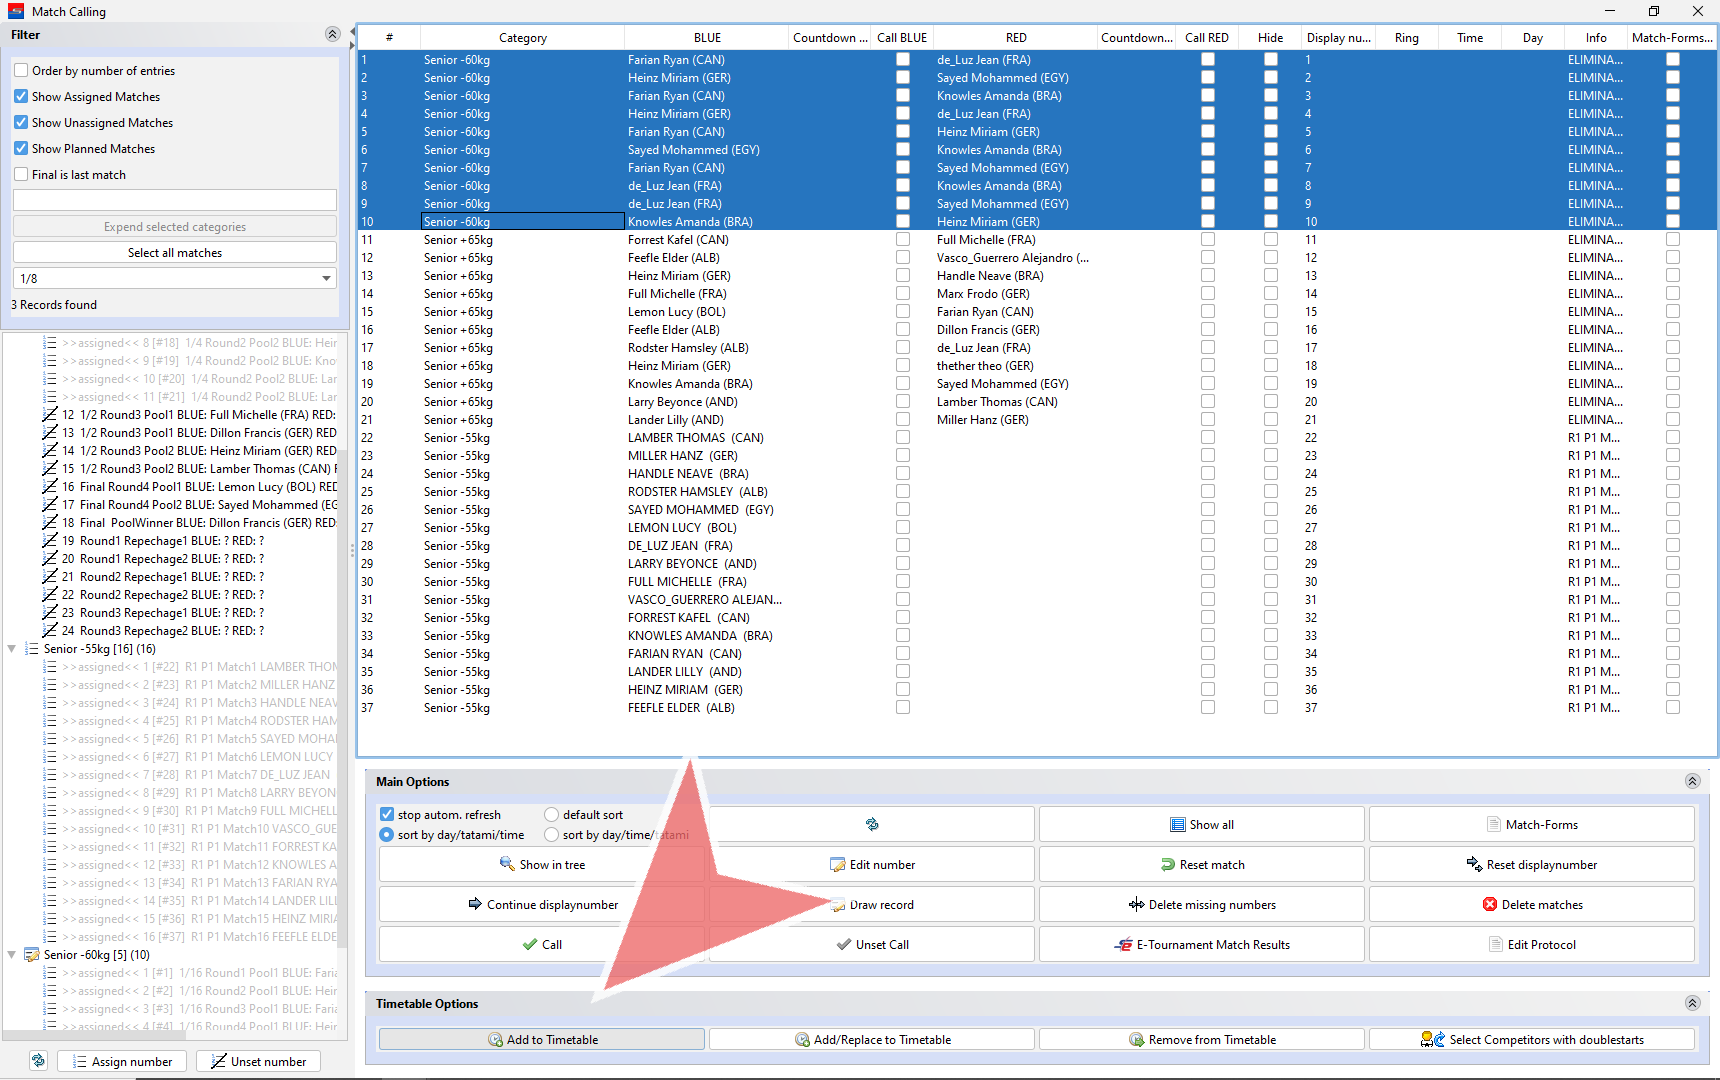
The matchcaller window appears, and click on the categories to see the individual matches.

Selecting all matches according to the rounds

When the matches are selected, click assign number to include it in the matchcaller.

You can change the order of the selected matches prior to assigning the individual match numbers

Click Start new matches with this number # to confirm the starting number.

After repeating the previous process you will have a list of matches with assigned unique numbers which can be seen in the first column. Now, it’s time to add these to the Dynamic Time Manager (DTM).

Note: Assigned matches are grey and unassigned matches are black in the left column.

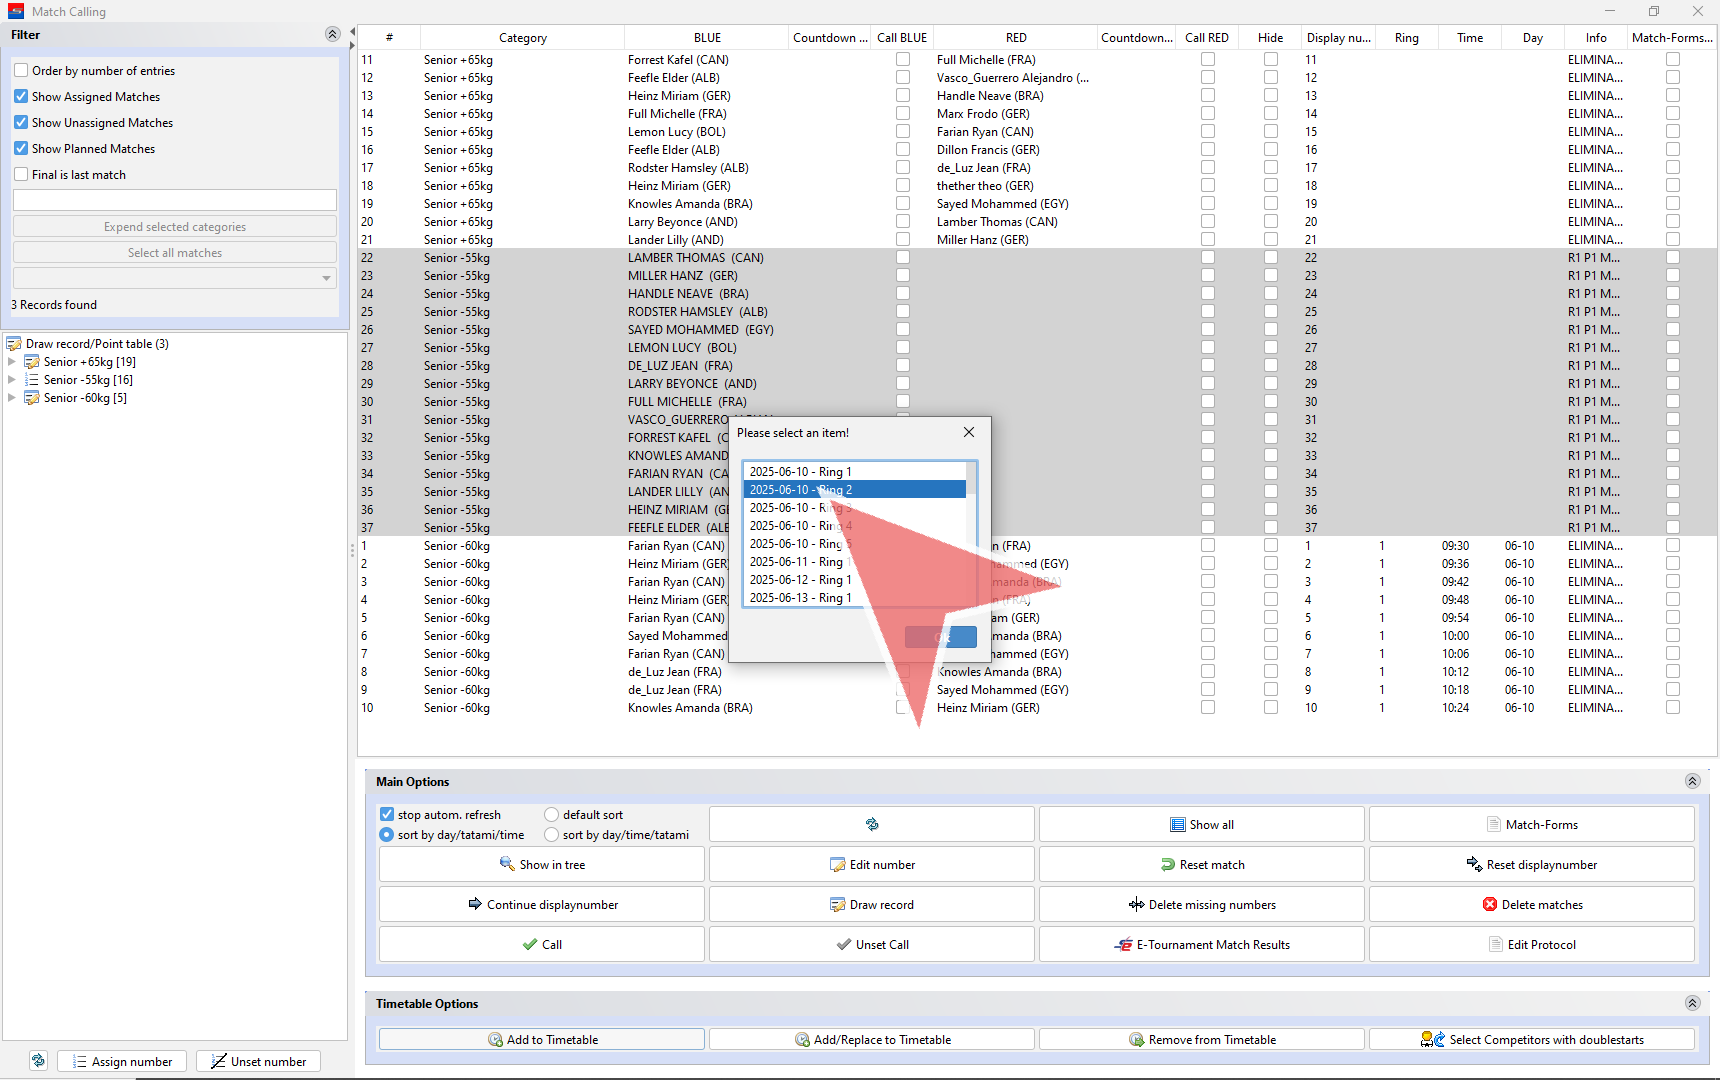
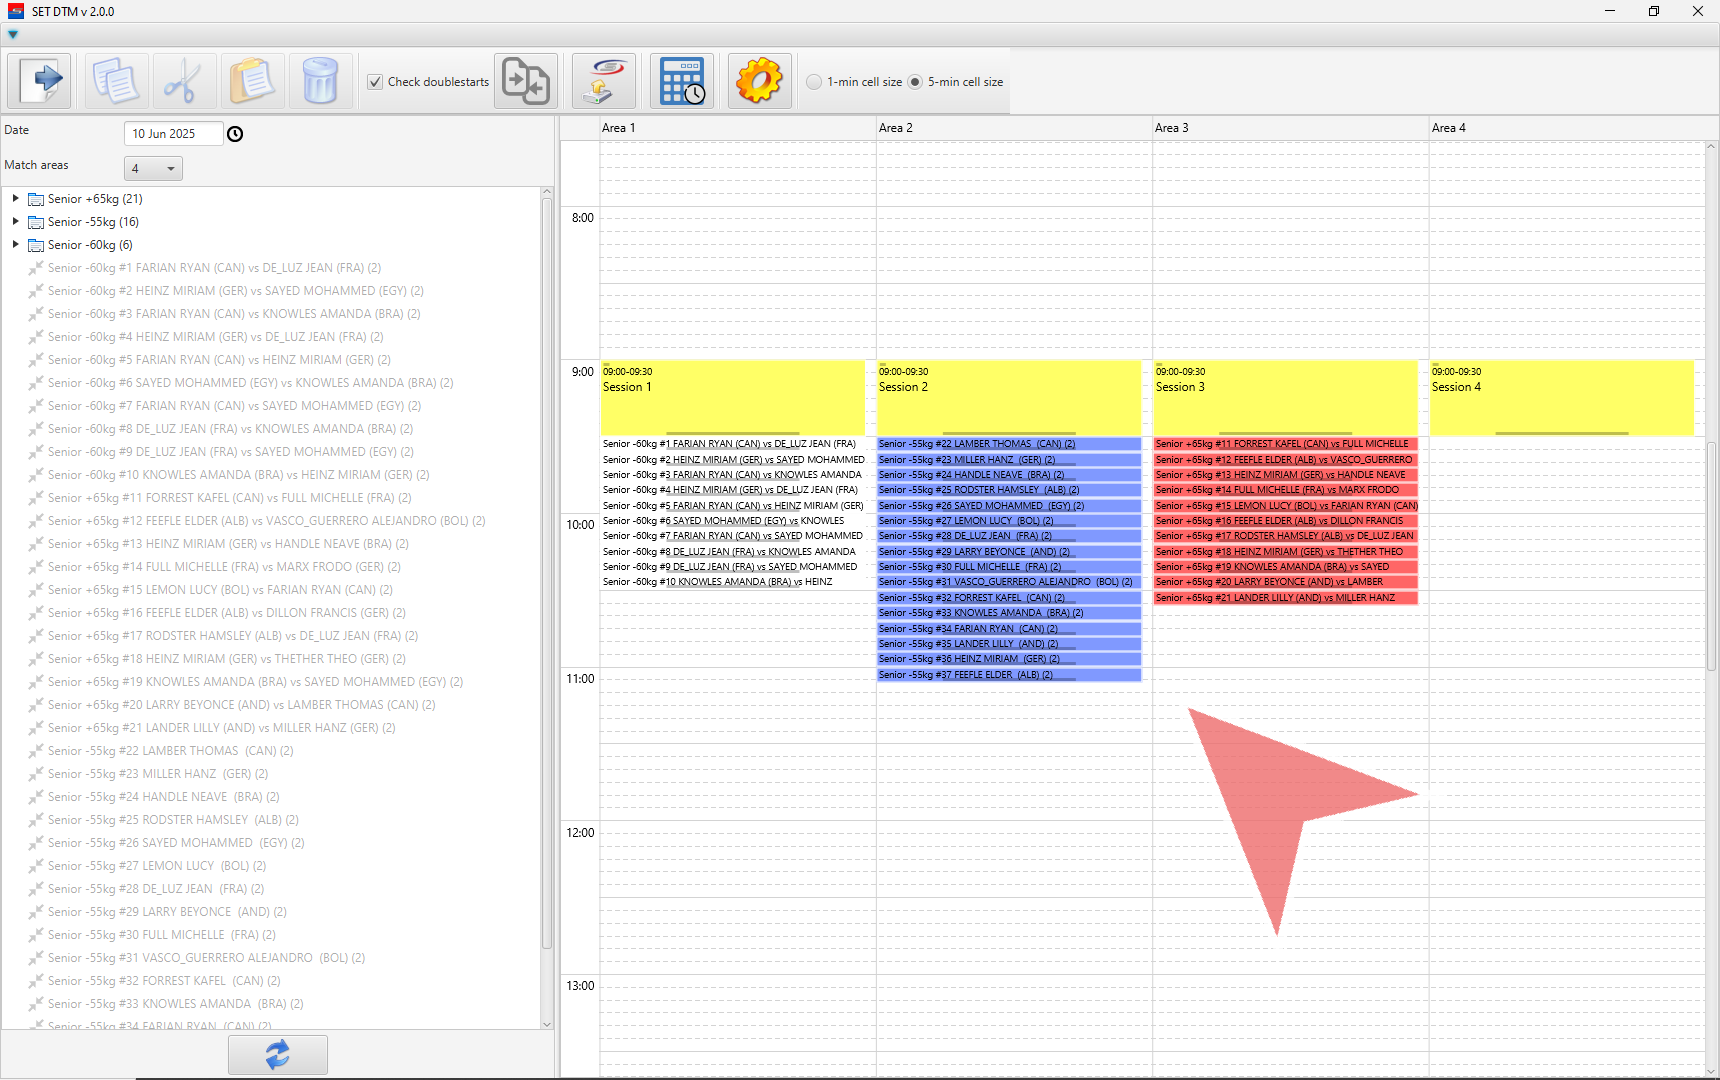
Assign the matches to the day and field of play. In this example, we have assigned custom items in the SET DTM, therefore, no confirmation of time.

When you do not have custom items with sessions in the item title, then match caller will ask you to select the starting time.

Repeat the previous process until you have assigned dates and fields of play to each match. Notice how under the column ring, time and day, you will see the newly assigned matches have populated fields and have been dropped to the end of the match caller.

Now that you have finished assigning match order, dates and field of play, you can return to the Dynamic Time Manager.

Dynamic Time Manager (SET DTM)

Click the SET DTM button.

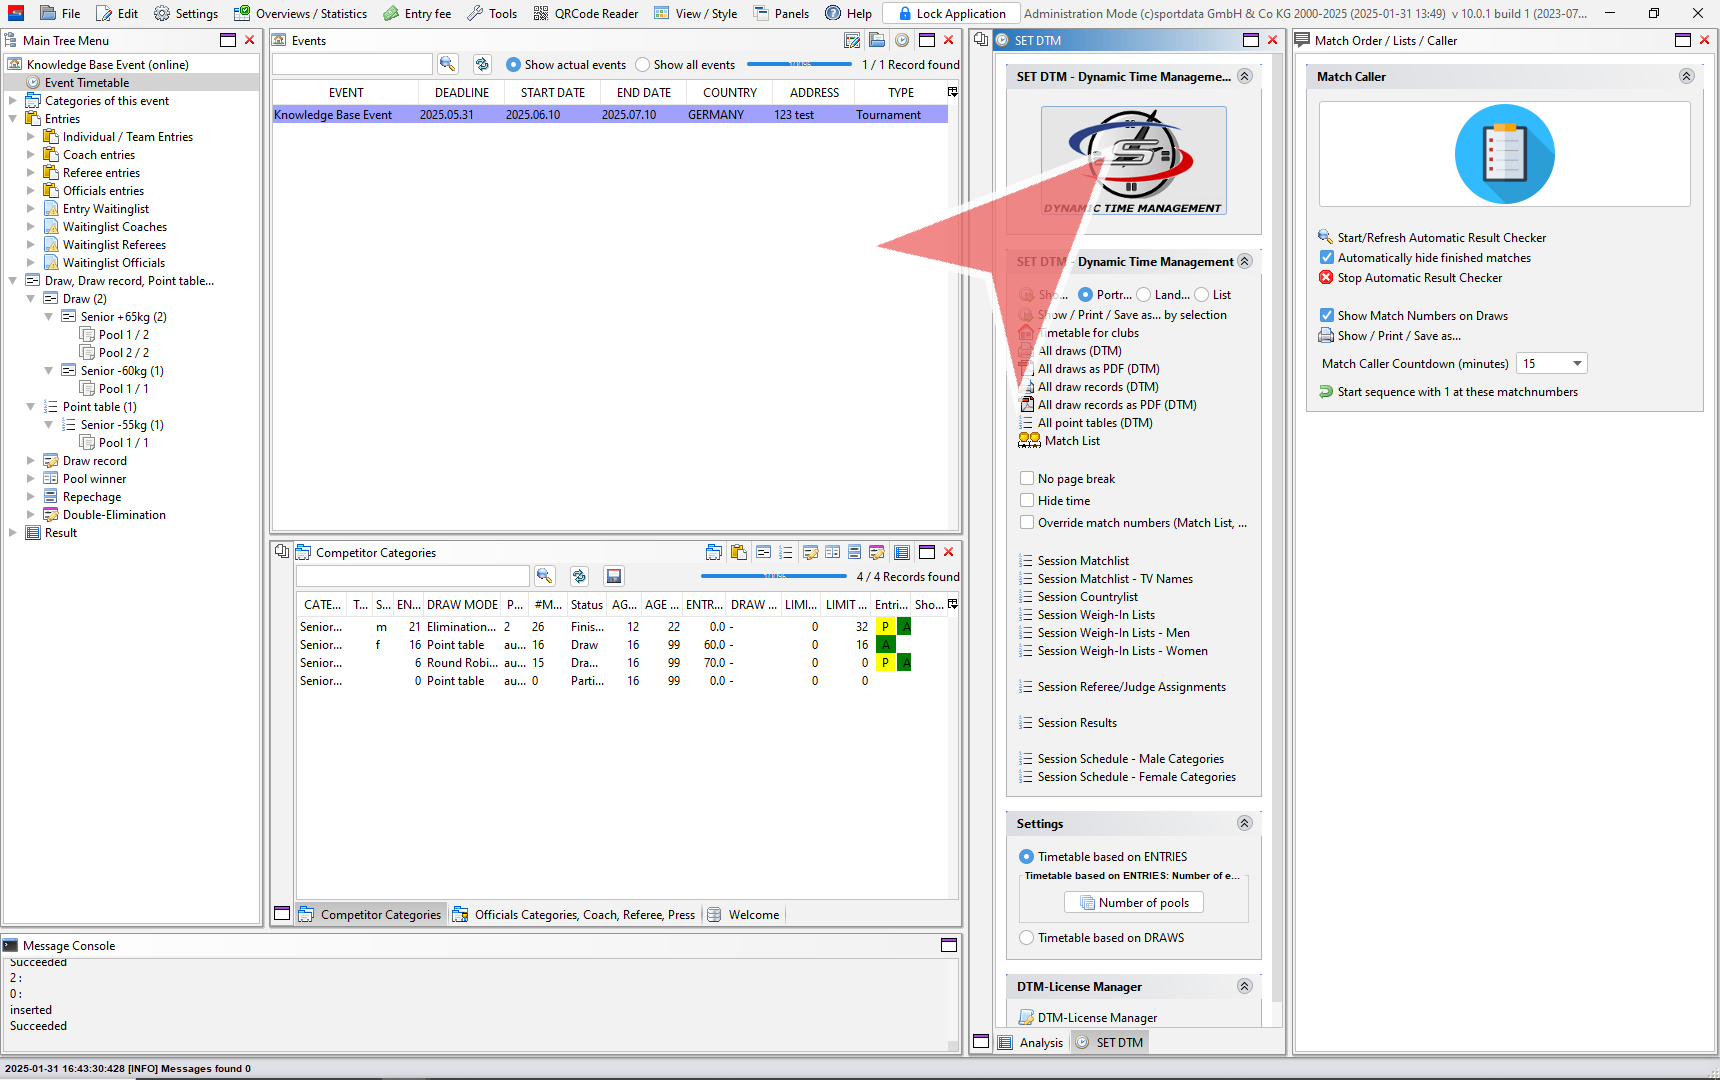
You can see that each individual match includes match numbers and names.

Delete Matches

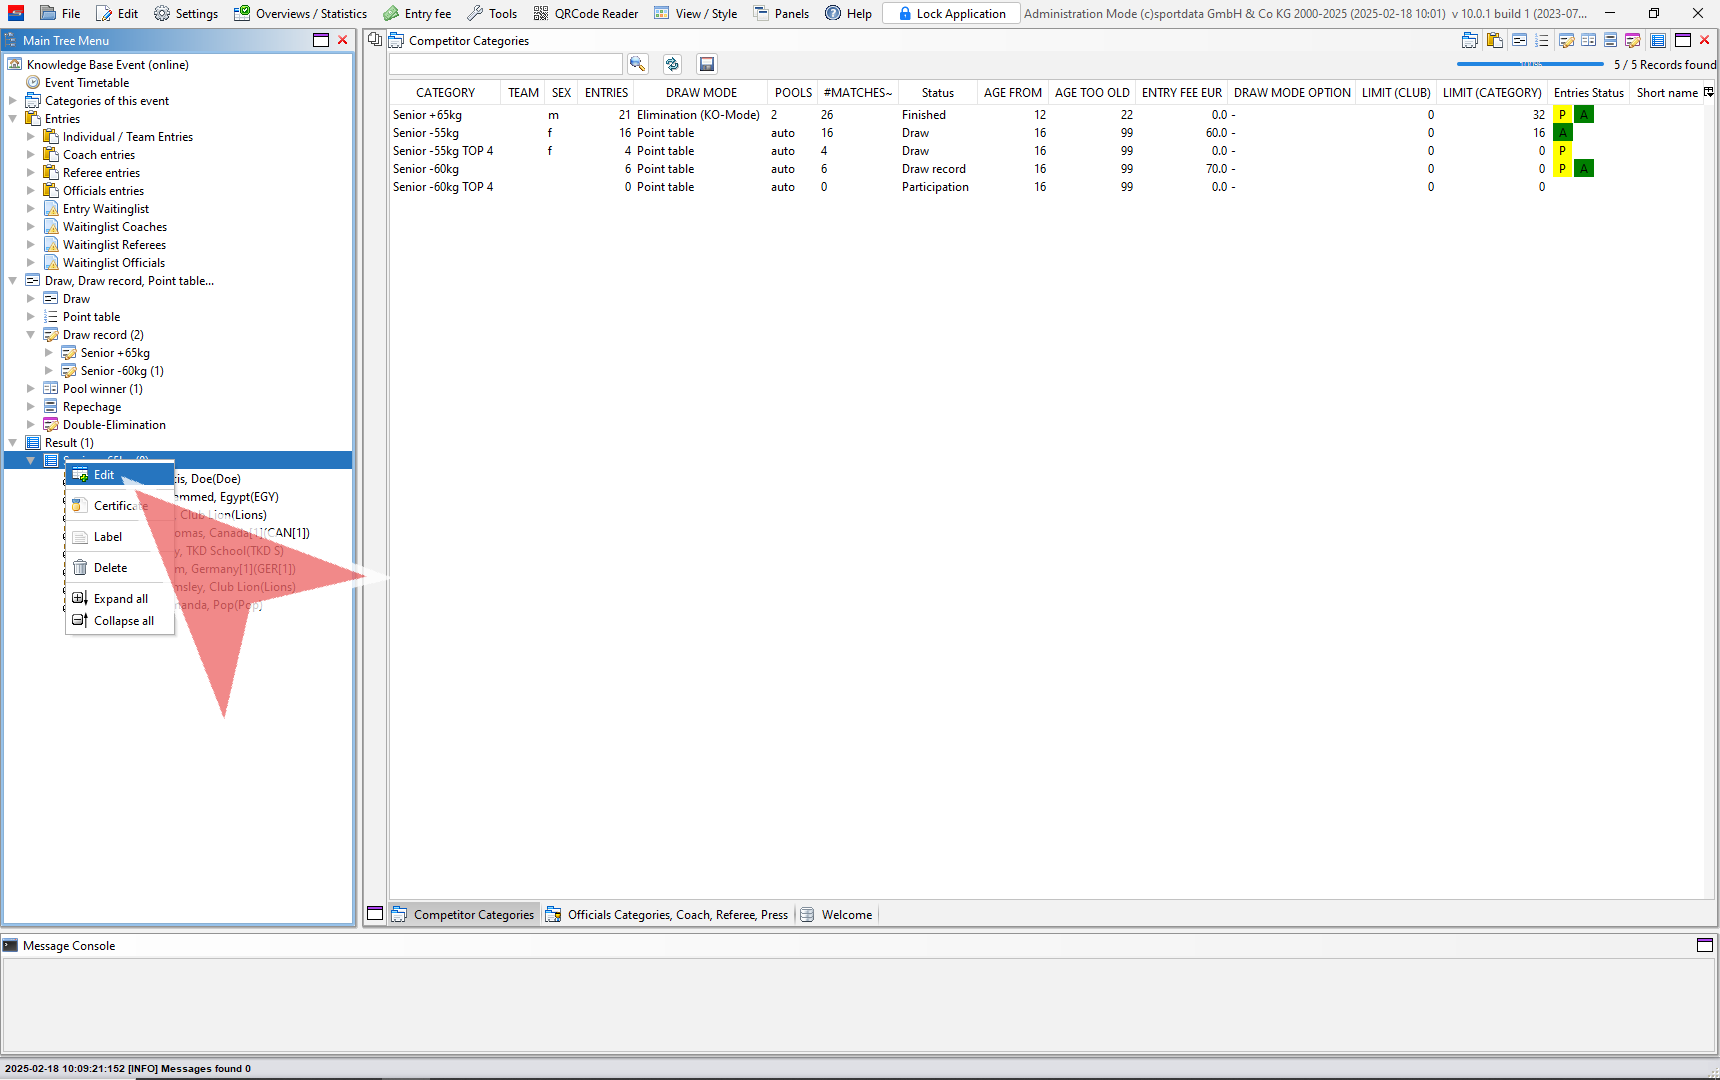
To delete a match right click on your mouse, and click on delete item.

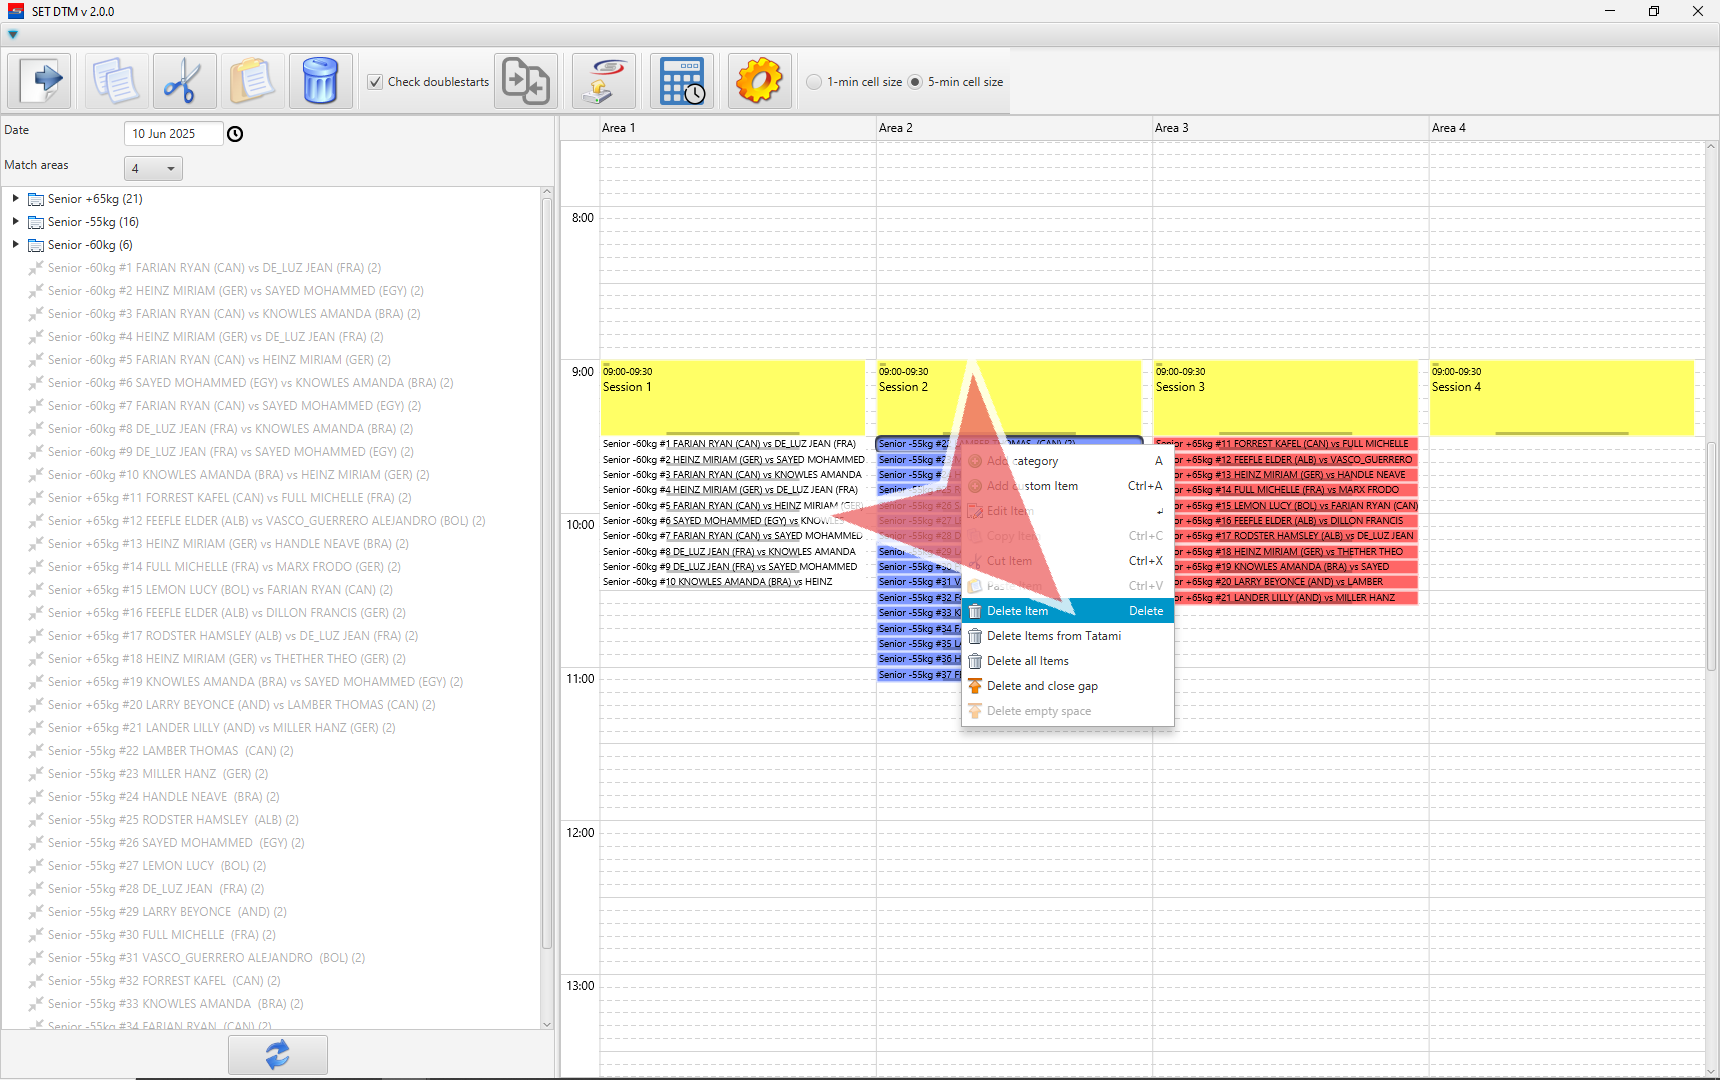
You will see the deleted match returns to the left column.

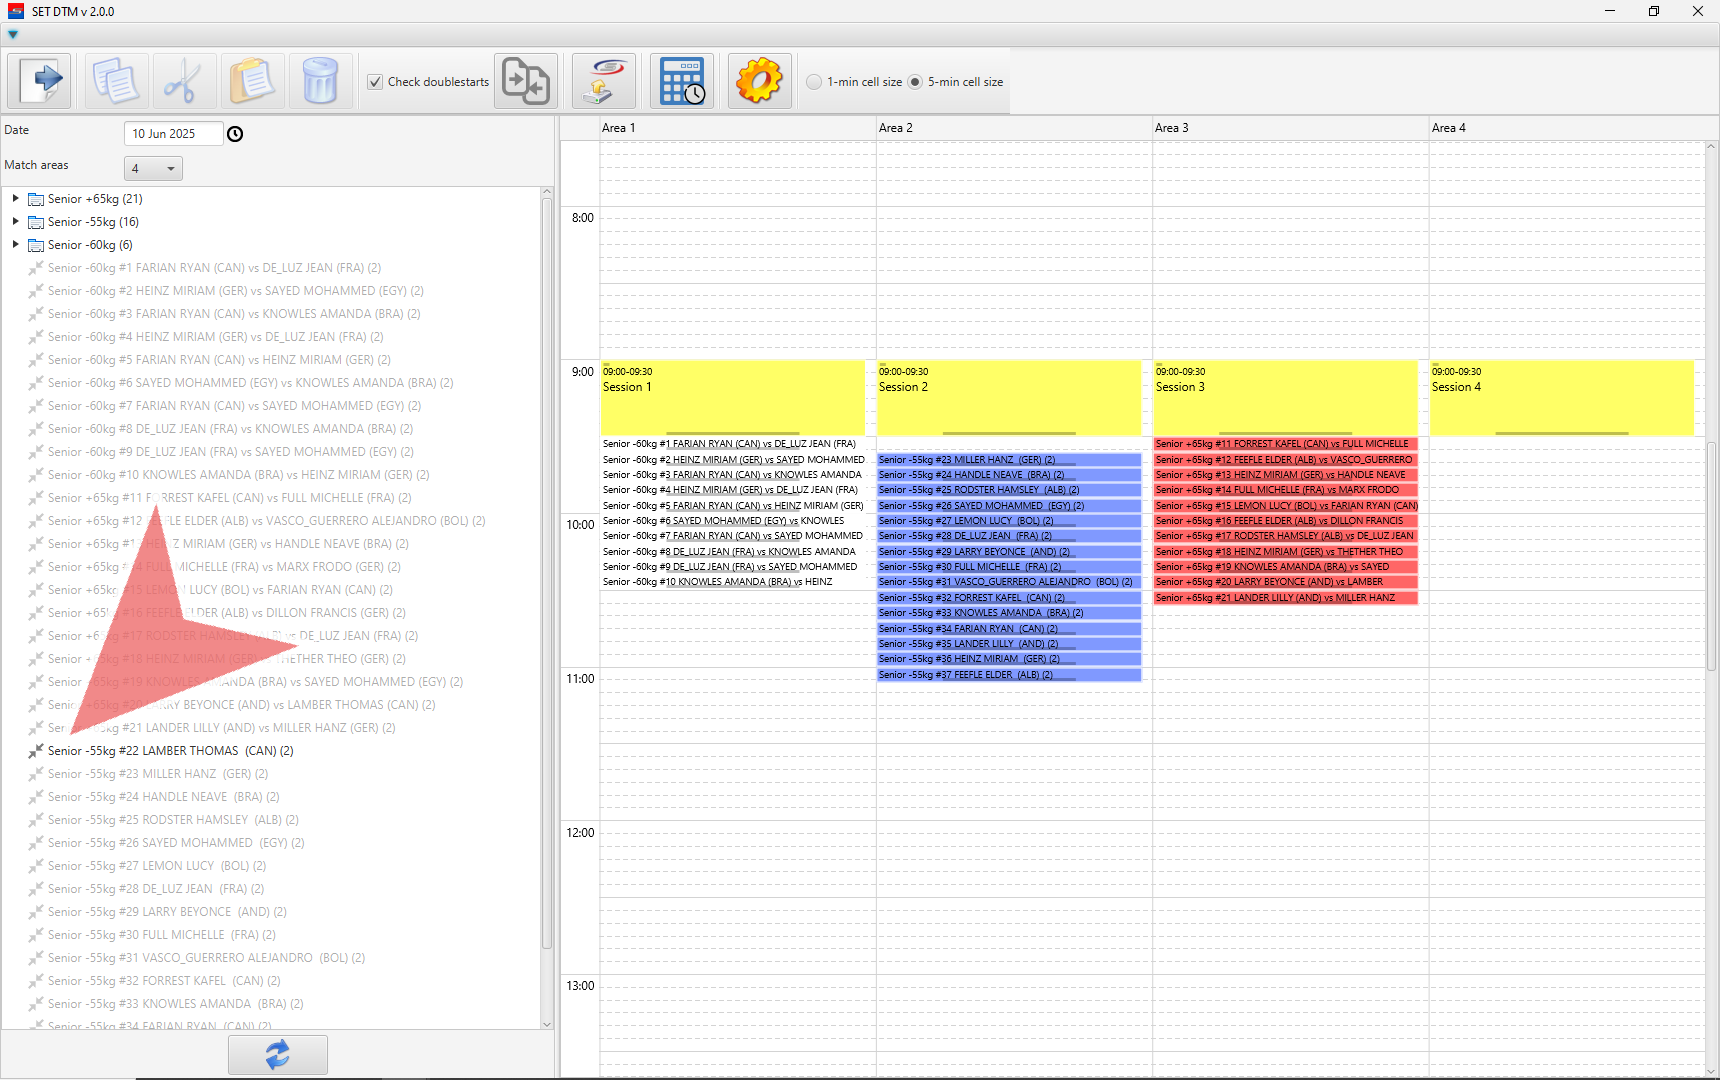
To add it back, you can drag and drop, or Press A button on your keyboard.

If you want to delete matches from the match caller,select match and press delete matches
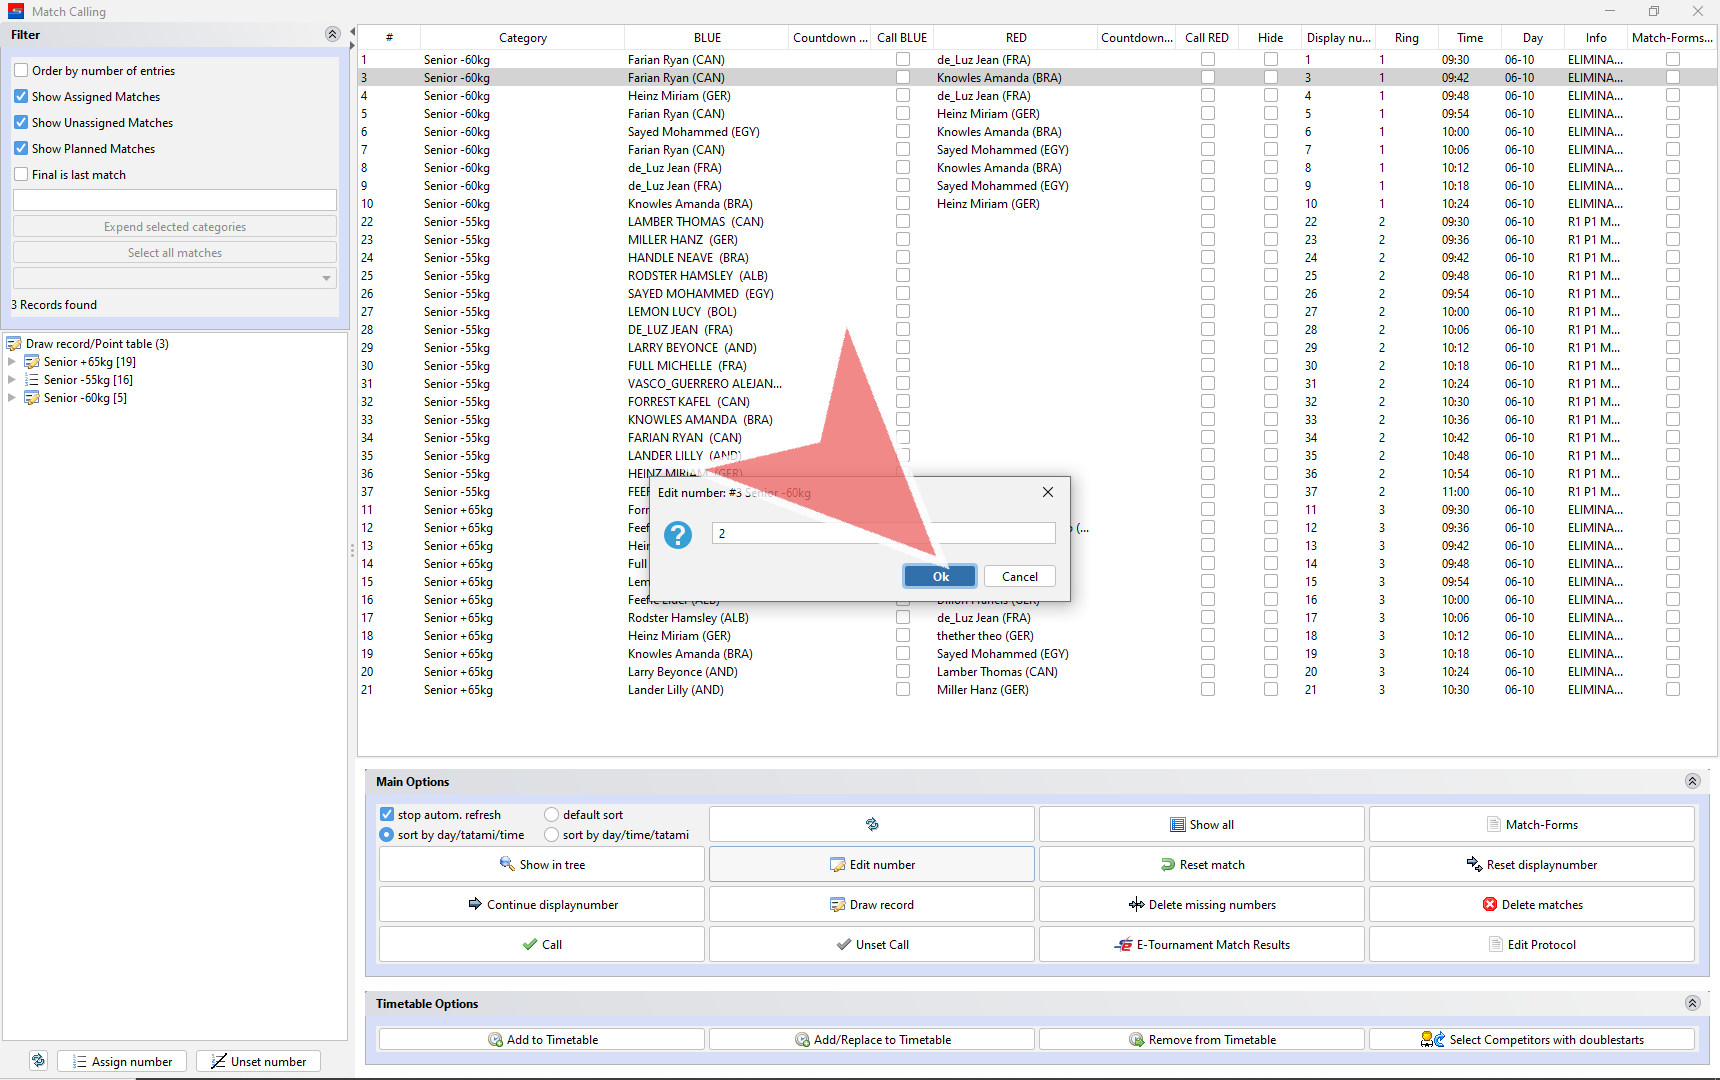
Edit Number

You can also edit the unique number in the first column by pressing edit number.

Assign a new number and press okay.
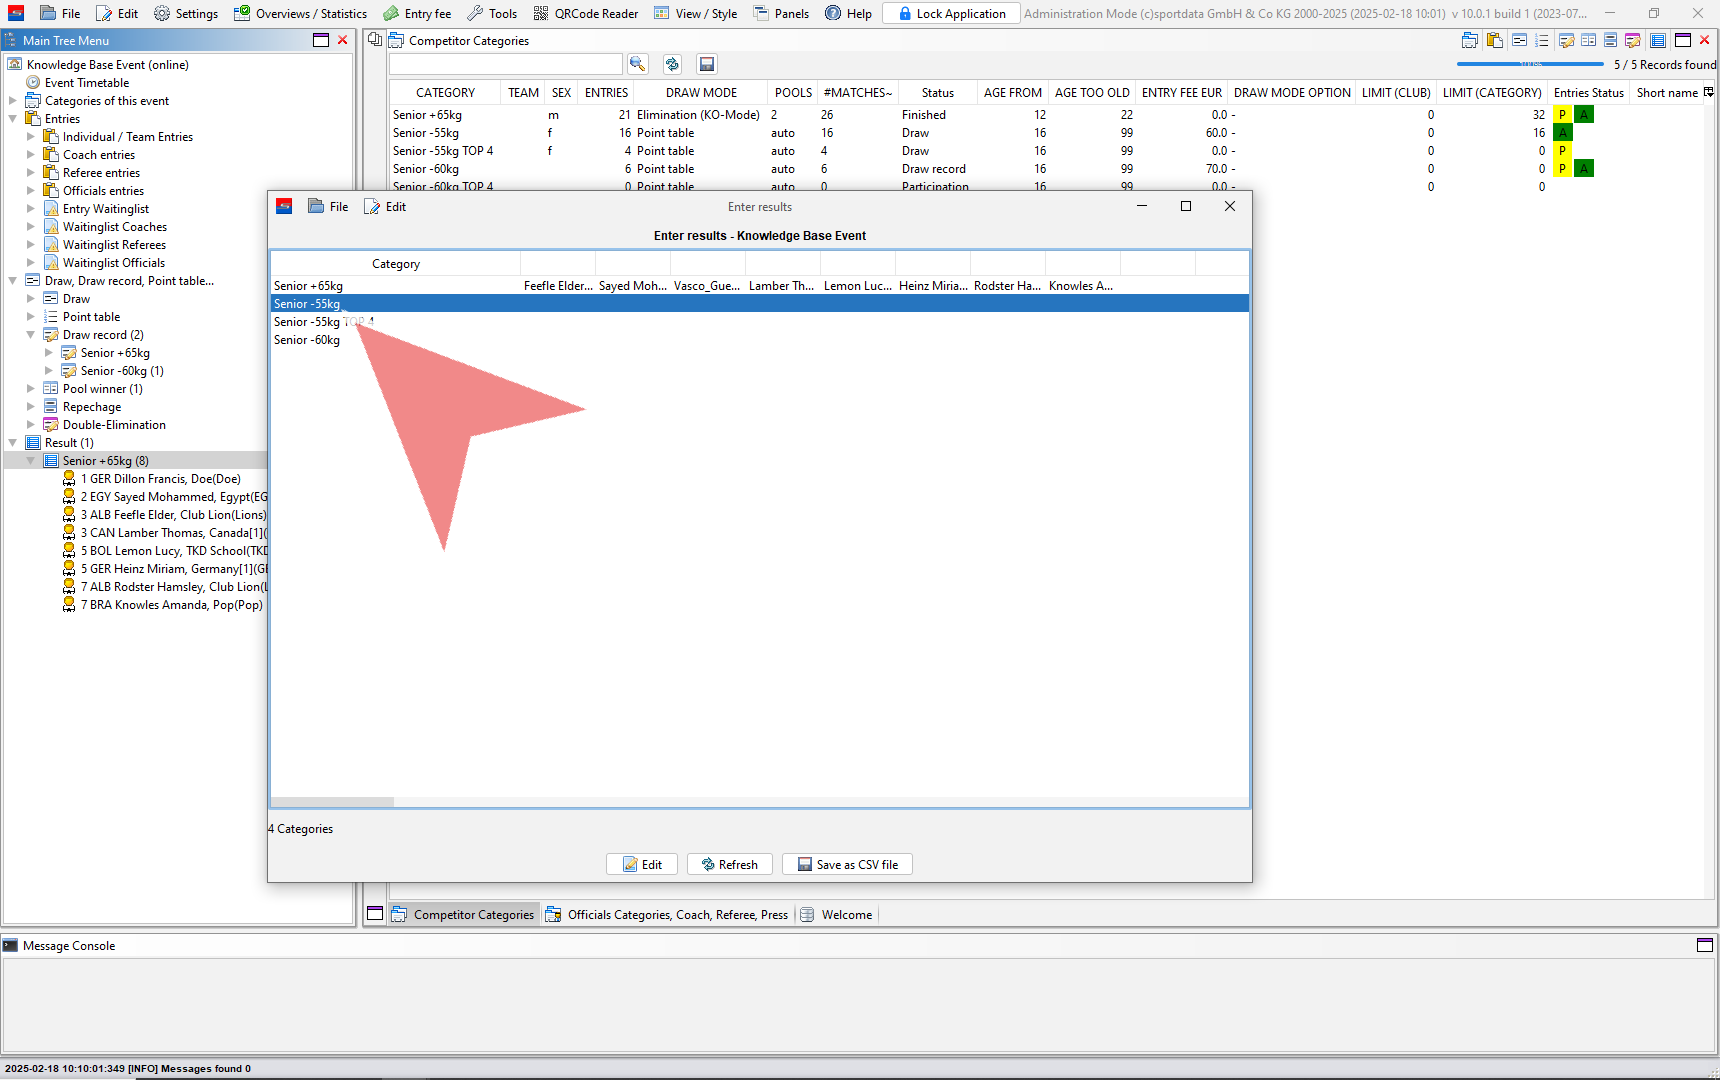
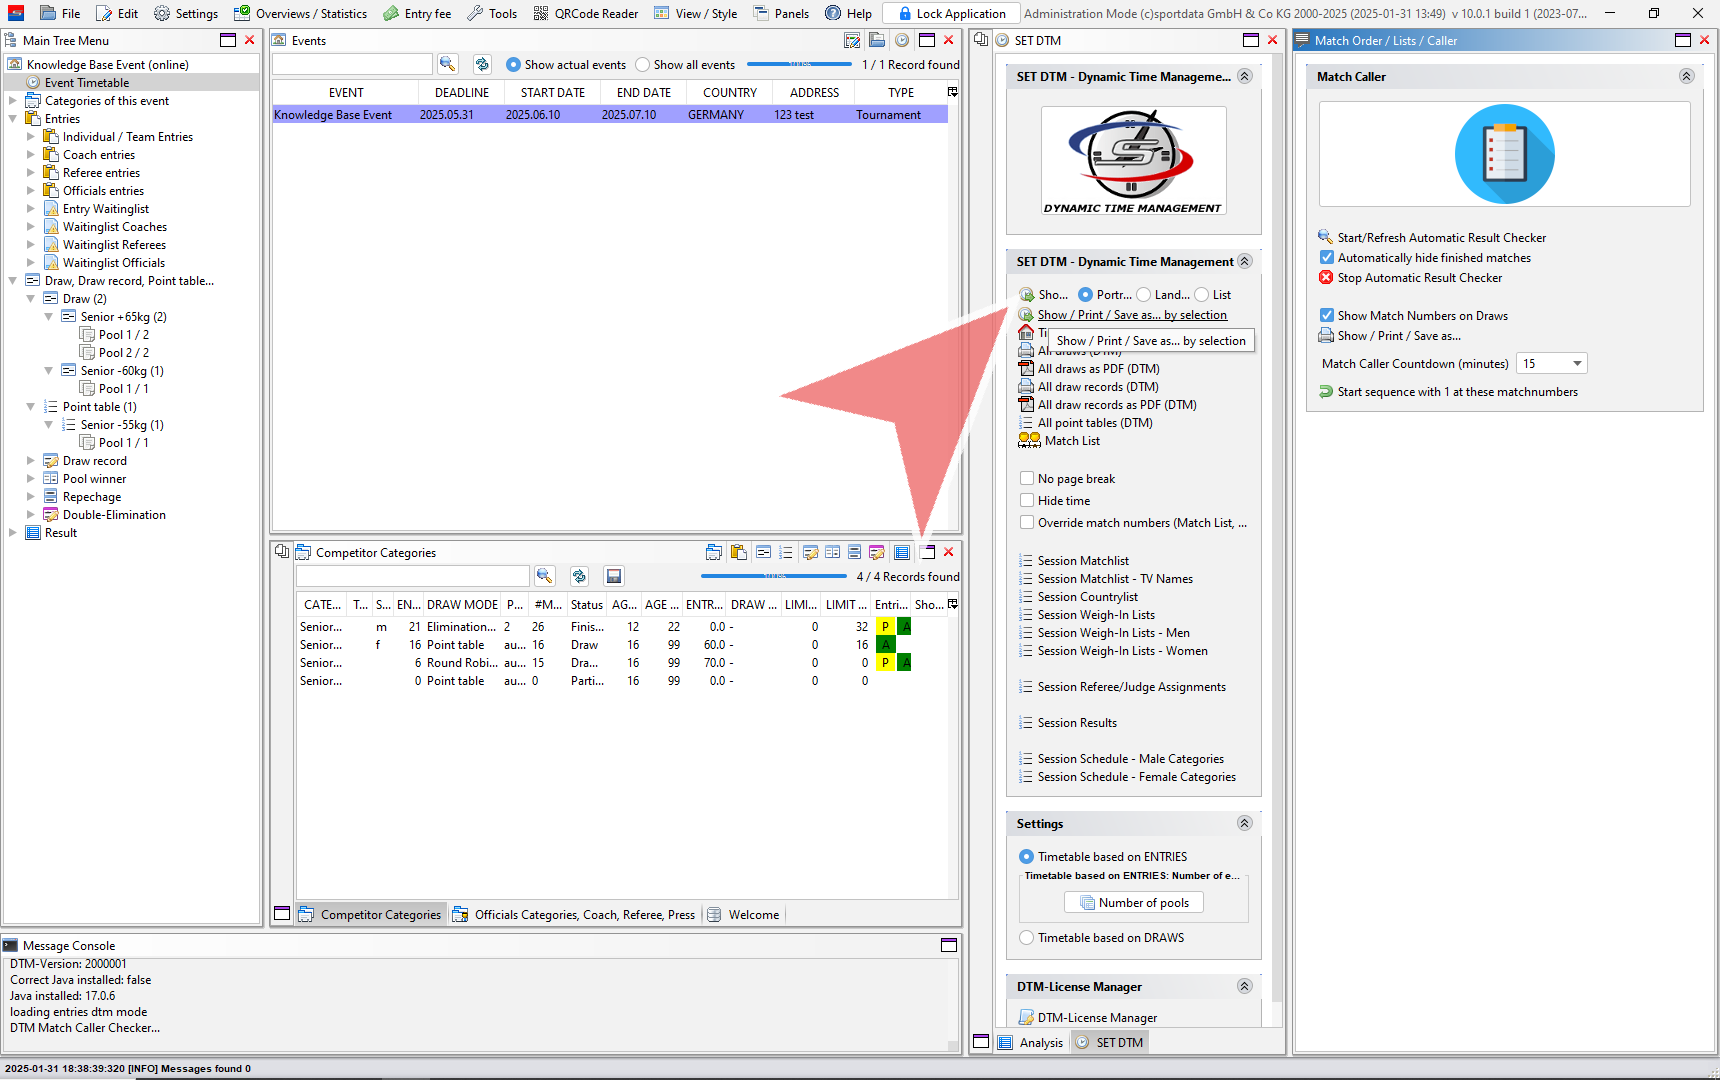
Session Matchlist

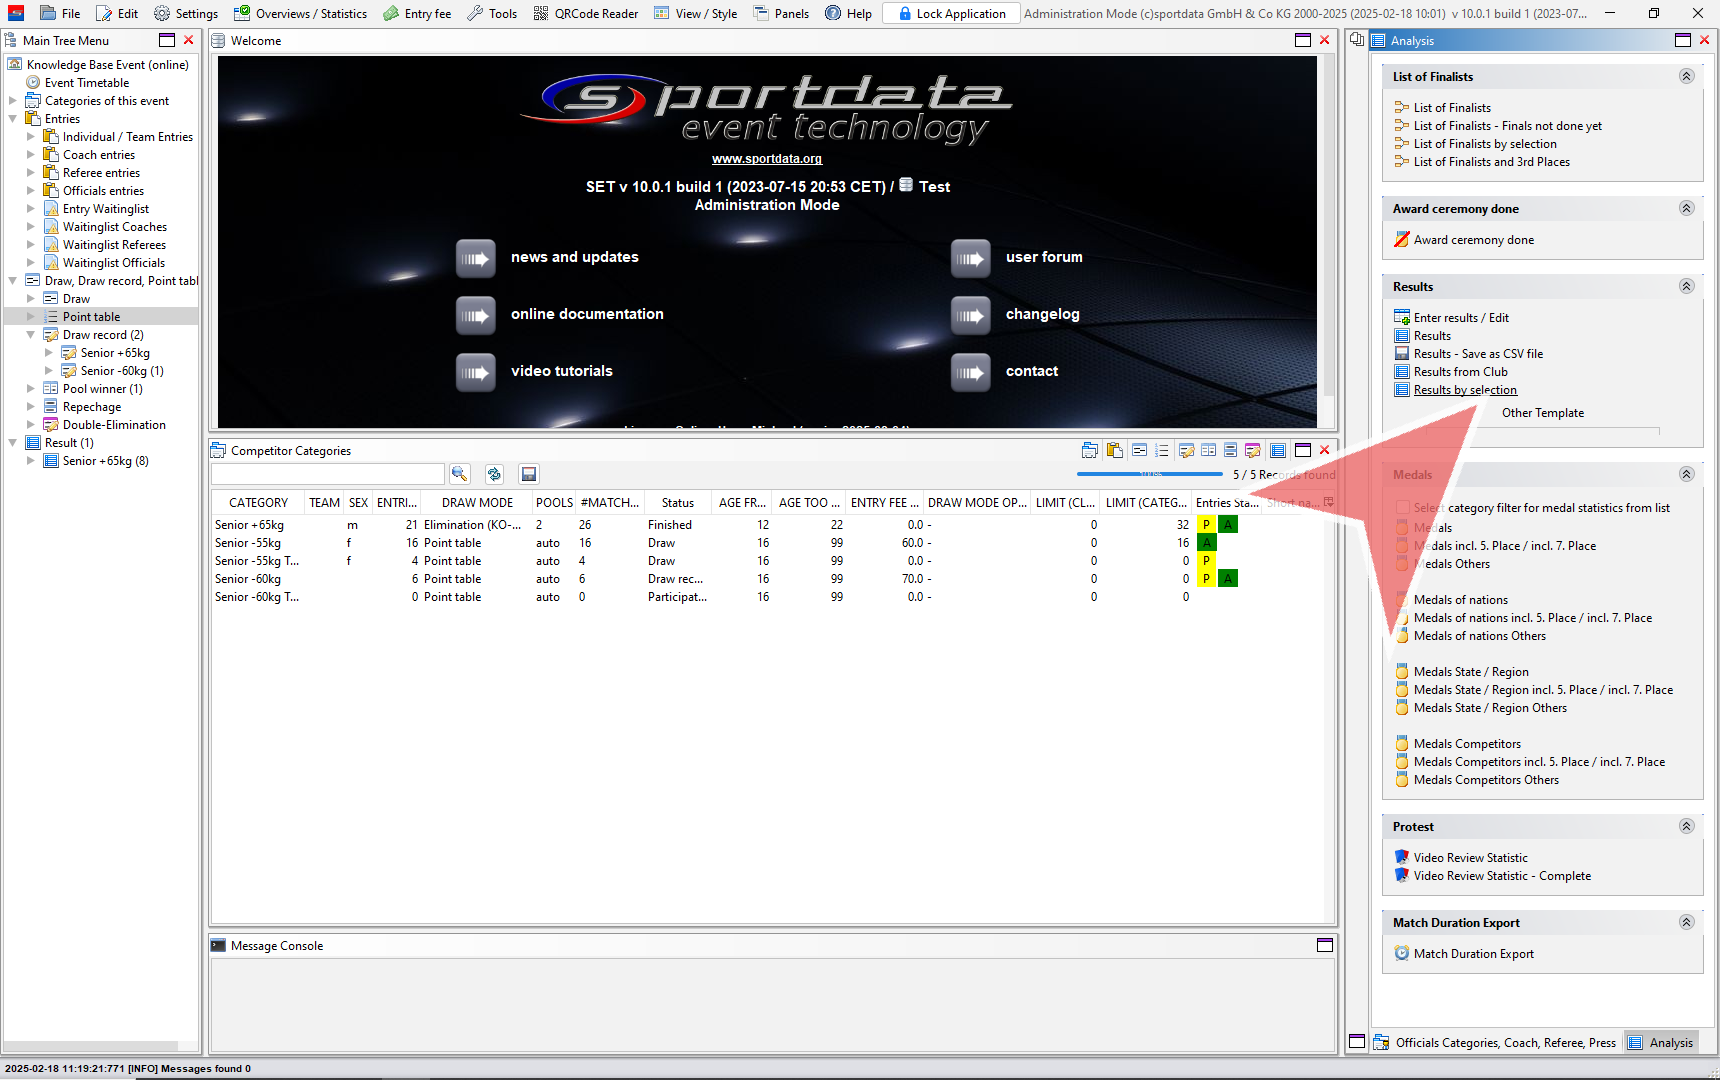
Now, that your match caller and timetable are finished you can now generate session matchlists.

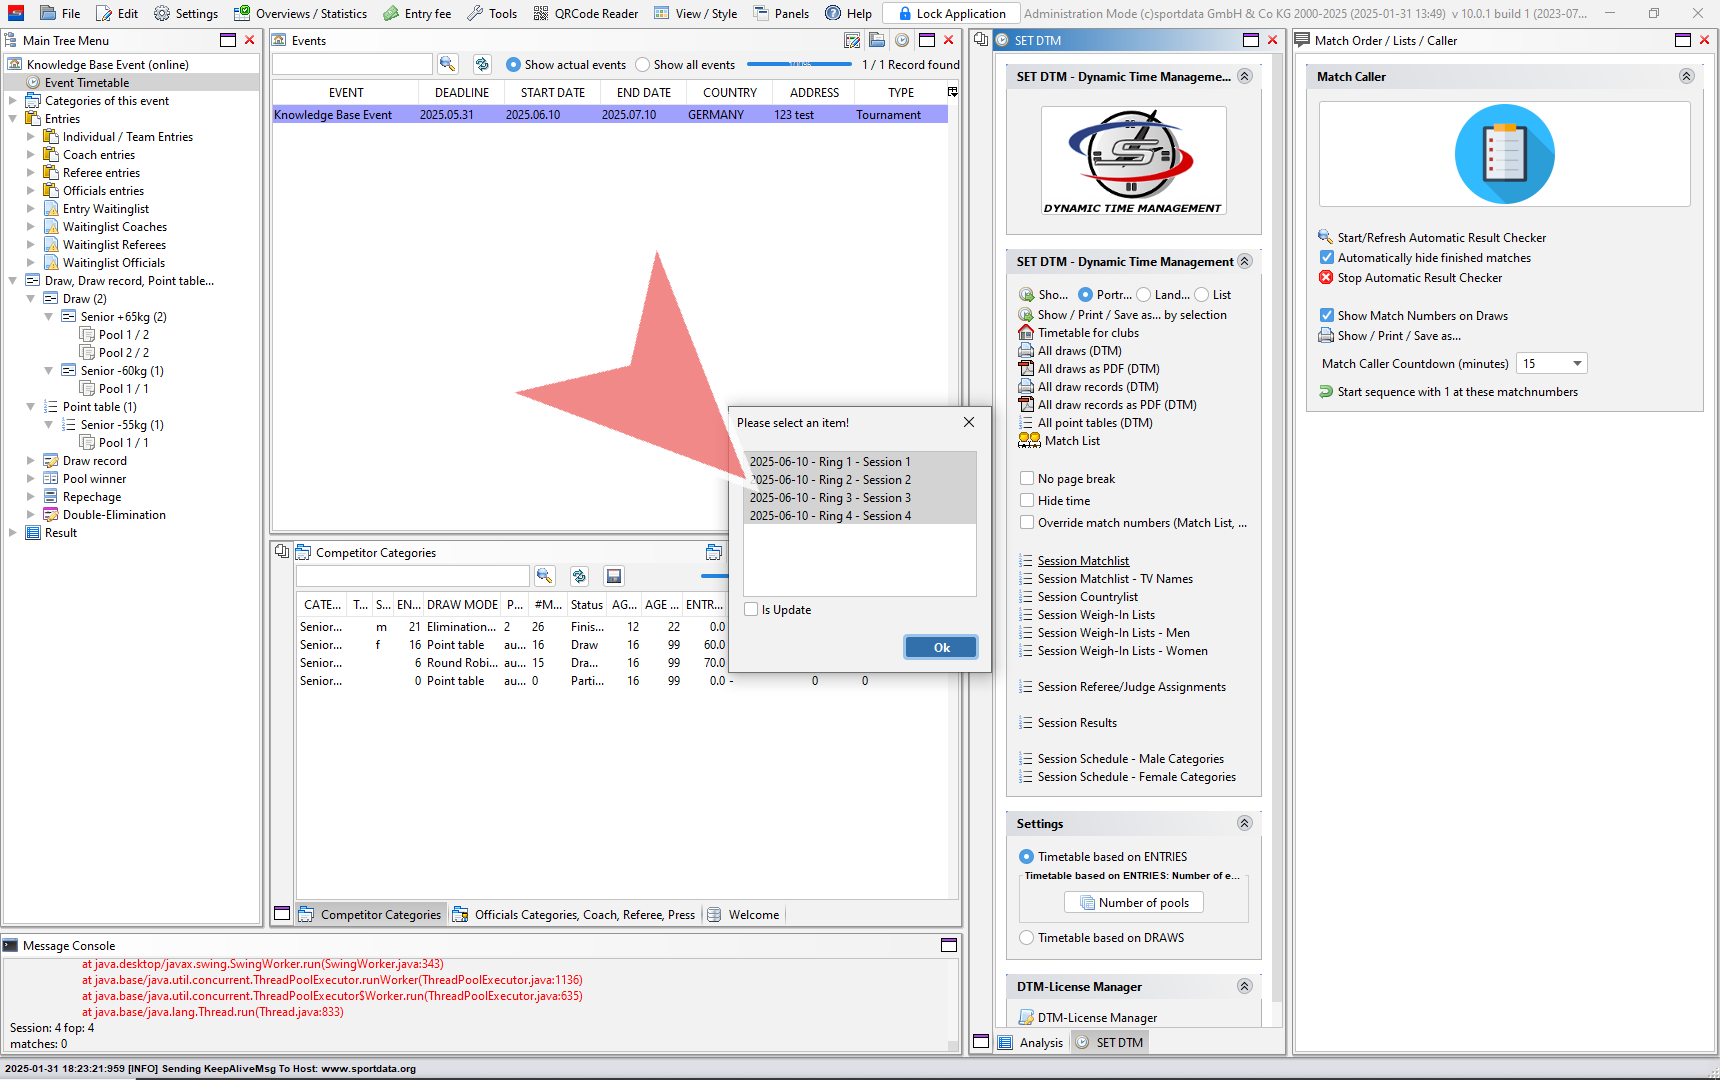
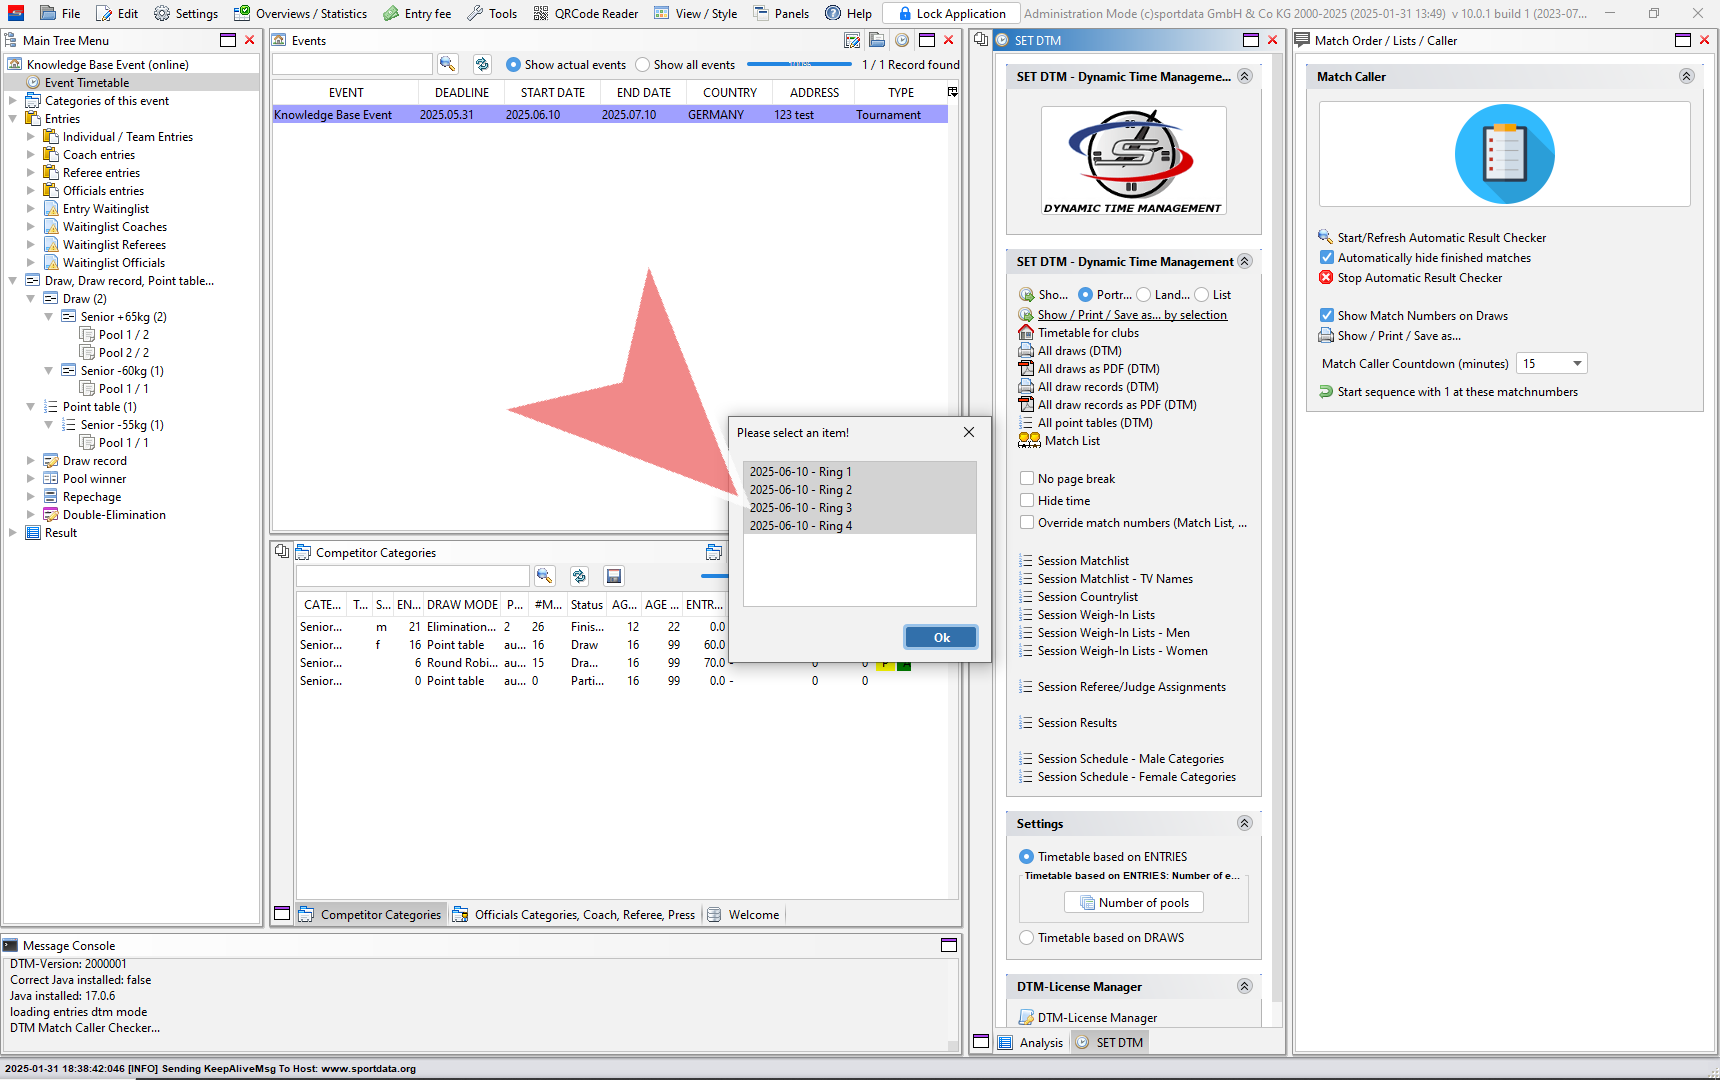
Select the match area you wish to see. You can select more than one.

You can add logos to the top right and left of the page by going to the setting, uploading your logos, and regenerating the lists.

Timetables

You can also generate the timetable with all match areas side by side by clicking the first button, and one area at a time by clicking the second show button.

Click on the match areas you will to have in the matchlist. To highlight all areas press the shift button while pressing the down arrow on your keyboard. 

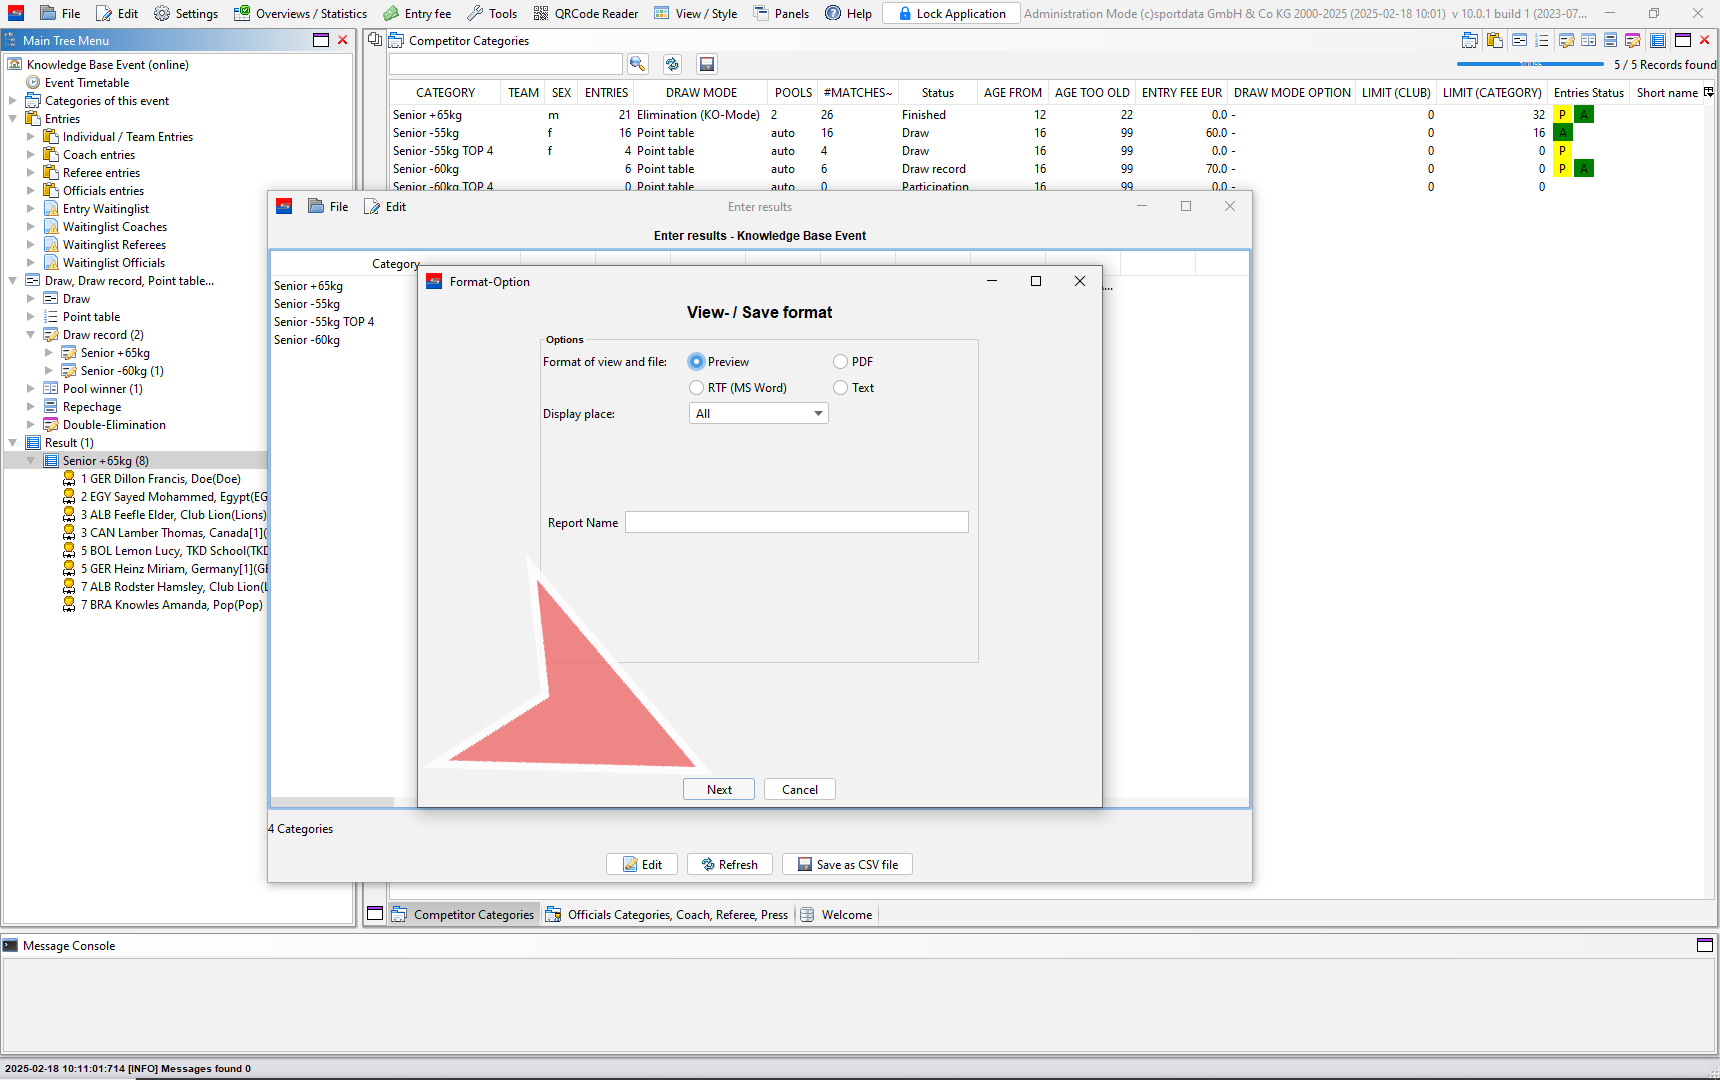
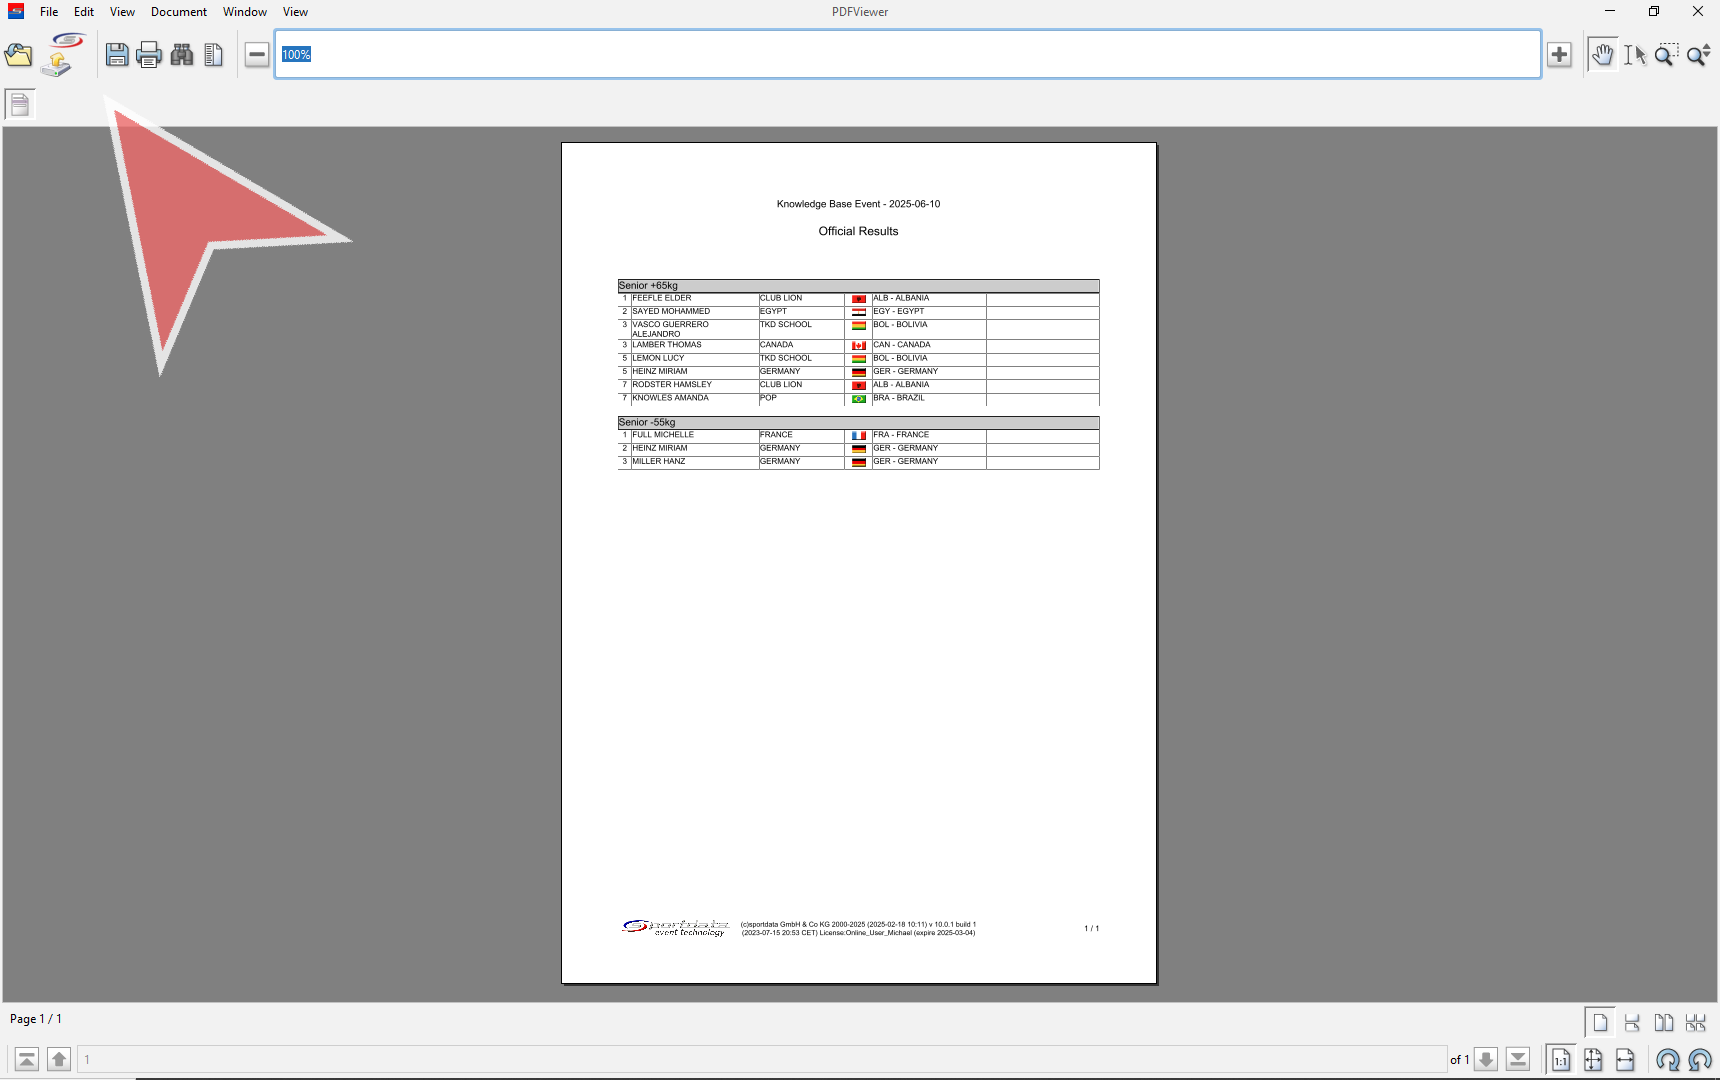
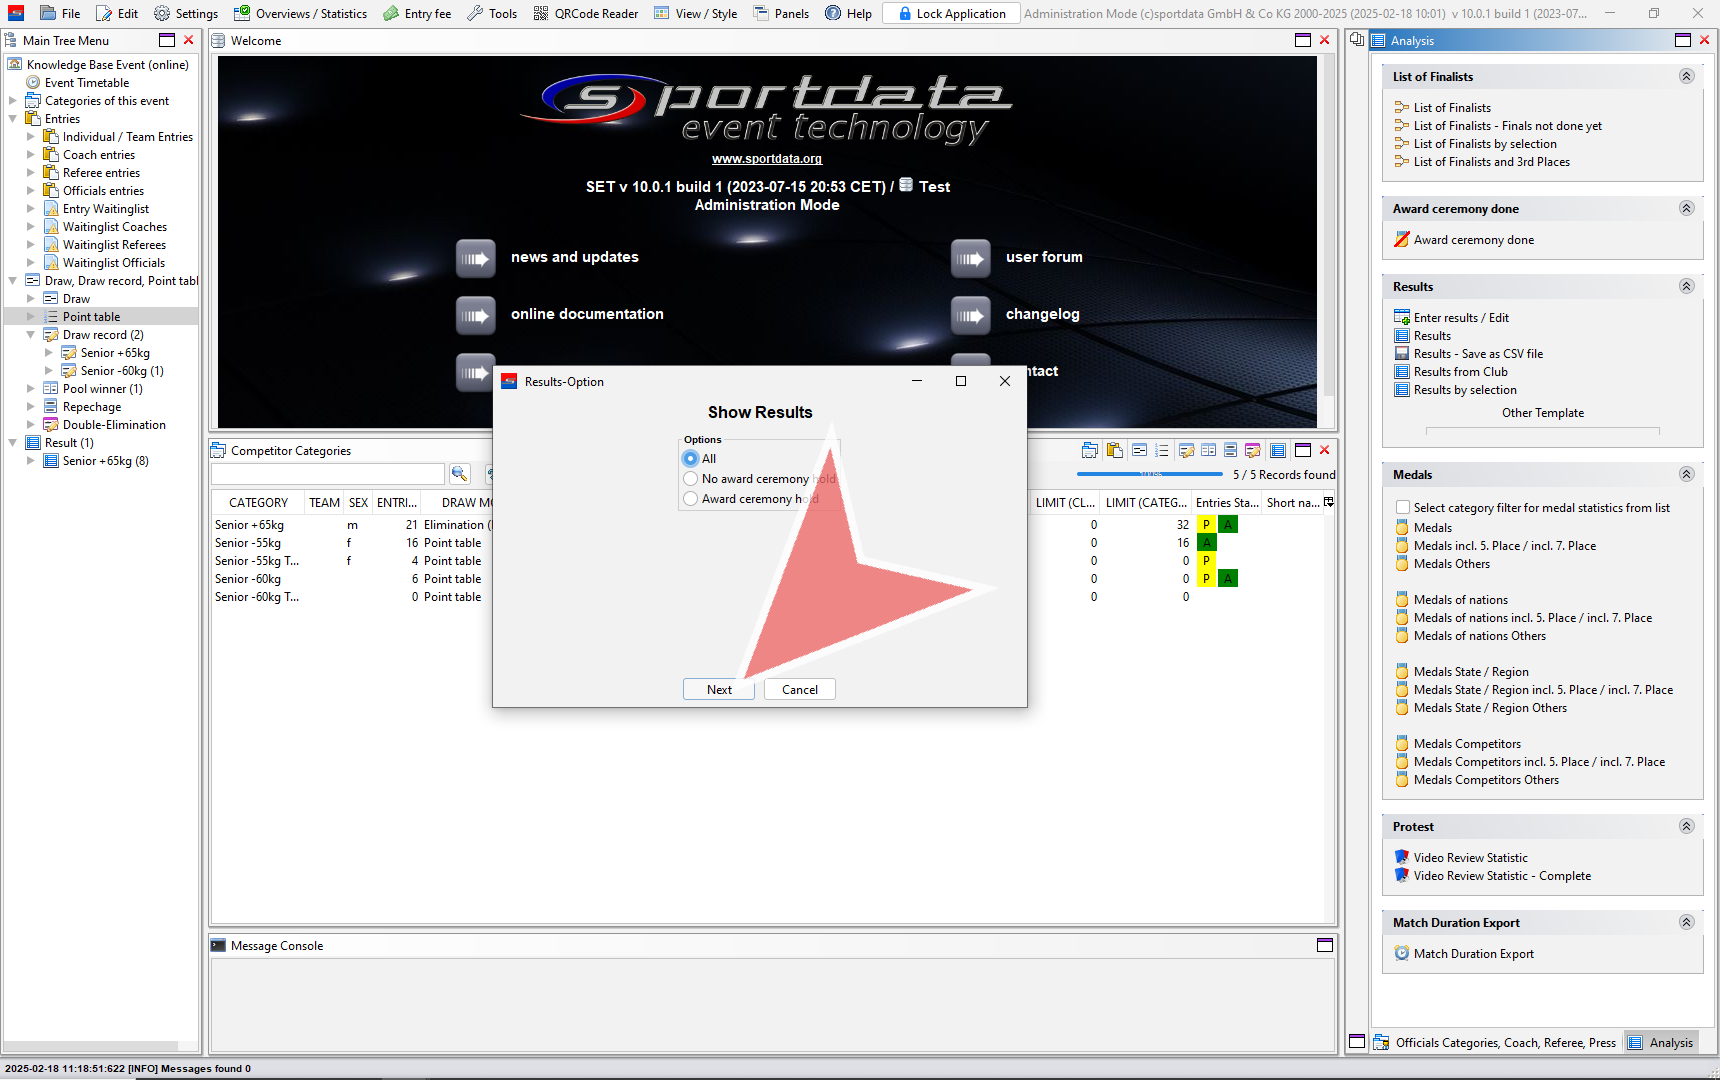
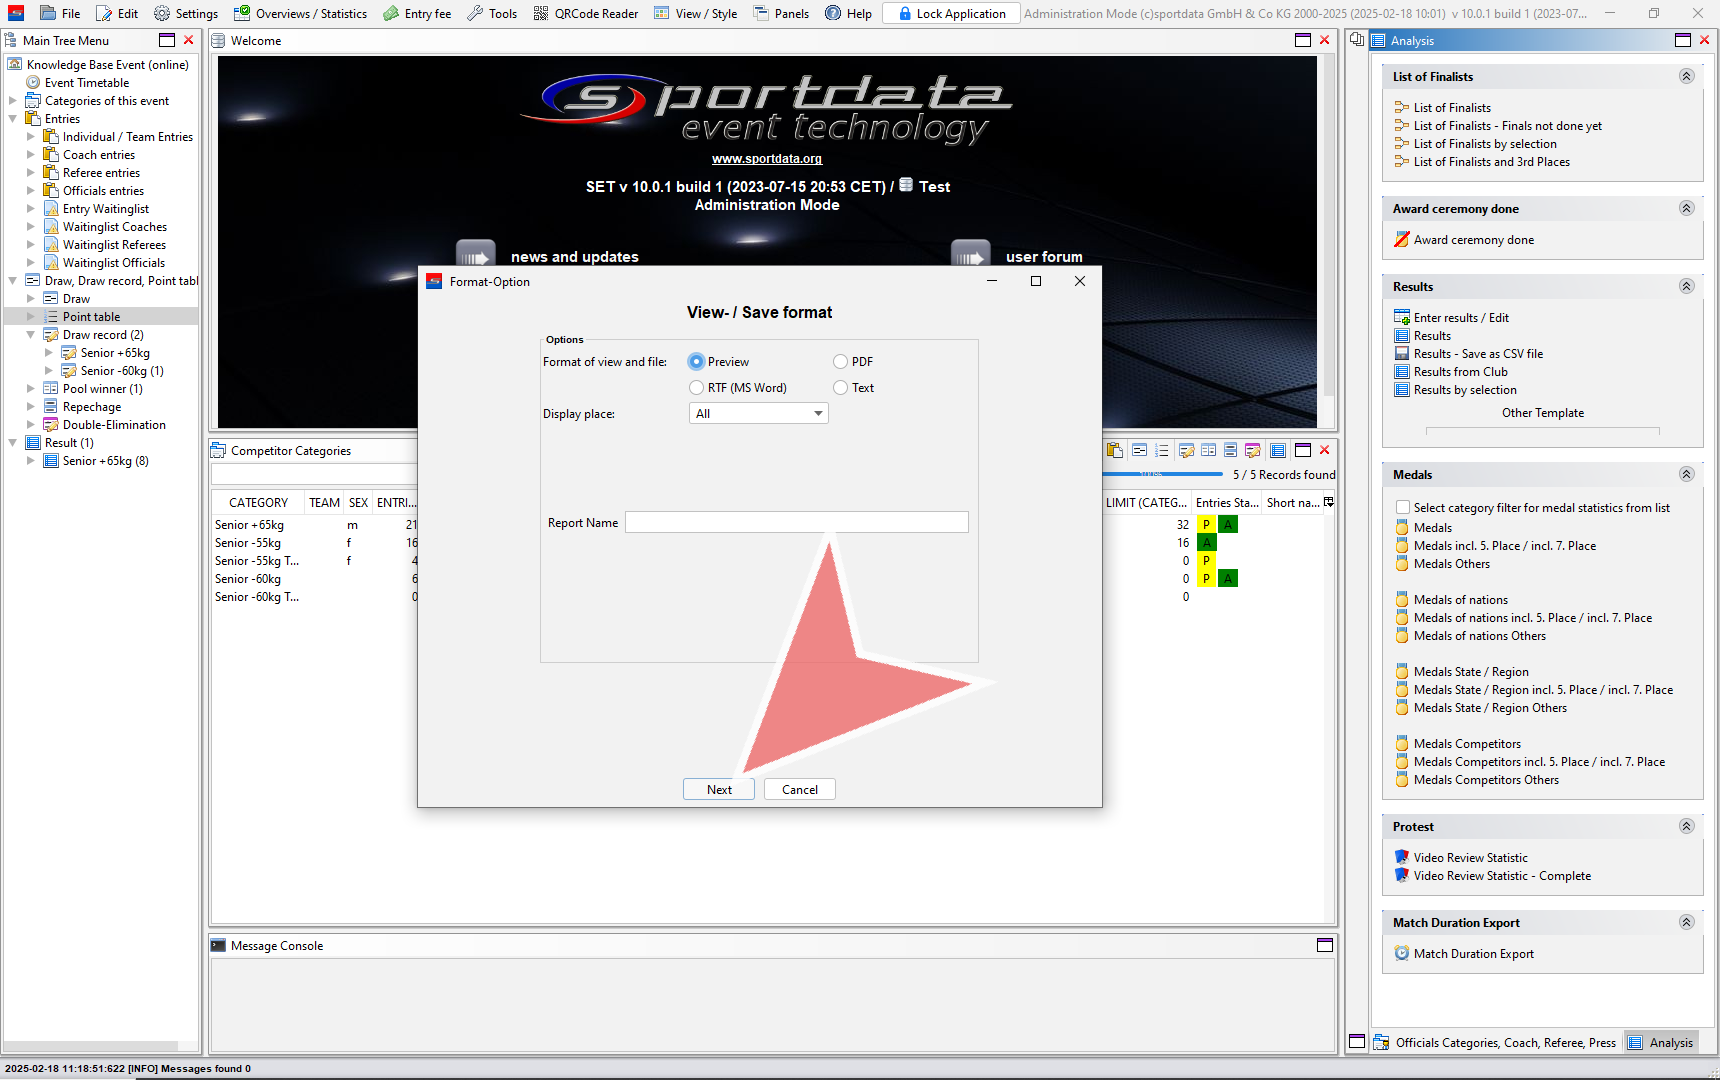
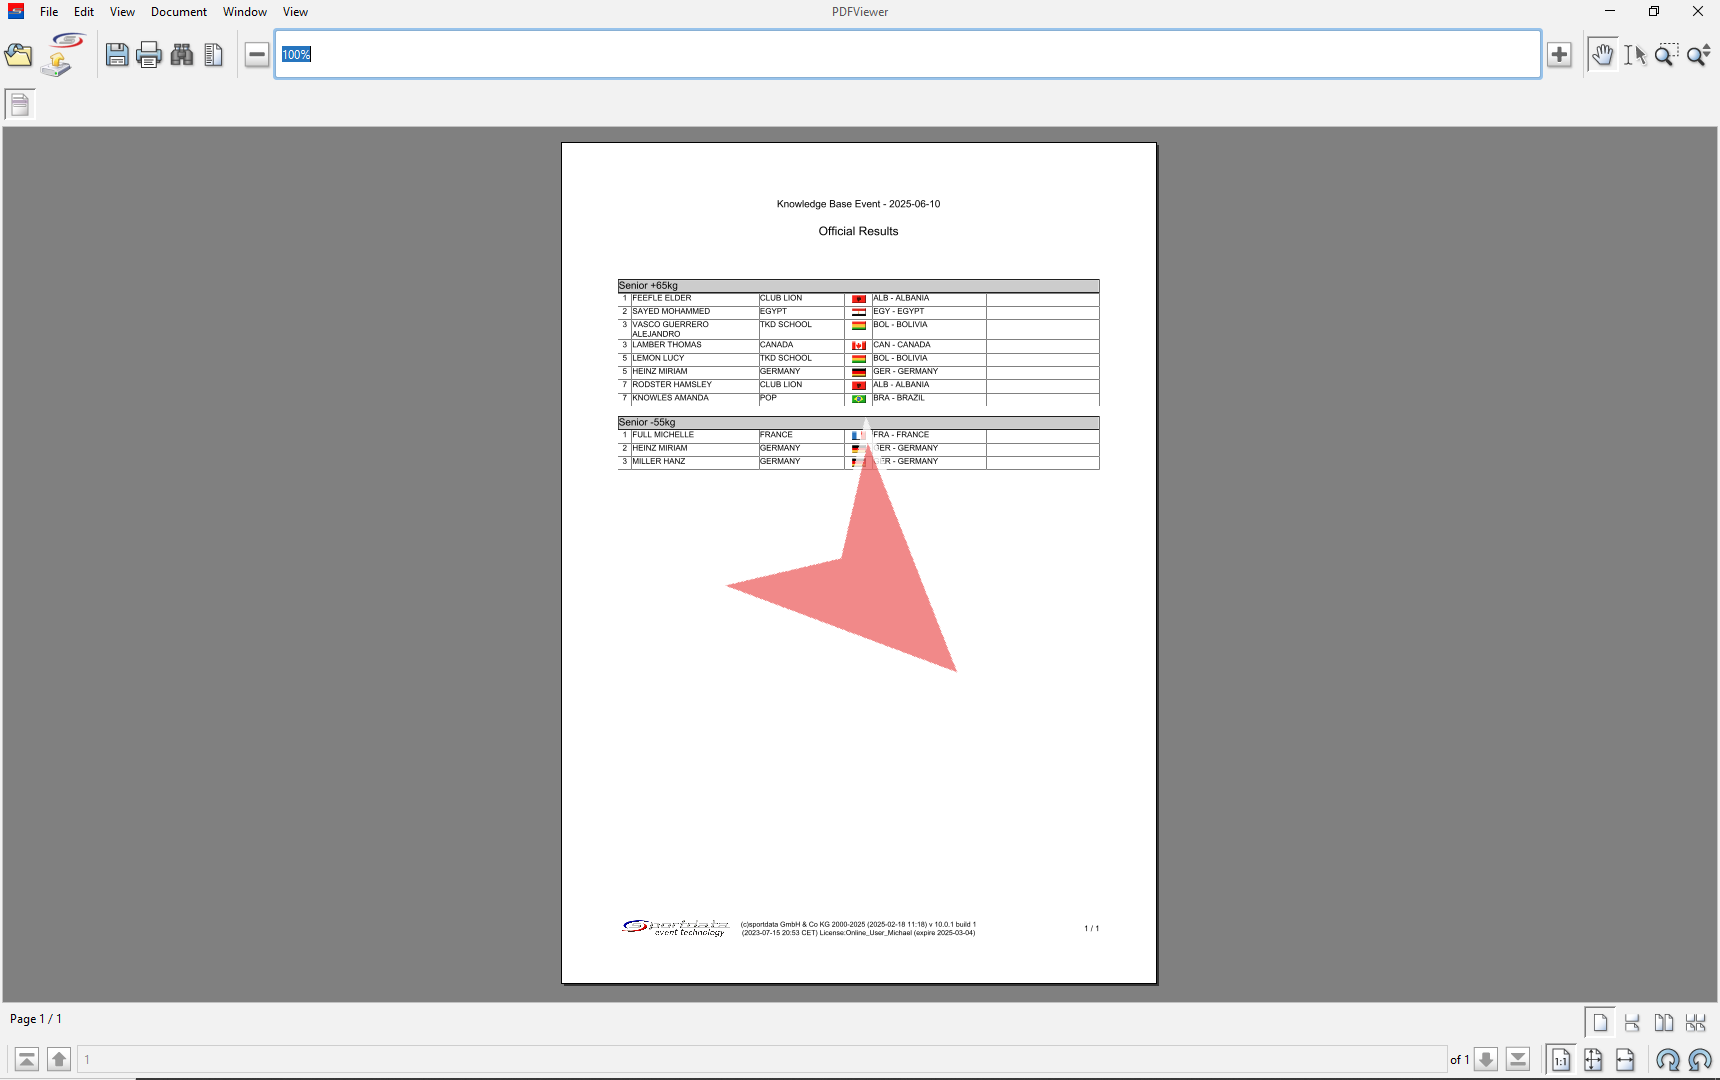
Select option. In preview, you can later convert to PDF and print. 

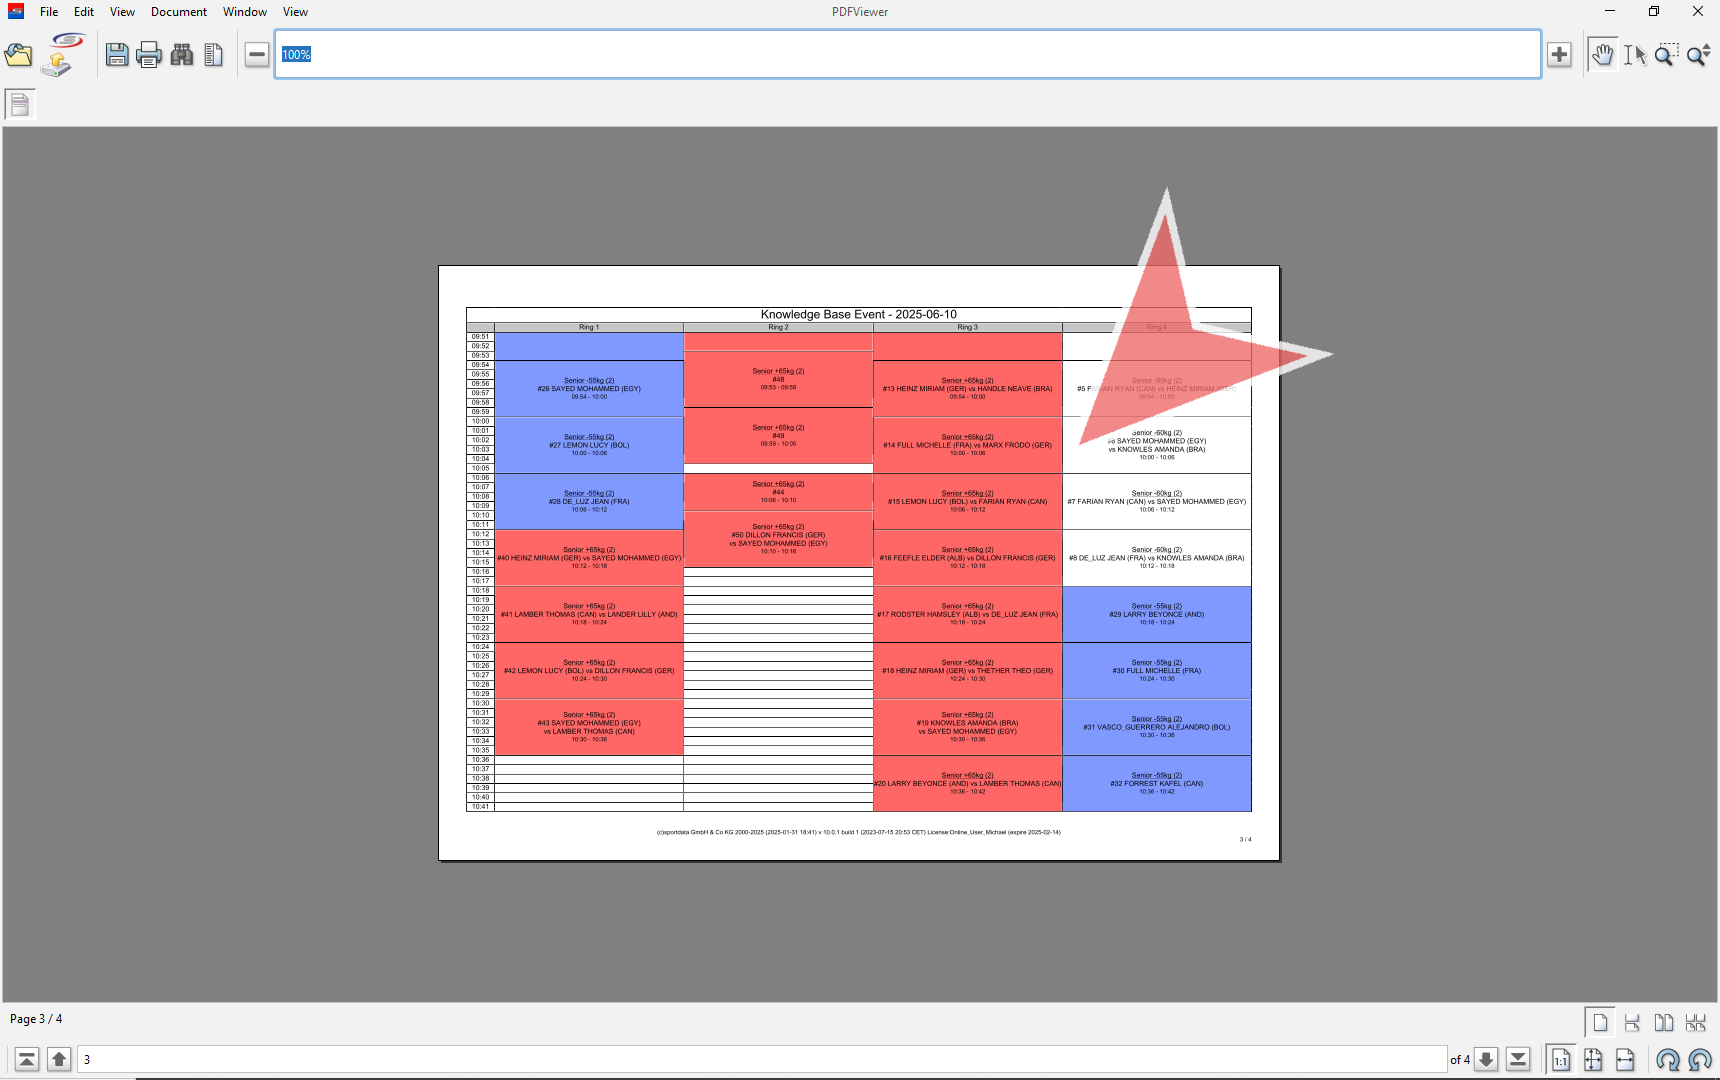
Example of the timetable generated using match caller. This table can also be produced just by adding categories and pools to the timetable, however you will need to determine the match order which can be done by the draw records by going from top to bottom.

Guide to Running Events with SET Pro

Getting Started

This guide is your roadmap to confidently planning and executing events with SET Pro. It covers event planning, hardware, and procedures, with links to step-by-step instructions for setting up and managing your tournaments.

Maximize your expertise with resources like our Knowledge Base and the SET Pro Demo Platform—a free tool that grants full access to the events platform and SET OVR software, allowing you to practice and refine your skills.

The SET Pro is an event-based licence that provides access to the events platform, SET OVR, Timing & Scoring, and Video Review software. Your licence is activated when you create an event in your chosen Events Platform.

Download the SET OVR, video review and SET Scoring app, then sign in to your SET OVR app using your event manager username and password.

Running the Event with SET Pro

Event Preparations
– Prepare event program & bulletin
– Select an Event Platform (WKF, WAKO, Ju-jitsu, etc.)
– Create event manager account
– Create event online
– Determine categories details – add new categories (online), copy categories (online), edit main data, draw mode, entry fee (online) , etc.
– Create accreditation and/or certificate graphic template
– Design accreditation and certificate graphic digital template (Download Pentaho 7.1) or use templates
– Generate Accreditation and Certifications & send to print office
– Design venue map (add tech table and scores table)
– Prepare equipment list
Onsite Registration – Entry Management
– Export online event database & Import on SET OVR software (after online registration closes)
Entry Management – register & validate entries onsite (add, remove, change entries categories, status, etc.)
– Weigh-ins – connect electronic scales or manually input weights.
– Medical checks – writing comments, changing status, tick checkbox
– Final review – confirm status for all participants.
Tournament Matches & Schedule
Seeding of Entries
– Generate draws, point tables & save draw records – double check and publish online
Build matchcaller – For match by match planning & convert it into the DTM Timetable
Create DTM timetable – Scheduling by category and pools.
– Export schedules & printouts – DTM, Matchlist, session matchlist
Upload draws, timetable online
Upload pdf versions & send links via email system with links
a. Tech Table Setup
Local area network set up – server laptop, router, switch, LAN cables
Server laptop set up
– Configure Windows/ Mac Os settings (time, date, screen, sound, firewall, windows update, screen saver, power, network)
Test network latency (delay) – 1m/s or less via ping command
– Import event database to SET OVR using local database into Server Laptop – admin mode
– Add new user to local database – when working on multiple devices
– In venue results management laptop set up (admin mode) to manage competition data.
Information system laptop set up for warm up screens and/or LED Wall
– Set up SET PSS (live data) & activity monitor
Others: secure power sources, set up printer
b. Scoring Tables Setup
– Connect LAN cables from tech table switch
– Configure Windows/ Mac settings (time, date, screen, sound, firewall, windows update, screen saver, lock screen, power, network)
Test network latency (delay) – <1m/s via ping command
– Open software & Log-in to field of play mode (tatami/ring)
Assign client name (ring 1 etc.) & go to panels to open, main tree, categories, and match caller.
Timing & Scoring – configure point panel settings
– Connect to scoreboard interface: monitors or LED walls – turn off sleep mode on tvs
Tip: operator training, secure power plugs, and cables.
c. Scoring Devices Setup
Tablets
Sportdata´s web app & scoring app set up
– Third party scoring devices integration
Weiss Brand kumite scoring clickers
PC Gamepads
Taekwondo Deado PSS TKStrike & KPNP TKDScoring
Schlierf.IT Clicker System
– V-scoring systems
– ARBIM Clicker System (Wired)
Tournament Data Management
Set up information monitors
Set up live information online
– Venue results management: Monitor winners, points, and win types in draws records & address incorrect data input by operators.
– Monitor tournament progression – refresh draw records, compute repechage, pool winners & distribute.
– Monitor schedule – match durations, identify, and implement corrective actions
– Provide official & scoring operator support
– Prepare draw, matchcaller, schedule for next day and publish (if applicable)
Generate result book & upload document to event page
Backup database
Upload official results online

Add Logos to Reports

Interactive Demo

How to add logos to your reports

Go to settings in the menu bar, and select settings in the drop down menu.

Find and click on the Event and Sponsor logo option.

Select your image files by clicking on the search button for the event logo, sponsor logo, federation logo and, or billing invoice header logo.

Locate and click on the desired image file option.

With the images files uploaded and automatically saved, you can now check the report or form (statistics, match-list, match-form etc.) to see how it fits with your new photos.

Add an Event Manager

Interactive Demo

How to add an Event Manager to your event

In your event manager page, go down the checklist on the left hand side to “EVENT MANAGER”.


Search for Event Manager Profile

Look for the event manager in the search bar

Select the event manager by clicking on the permissions button on the right column next to the name.


Edit Permission

To grant selective access to the event managers, click the event manager button under permission.

Within this section, select the role by clicking Event Manager (full access).


Permission types

The Set Software Client Operator will grant access to the SET OVR software.
The Accounting/Entry Fee Management will grant access to entry fee payment records.
Document Upload Manager will grant access to the person to upload documents.
Result Manager will have access to the web results.


Remove permissions

To remove the permission from this event manager, click the check button under the permission.


Stop Automatic Emails

By clicking the email button, than you will stop the event manager from receiving the automatic emails generated by the event i.e. new entry emails

Create and manage views in Sports-ID

Interactive Demo

How to save a new view in Sports-ID

To start, determine which columns you would like to show or hide, Click on ‘Show/hide Columns’.

After selecting the fields you require, press okay to continue.

Next, if you have any filters you would like to apply to your list, then click ‘Add Filter’.

Once you have selected your filter criteria, press ‘OK’.

Below the search bar, the filter options will appear in a drop down menu. Click to selected the filter you wish to apply.

If you would like to reuse this list in the future, you can click on ‘Save As’ to save it.

Click on the option labeled ‘New View Name’ and give it an appropriate title.

To see all your lists, go to ‘Open Saved Views’.

Here, you can select the a previously saved list by clicking on the title.

Register on Sports ID

Interactive Demo

How to register on Sports-ID

To register on Sportsid, you can go to sportsid.org and select an organization.

To create an account, go to ‘New User’ and click register.

Fill out the fields, agree to the terms and conditions and click on the ‘Register’ button.

Return to the portal.sportsid.org page and click on the “Sign in to Sports ID Test” option.

Shortly after, you will receive an email with the subject ‘Verify your email’, where you can click on the ‘verify your email address# hyperlink.

A window will appear confirming your email has been verified.

Now, you may enter your email and password created in the previous steps, to access you profile. Click on the ‘Sign in’ button to proceed.

Fill out the federations and clubs you belong to and confirm the reason for your registration.

On your profile page, update your photo and details by clicking the edit icon. Your status will be updated by your federations.

You can also update your Personal information.

Finally, you can also edit the federations, and club to which you belong.