Interactive Demo
How to add multiple club managers
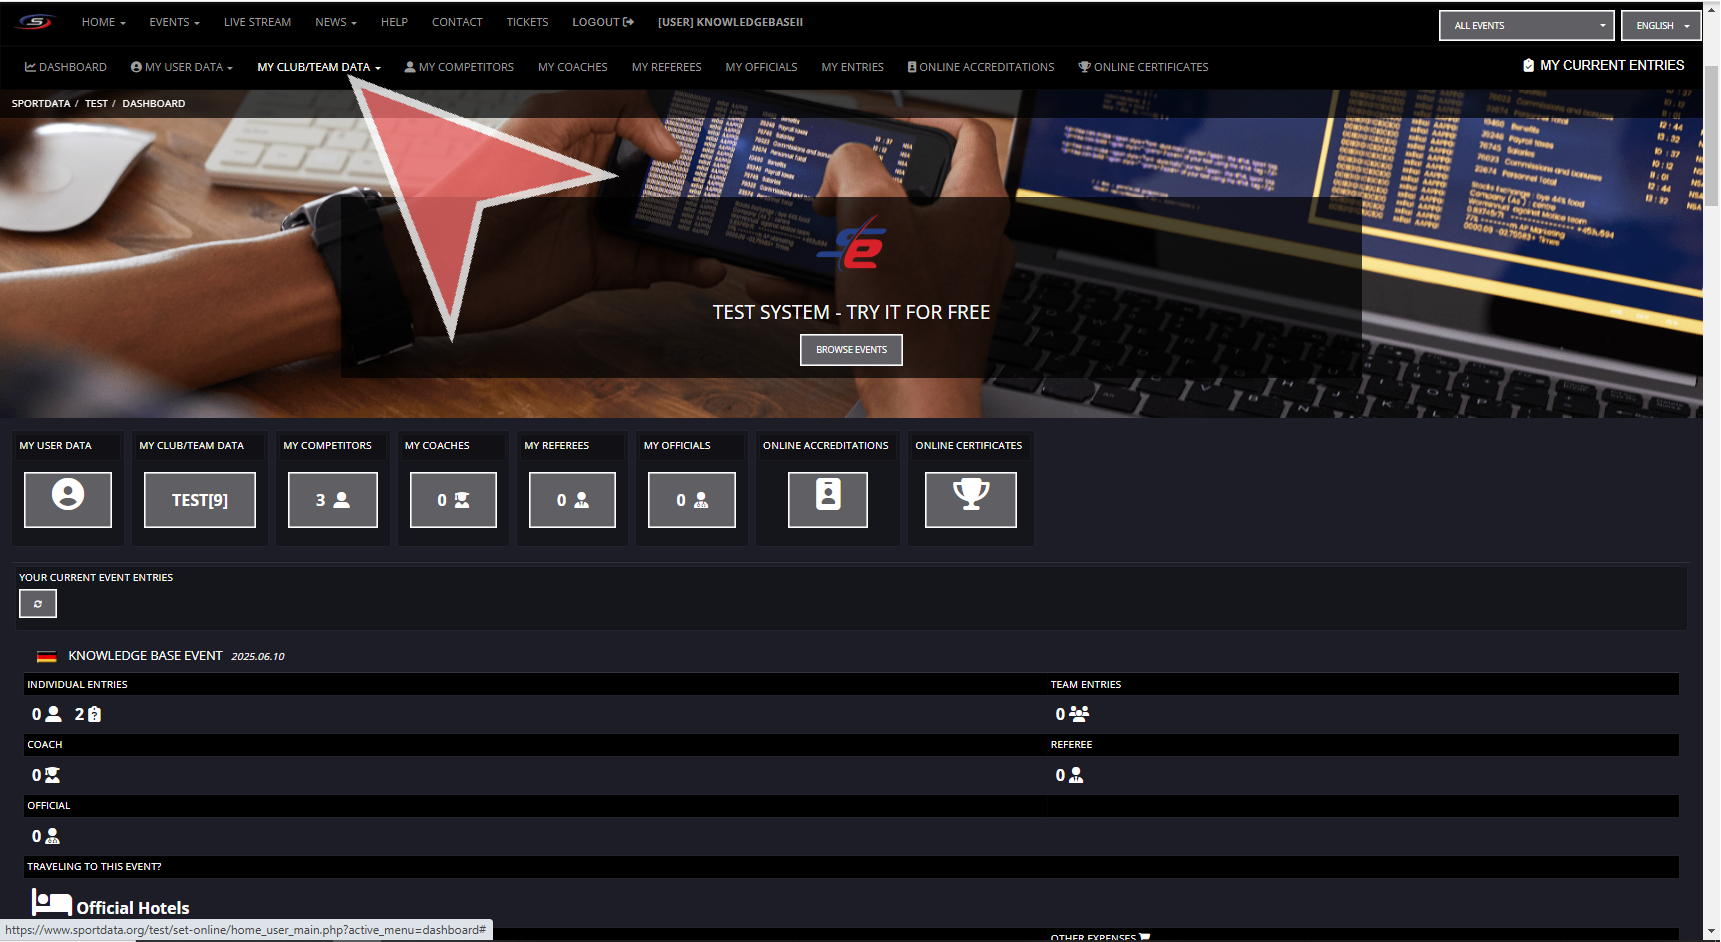
In your club account, go to my club/team data in the navbar.
Click on manage club/team data.
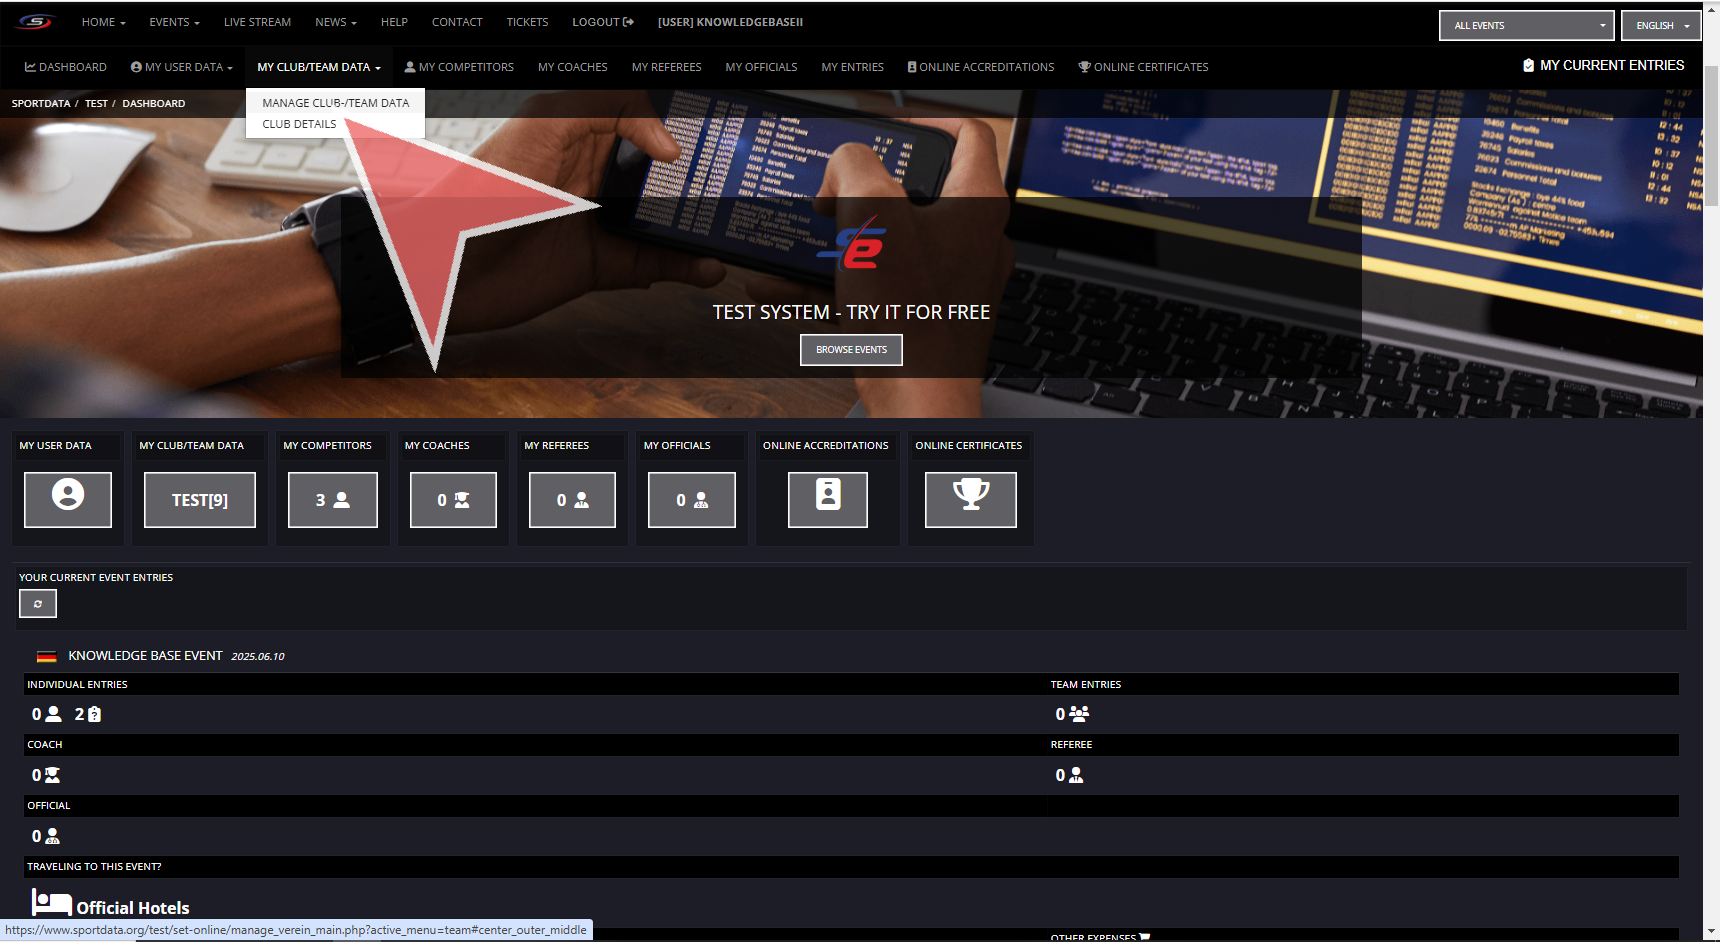
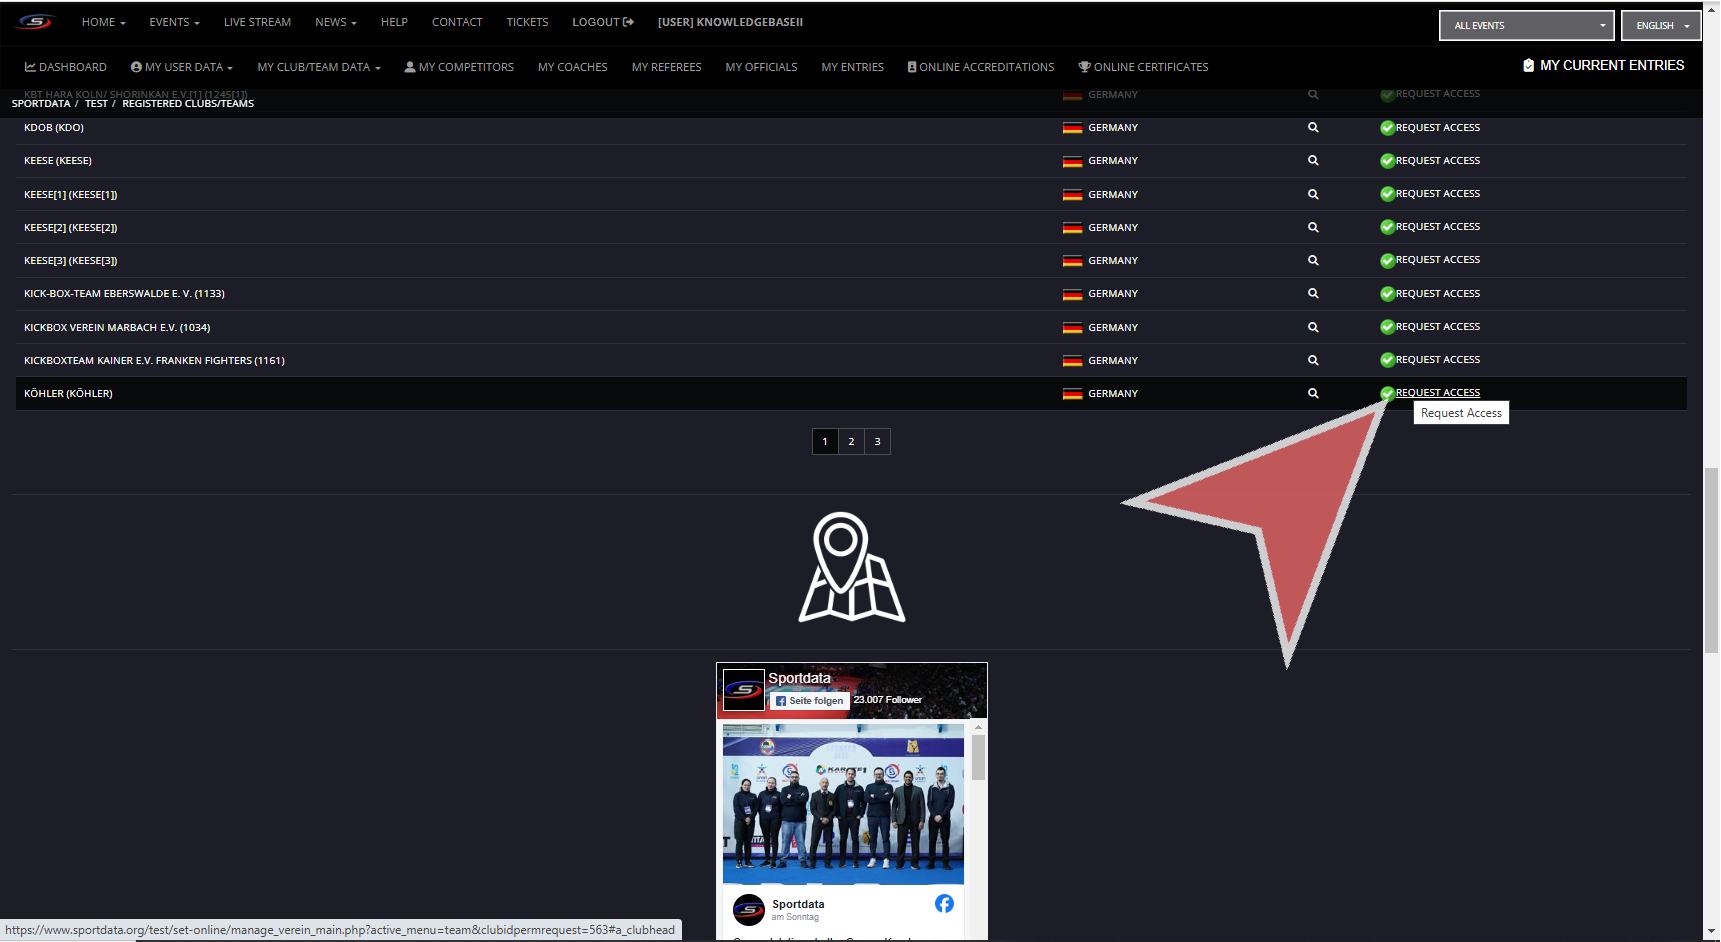
Click on the Registered clubs/teams button.
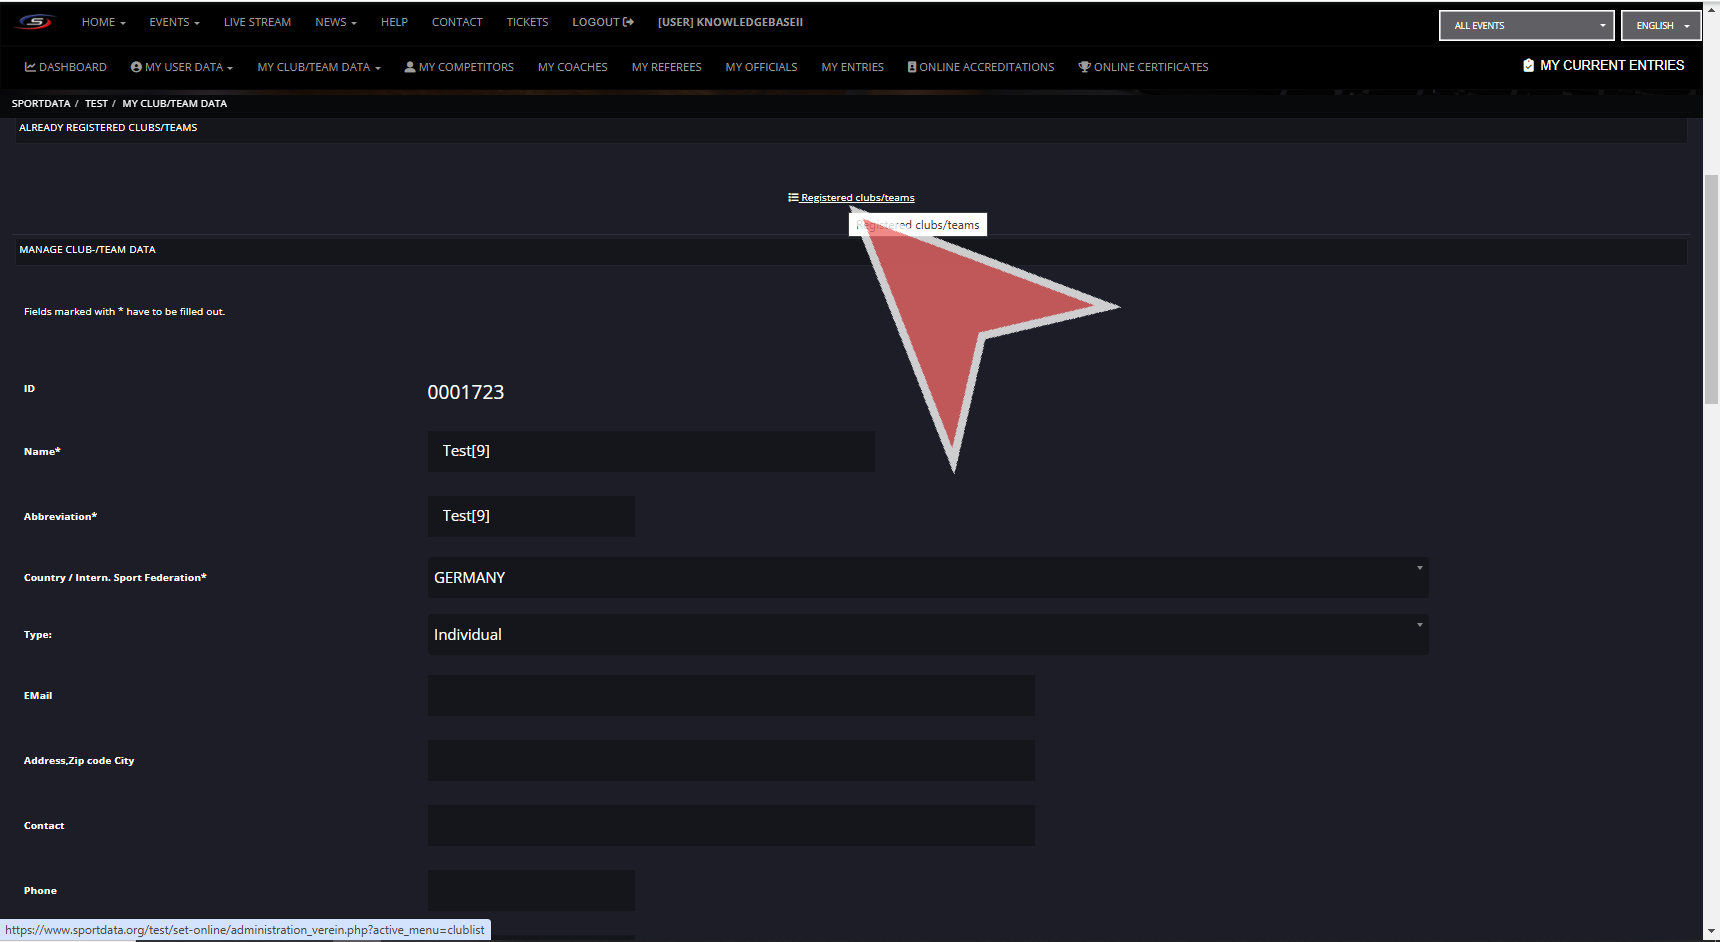
Search for the club name
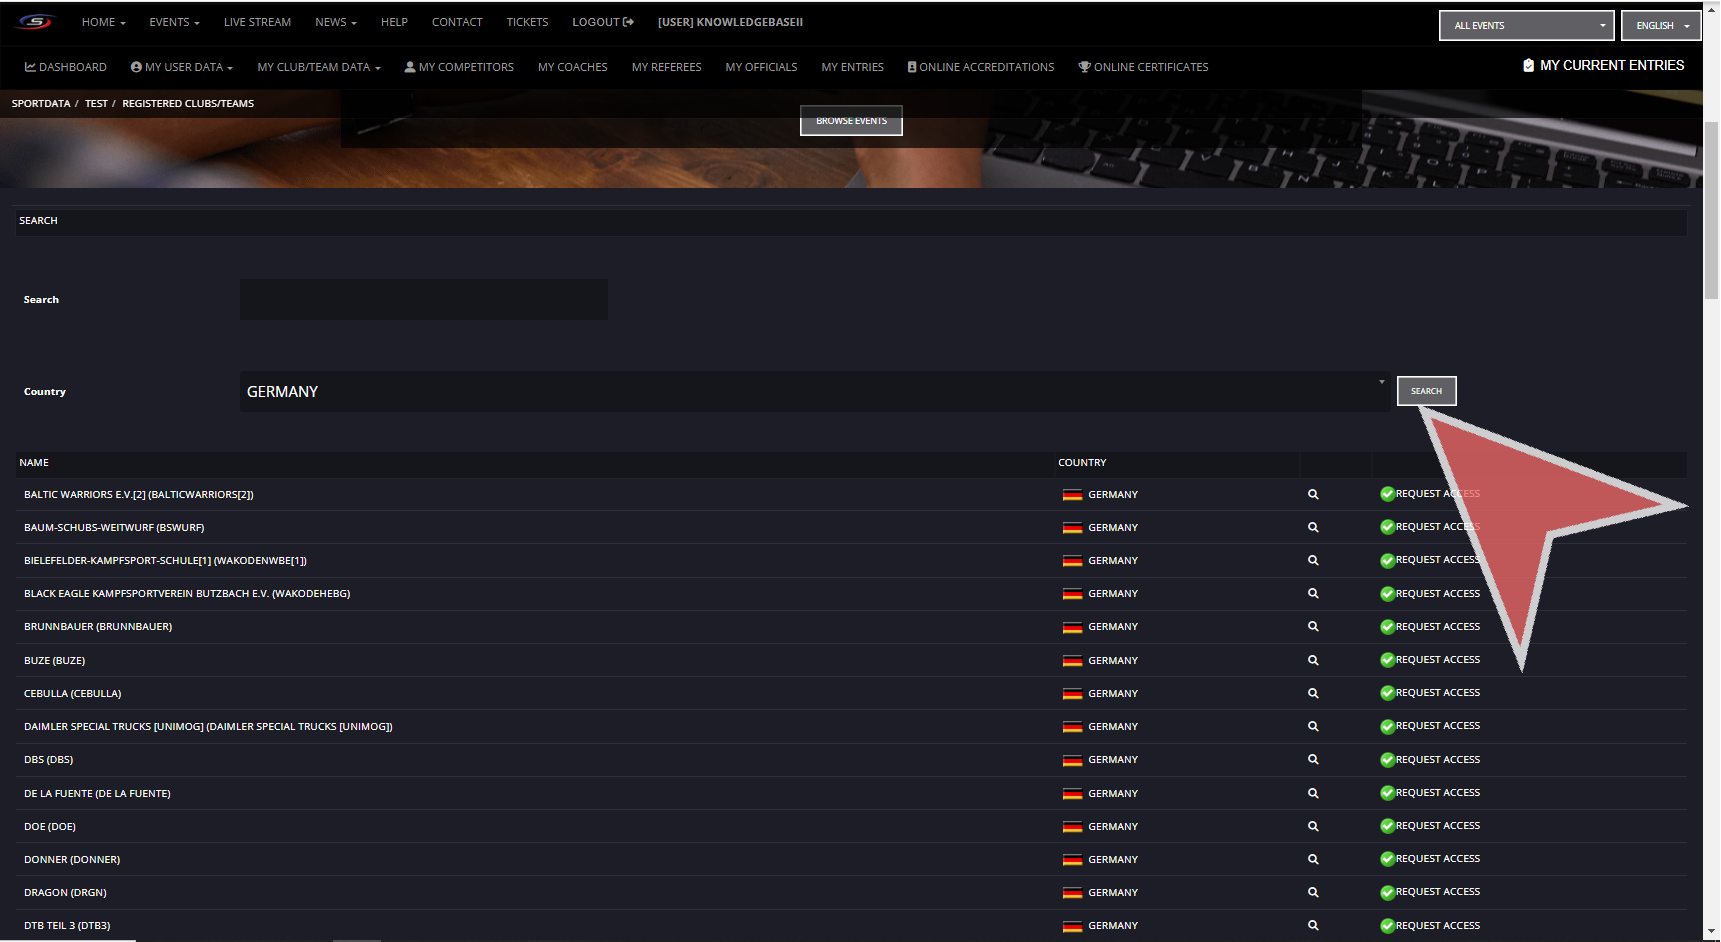
Click on request access.
In your club account, go to my club/team data in the navbar.
Click on manage club/team data.
Click on the Registered clubs/teams button.
Search for the club name
Click on request access.
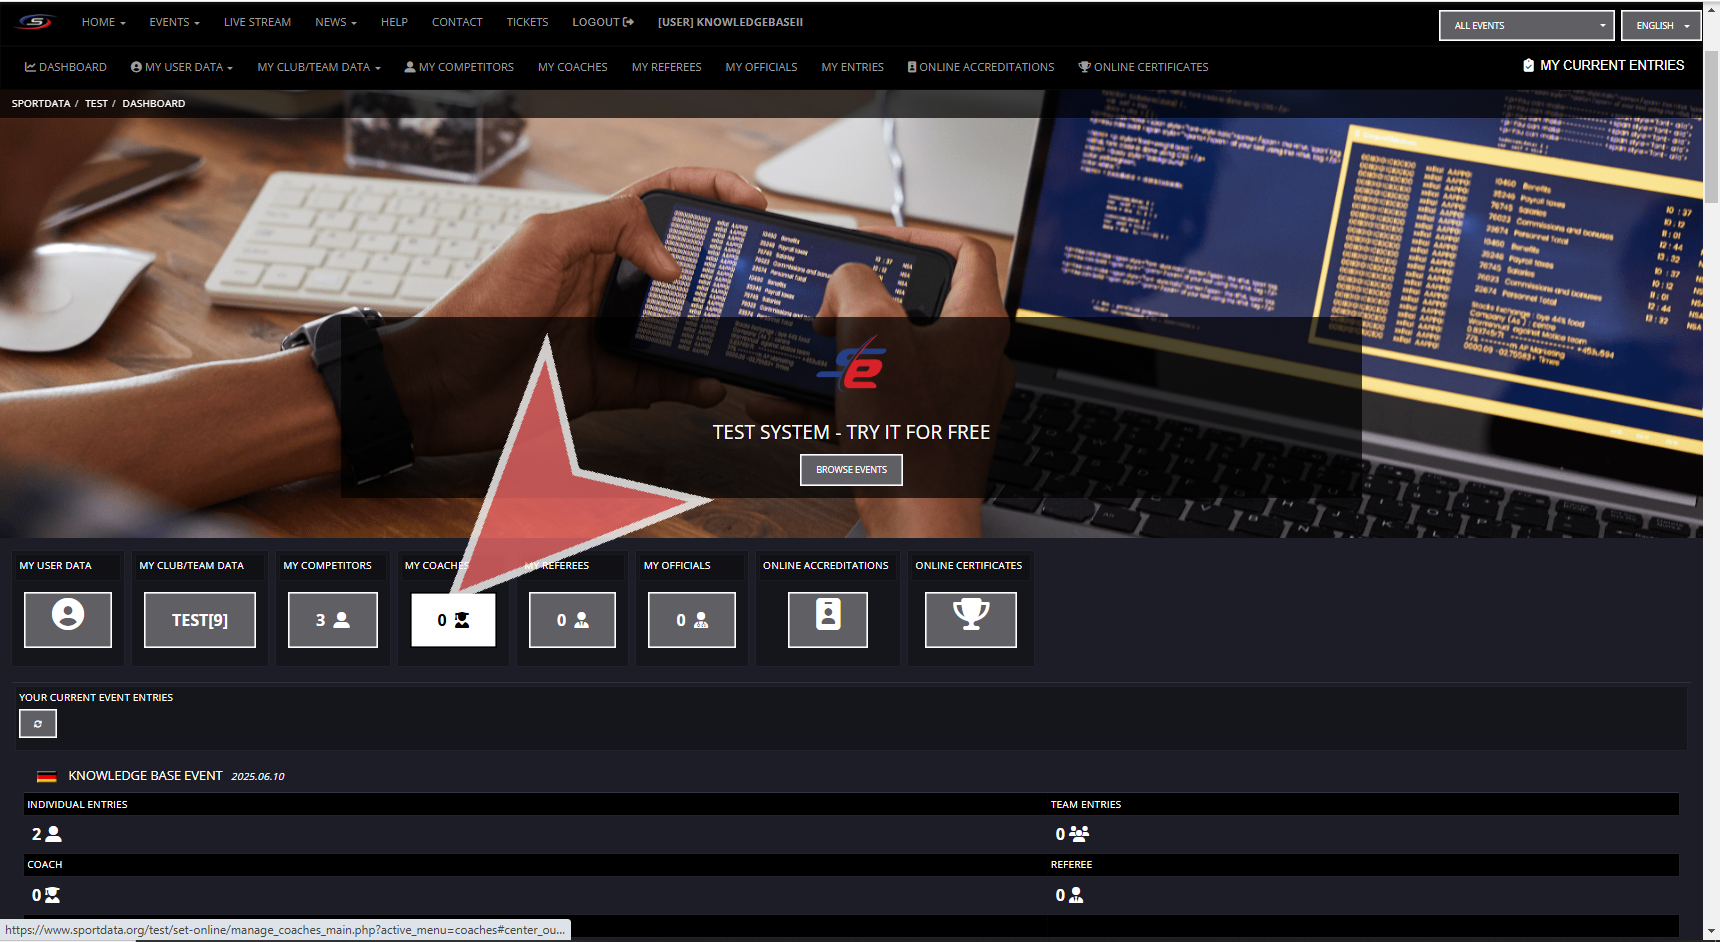
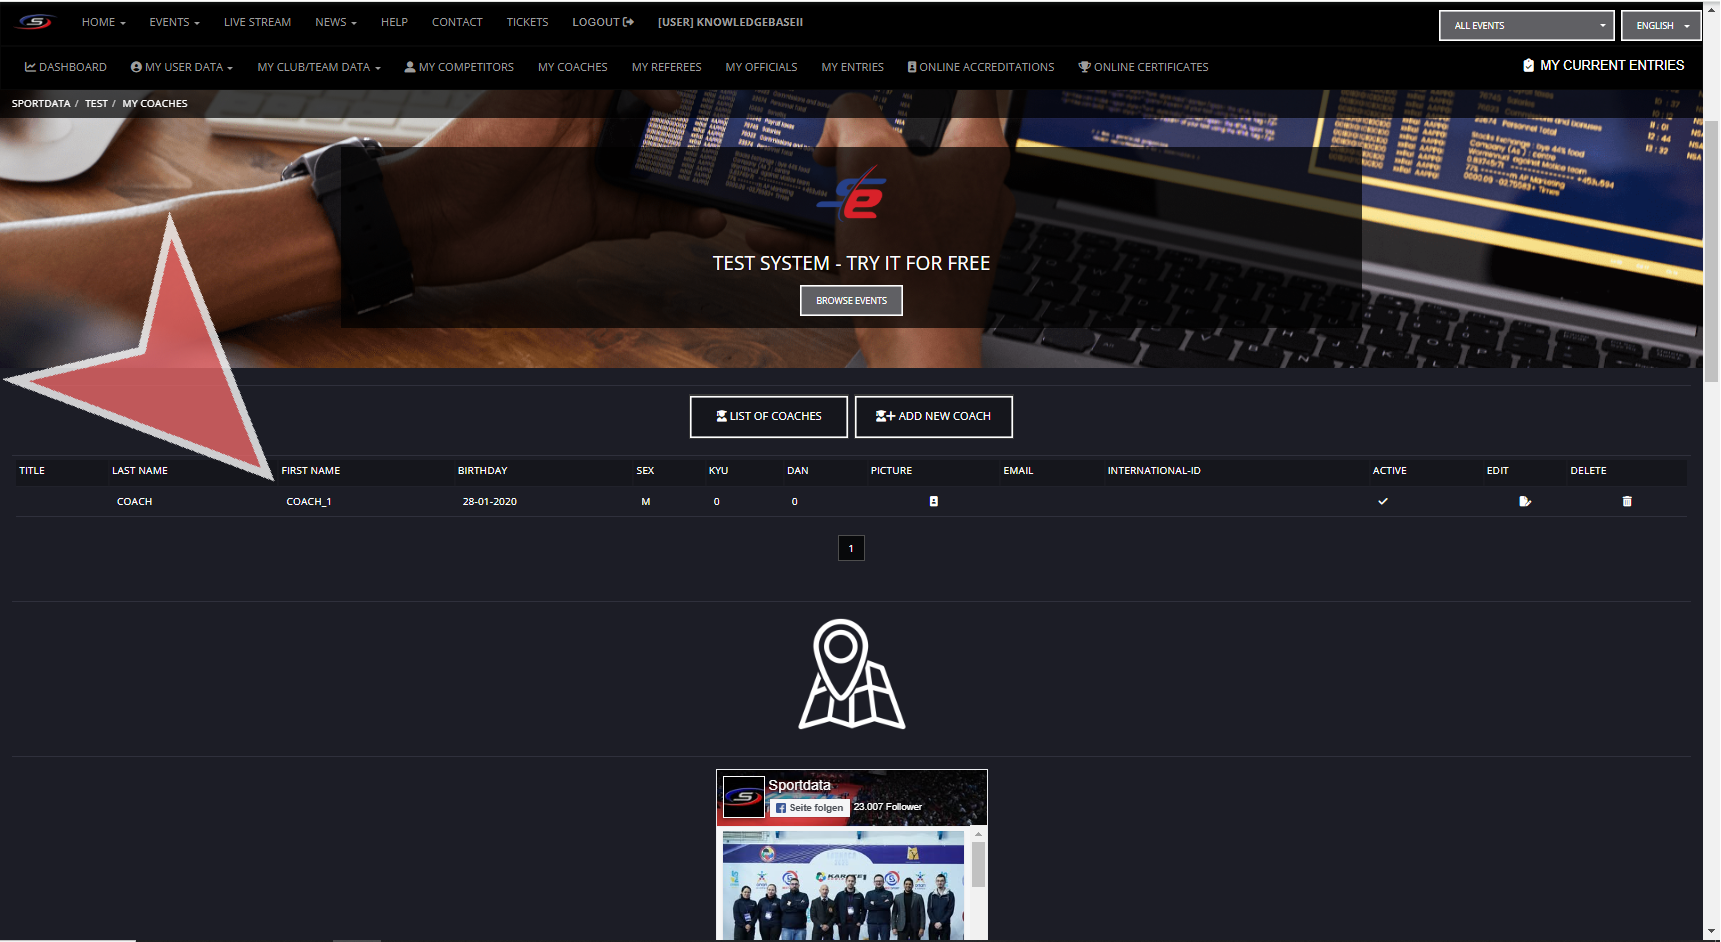
To add a new coach to your club profile from your dashboard, click on my coach
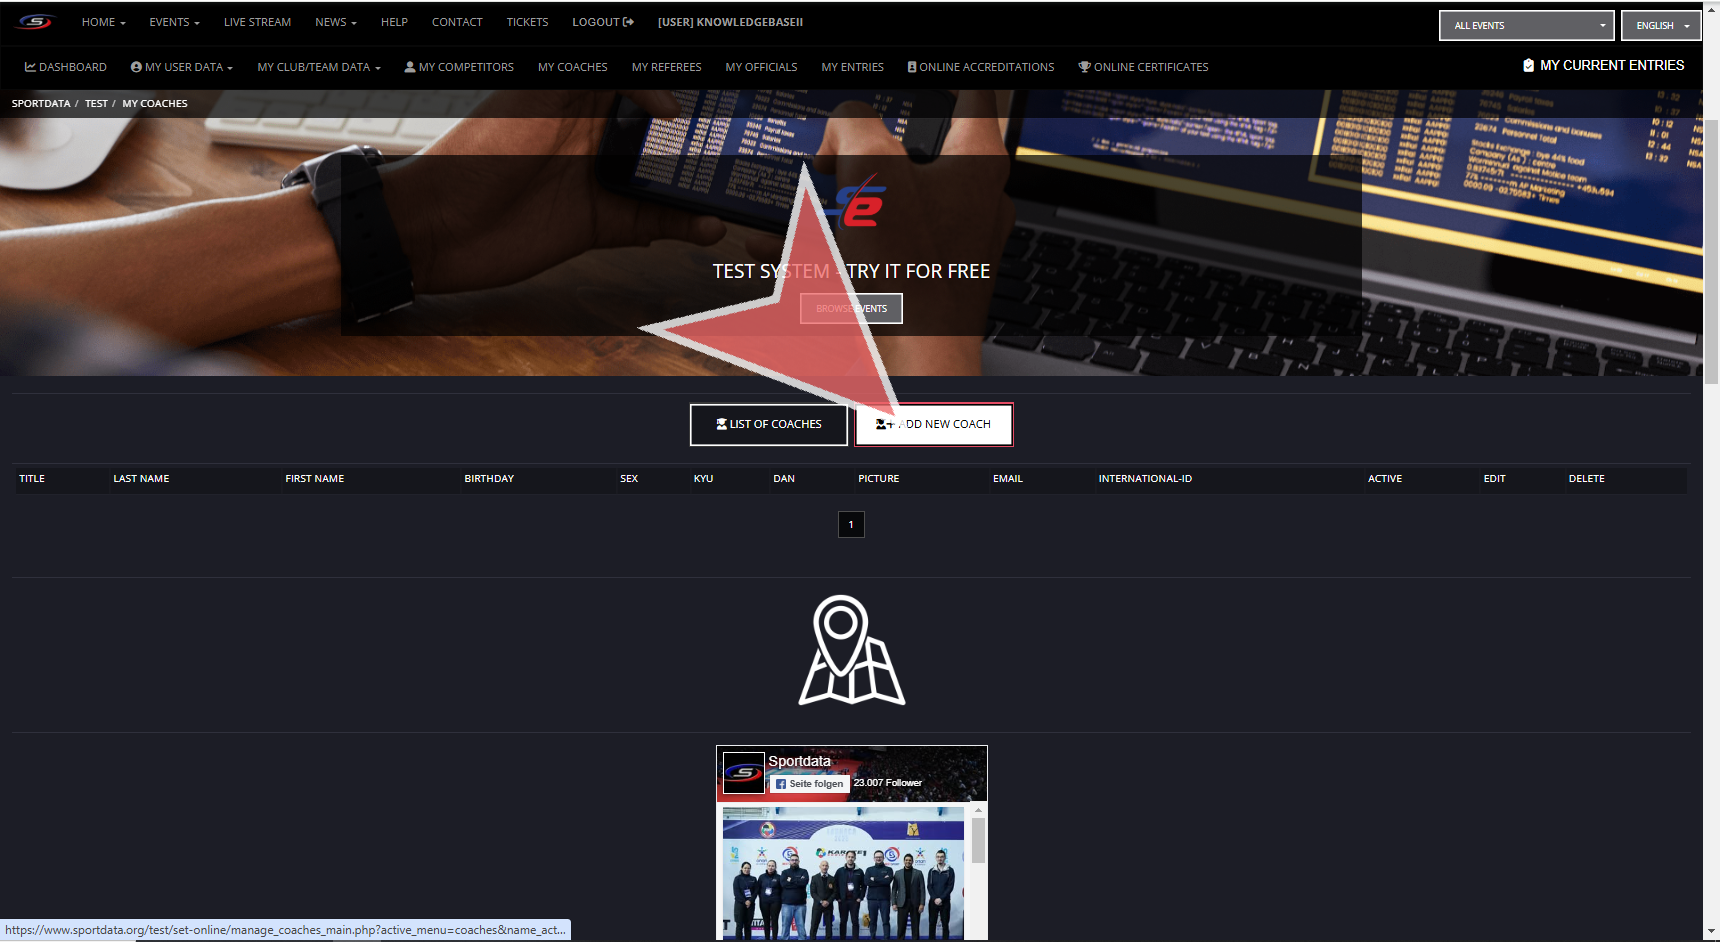
It will take you to the list of coaches, click on add new coach
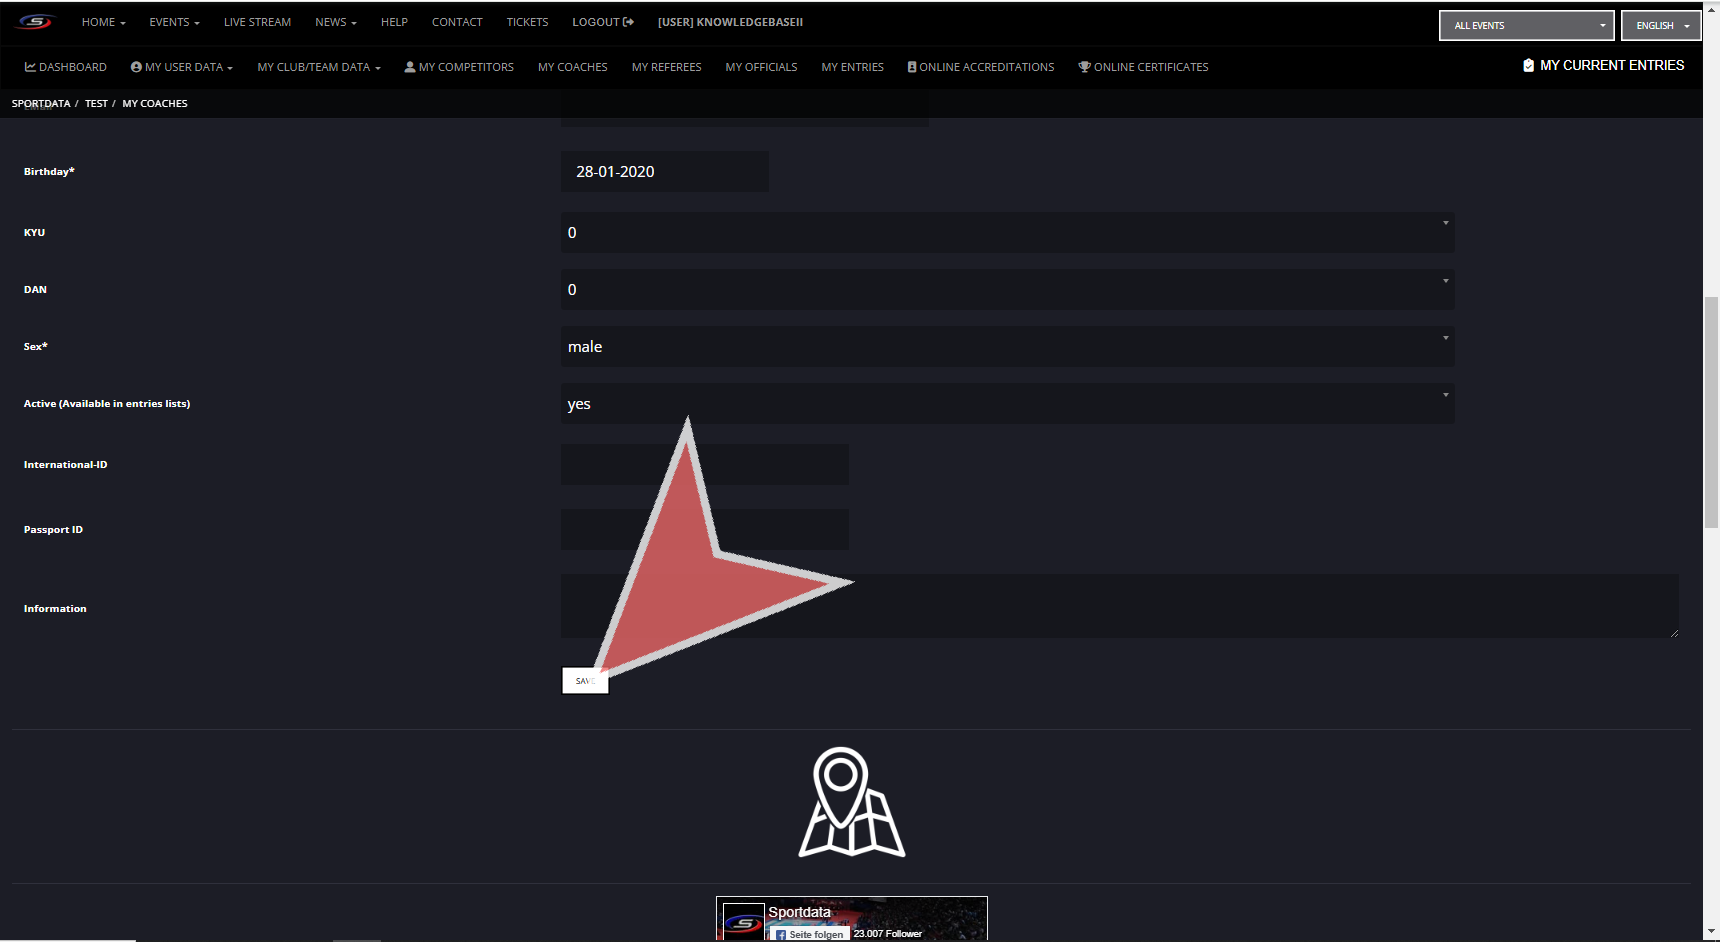
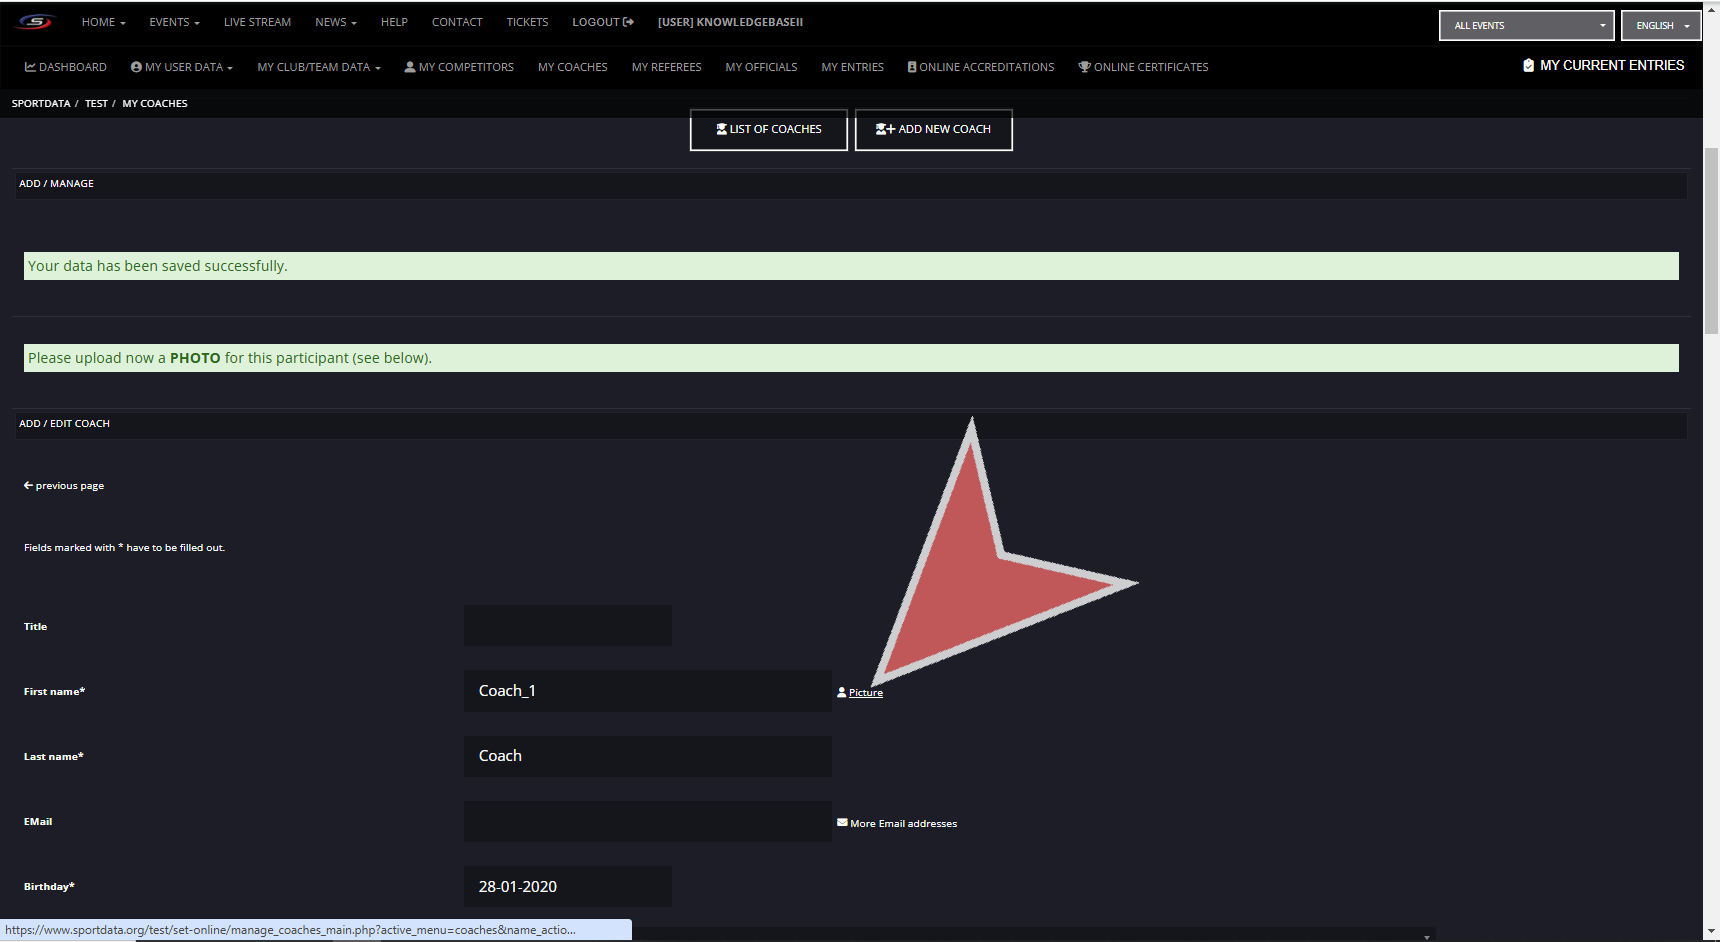
Fill in the data fields, and click save.
Then add a picture.
Either choose a file or use your webcam to take a snapshot.

Select a photo.
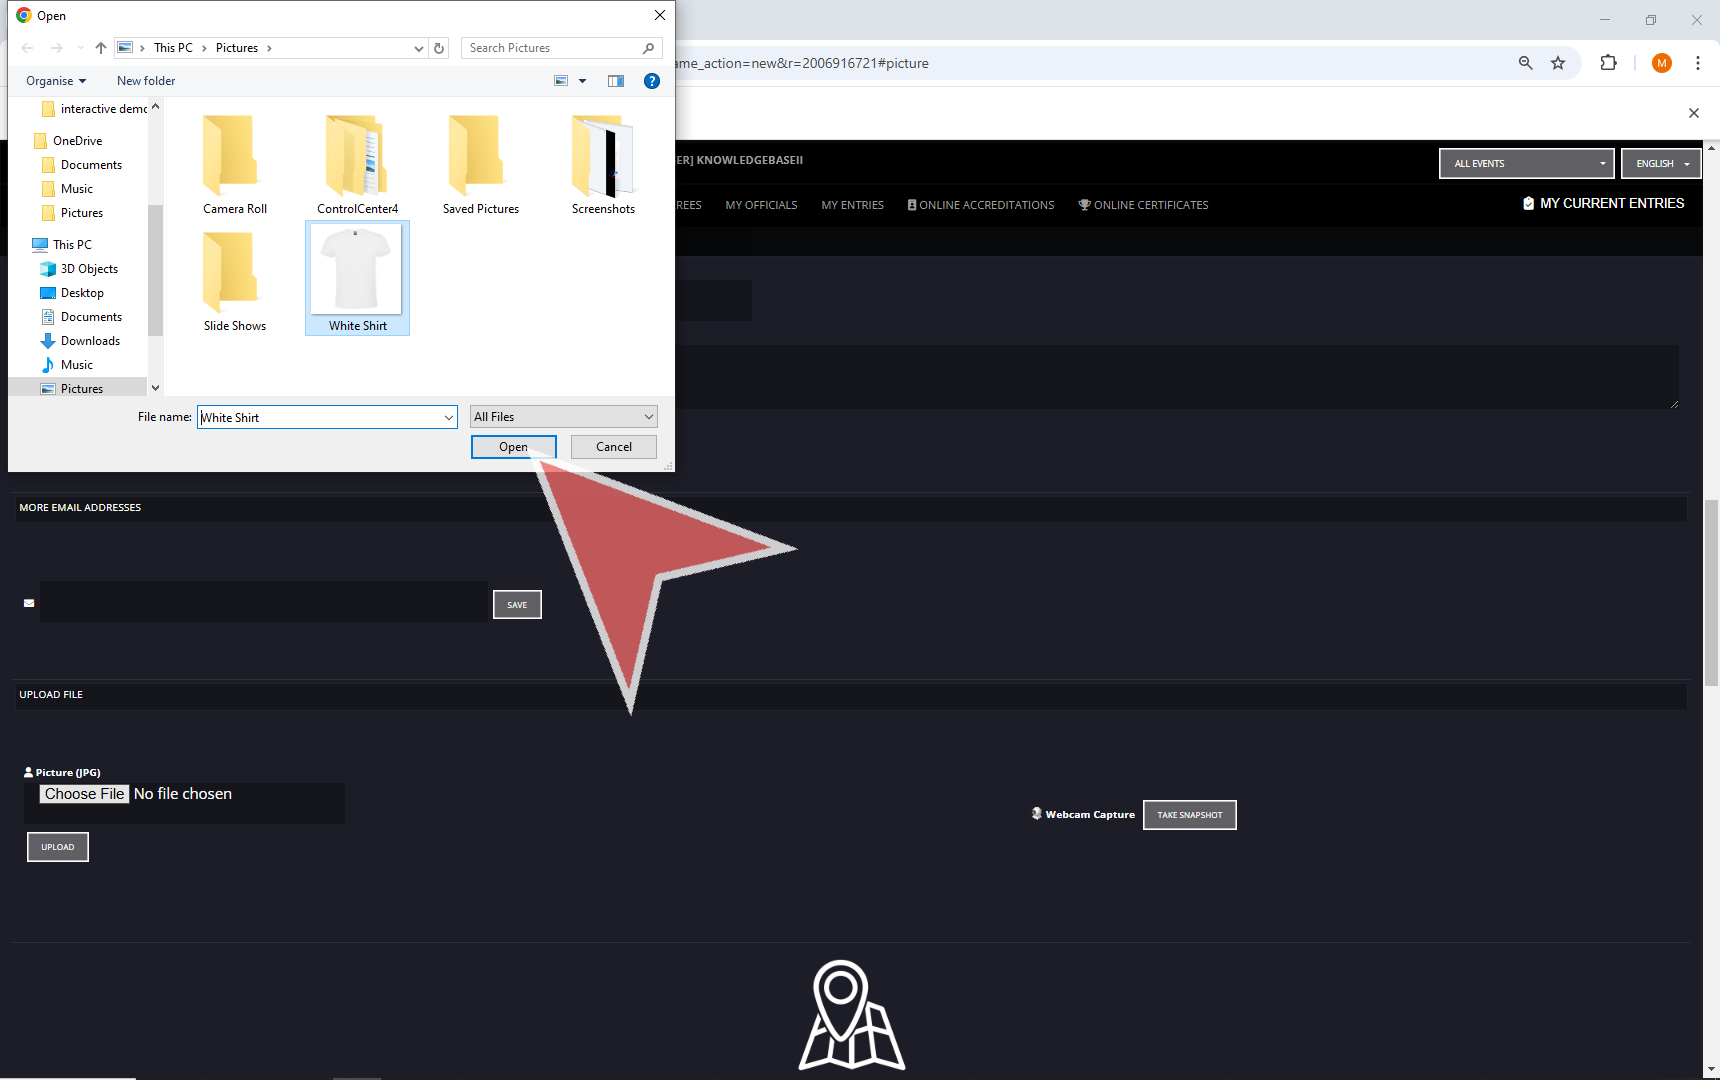
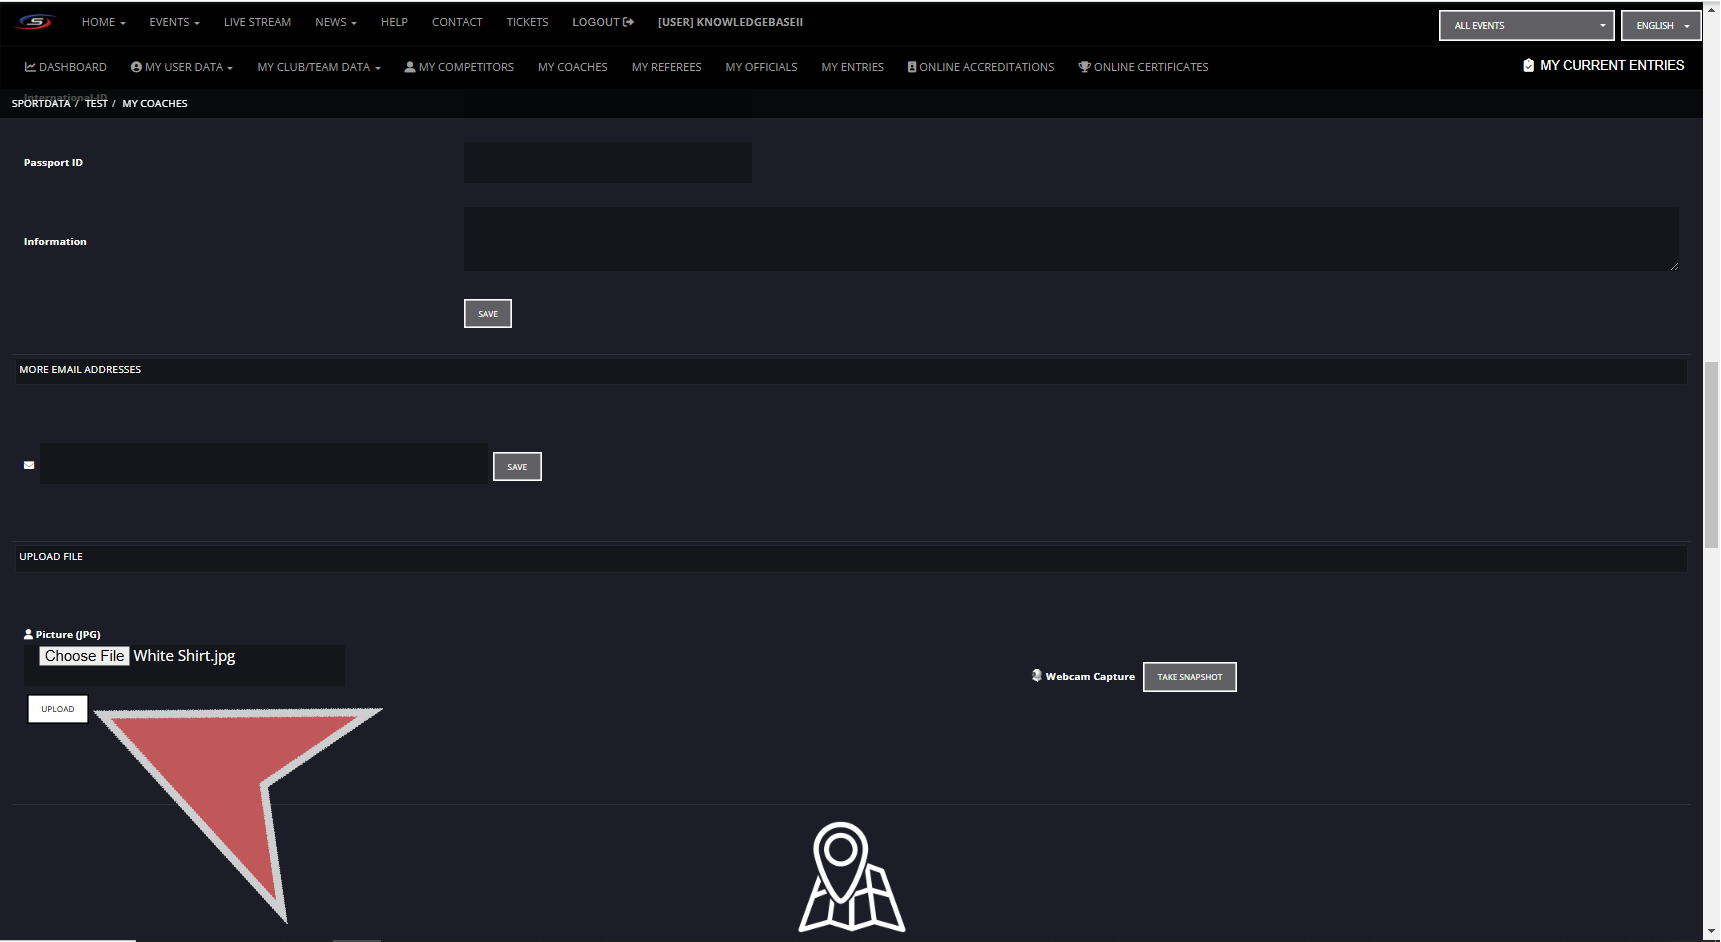
Click the ‘Upload’ button to add the photo to the coach profile.
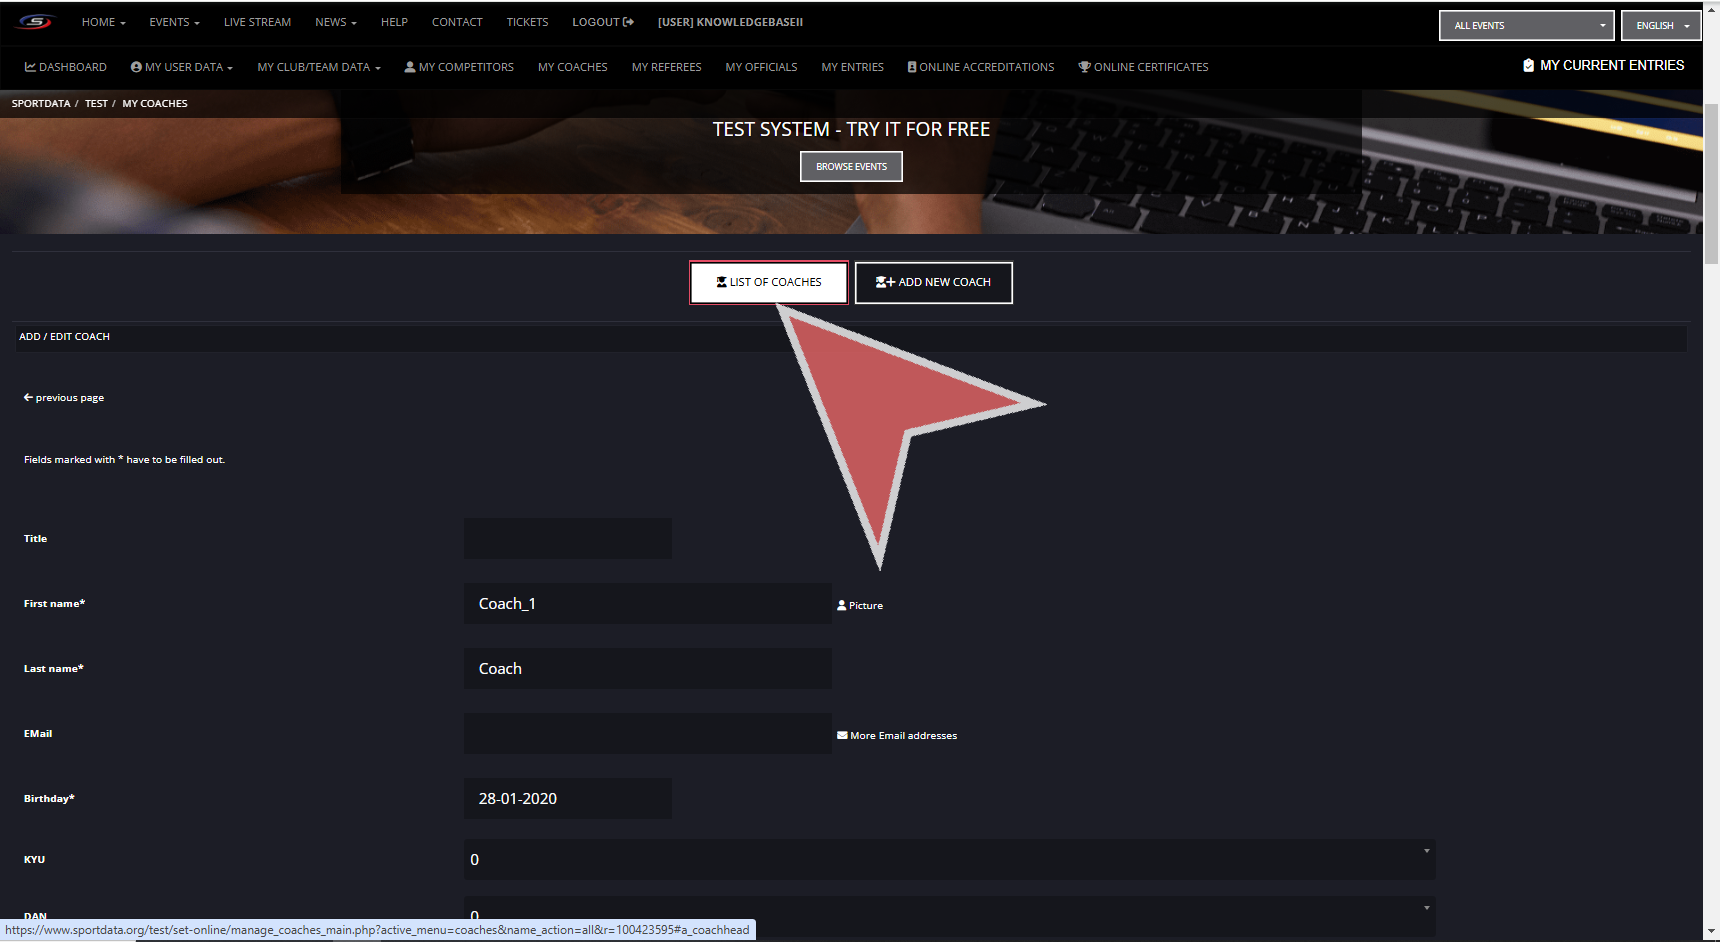
Go back to the list of coaches to see the newly added coach.
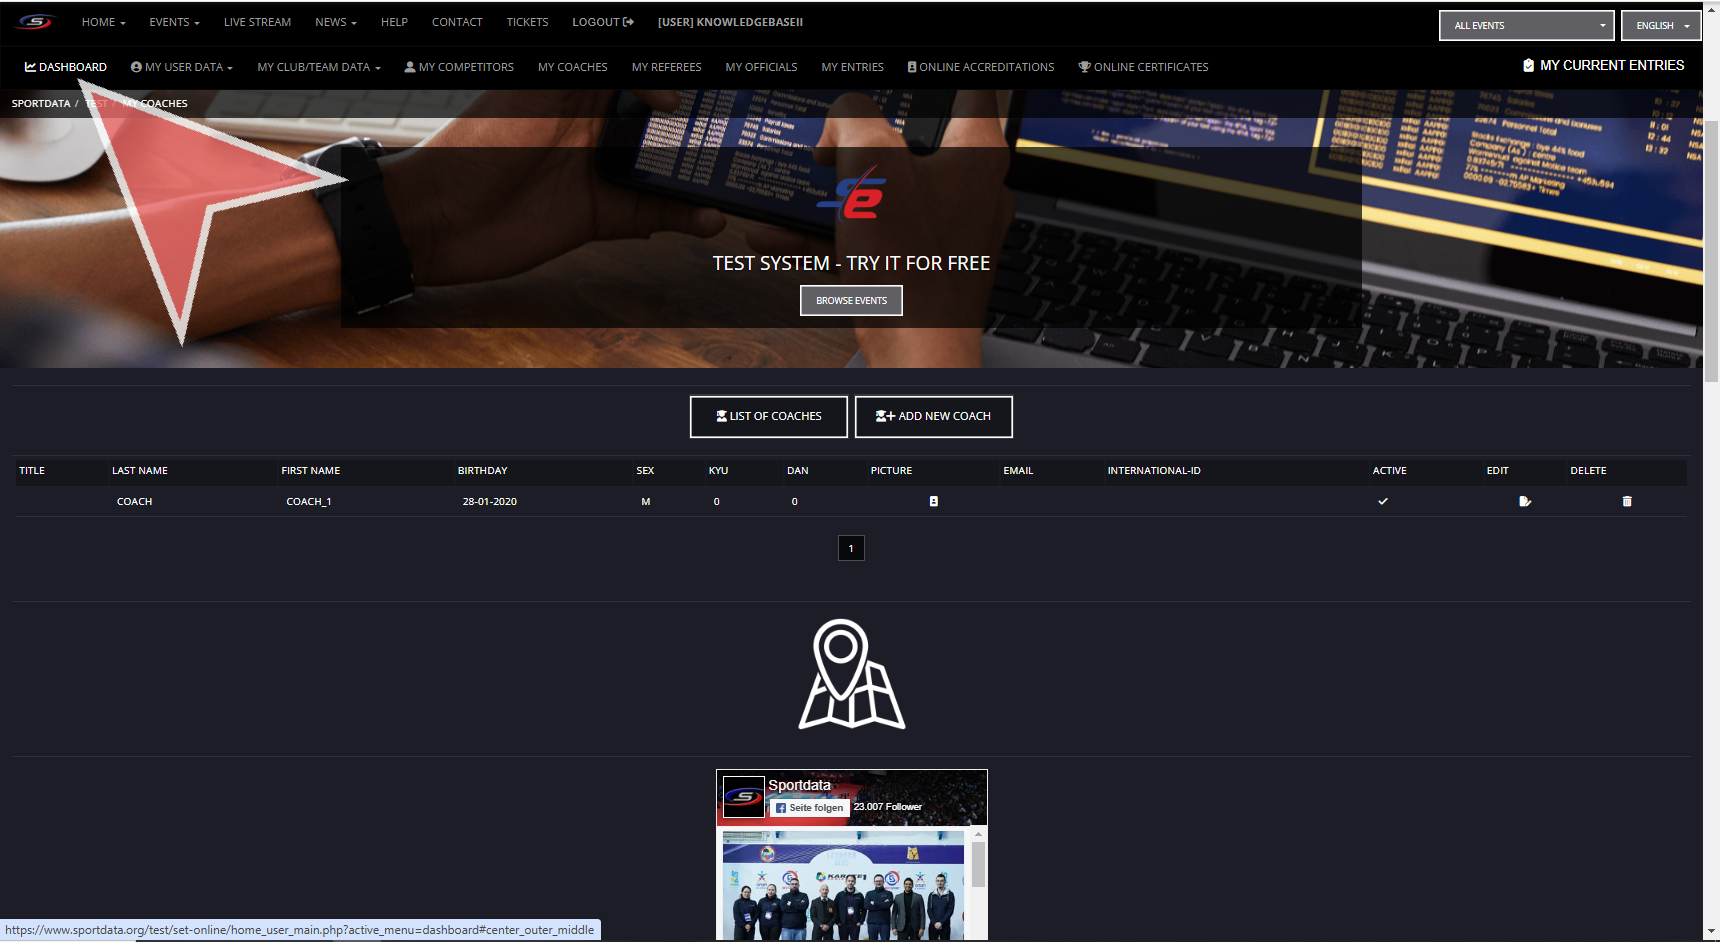
Next, go to the event you wish to register your coach.
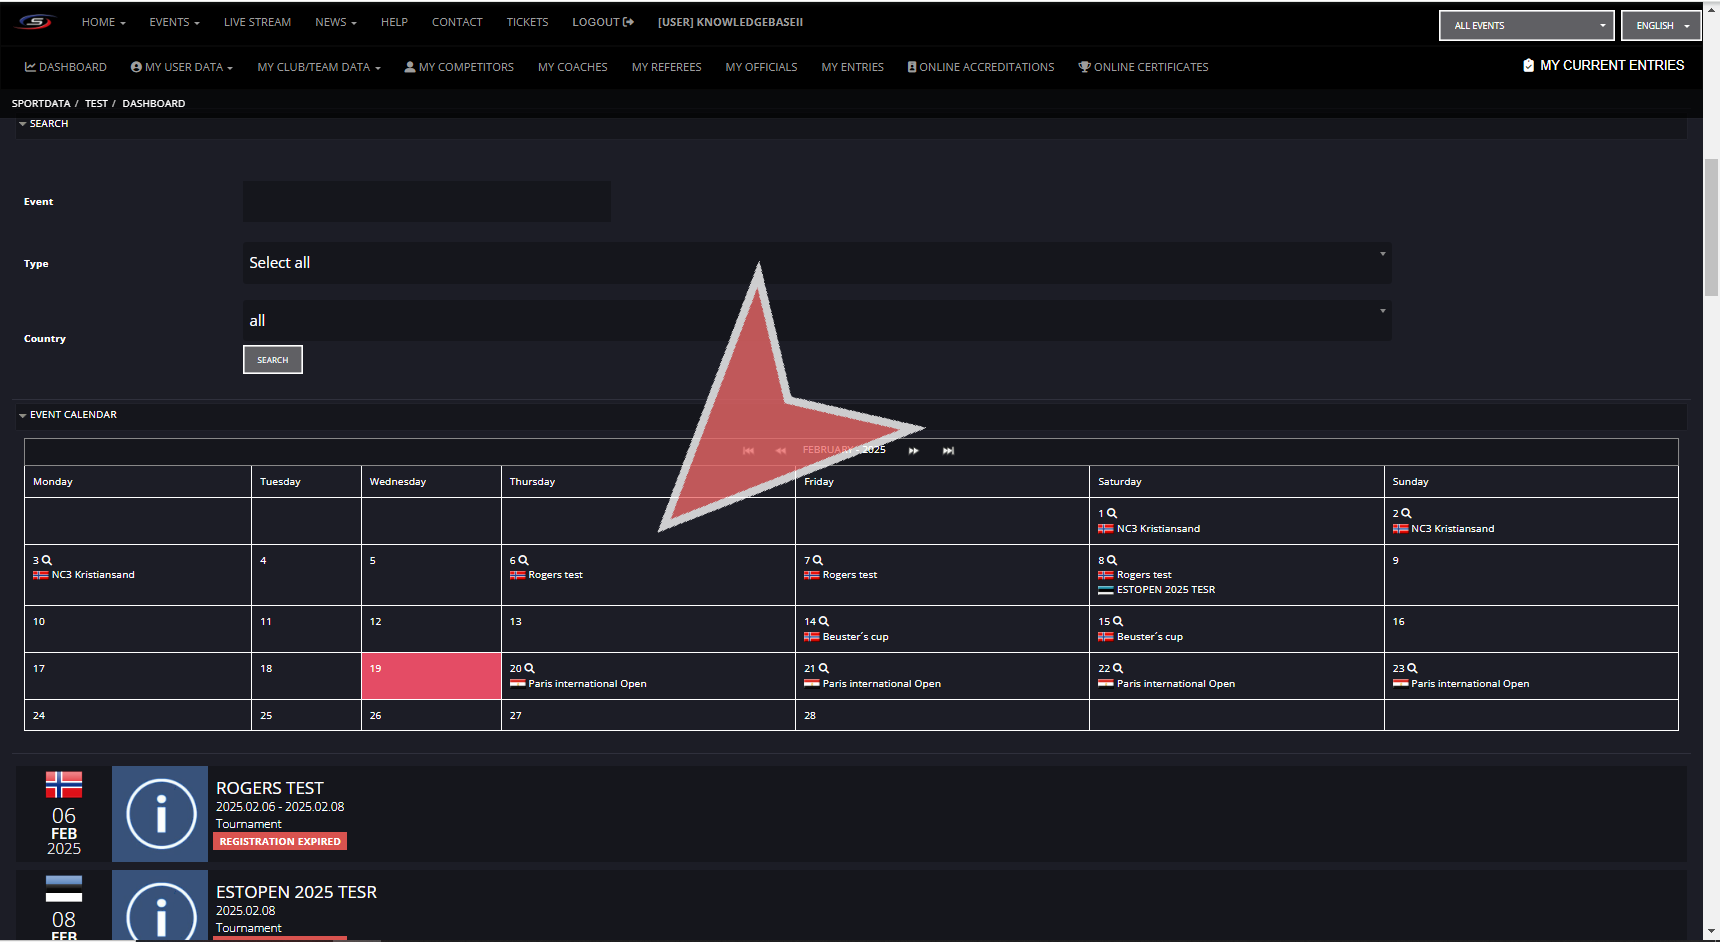
Go back to the dashboard to search for the event you would like to register to.
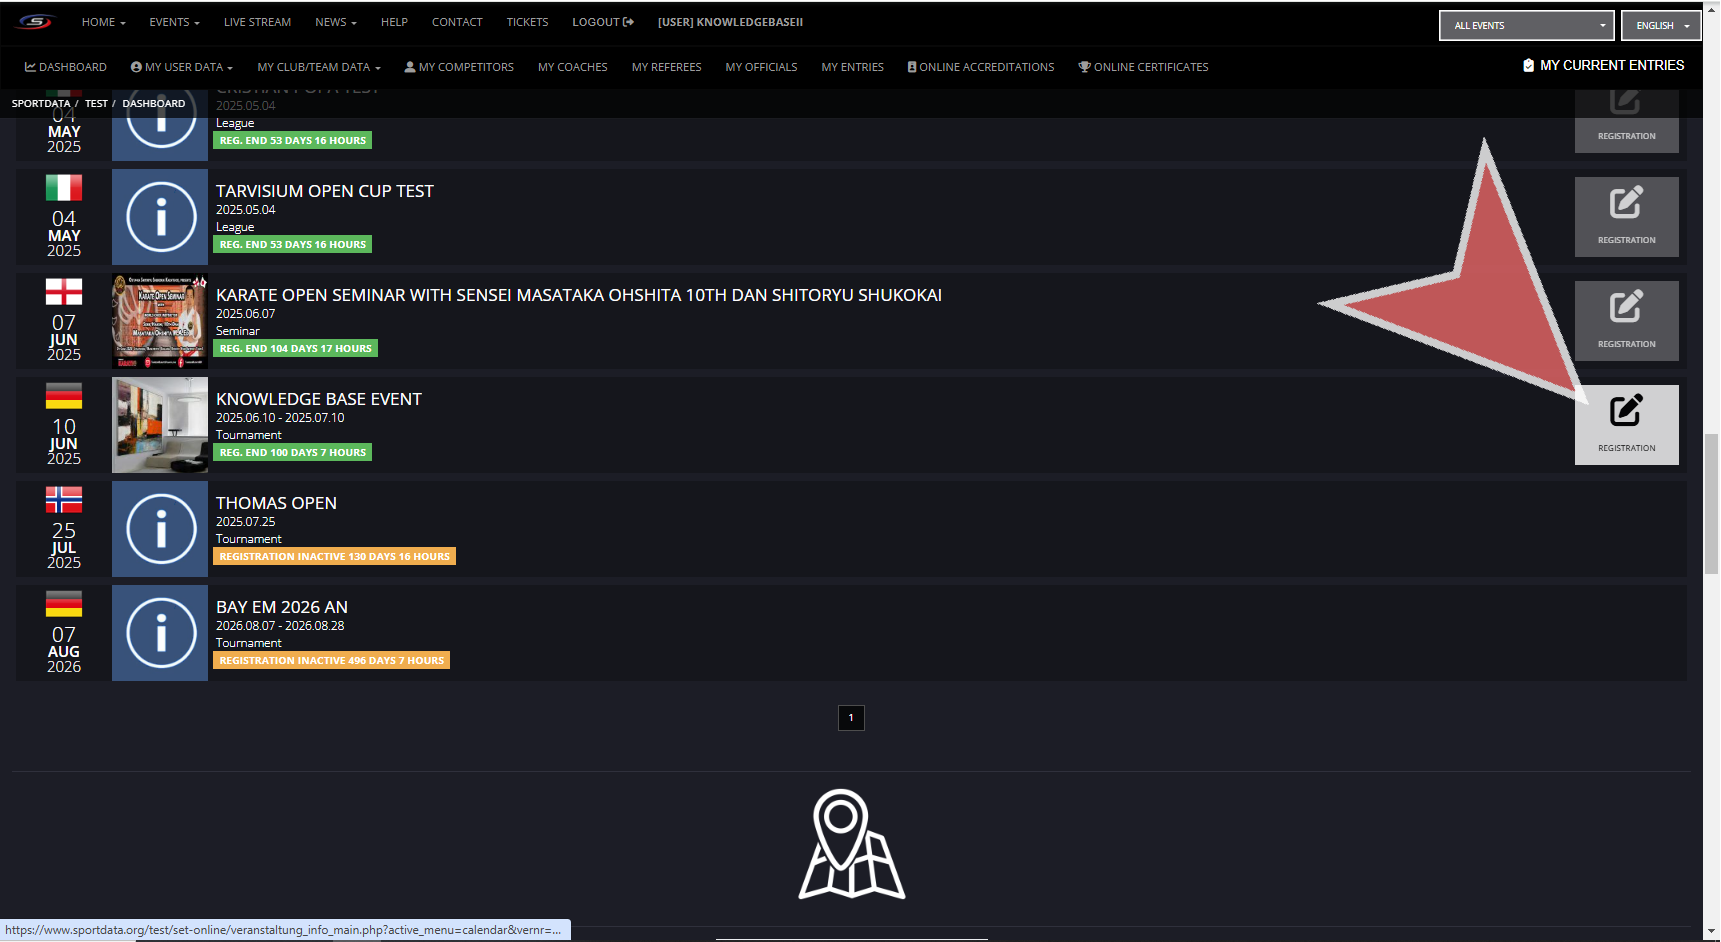
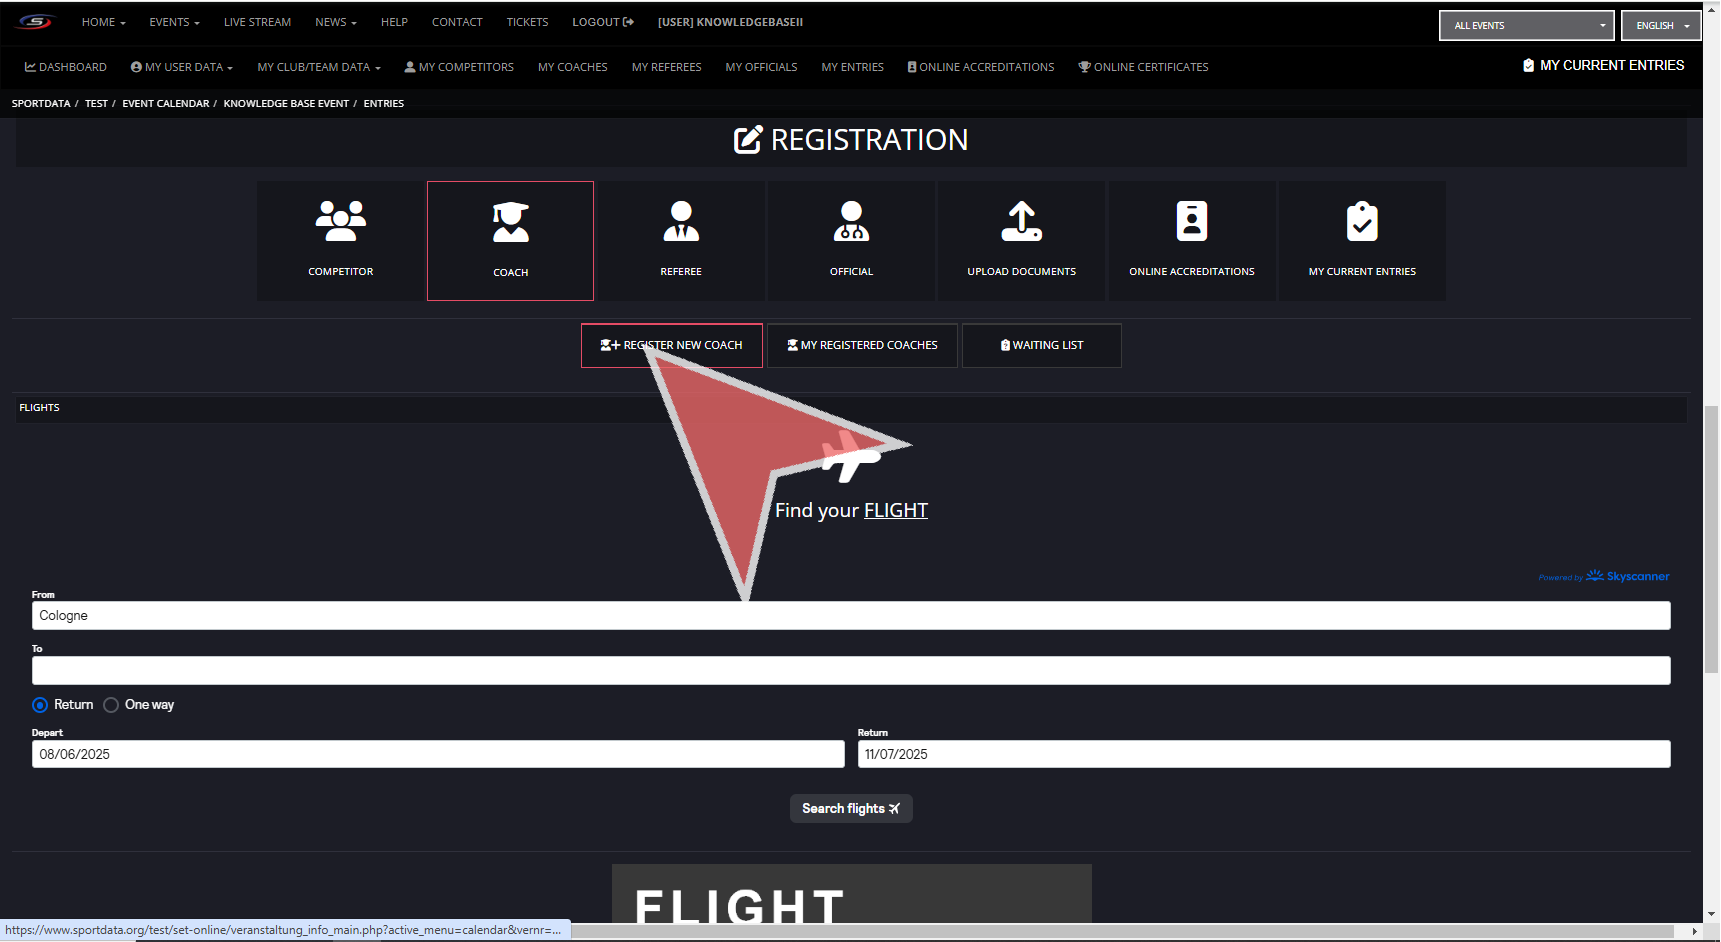
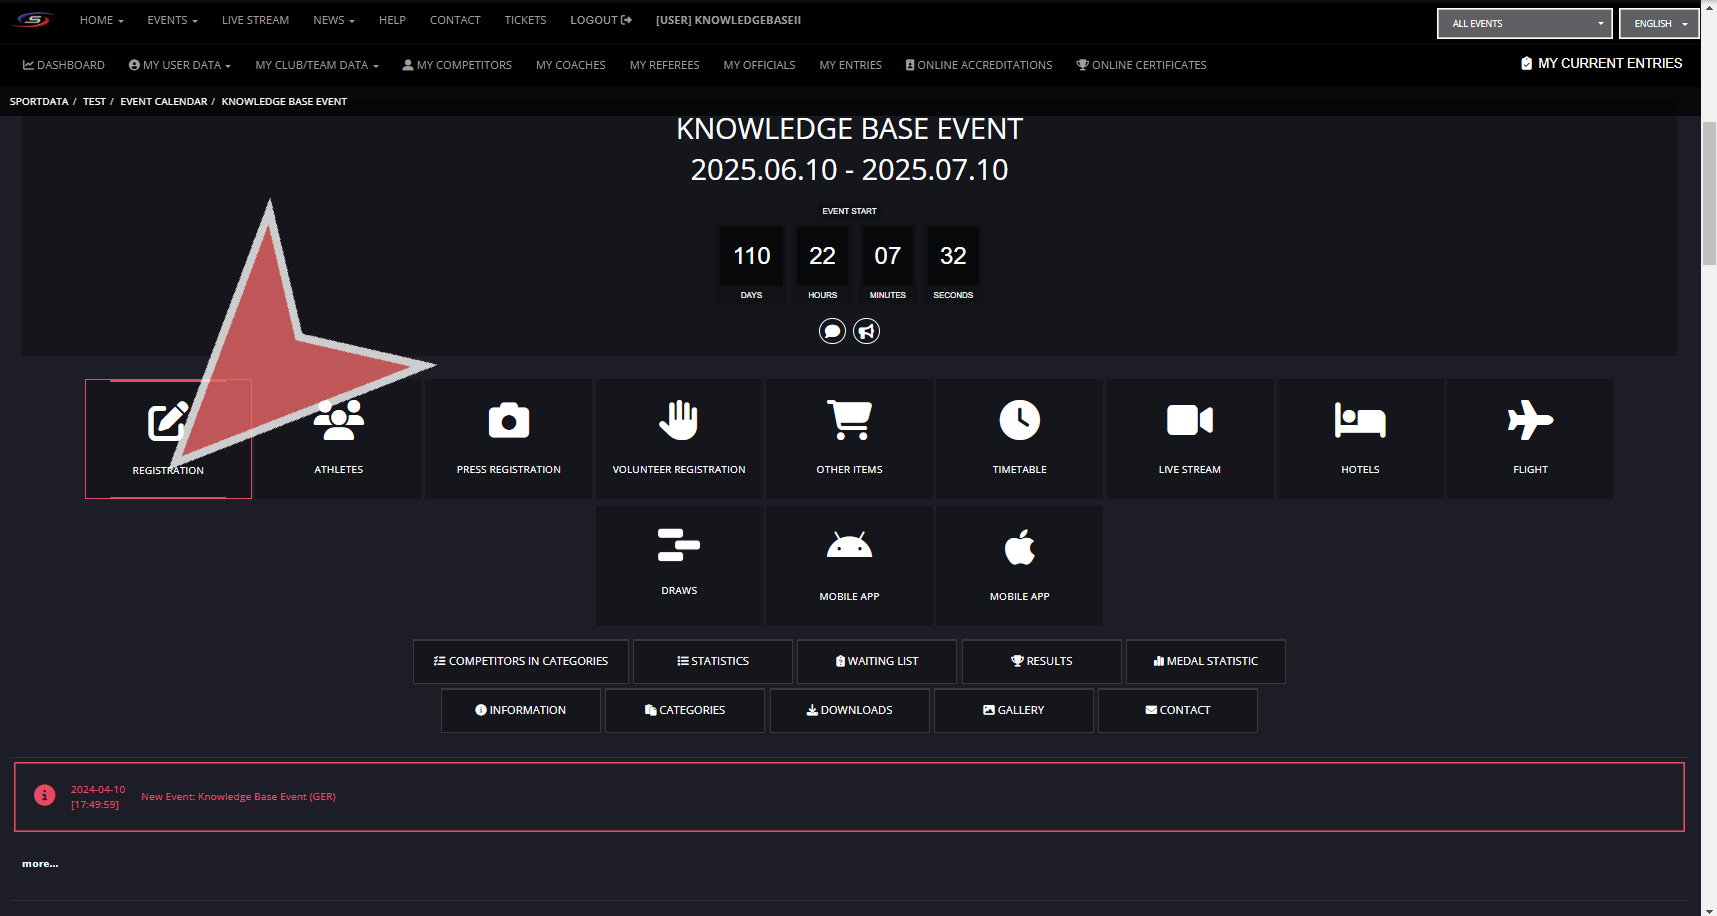
When you find your event, click on registration.
Click on Coach.
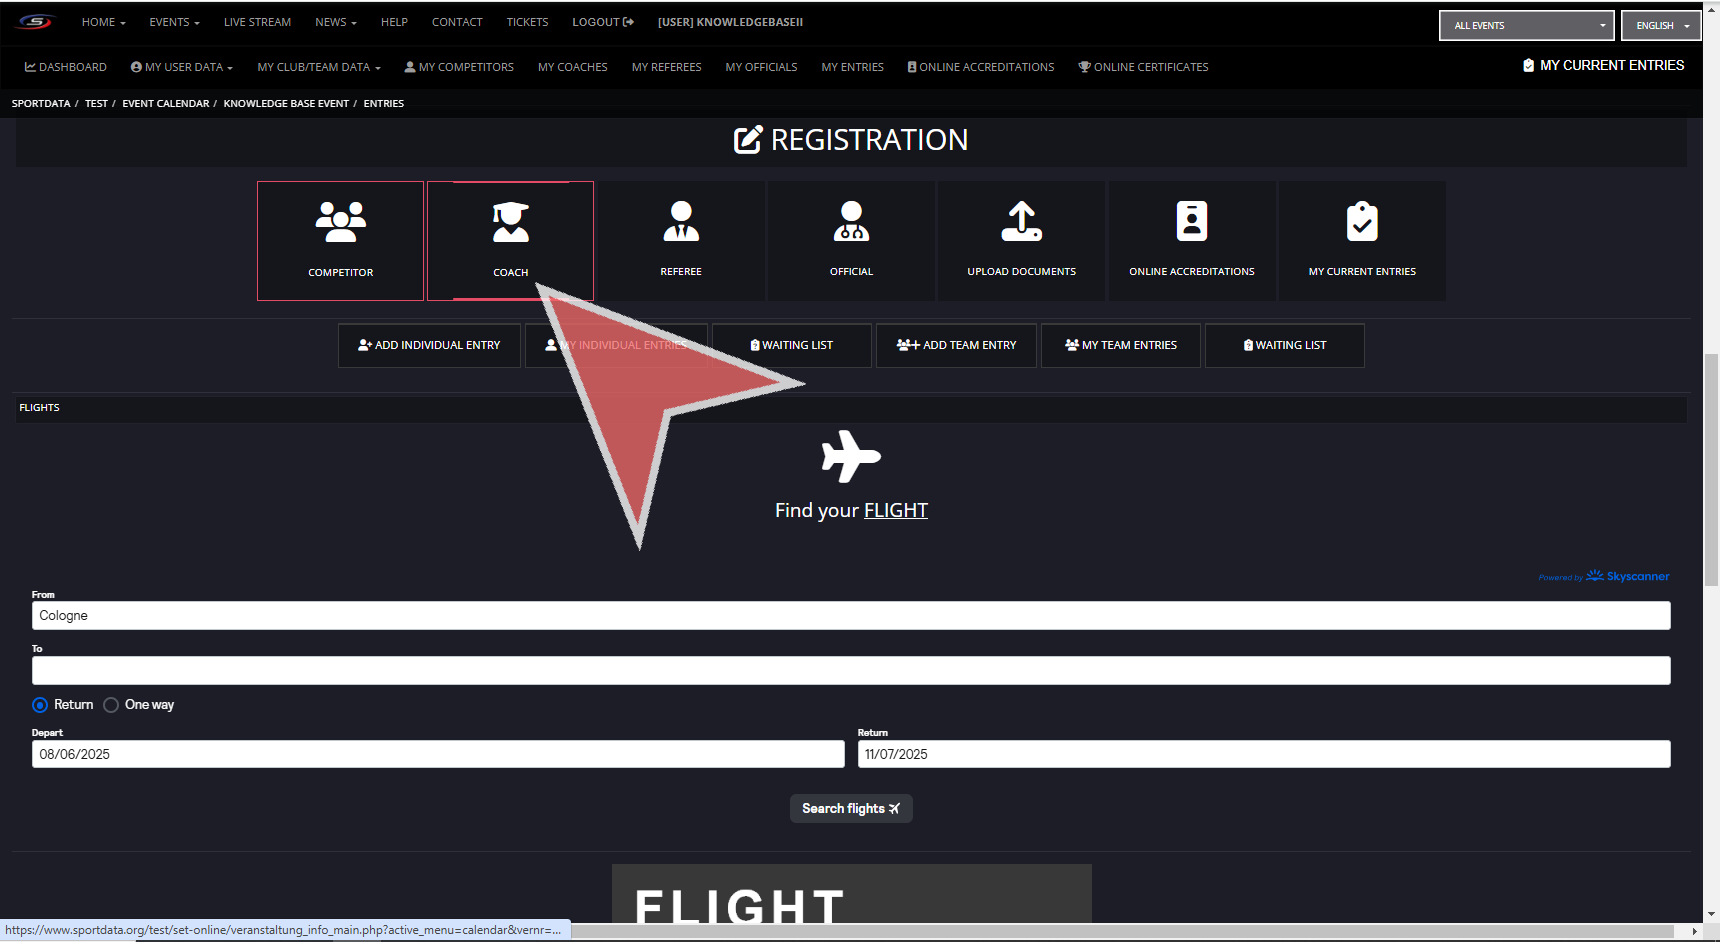
Click ‘ REGISTER NEW COACH’.
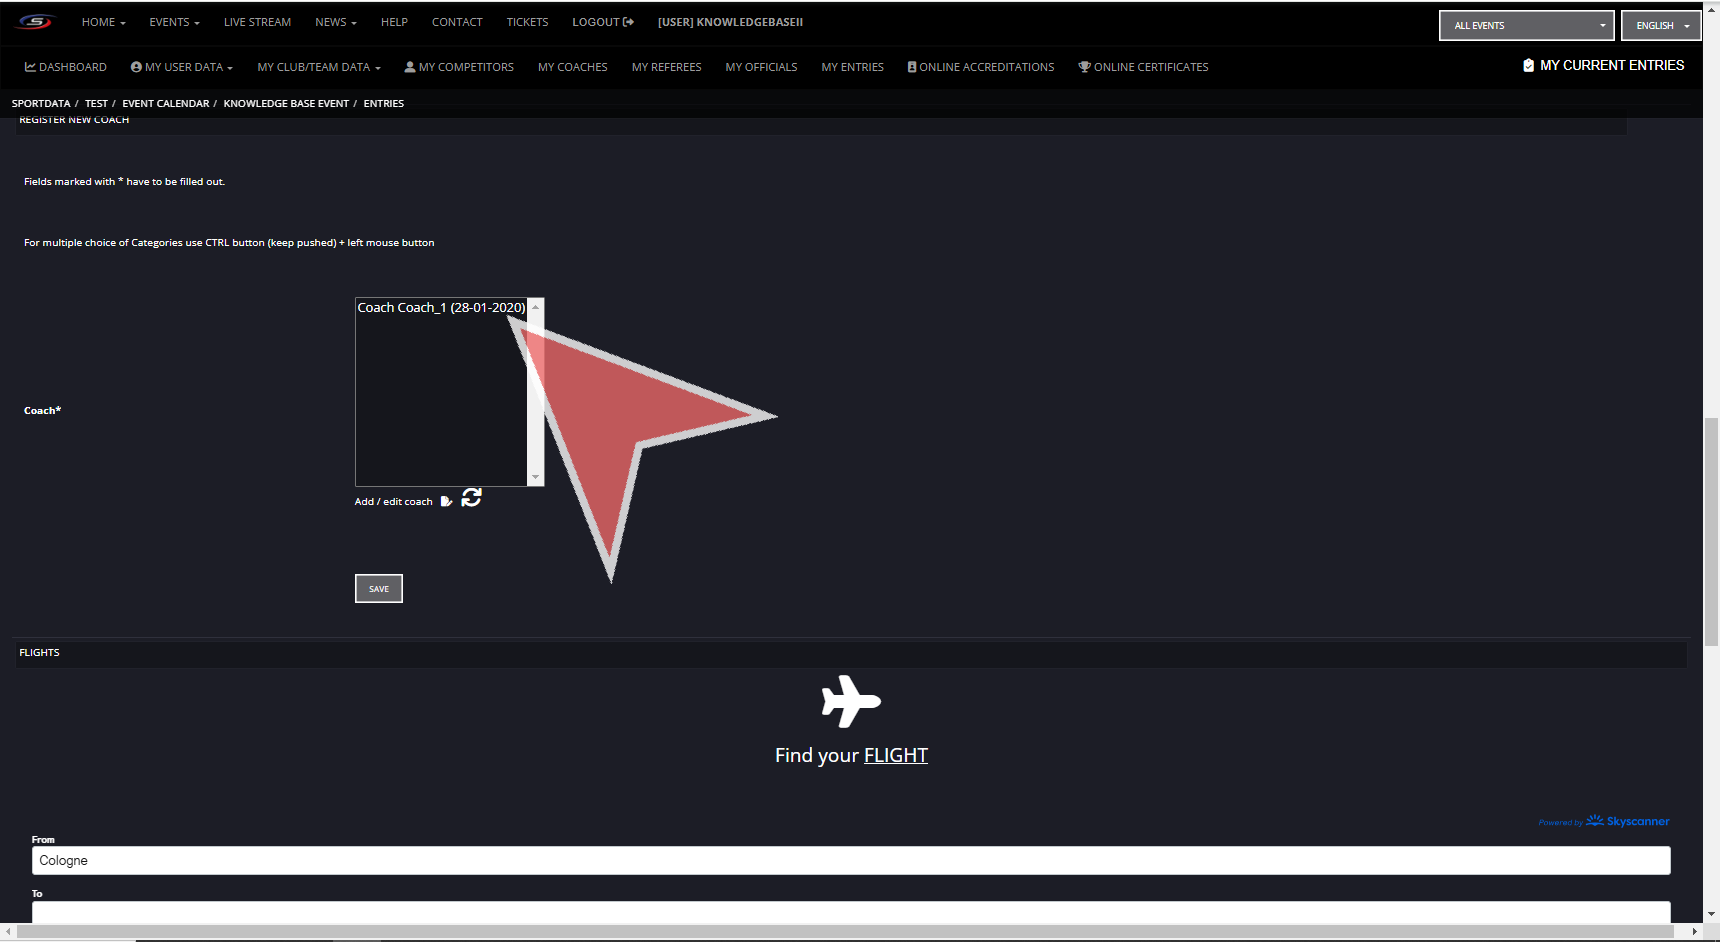
Select the coach you have newly added to your club account. If there are no coaches, then you will need to click on add / edit coach.
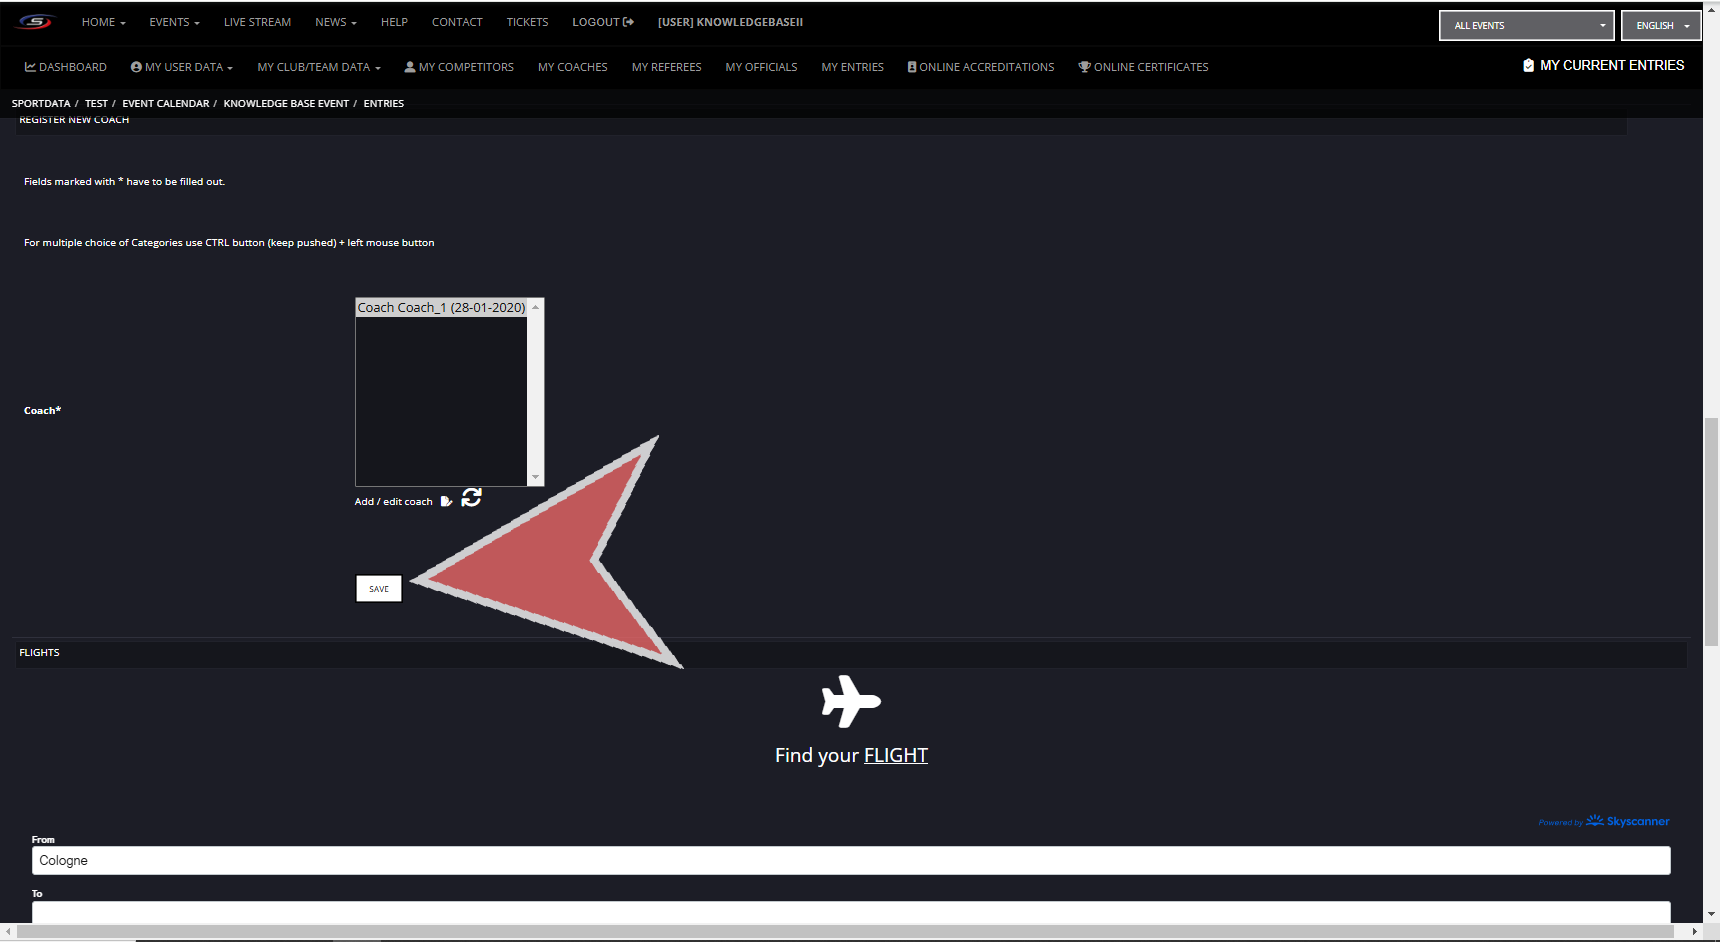
Press save.
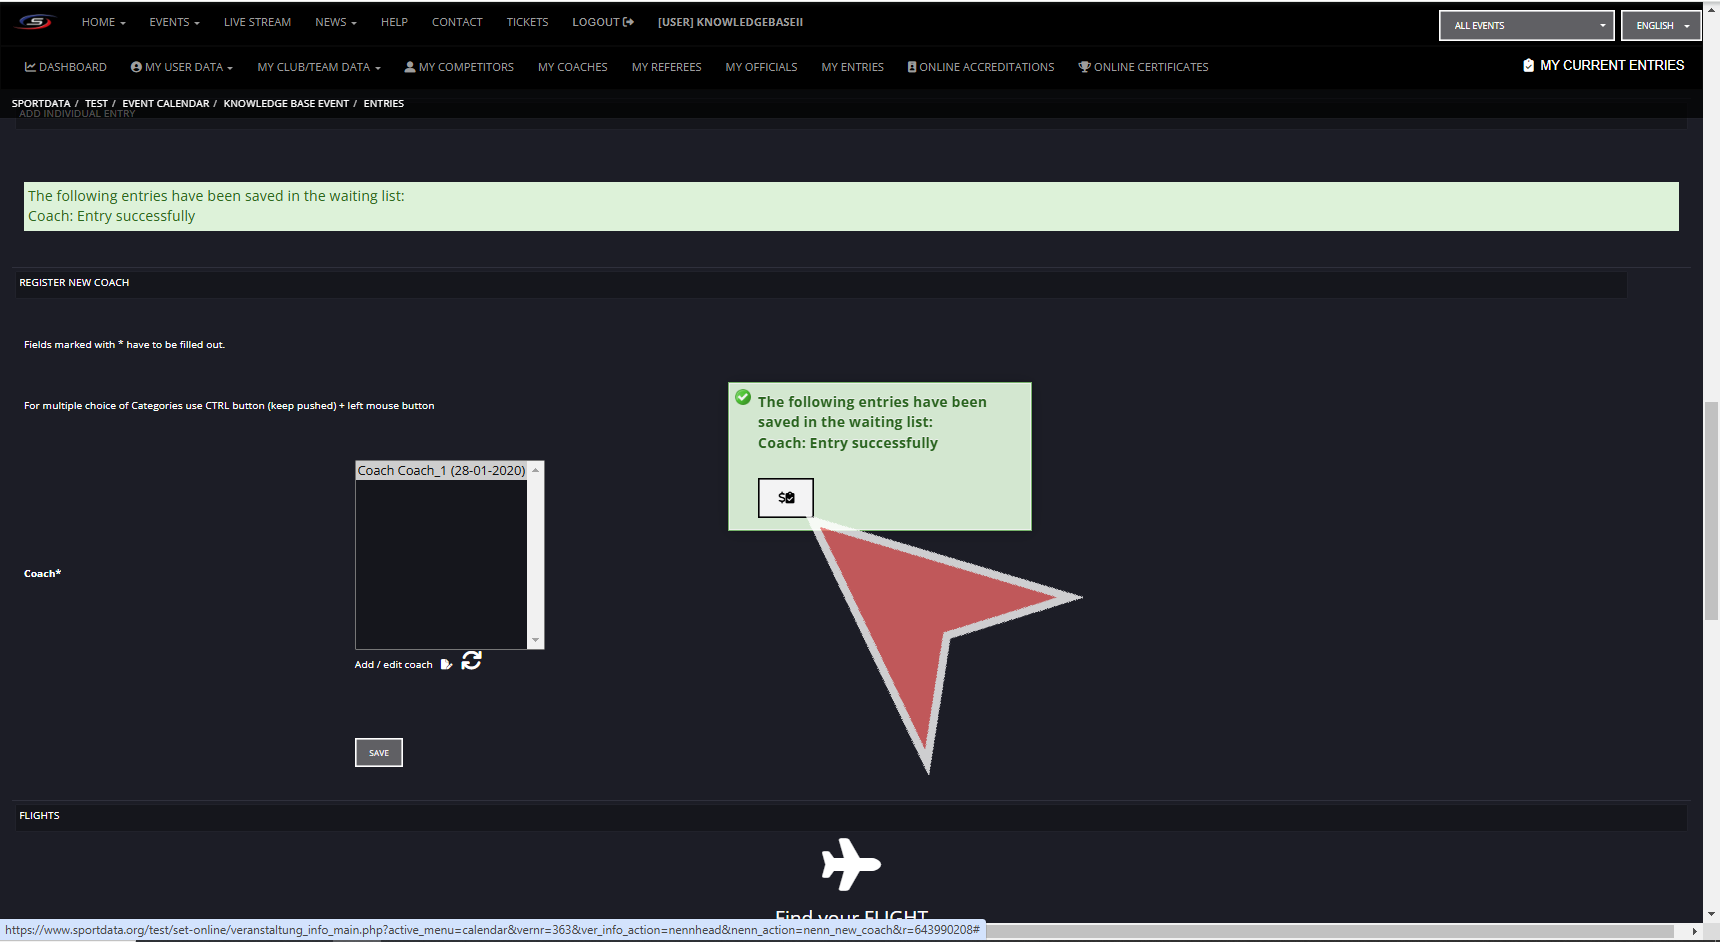
Payment
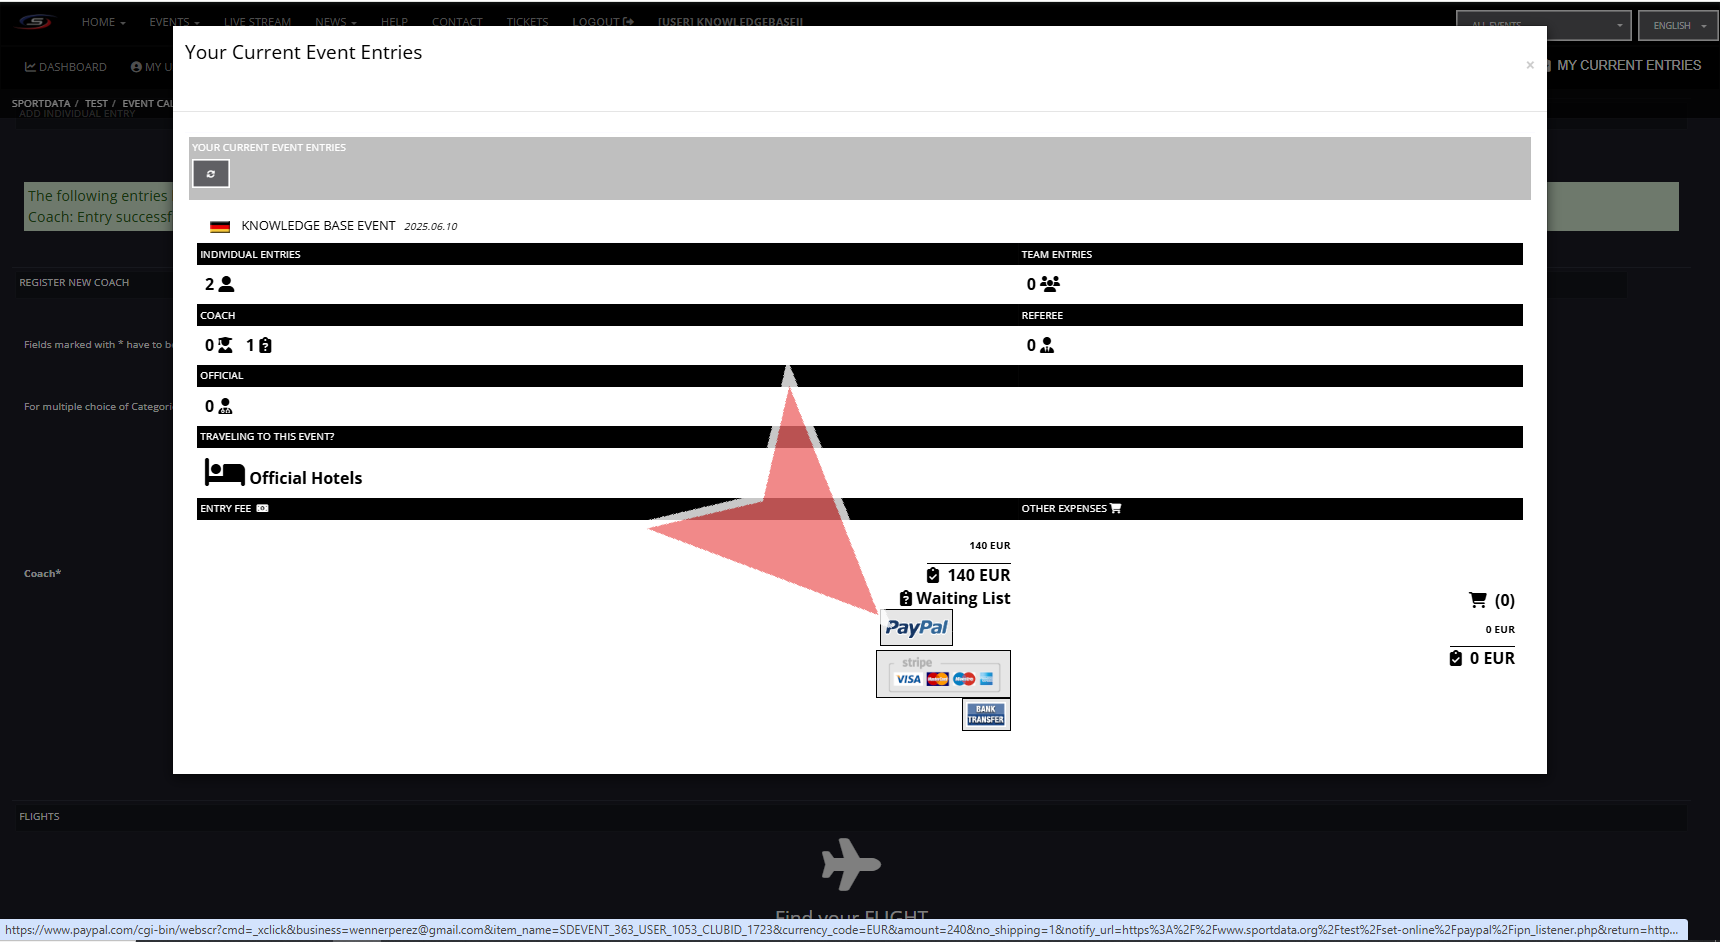
You have successfully added the coach to the event, now you can choose to continue with the payment by clicking on the button. Or, if you wish to continue registering participants, just click the green pop up box.
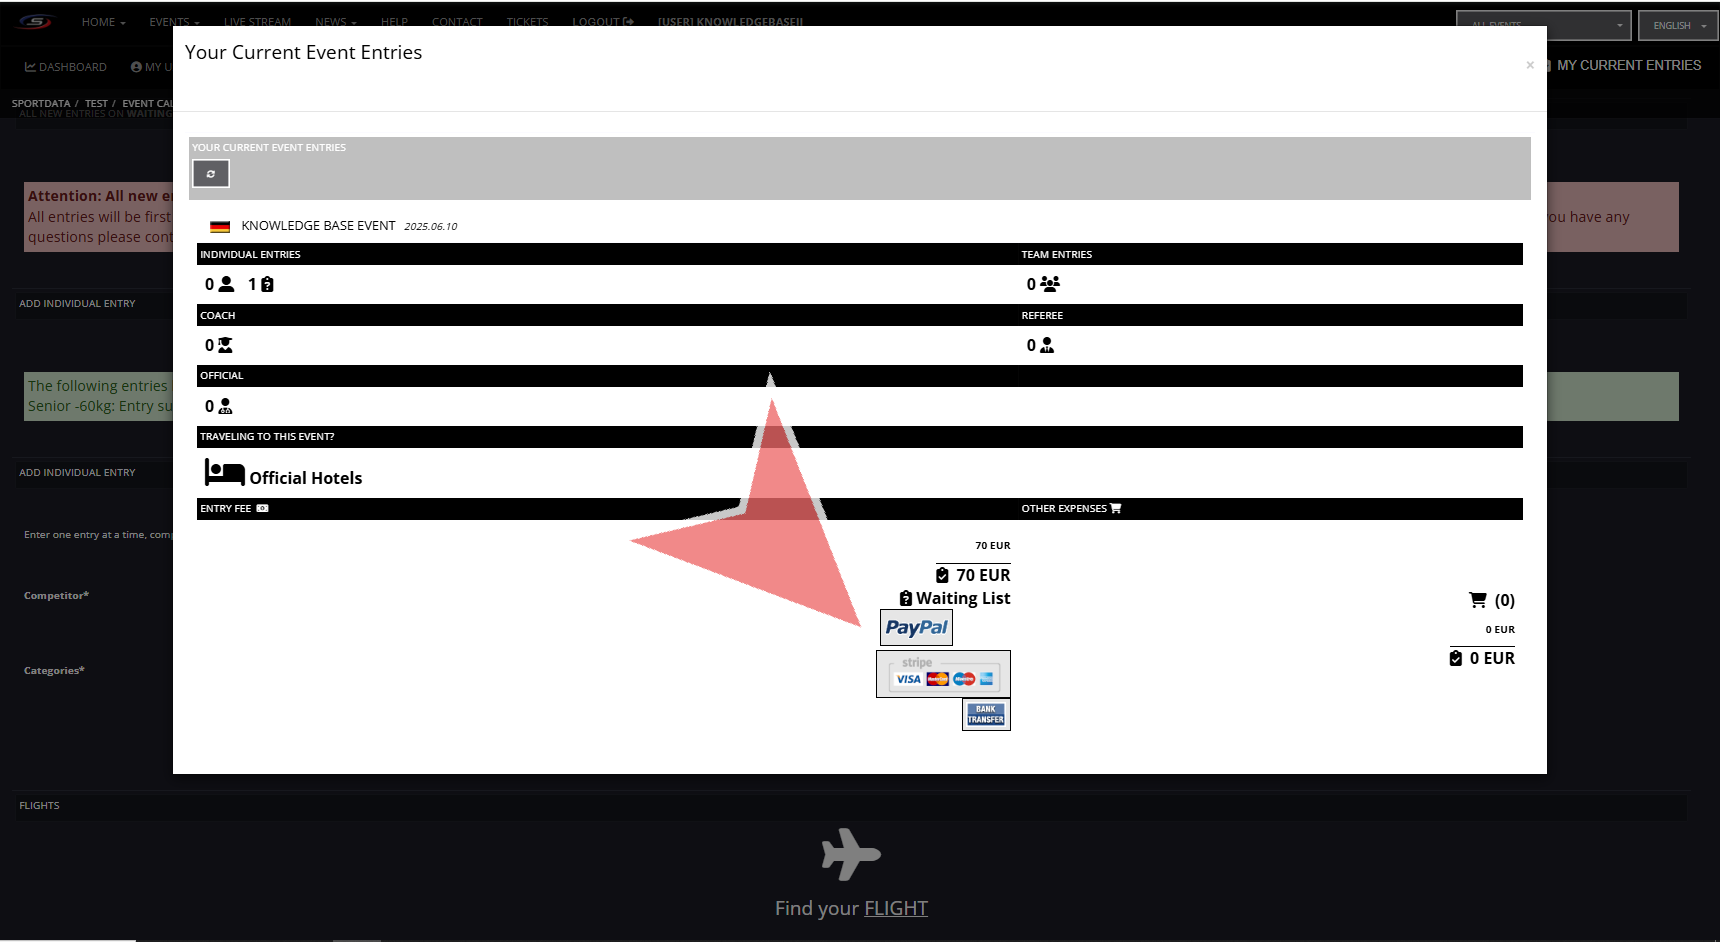
You can see your current event entries, the total amount for entry fee and other expenses. Click on the available payment options to proceed with payments. If you do not see any payment options, then the event organizers has not activated it and you should contact them directly.
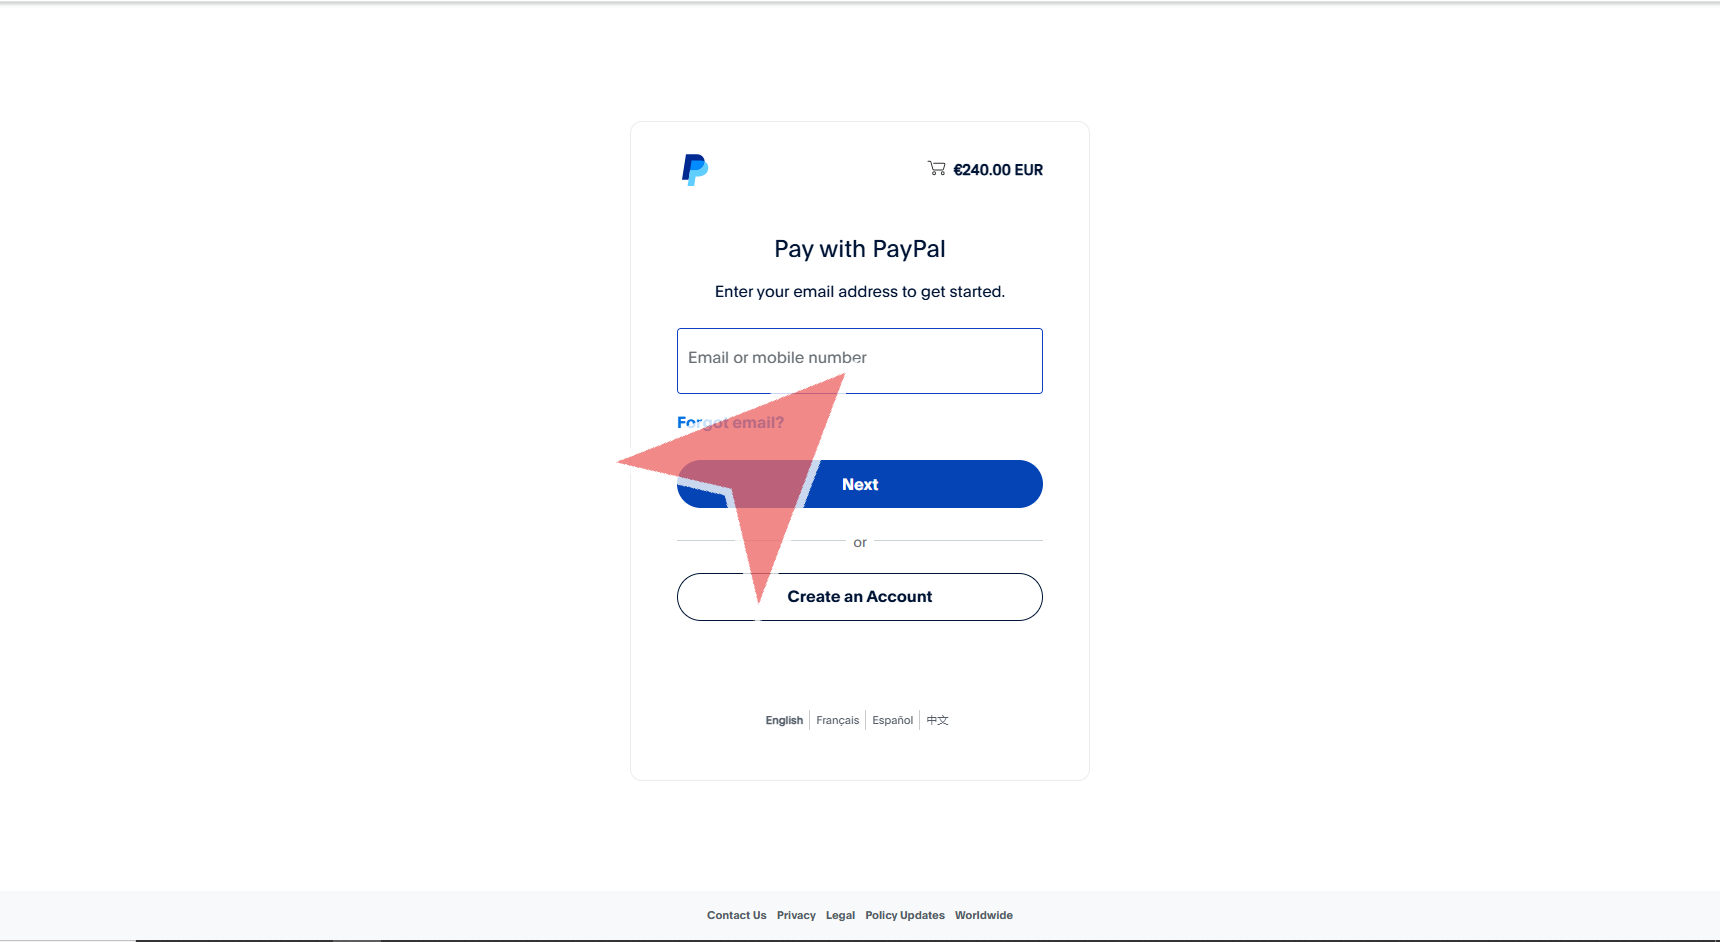
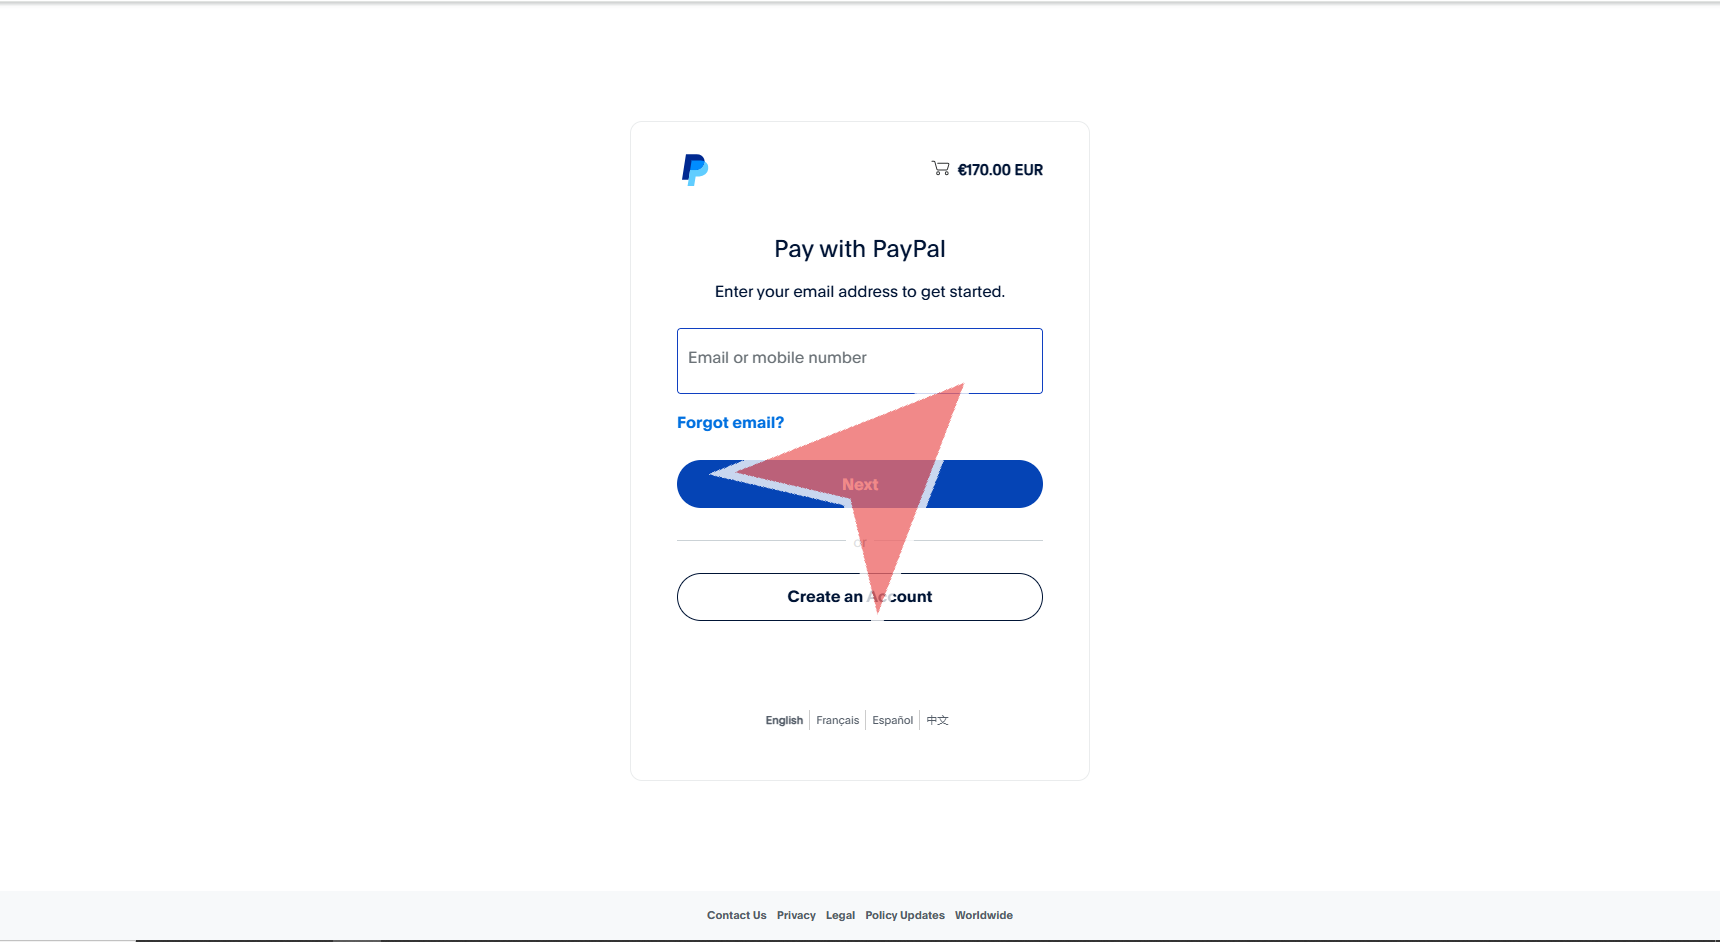
Complete the payment process.
After having login in to your club account, use the search bar to find your event by filter by name, type and country.

You can also use the event calendar feature.
Click on your desired event.
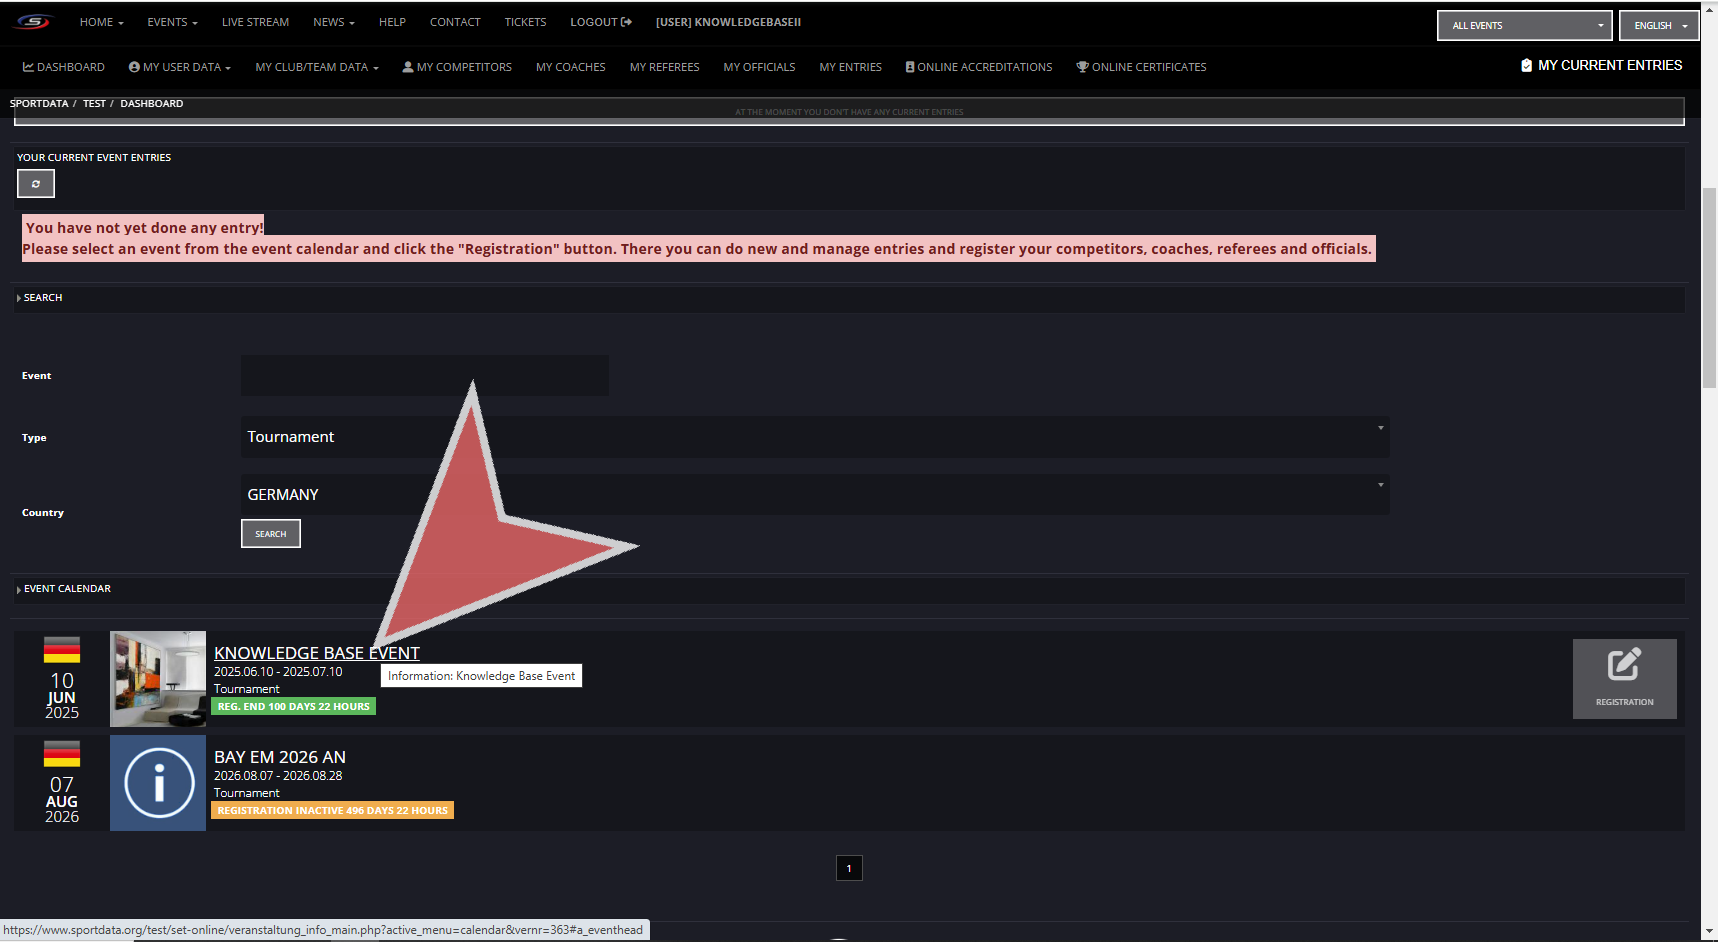
click on the registration button.
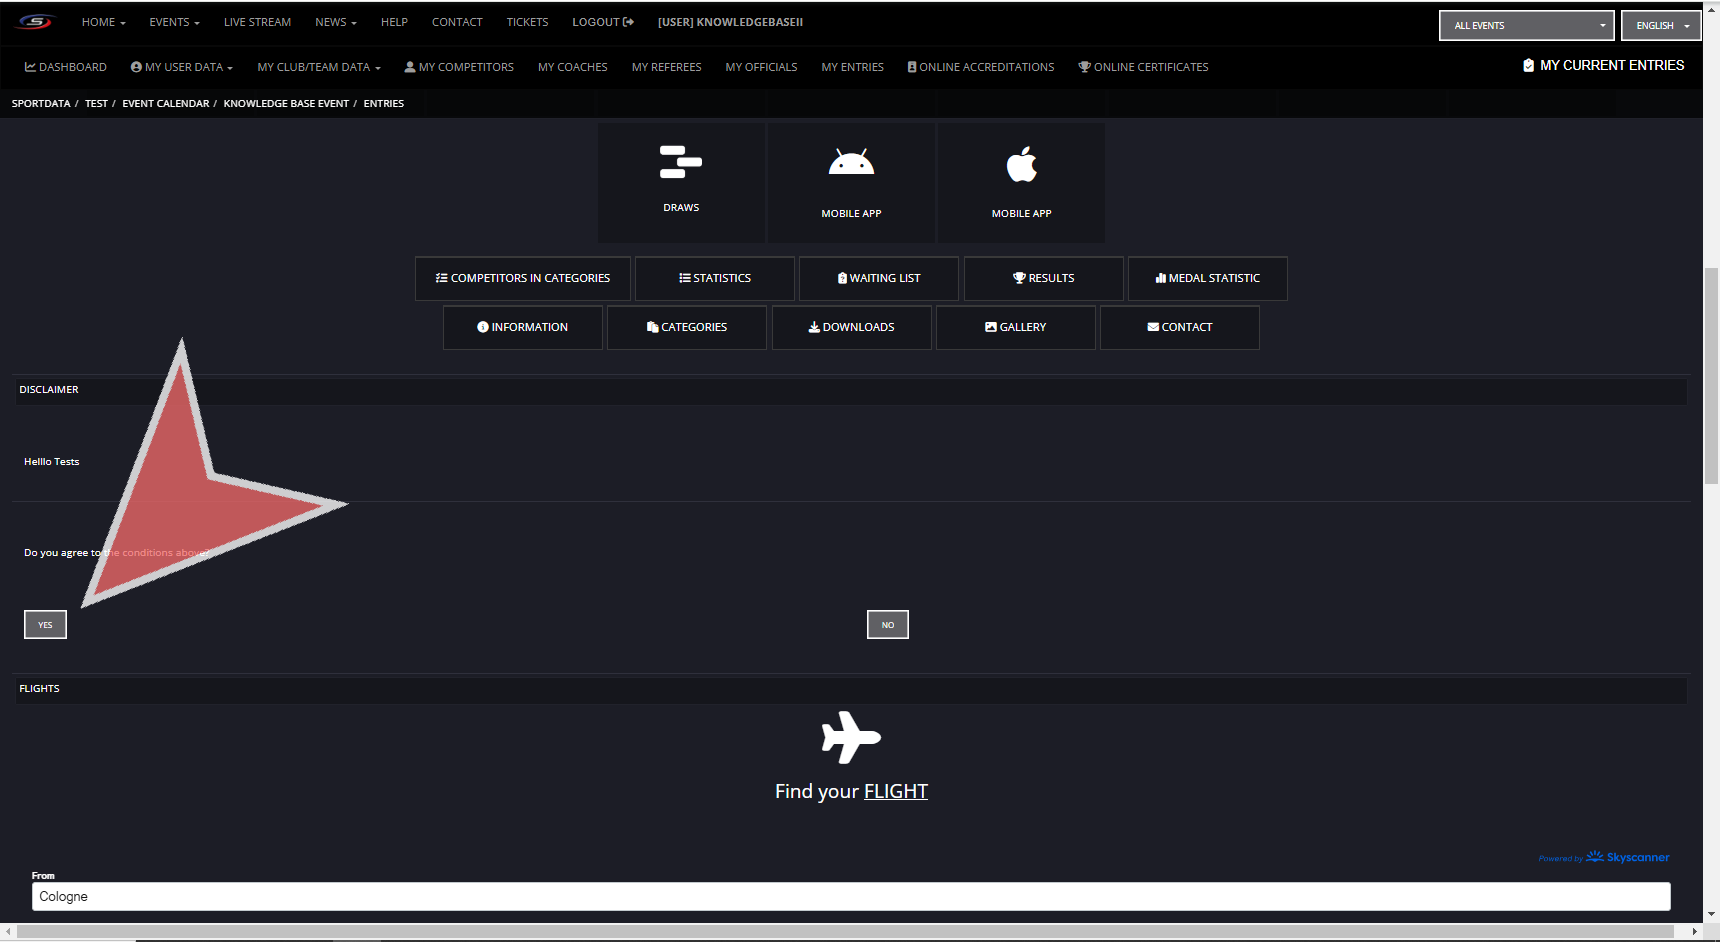
If this is your first time registering to this event you will need to agree to the disclaimer before proceeding.
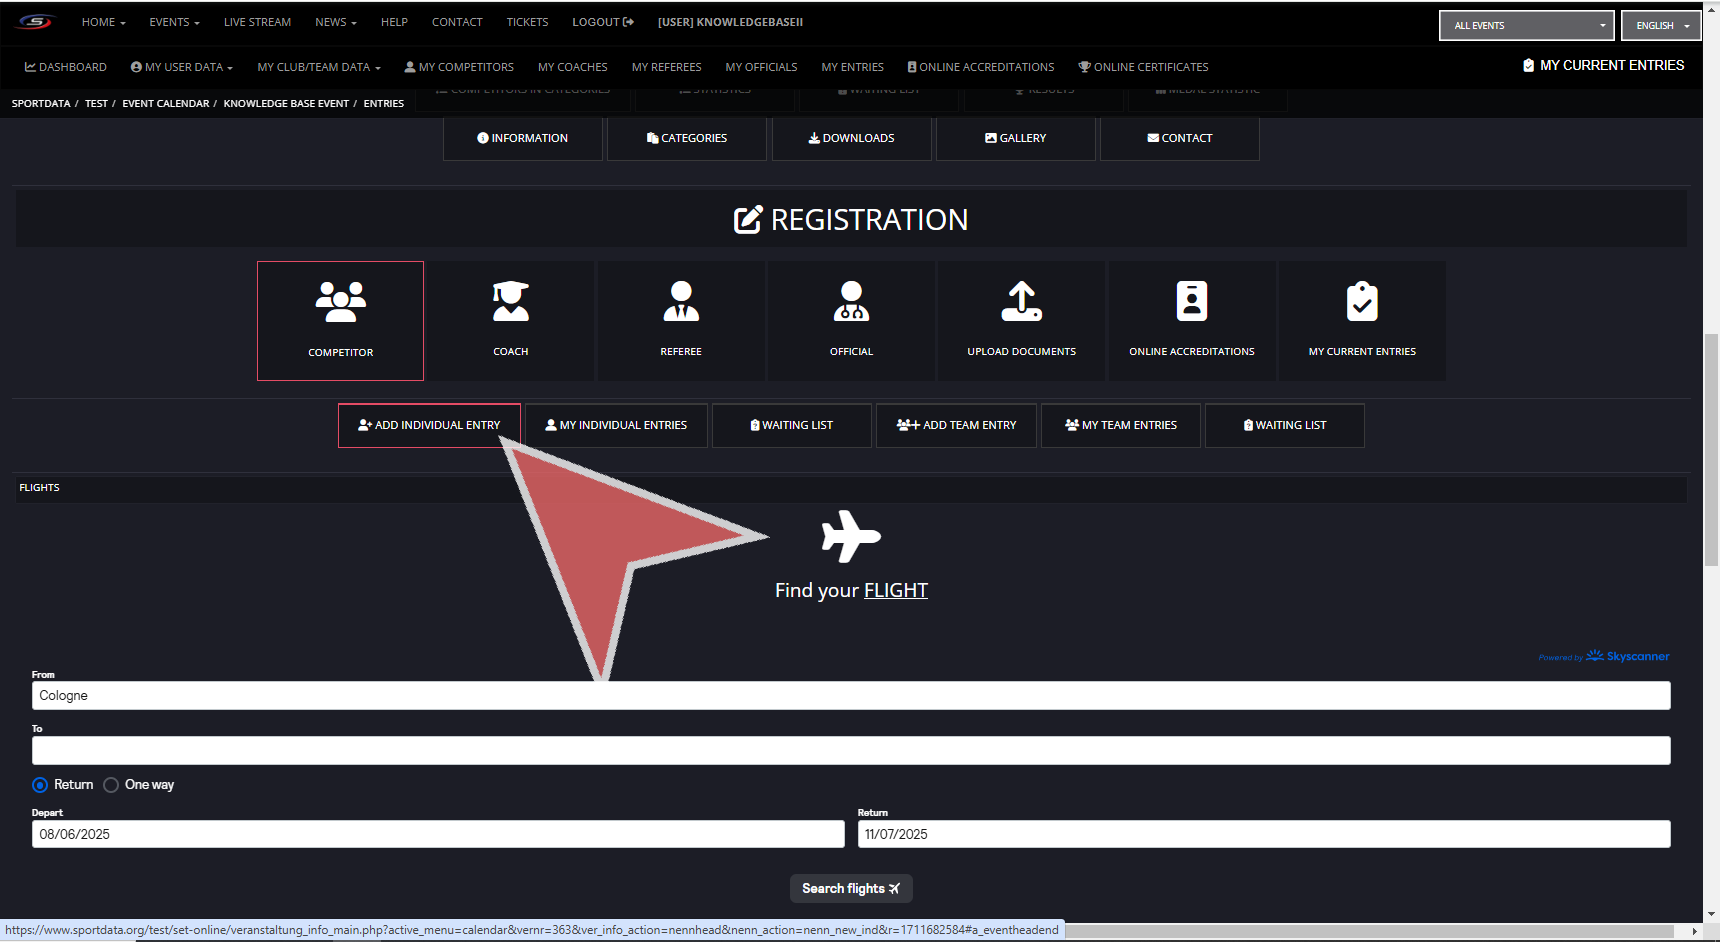
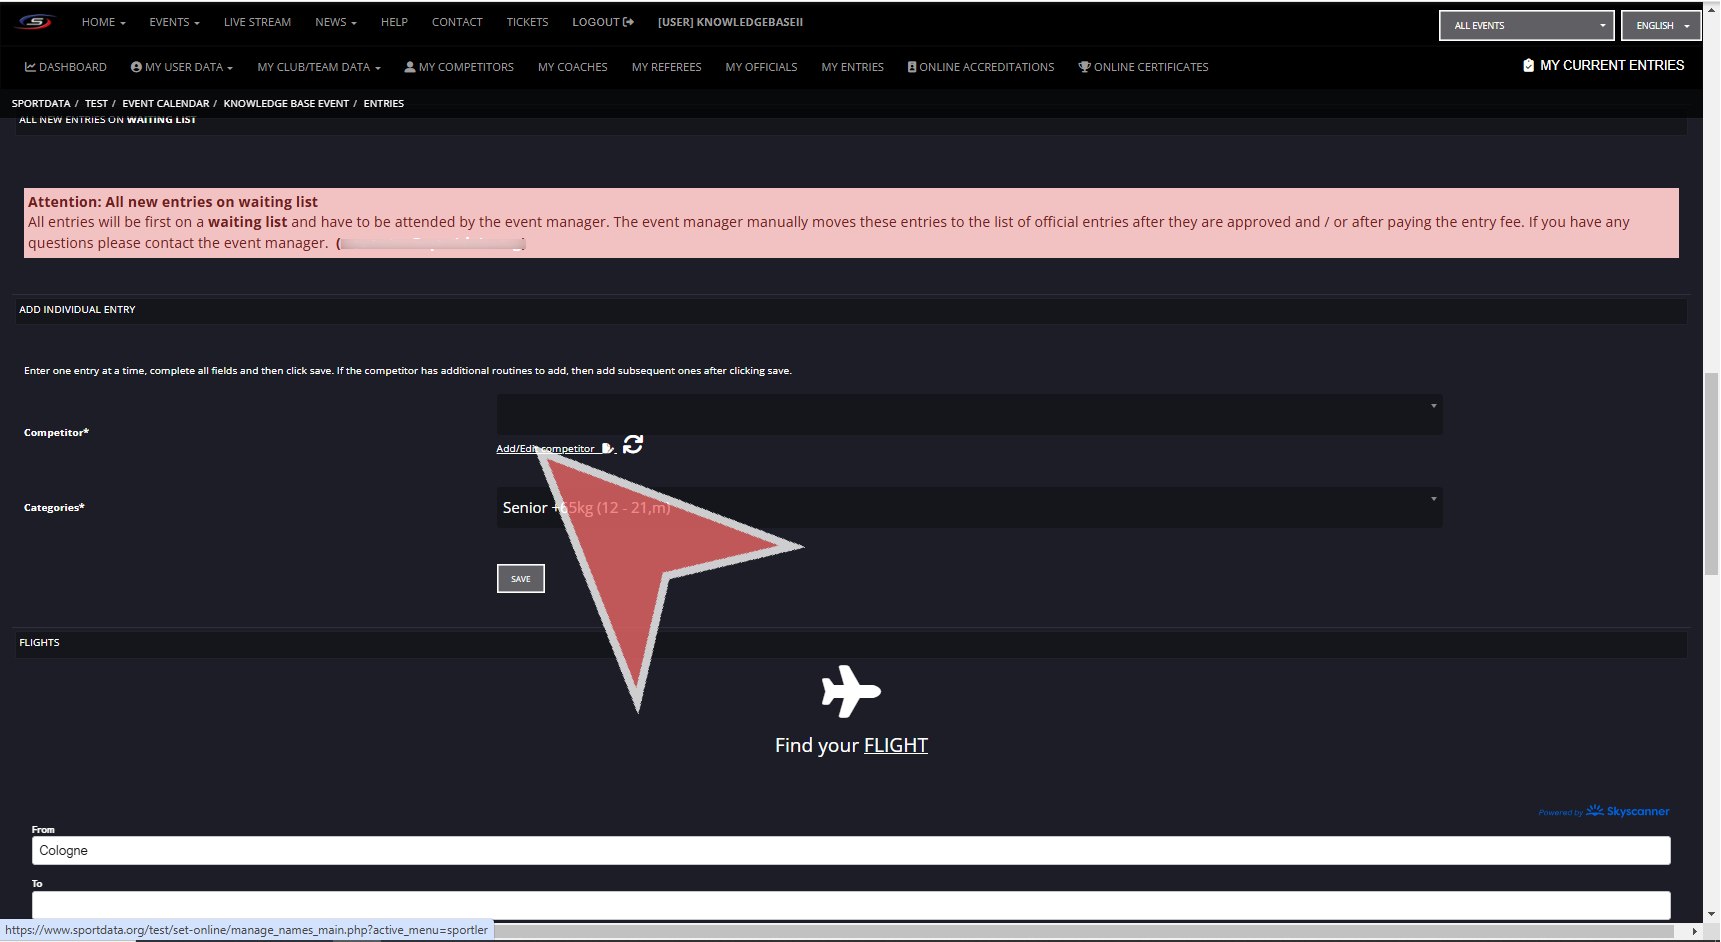
Click on competitor, and then, click on ADD INDIVIDUAL ENTRY.
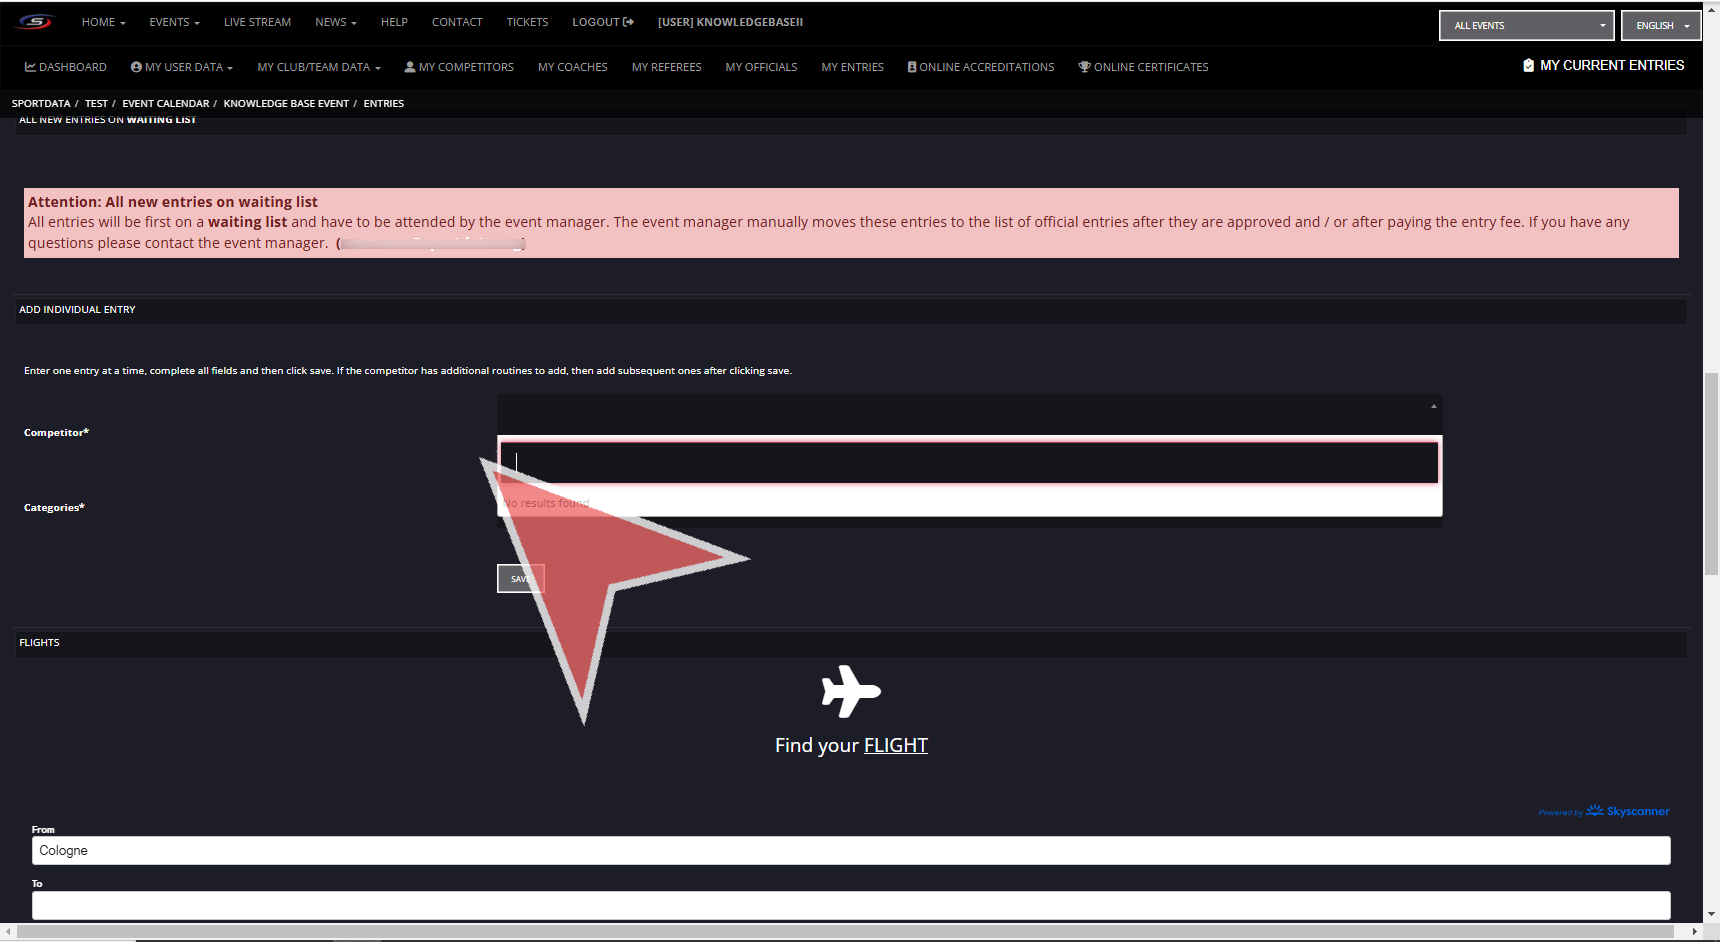
If you have not already created profile for your athletes, then northing will appear in the competitor space.
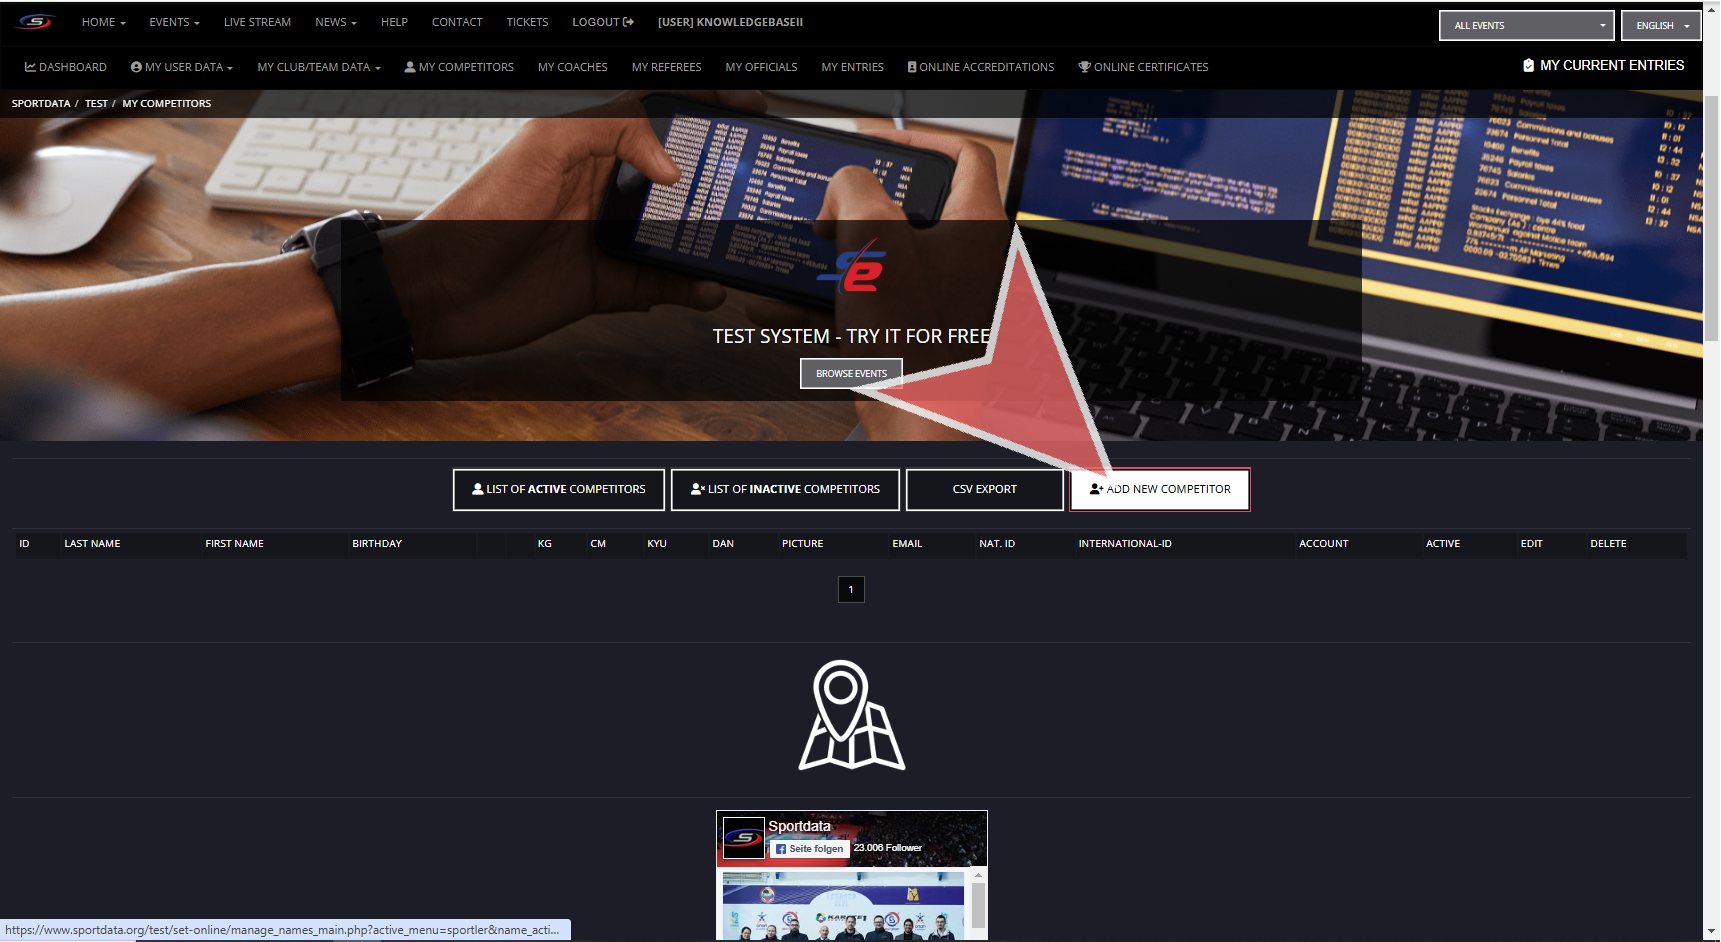
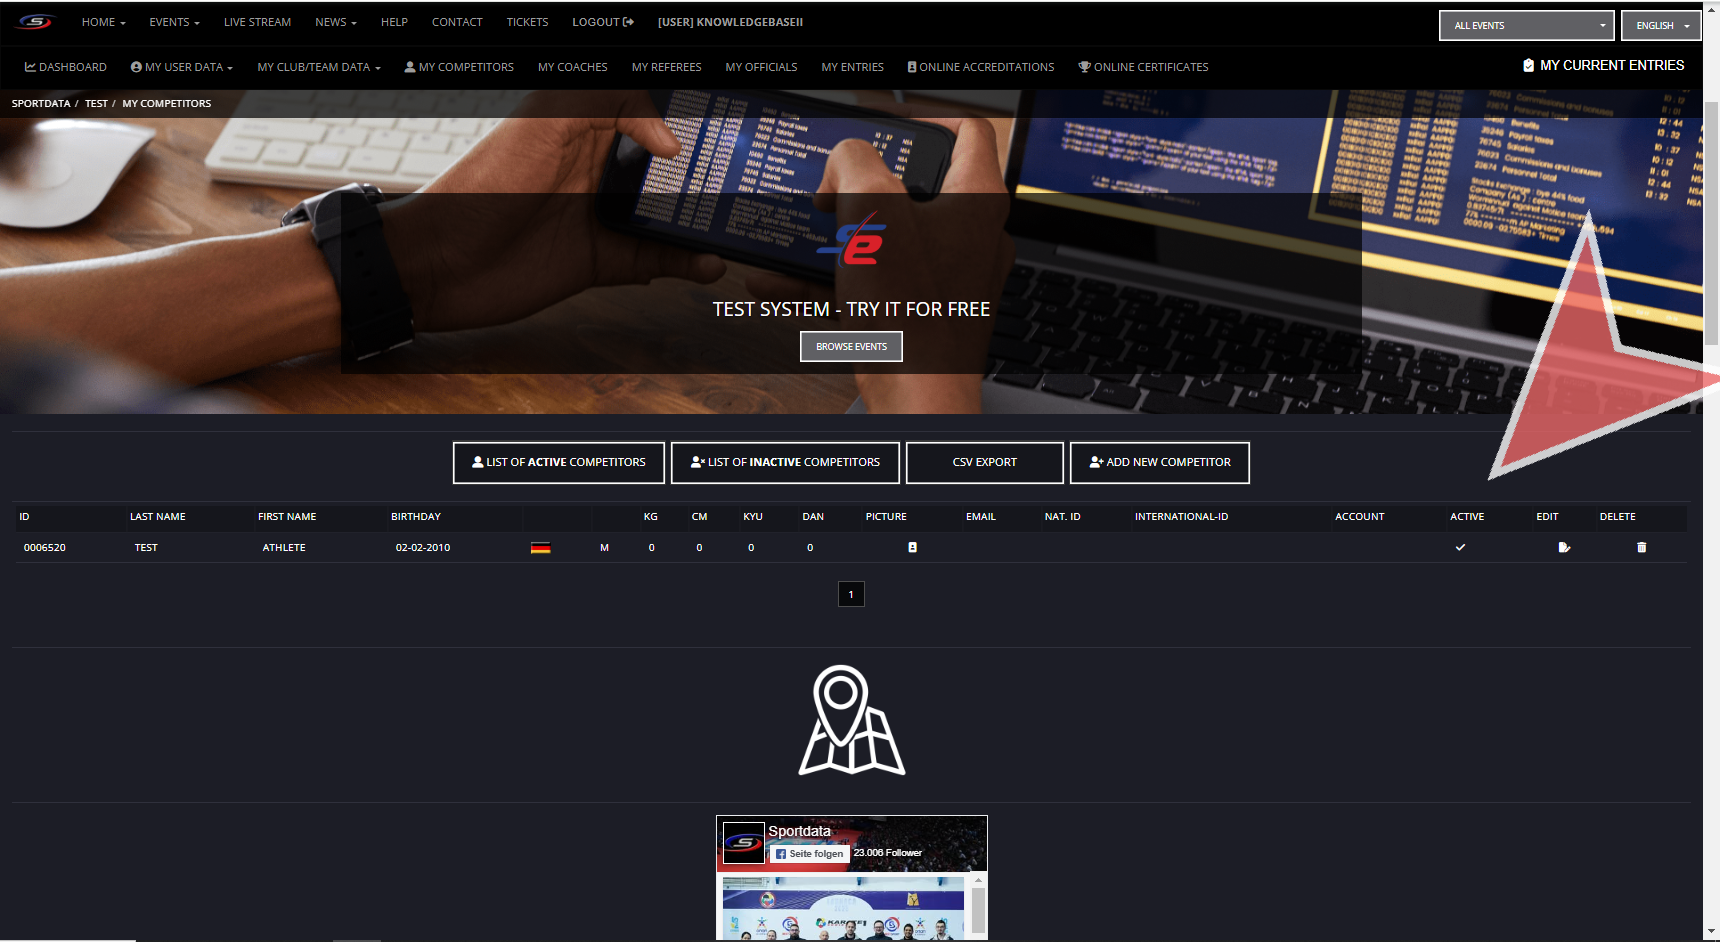
To create a competitor profile, click the add/edit competitor button. You will be taken to the competitors list.
Click on Add New Competitor.
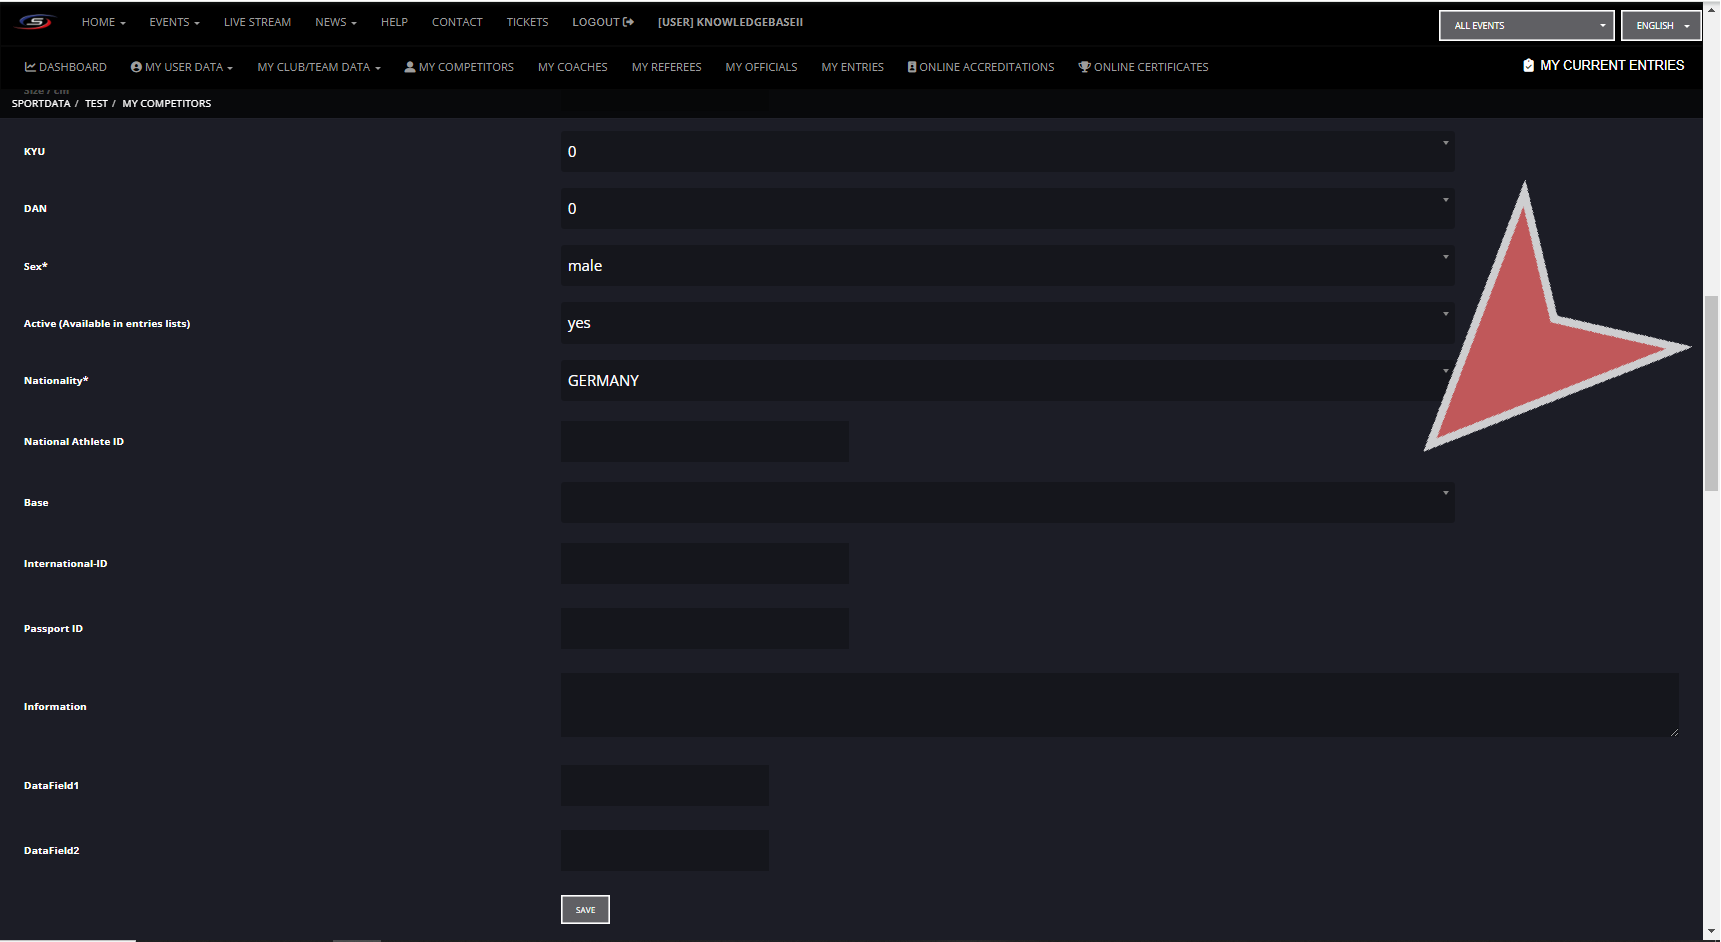
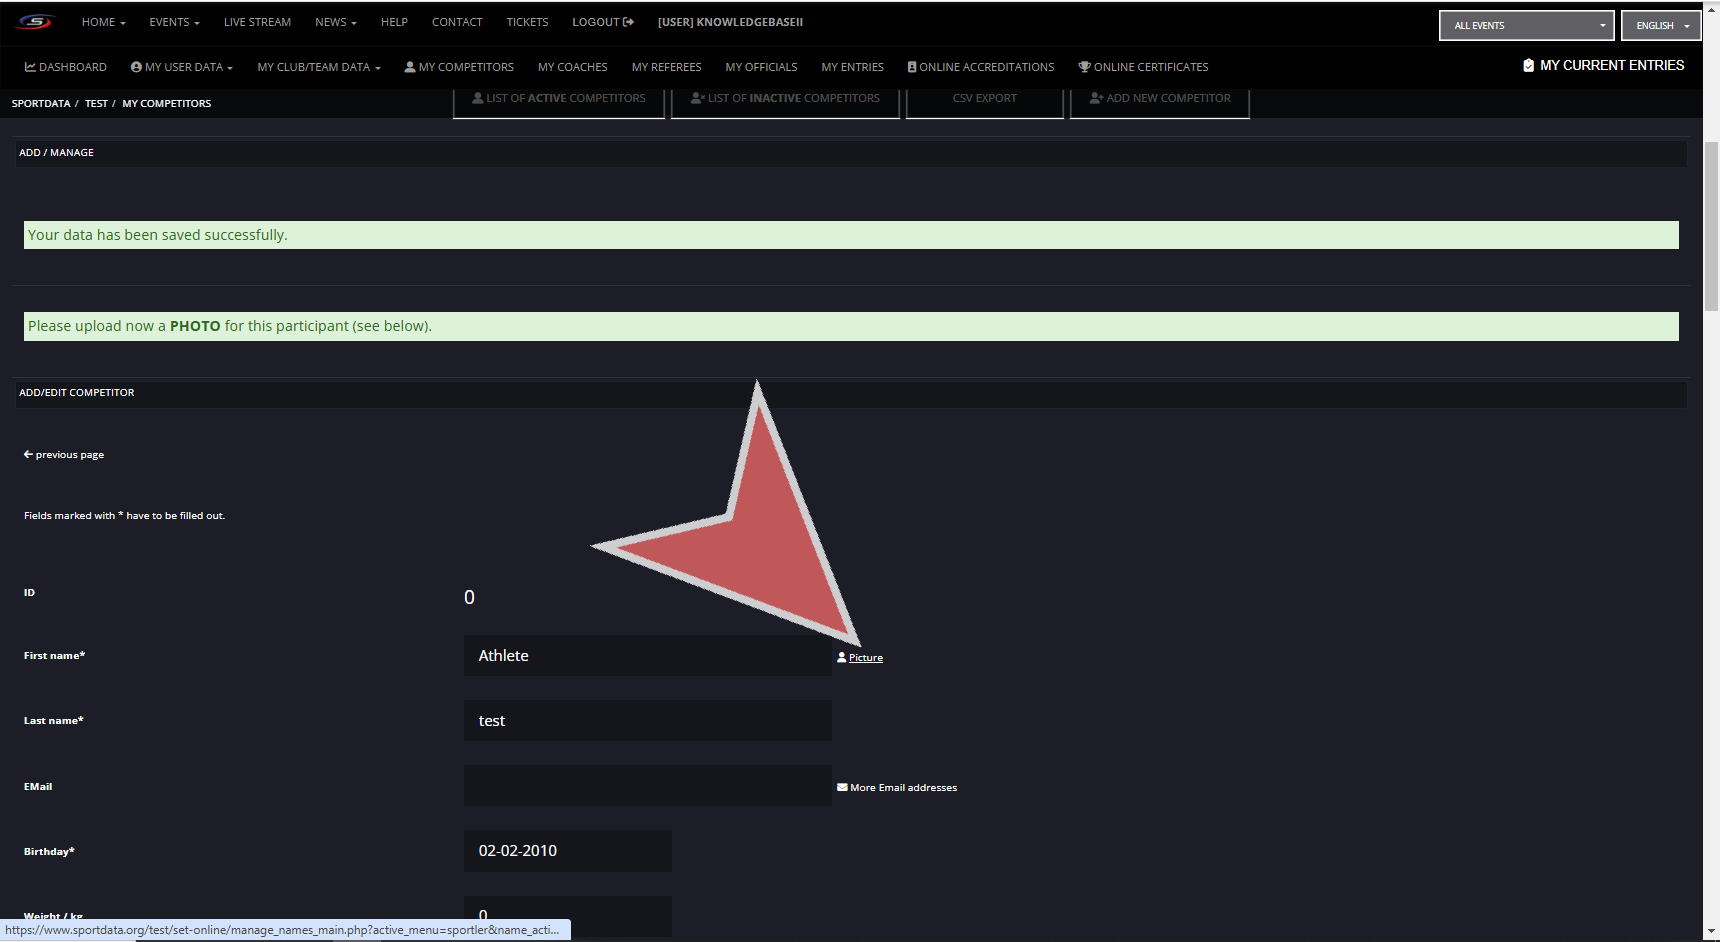
Fill out the athlete specific information. The email will allow the athlete to receive event specific notifications. Some events require additional information including Weight,Size, Kyu, Dan, etc.
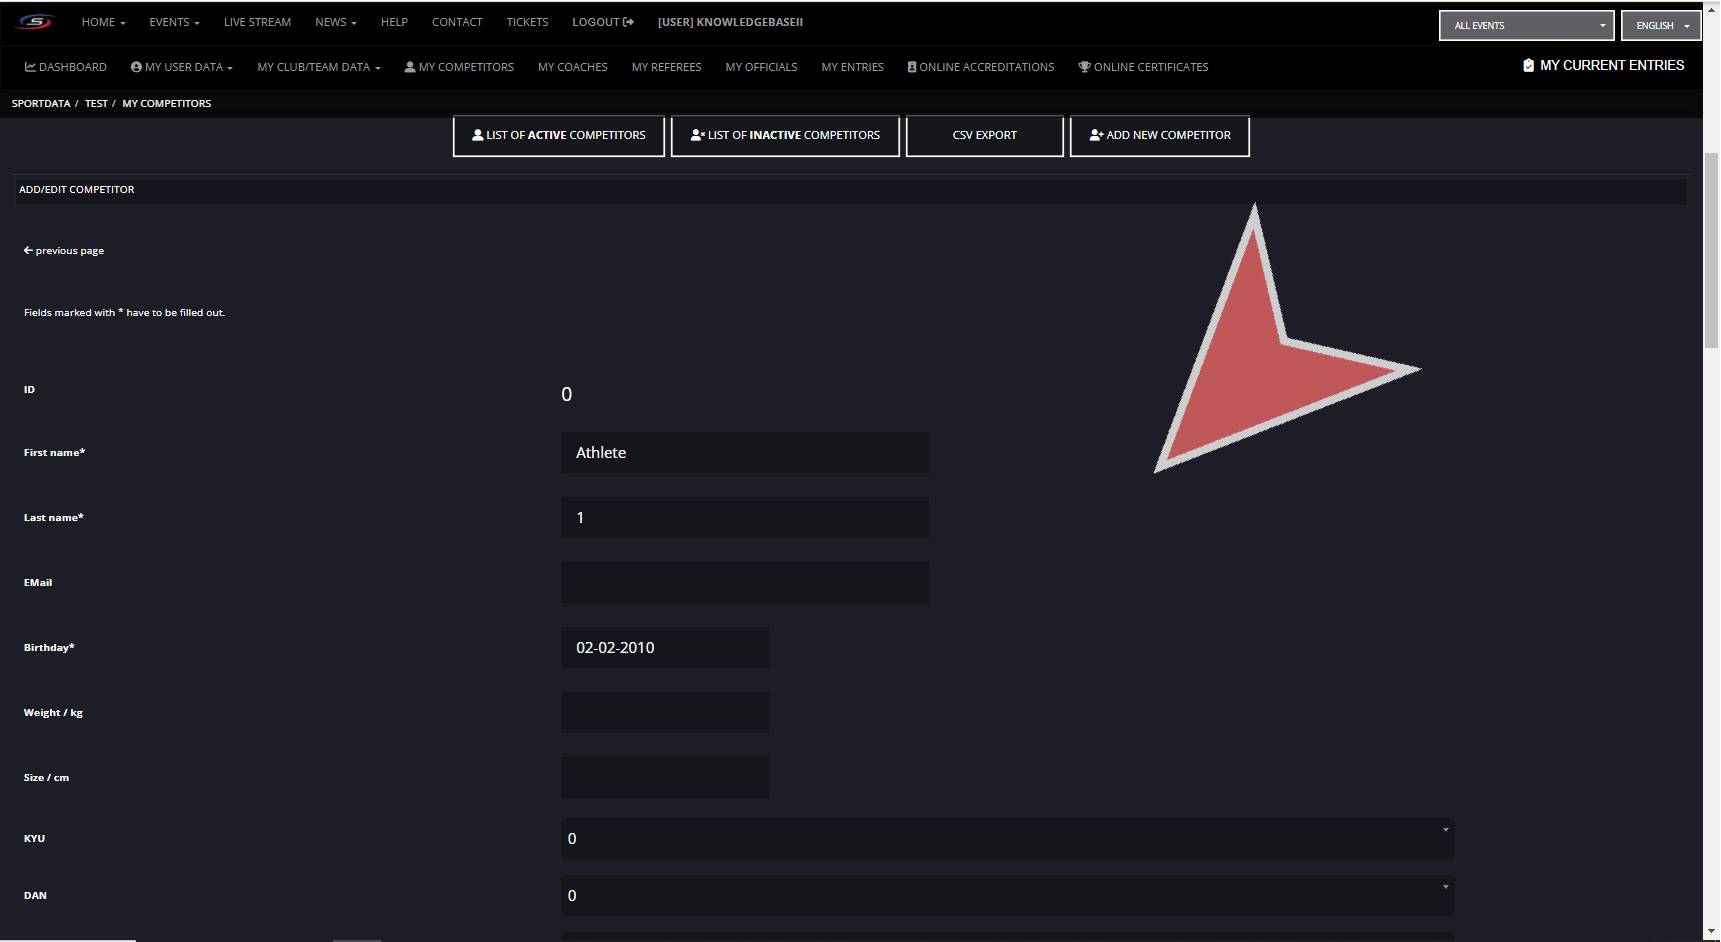
The national and international ids can be important information for ranking, therefore if ranking points at an event can be earned it is important to match the ids to their ranking. Finally, after filling out the relevant information about your athlete, you can save their profile.
Now, you can include the picture to the by clicking picture or scrolling to the bottom of the page.
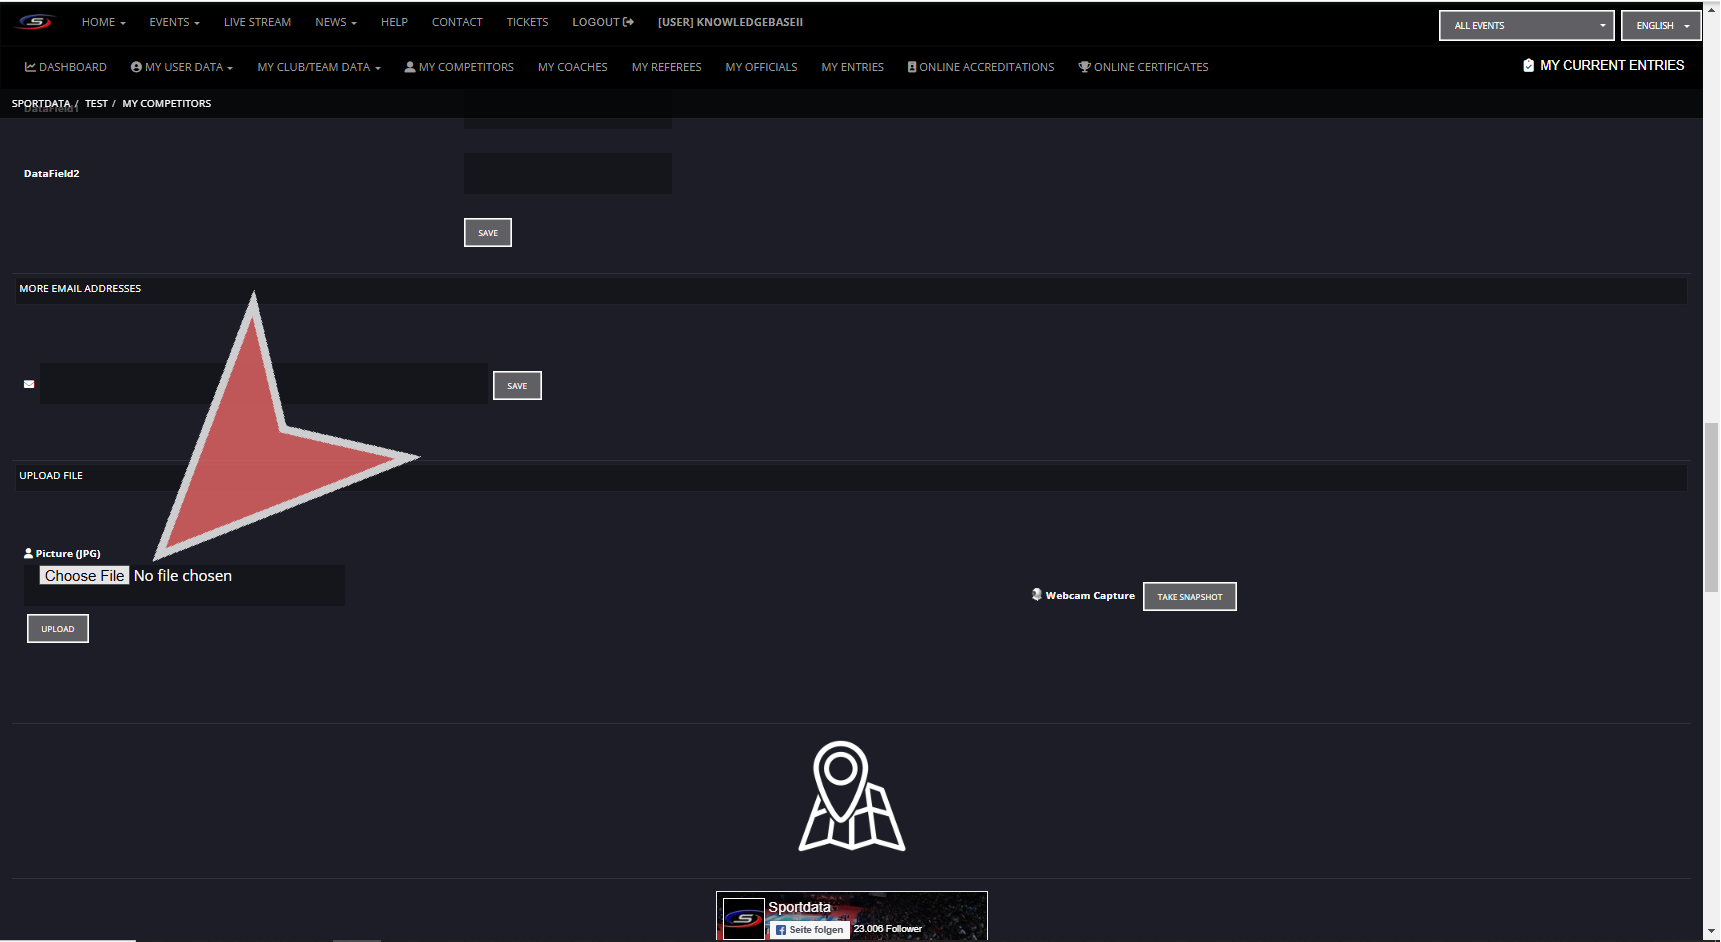
Choose a file, or take a snapshot with your webcam, and upload the file to the profile.
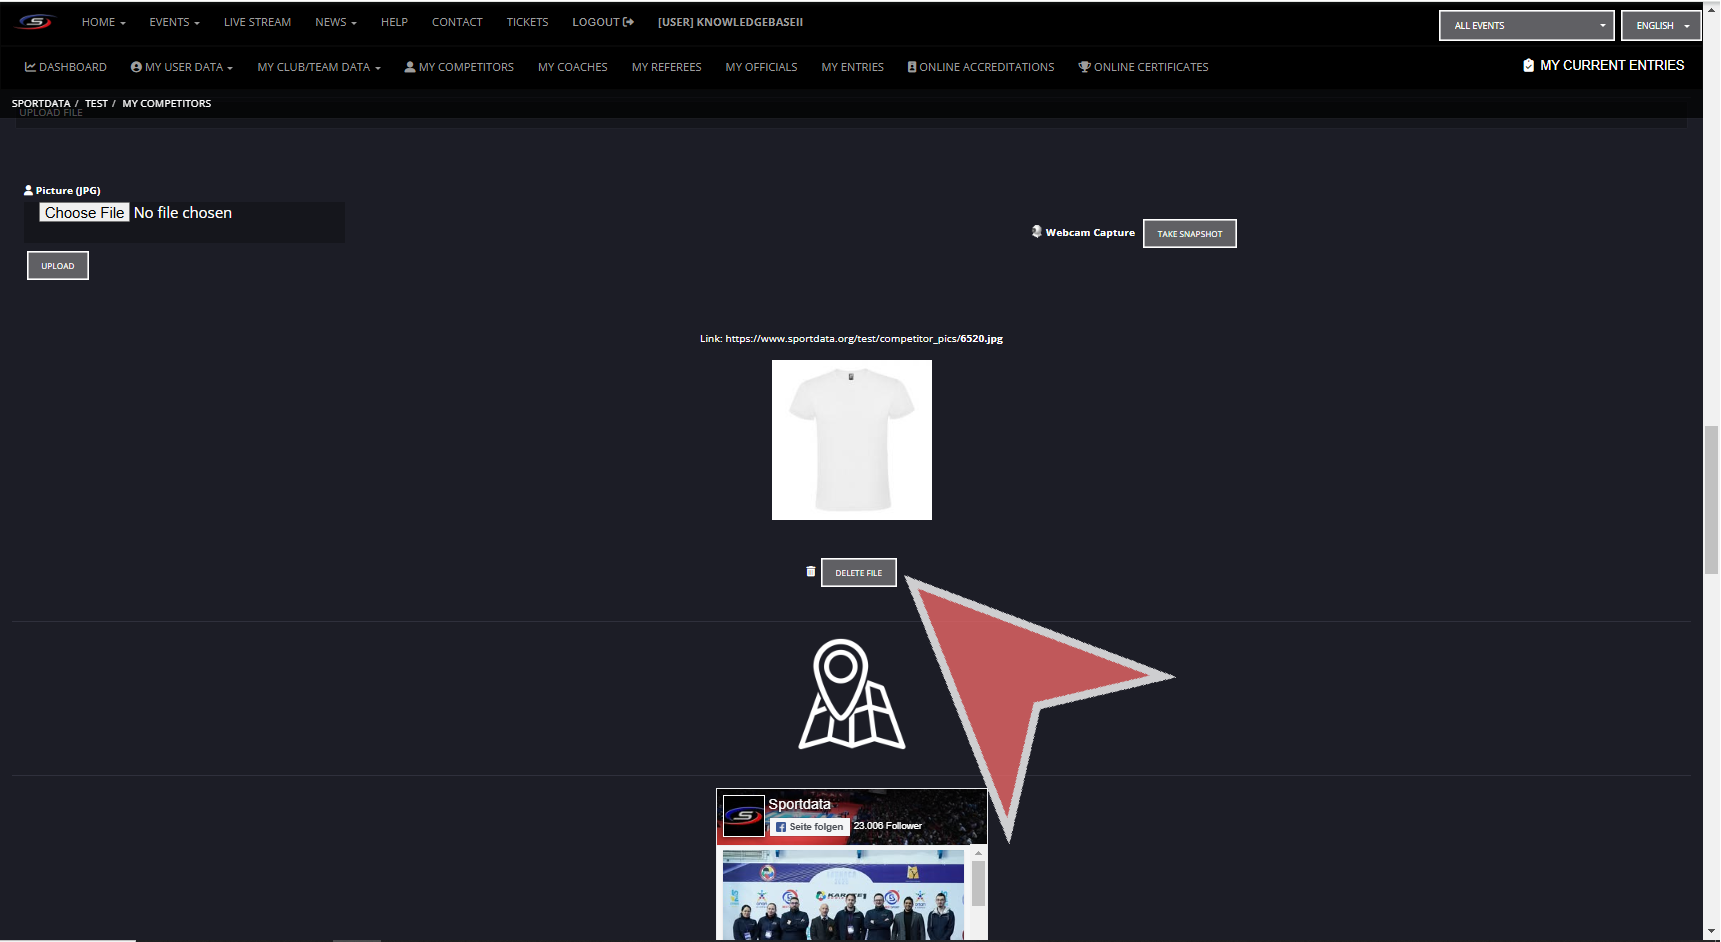
If you wish to delete your photo, press delete. Note, this picture will only be associated with this profile within your club account, and the athlete may have another photo within another club account or in another profile.
You can see the completed profile under the Active Competitors.
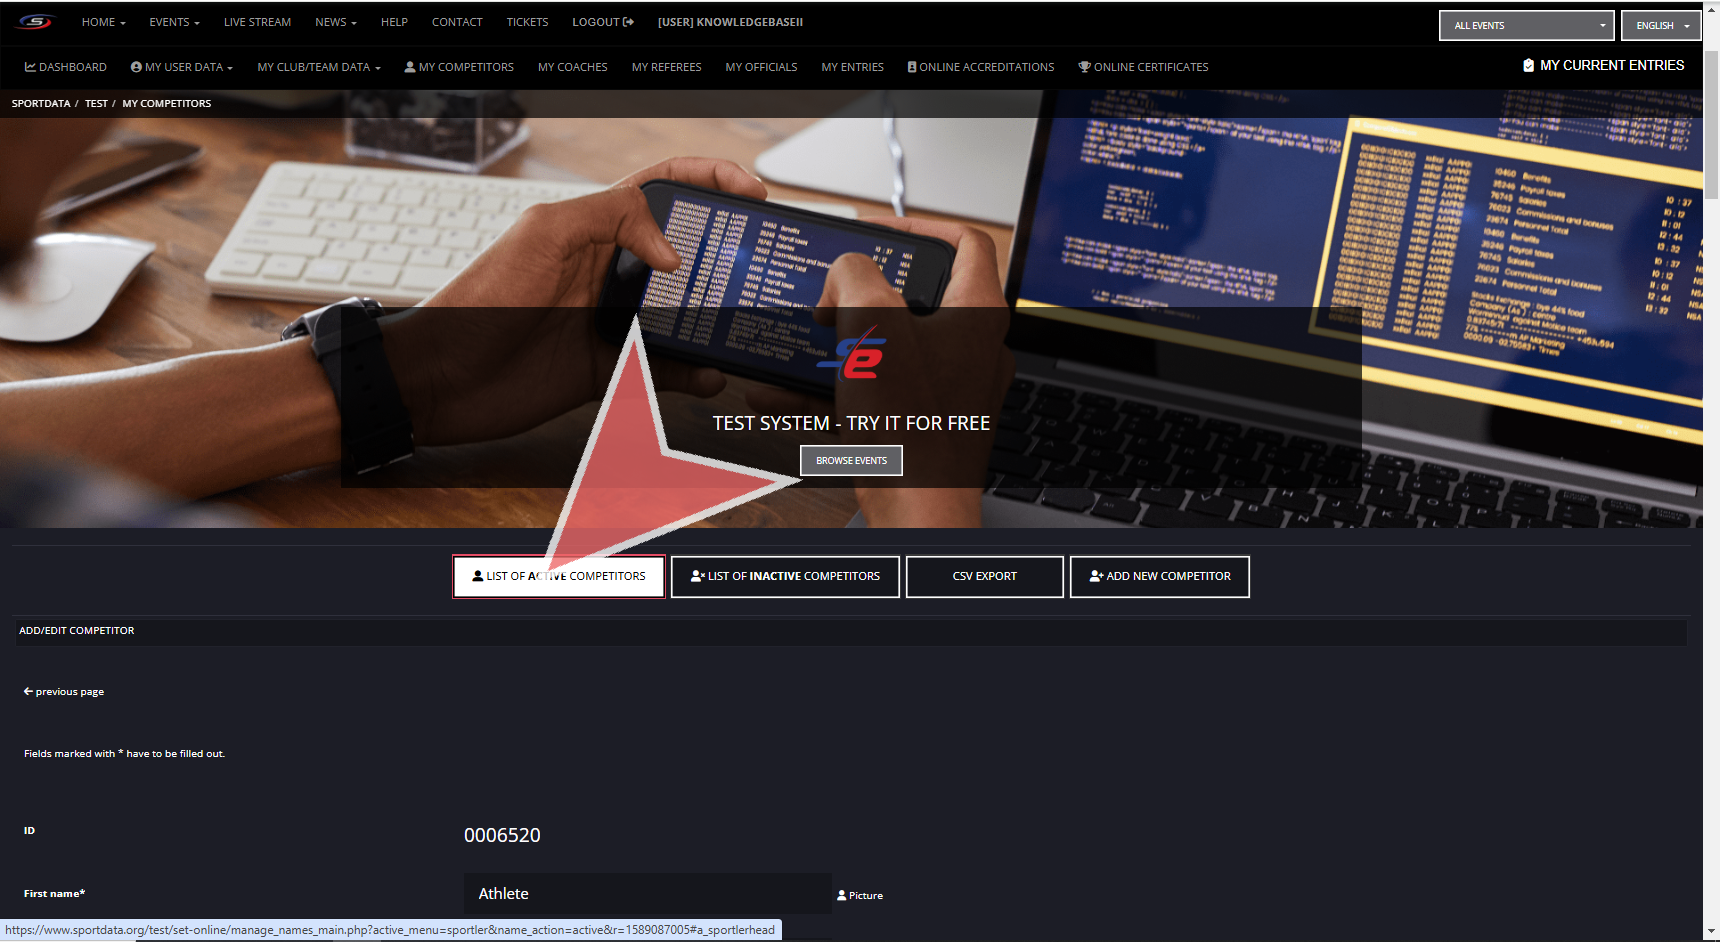
Here you can edit the profile or delete it.
Now that you have your athletes profile created, you can add them to the event registration
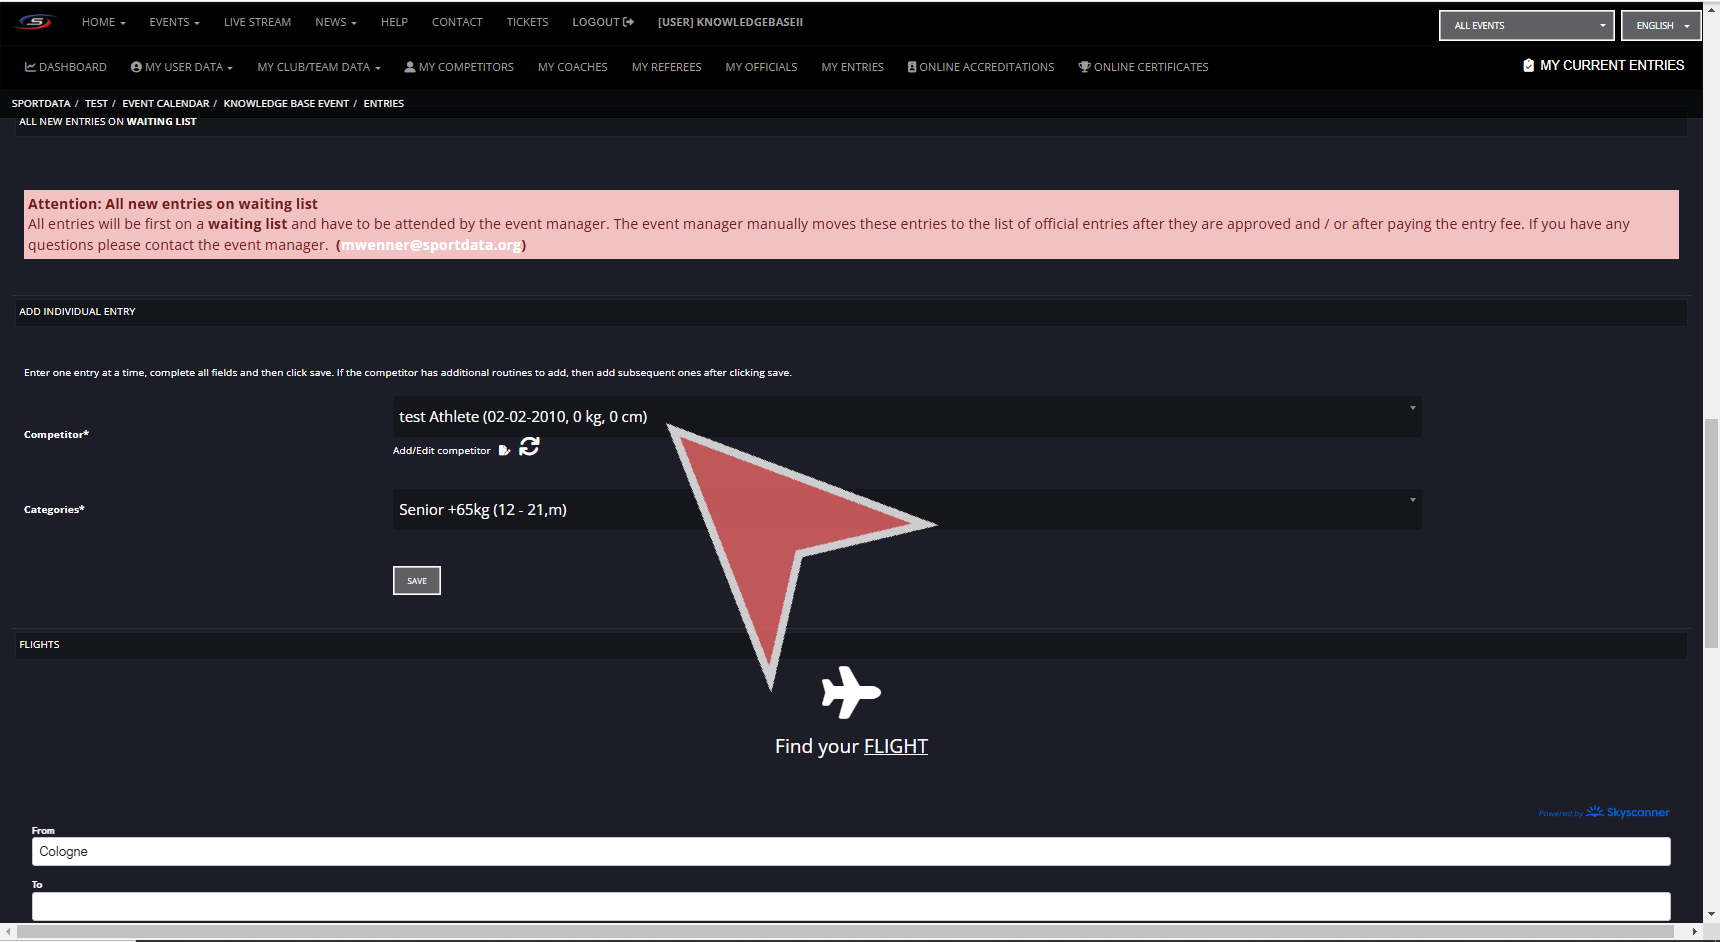
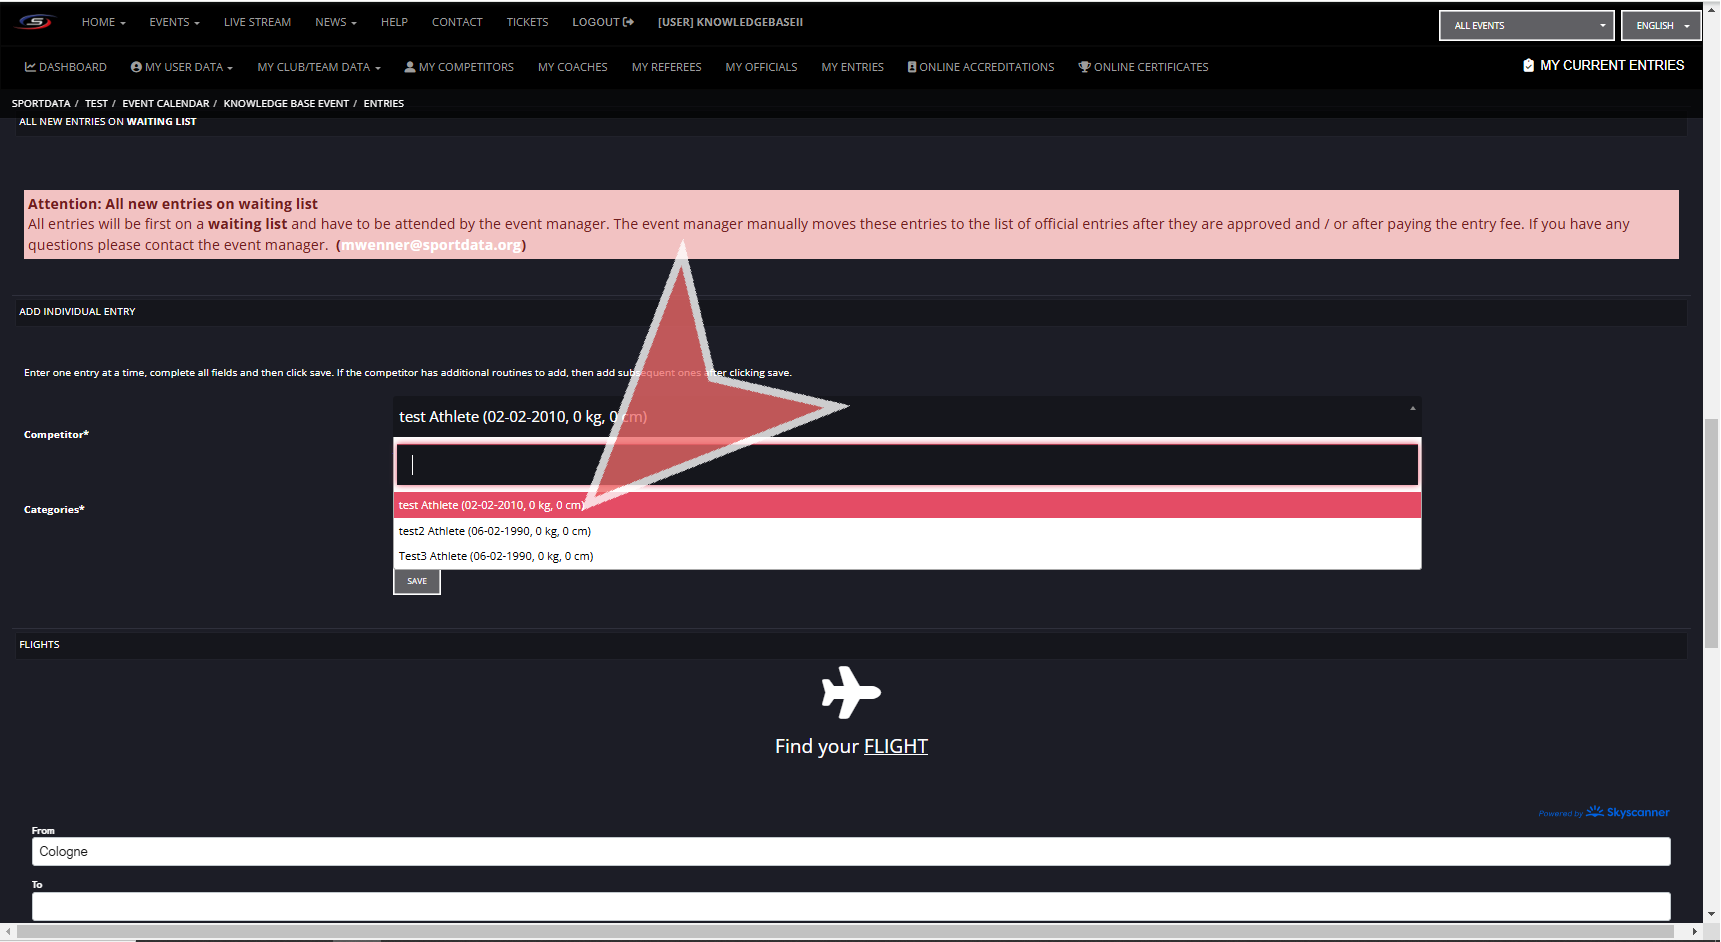
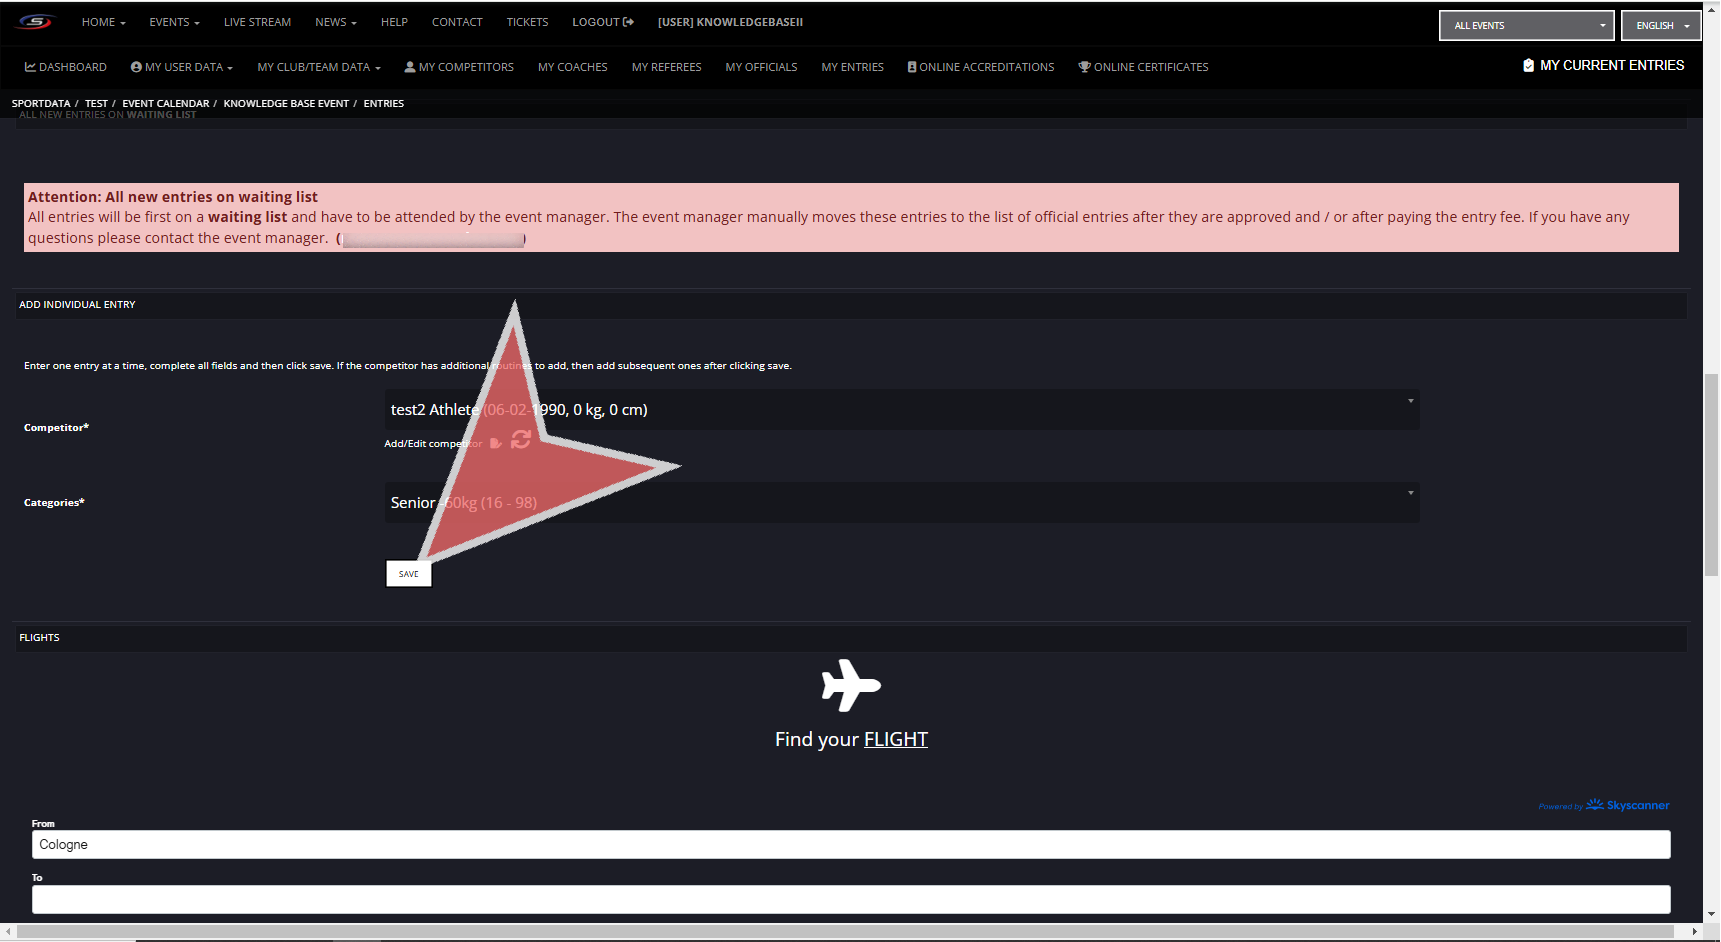
Select the athlete and the category.
Save profile.
After saving the entry correctly, click on the button in the green pop up to proceed with payments. If you have more athletes to include, you can simply click the green pop up and register your next athlete.
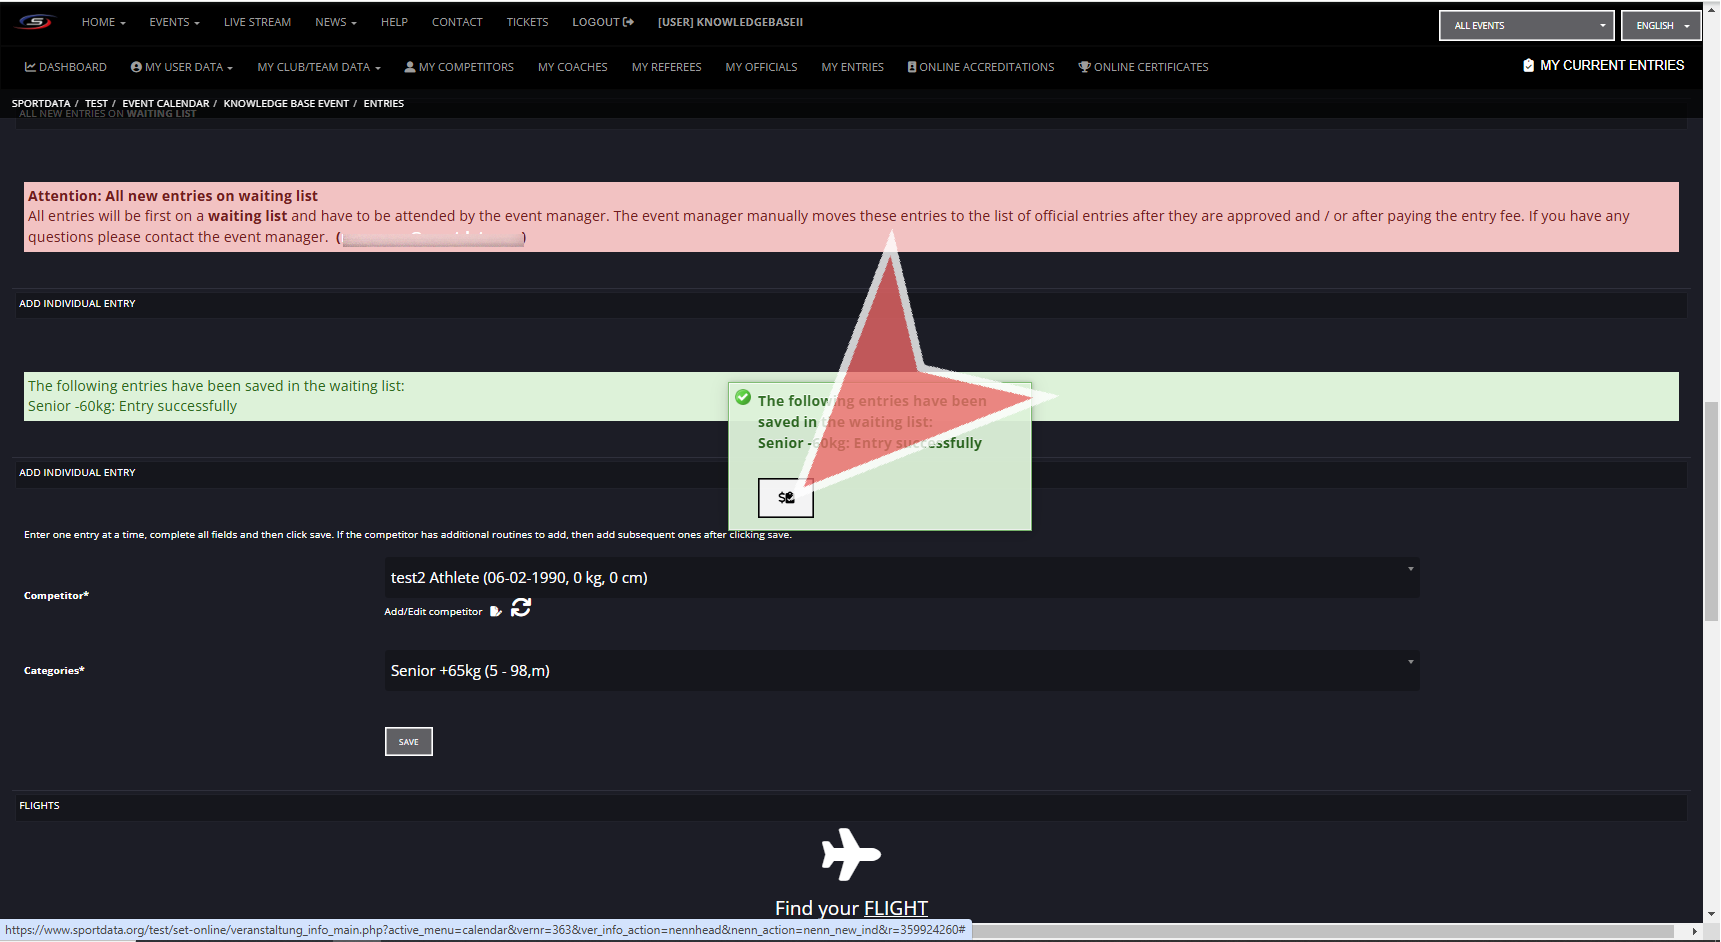
Here, you will see a summary of all entries, including coach, official, referees, teams. Also, you will see the payments for the entry fee, as well as any other expenses from the store you have included into the cart. When you are ready to pay, you can click on the available payment options to proceed.
Payments will go directly to the event organizers and not to Sportdata.

Click on the “LOGIN” button.

On the website, click on the option to create a new account under your individual/team/fed. login.
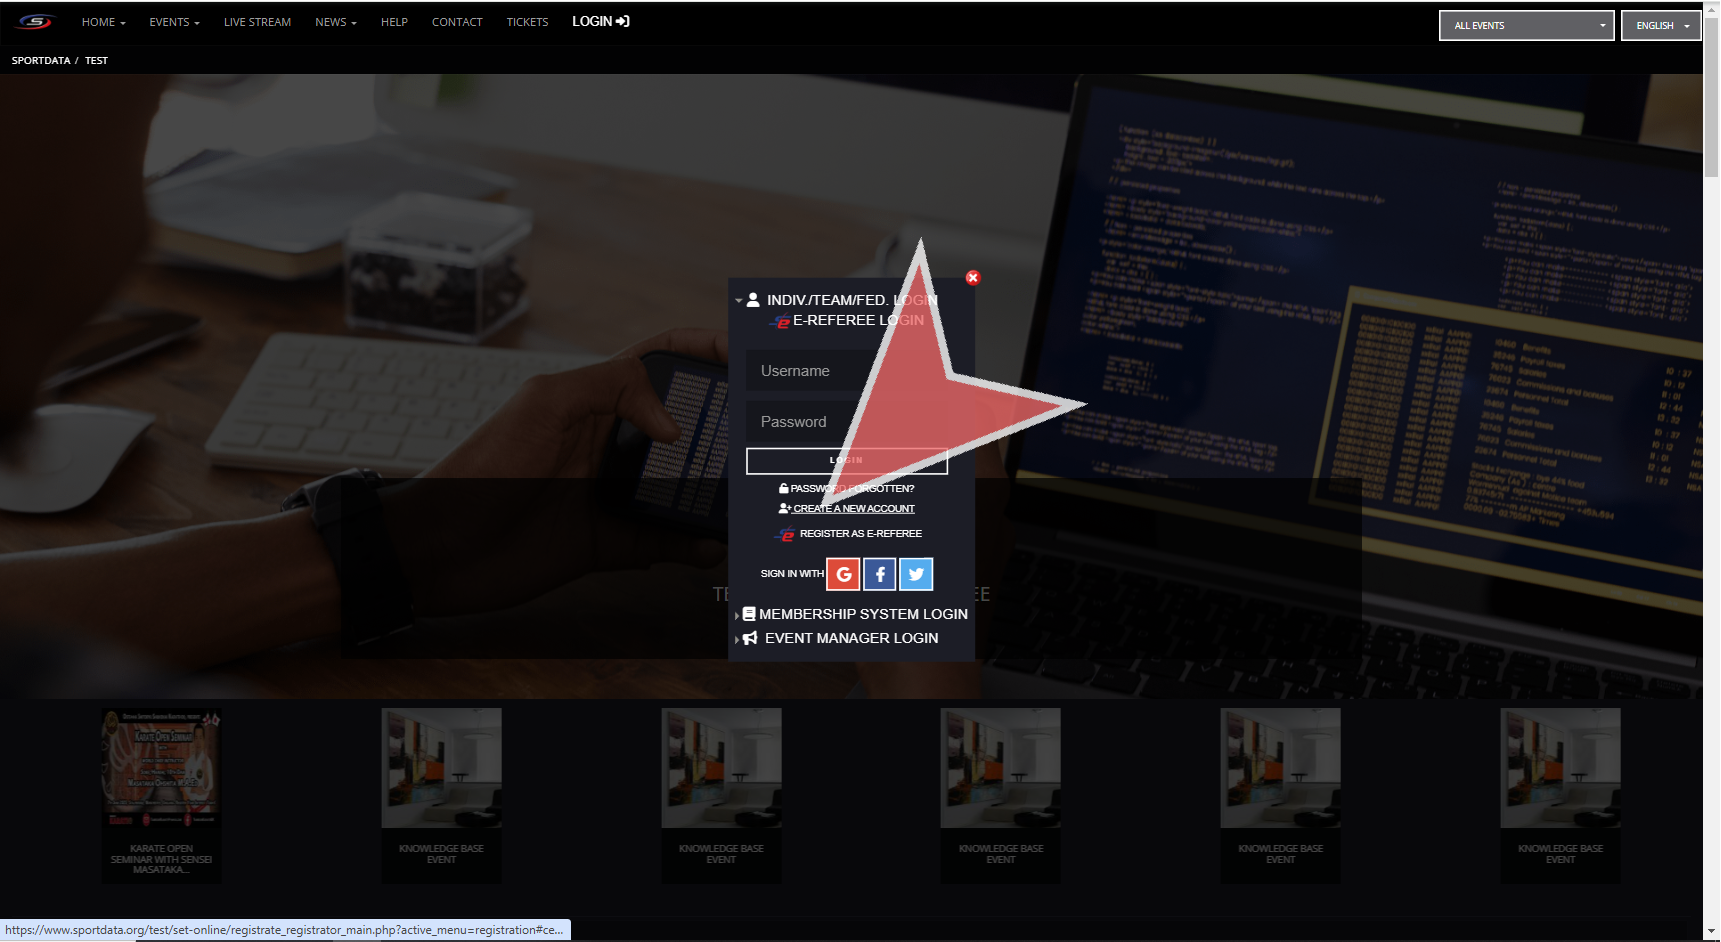
Select the account type club/team/federation/organization, and complete the form, making sure to remember the username and password because they will be used for both the event platform and SET OVR.
Press save to create the account.

You will see the confirmation that your account has been created successfully. Next, you will receive an email where you will activate your account.

You will see your username, and the link for you to activate your account. Click it.

The activation confirmation will appear in green, and if the account has already been activated it will appear it red.

Add your username, and password you used during the creation of your account and click login.

You have now arrived in the main dashboard of your account, where you can see your registration data, and events.

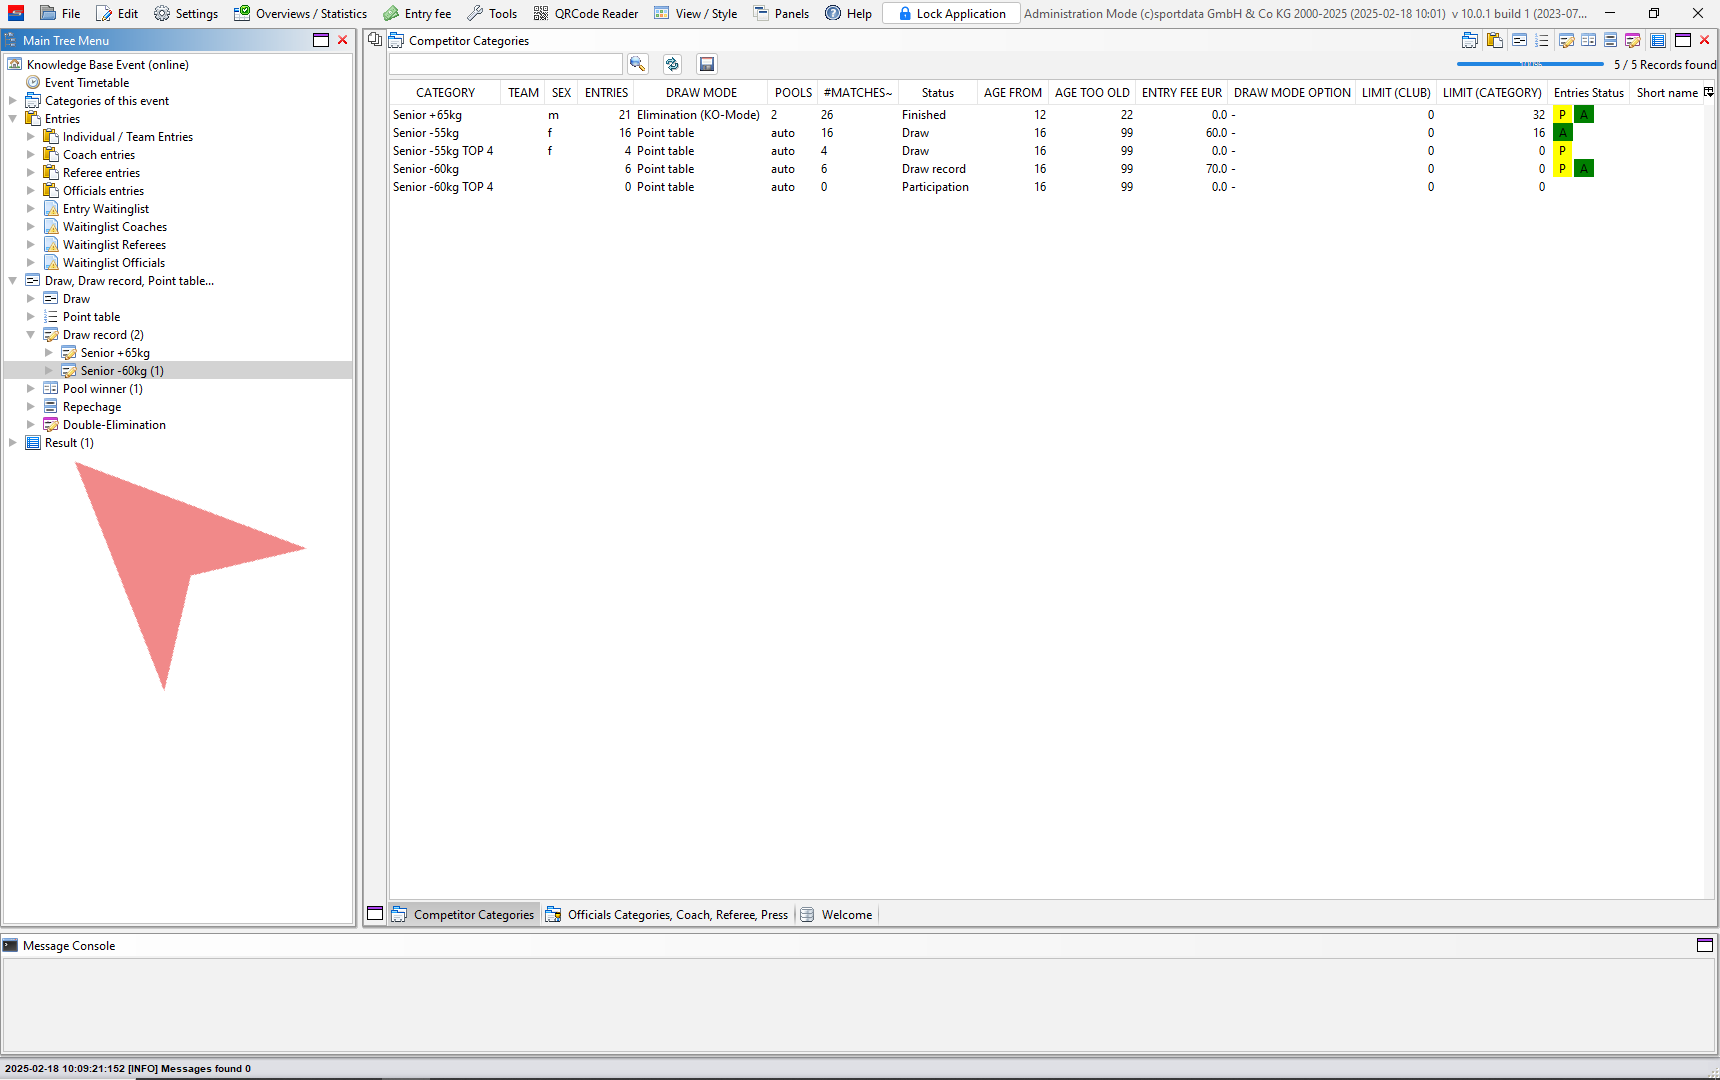
This article explains how to adjust the final results manually in situations where corrections are necessary i.e. protests.
After a category is finished in SET, save the results in the draw record. You will notice an increase in the number of results on the main tree menu. To see which categories have been completed, click on results.
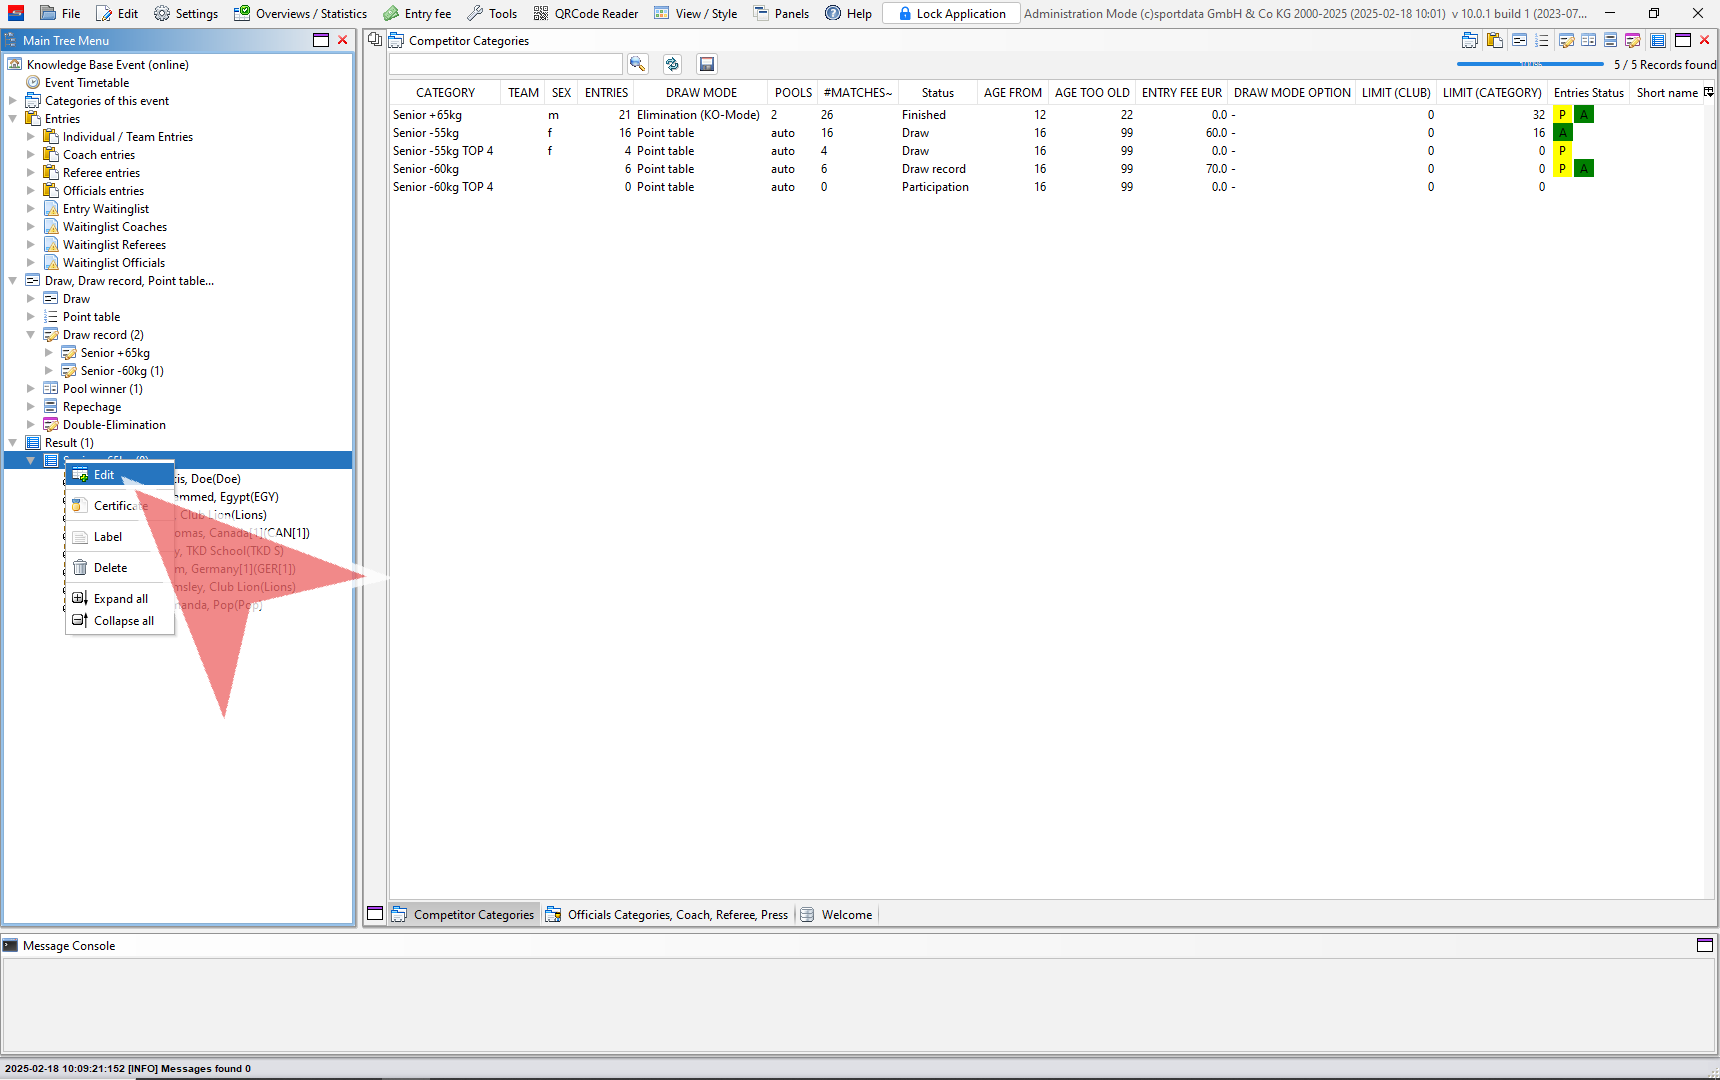
To make changes to a category, right click on it and select the edit option.
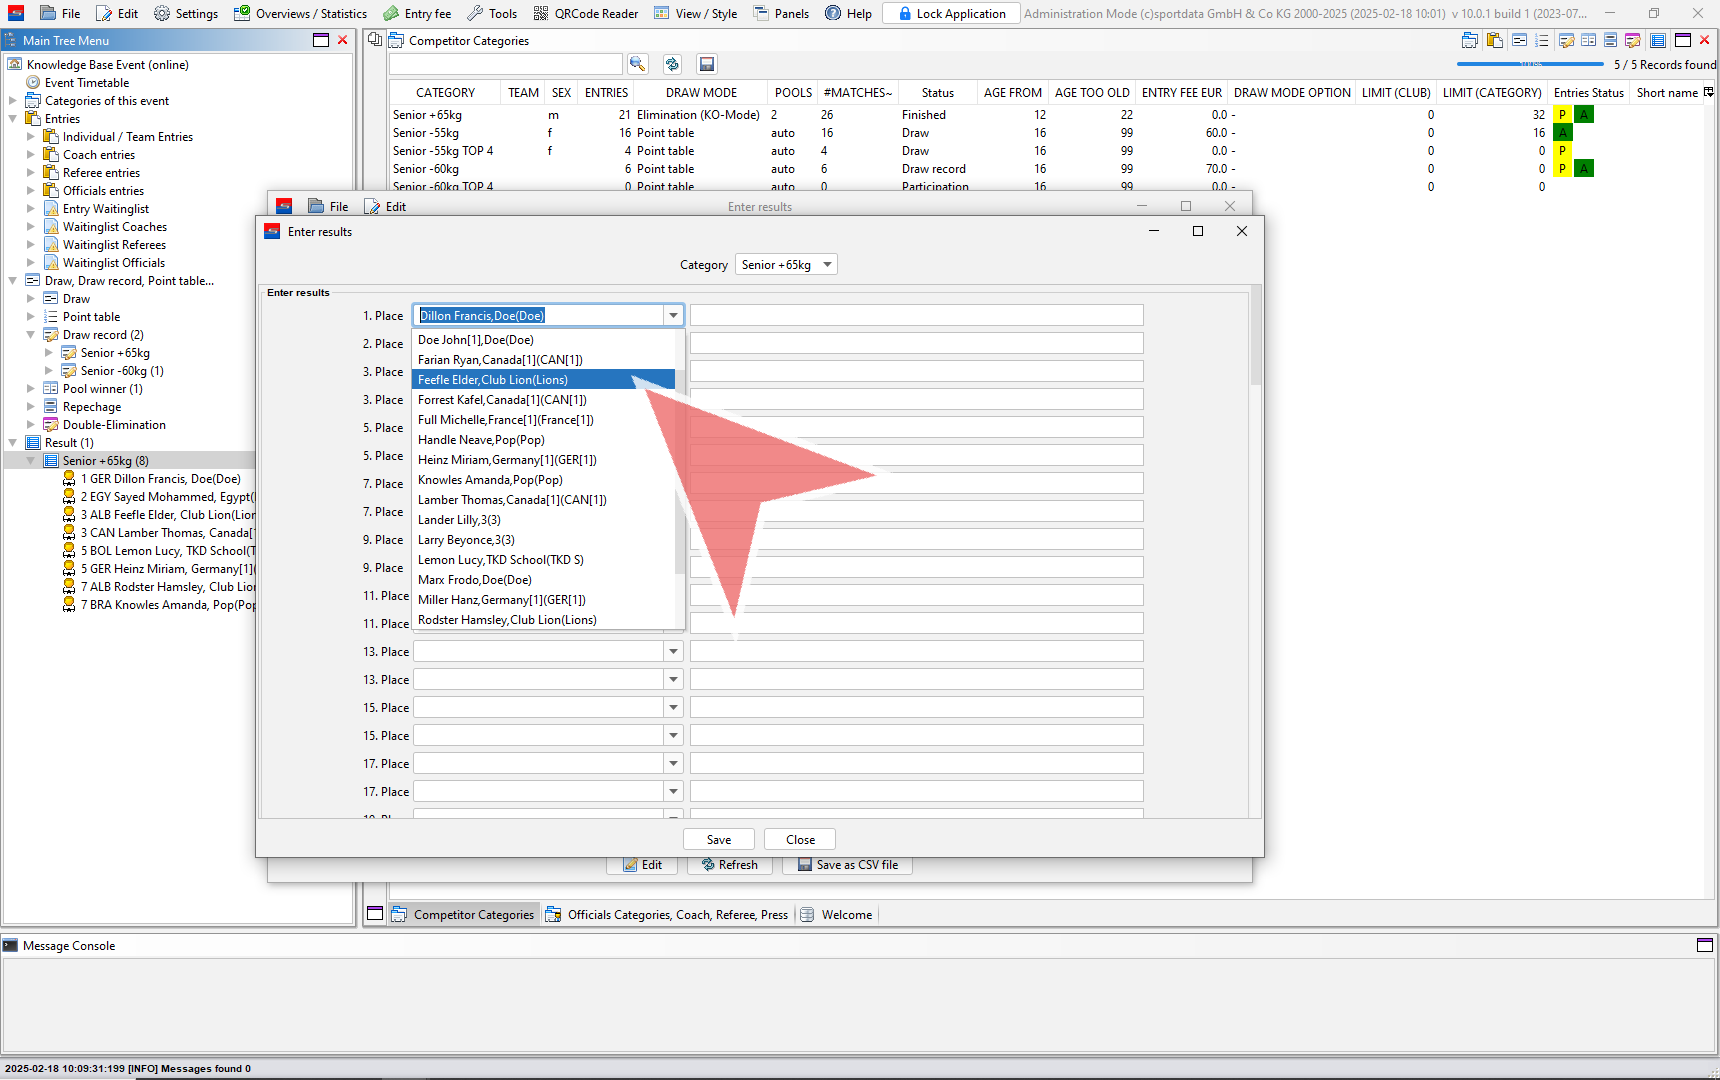
If you want to change the order, click the drop down arrow to view the available options.

Choose an athlete from the list.
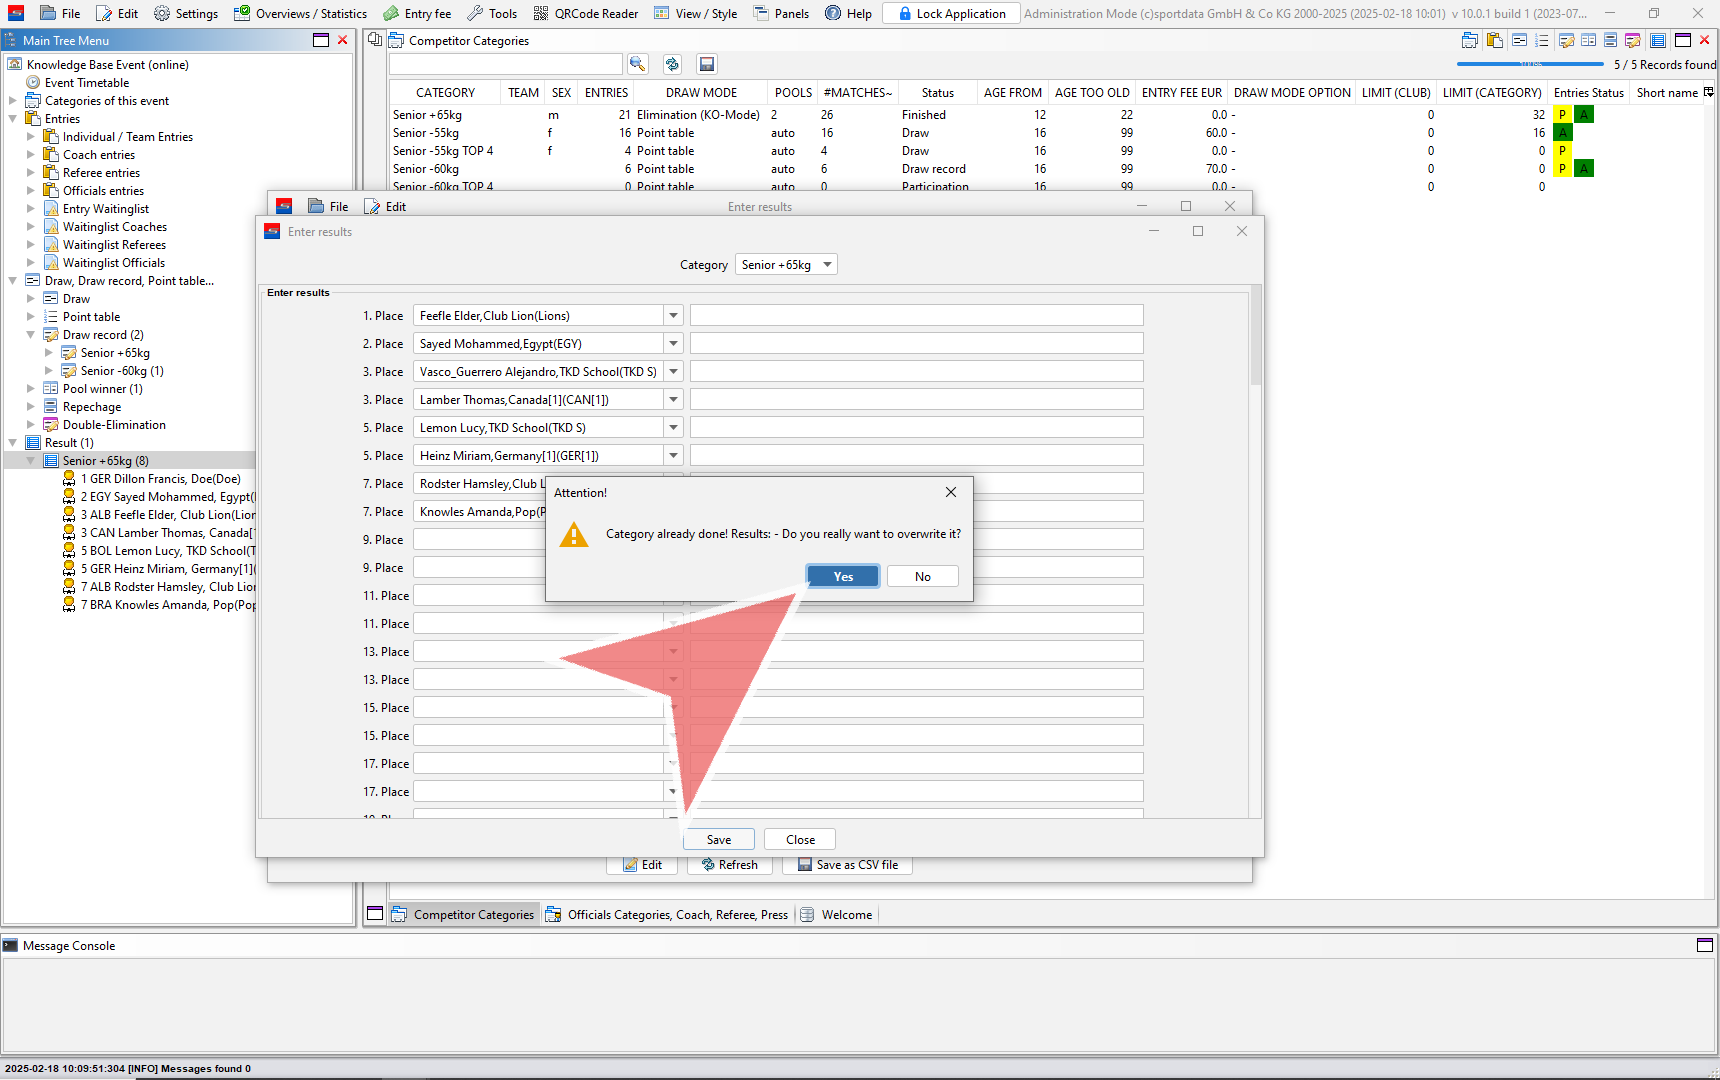
Save the changes by clicking on the save button.
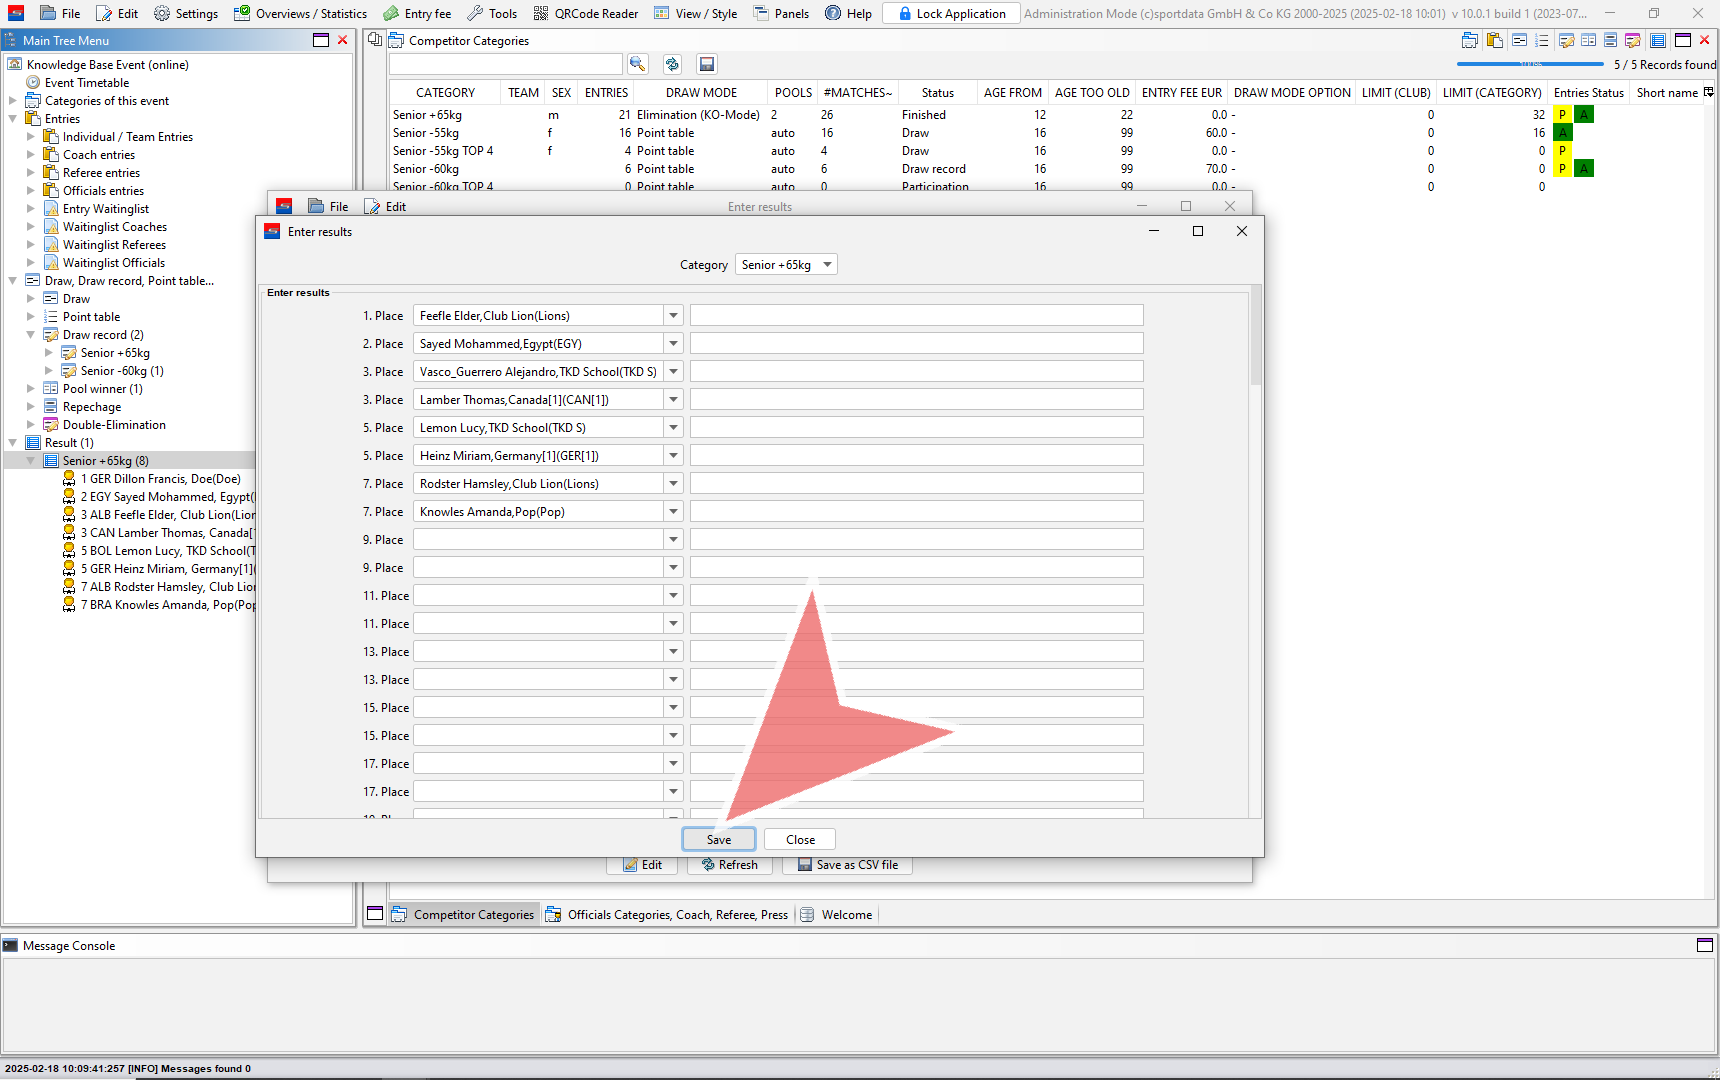
If you want to overwrite the previous results, click yes.
Here you can view the results of other categories.
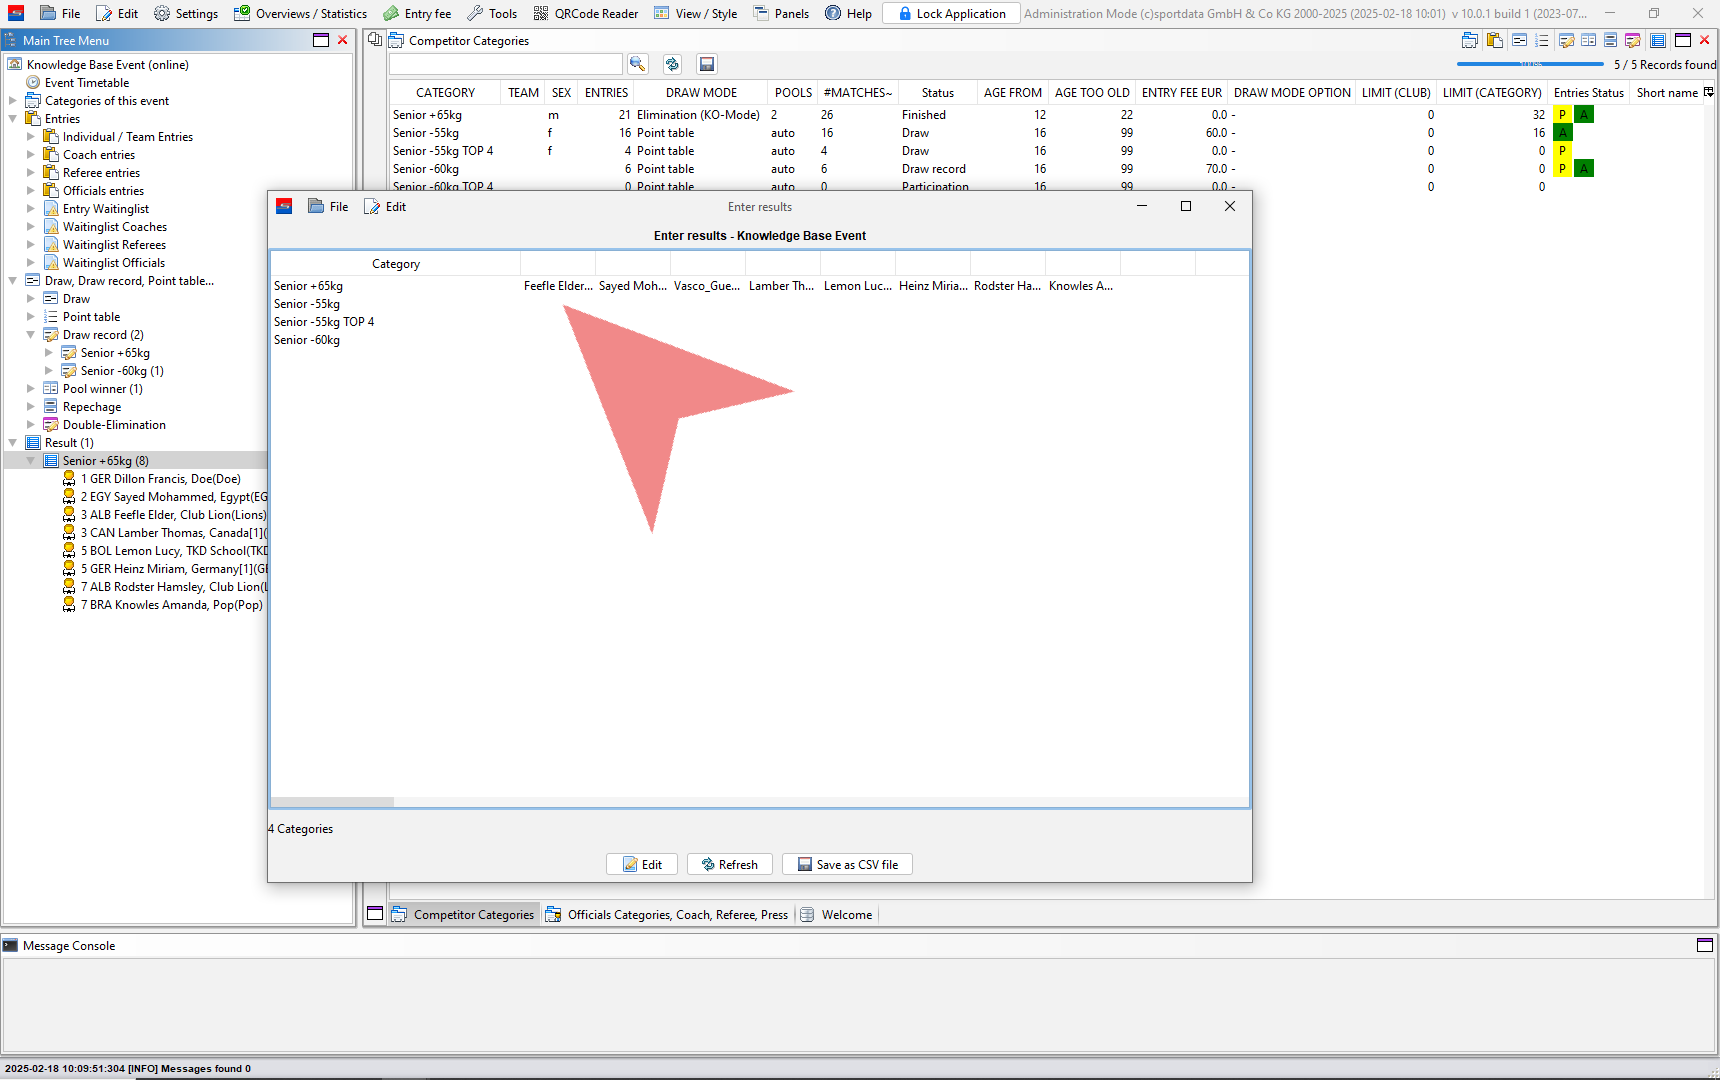
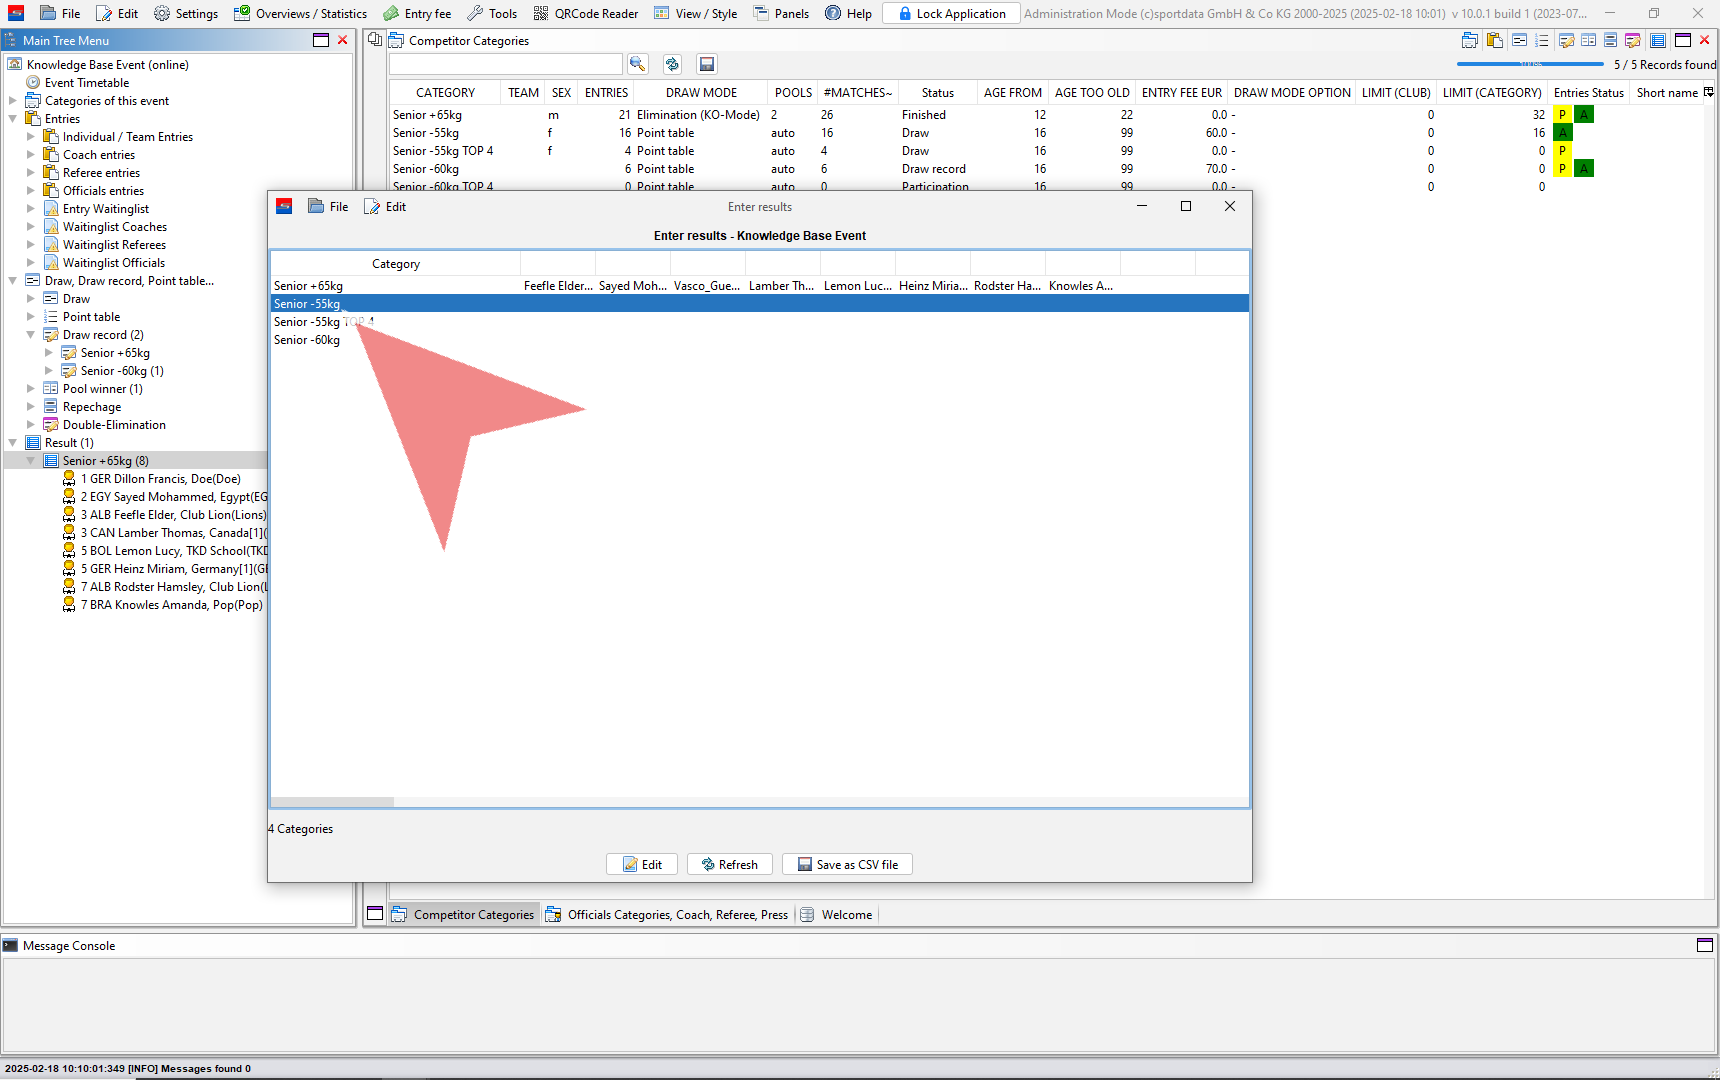
To edit the results of another category, double click on that category.
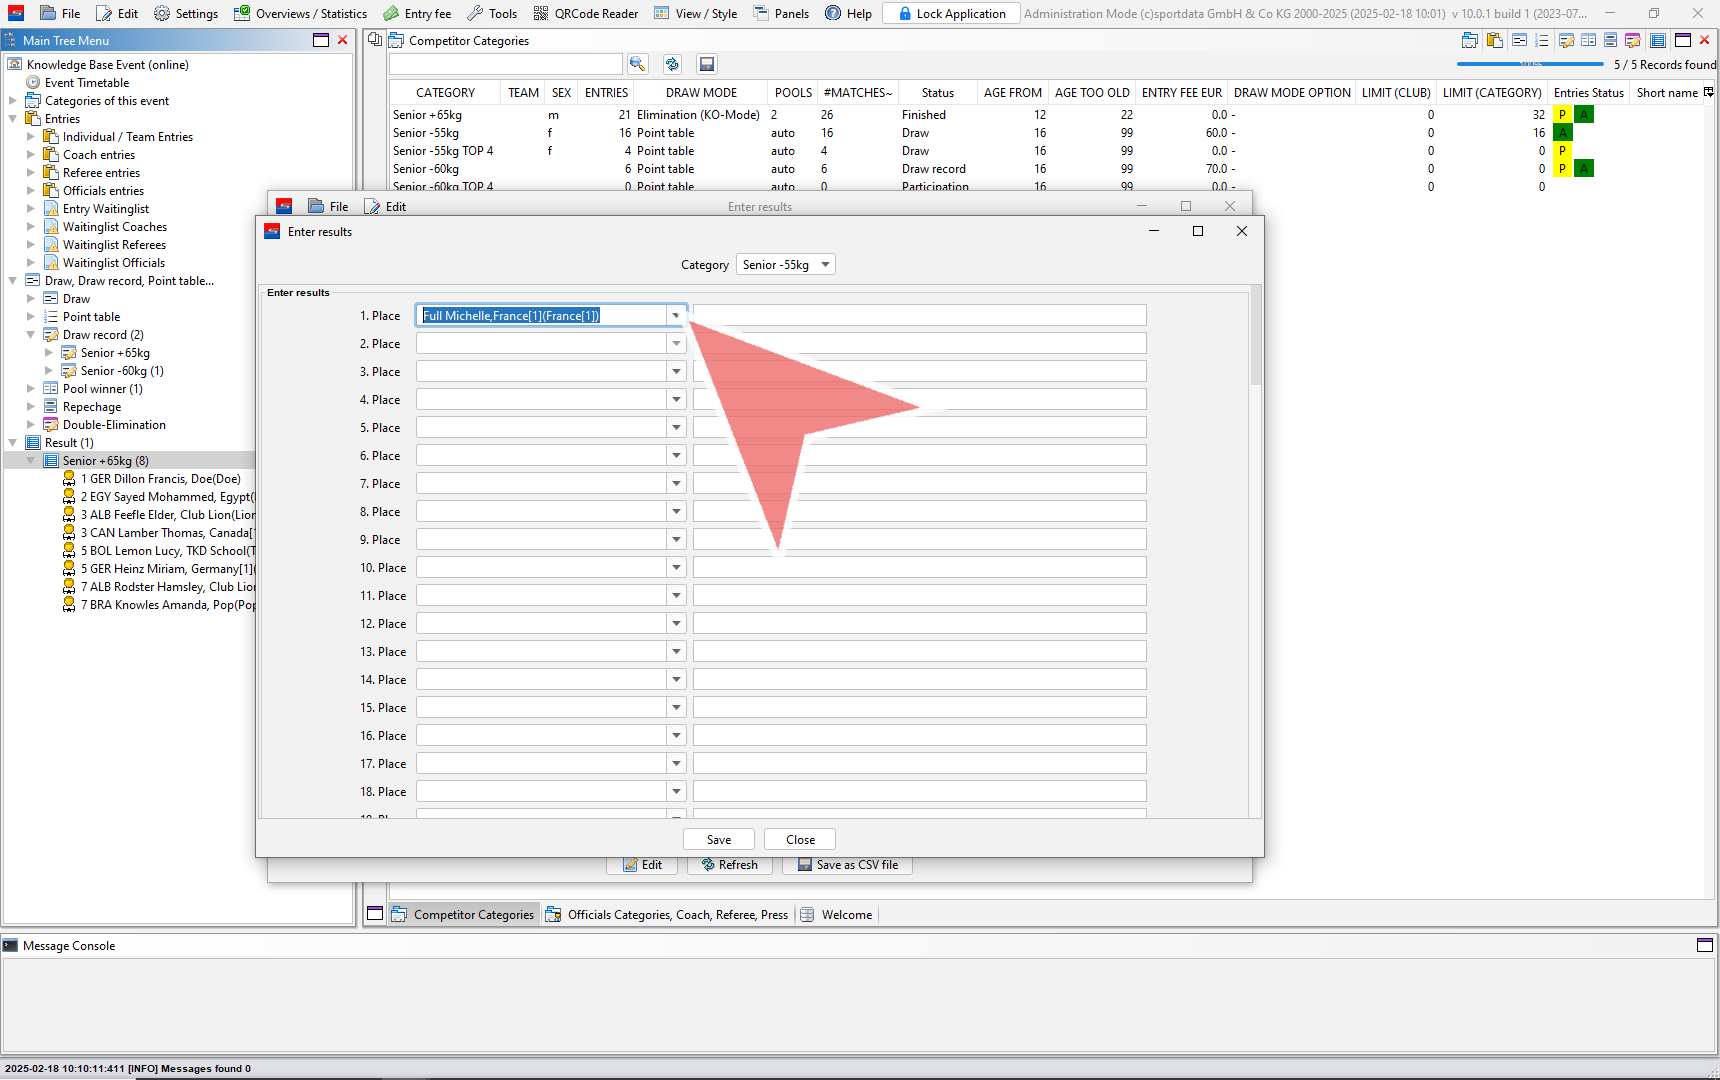
Add names to their places.
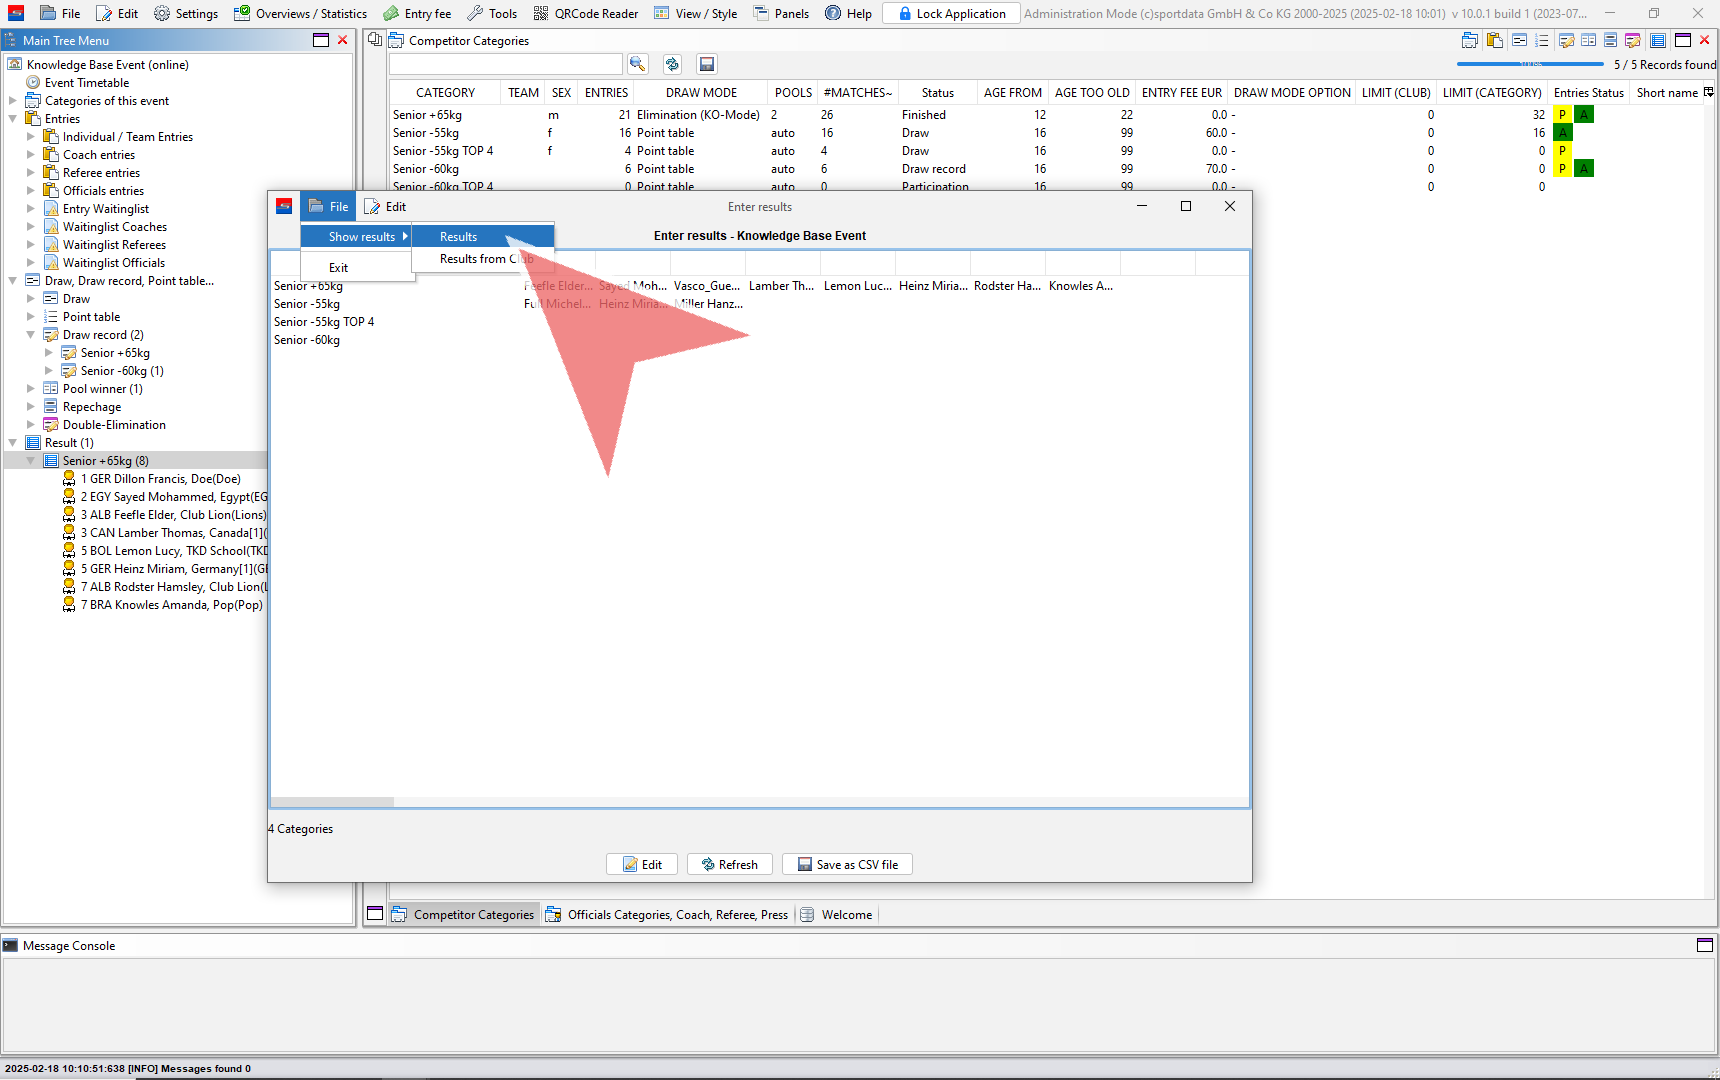
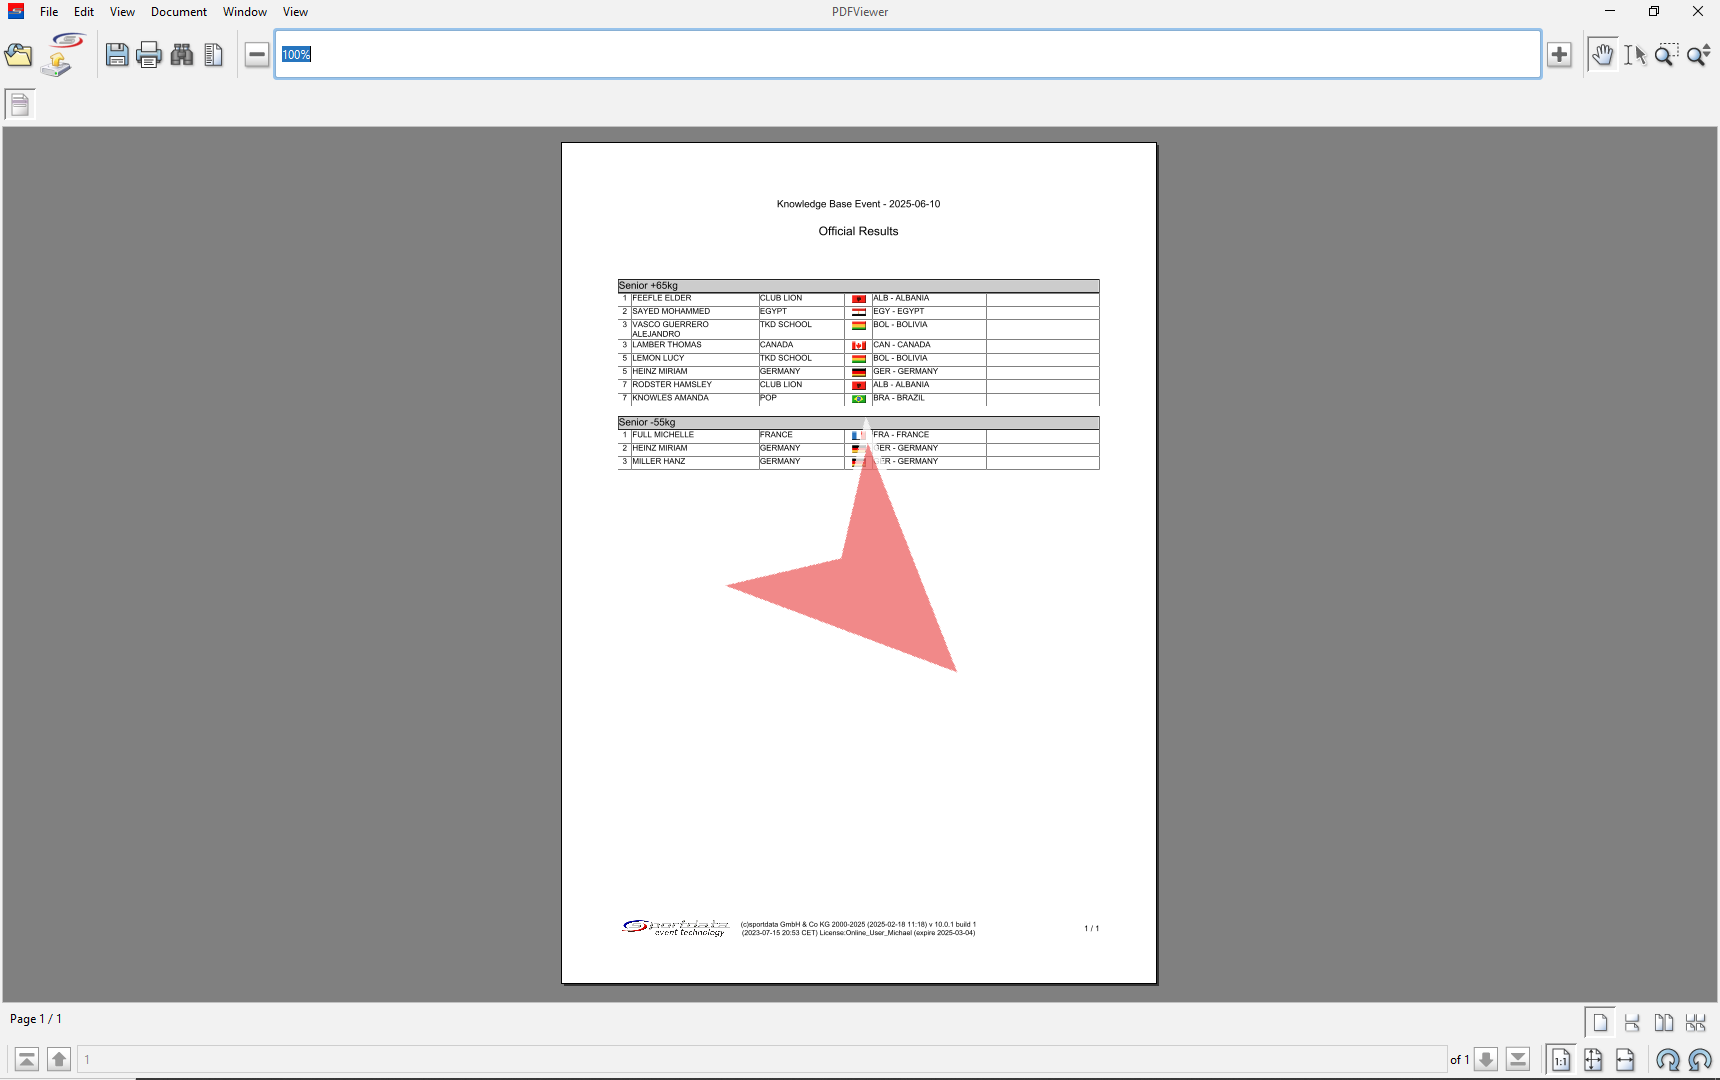
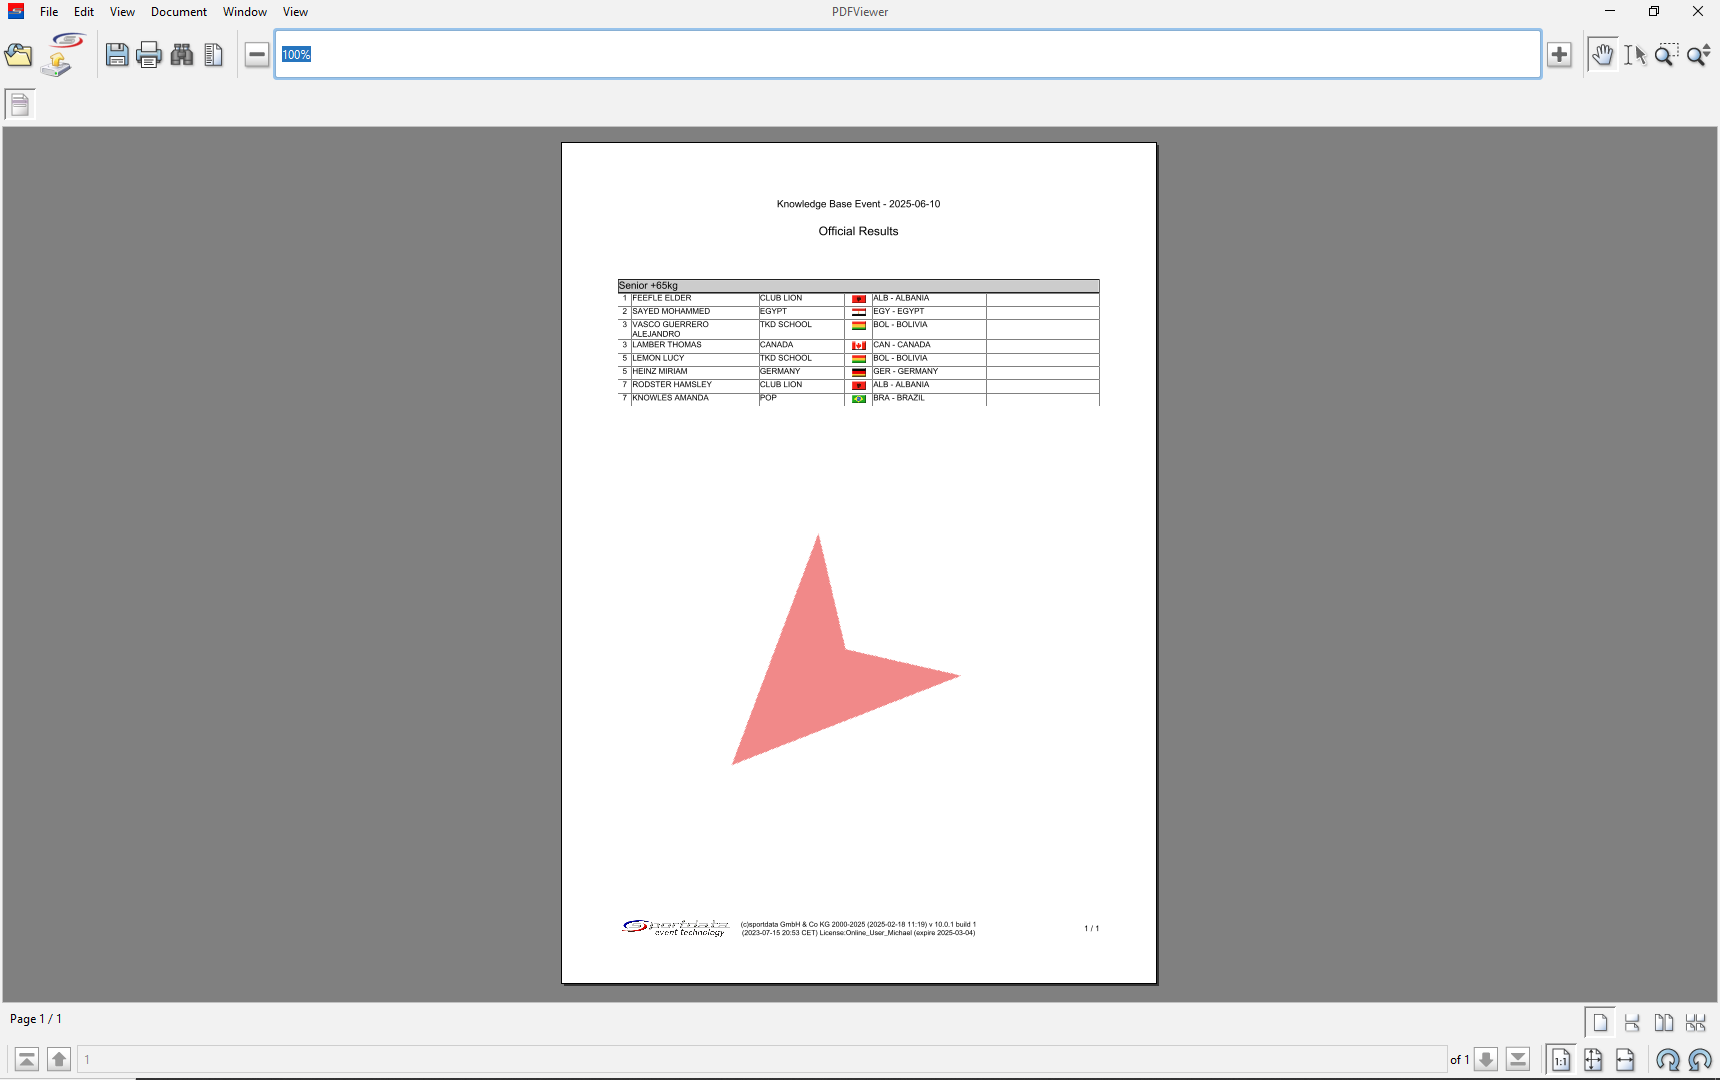
from here you can also produce the results sheet by going to the file tab, hovering over show results, and clicking on results.
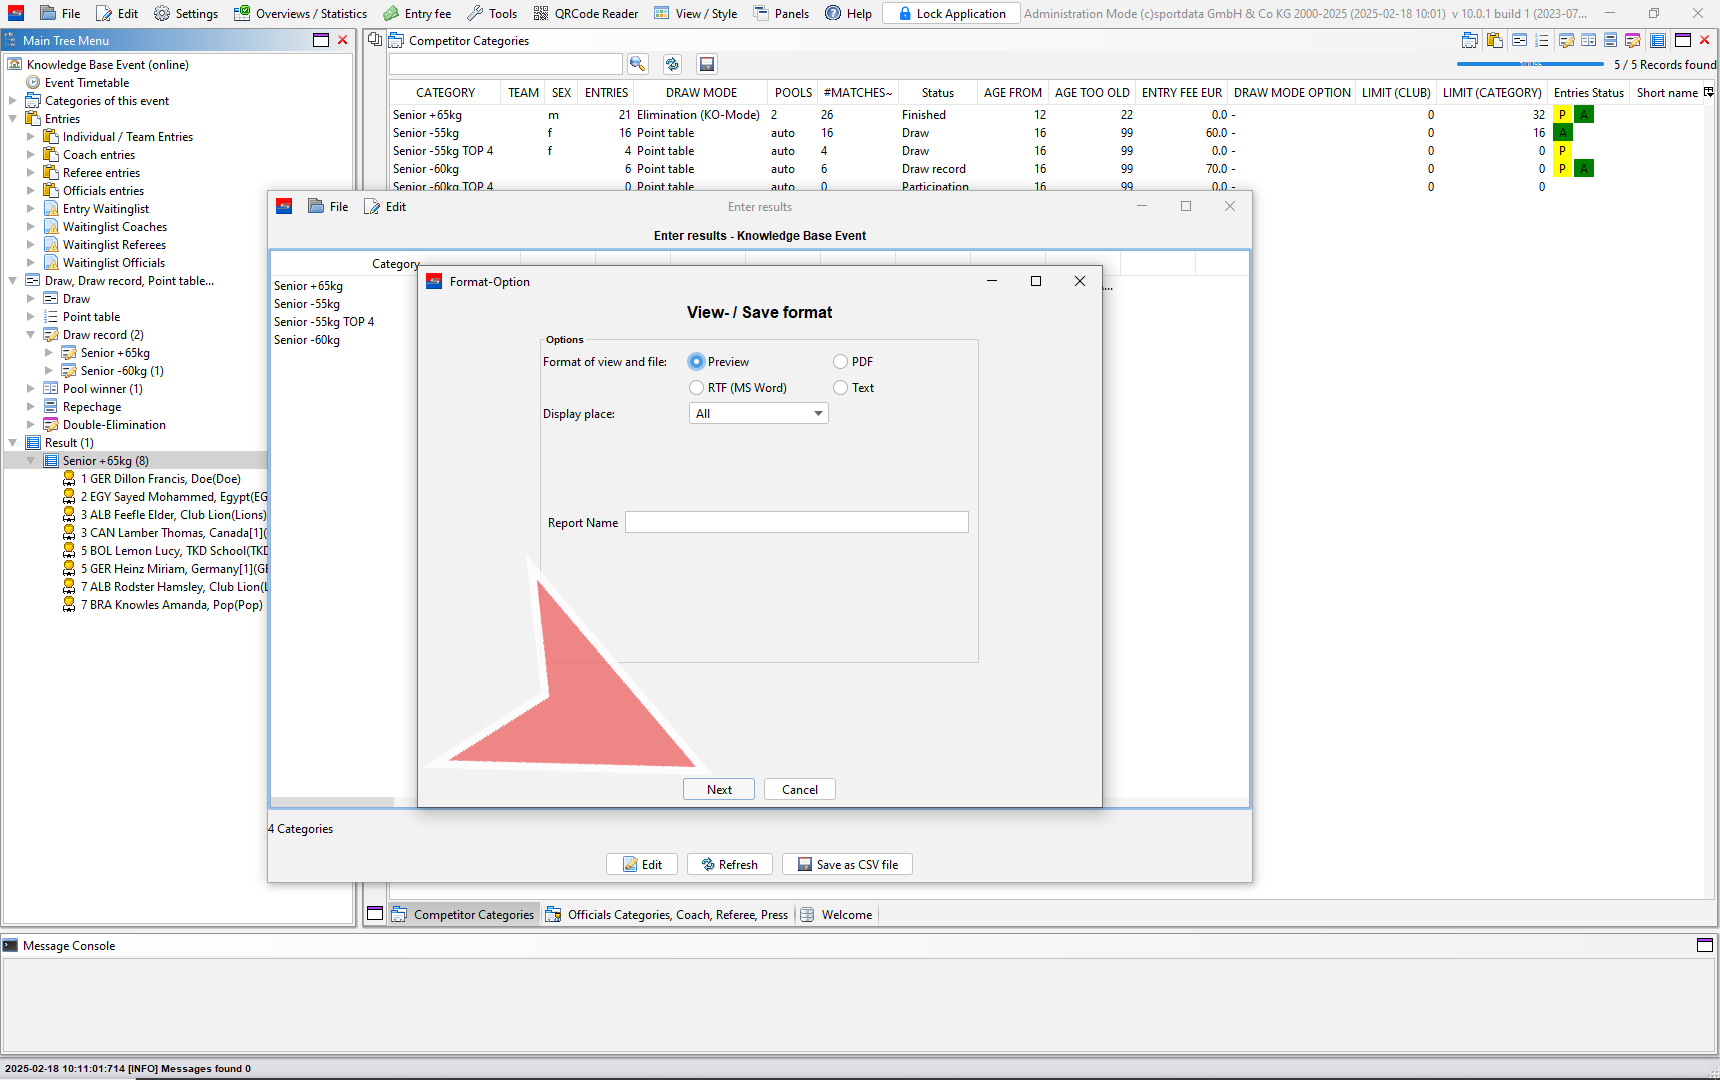
Click on the format-option button.
Click on the format-option button.
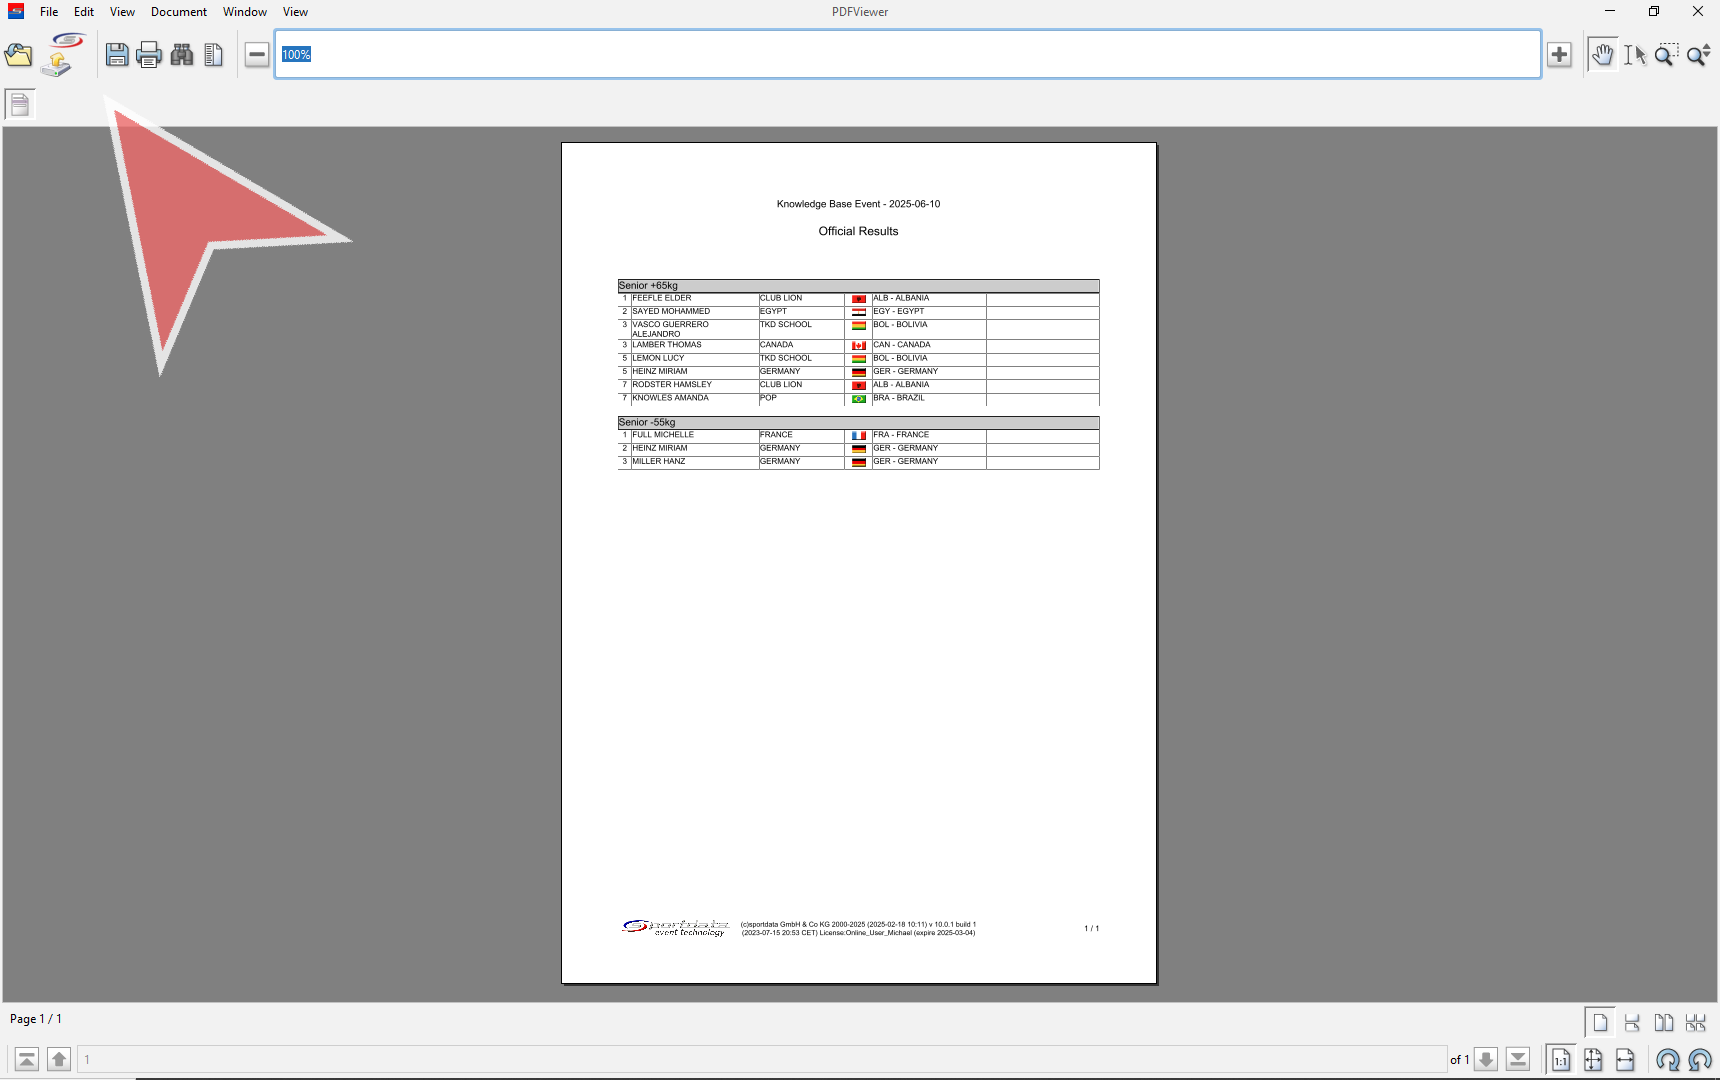
Finally, you can choose to print, save or upload to your event page online.
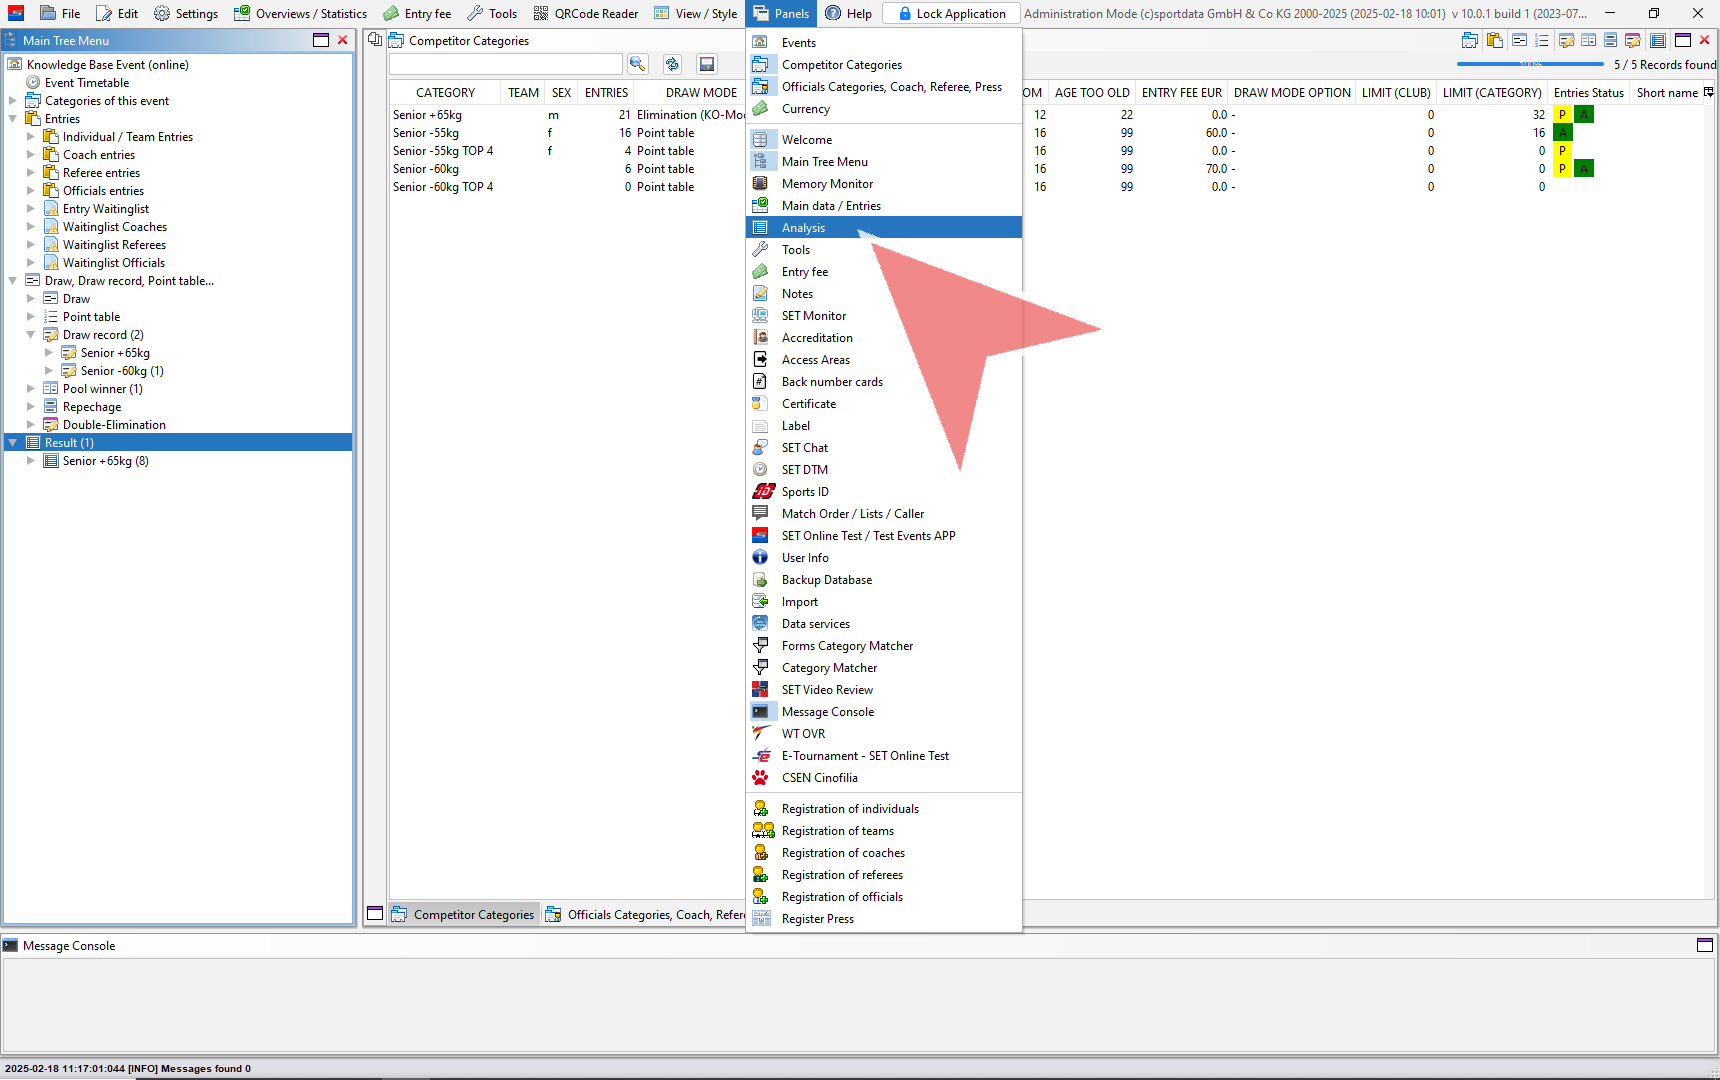
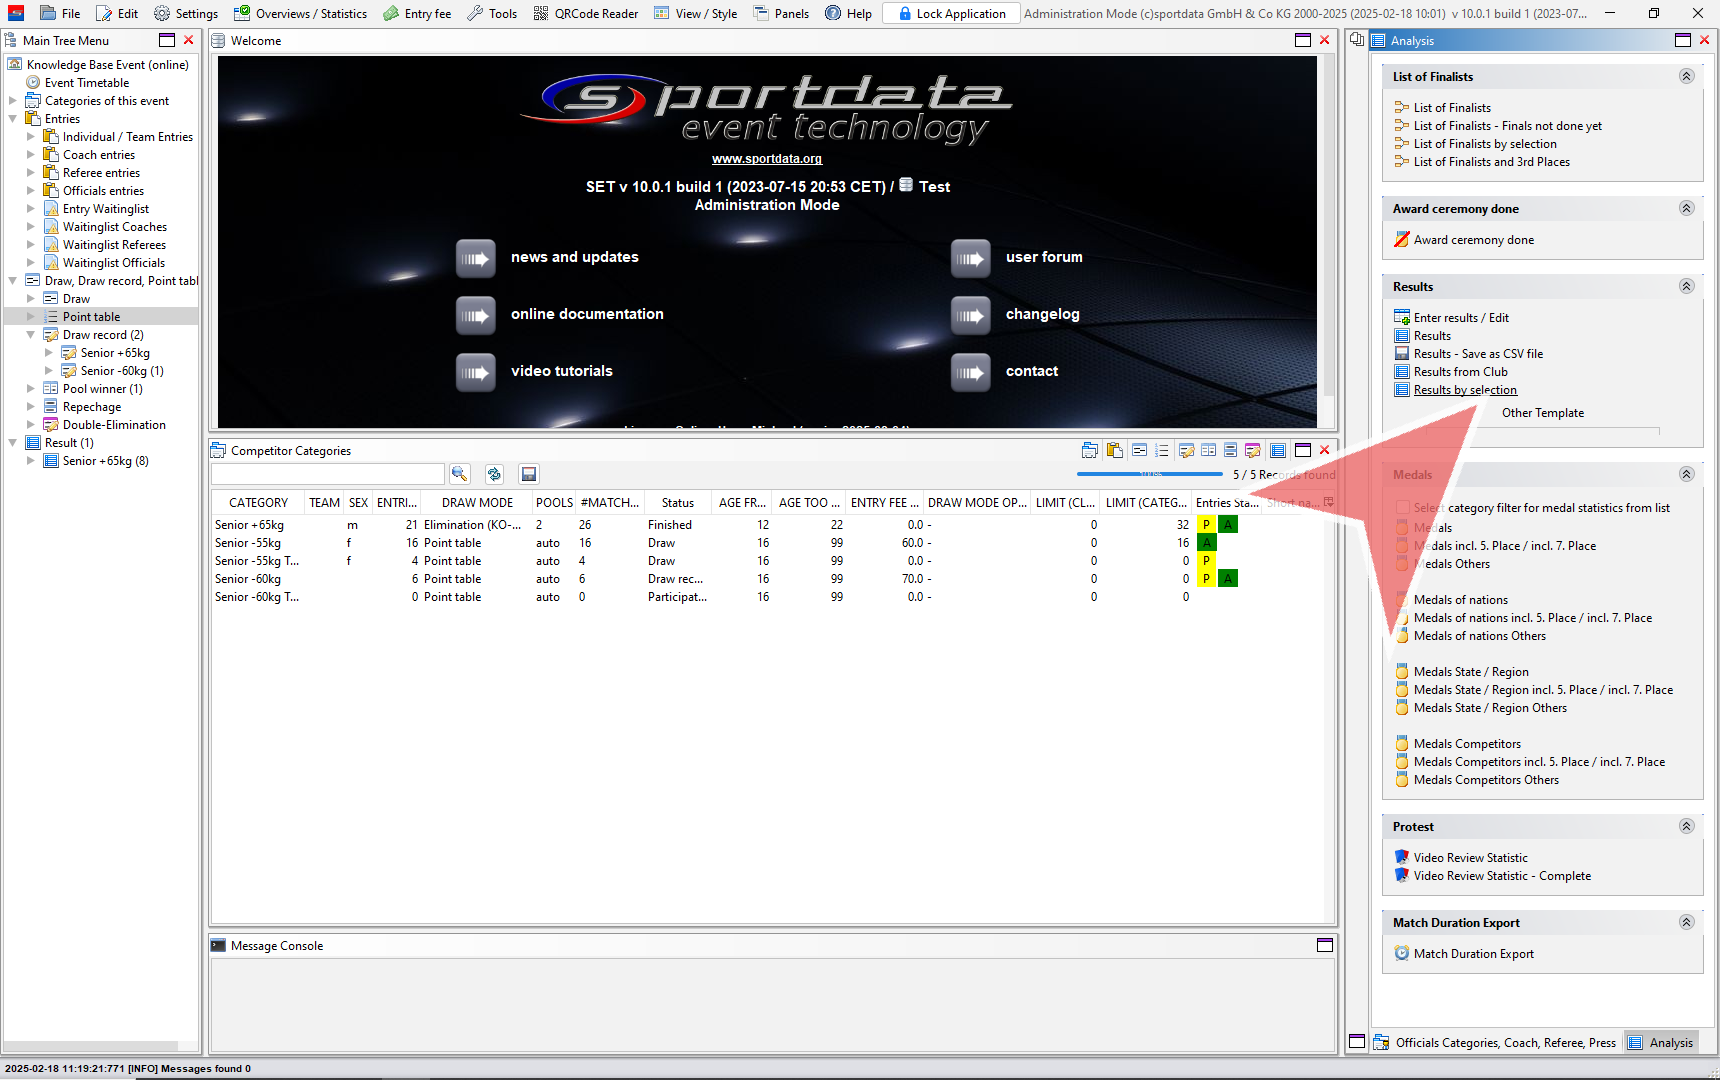
Go to the panels, and select the analysis option.
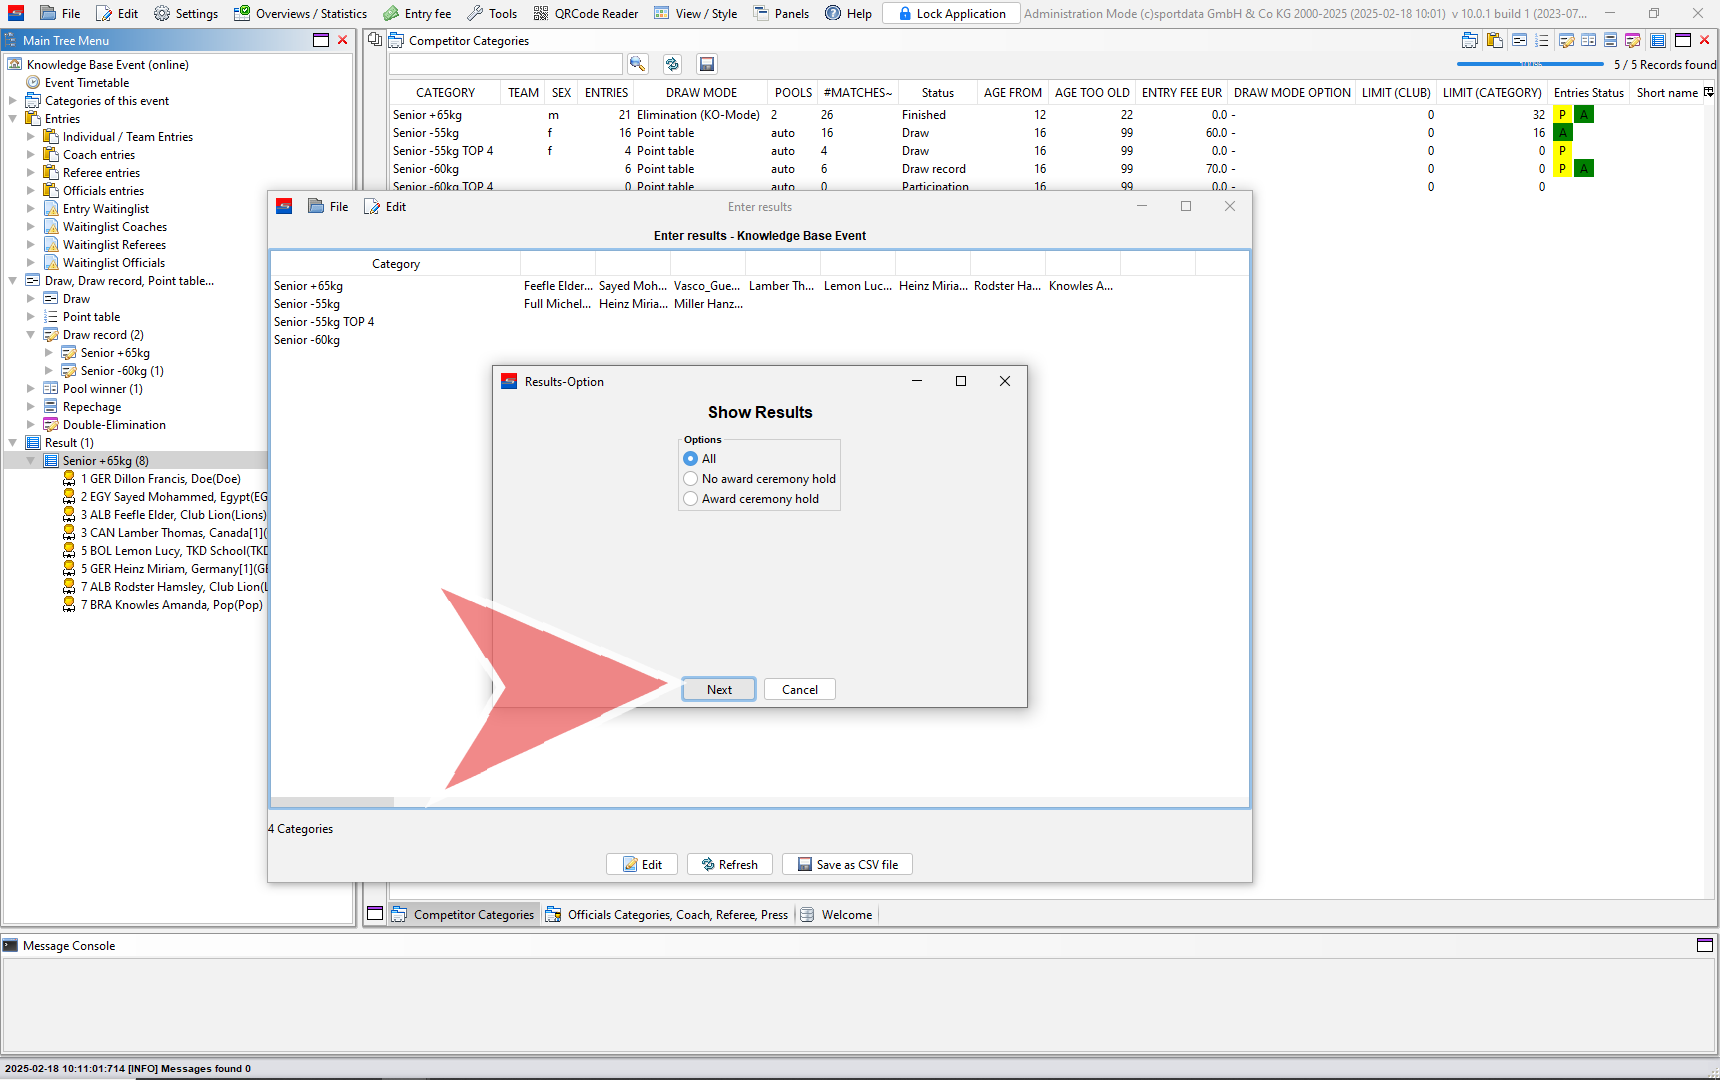
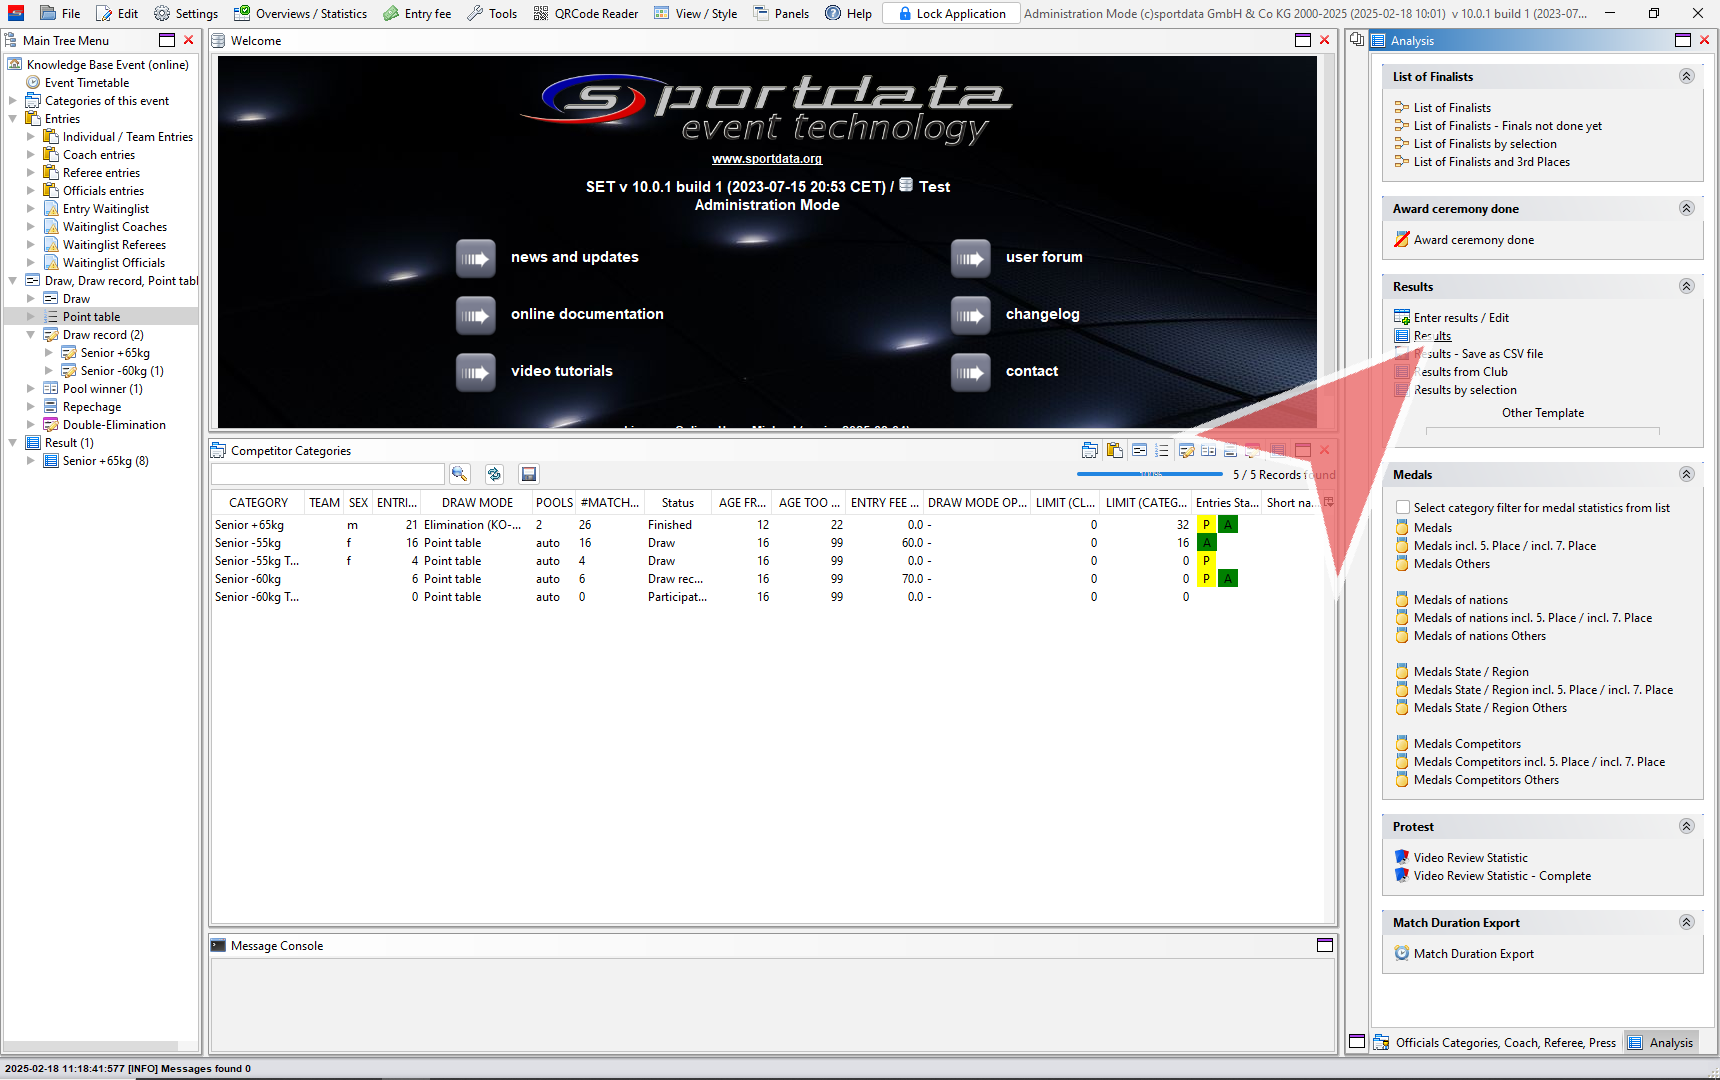
To see all available results, click the results button.
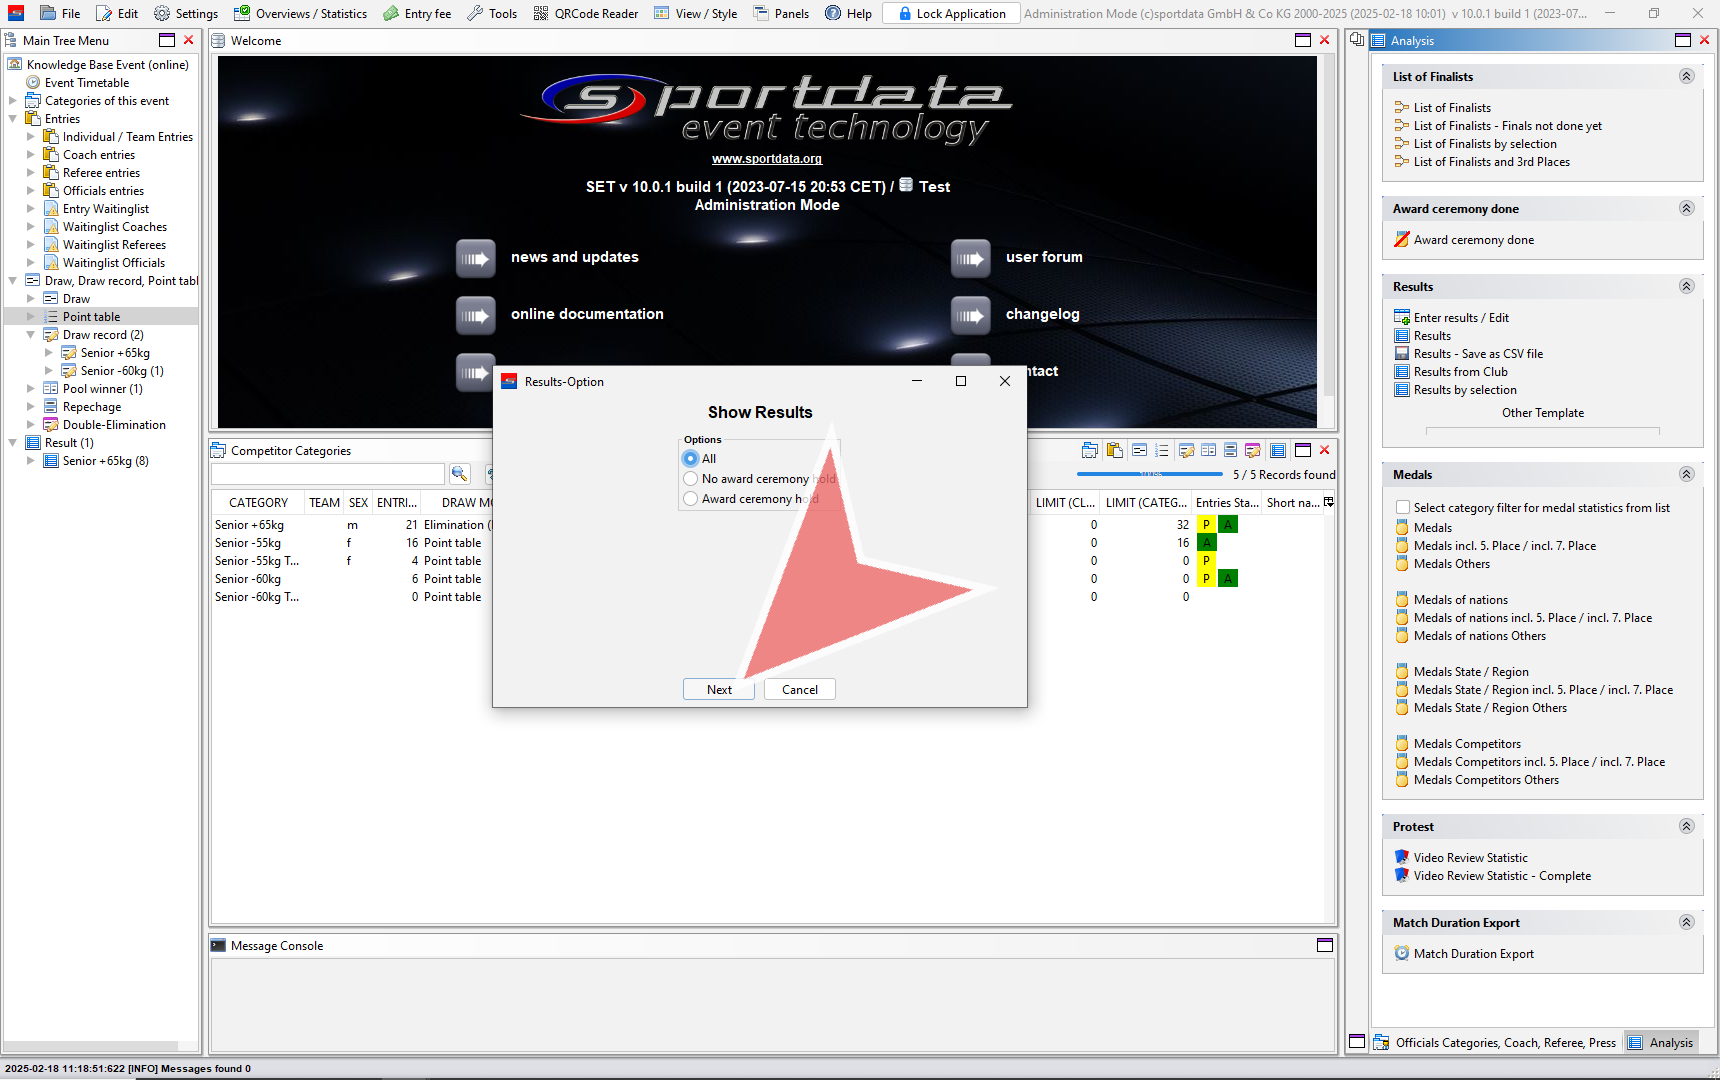
Choose between All, no award ceremony hold, or award ceremony hold, and click next.
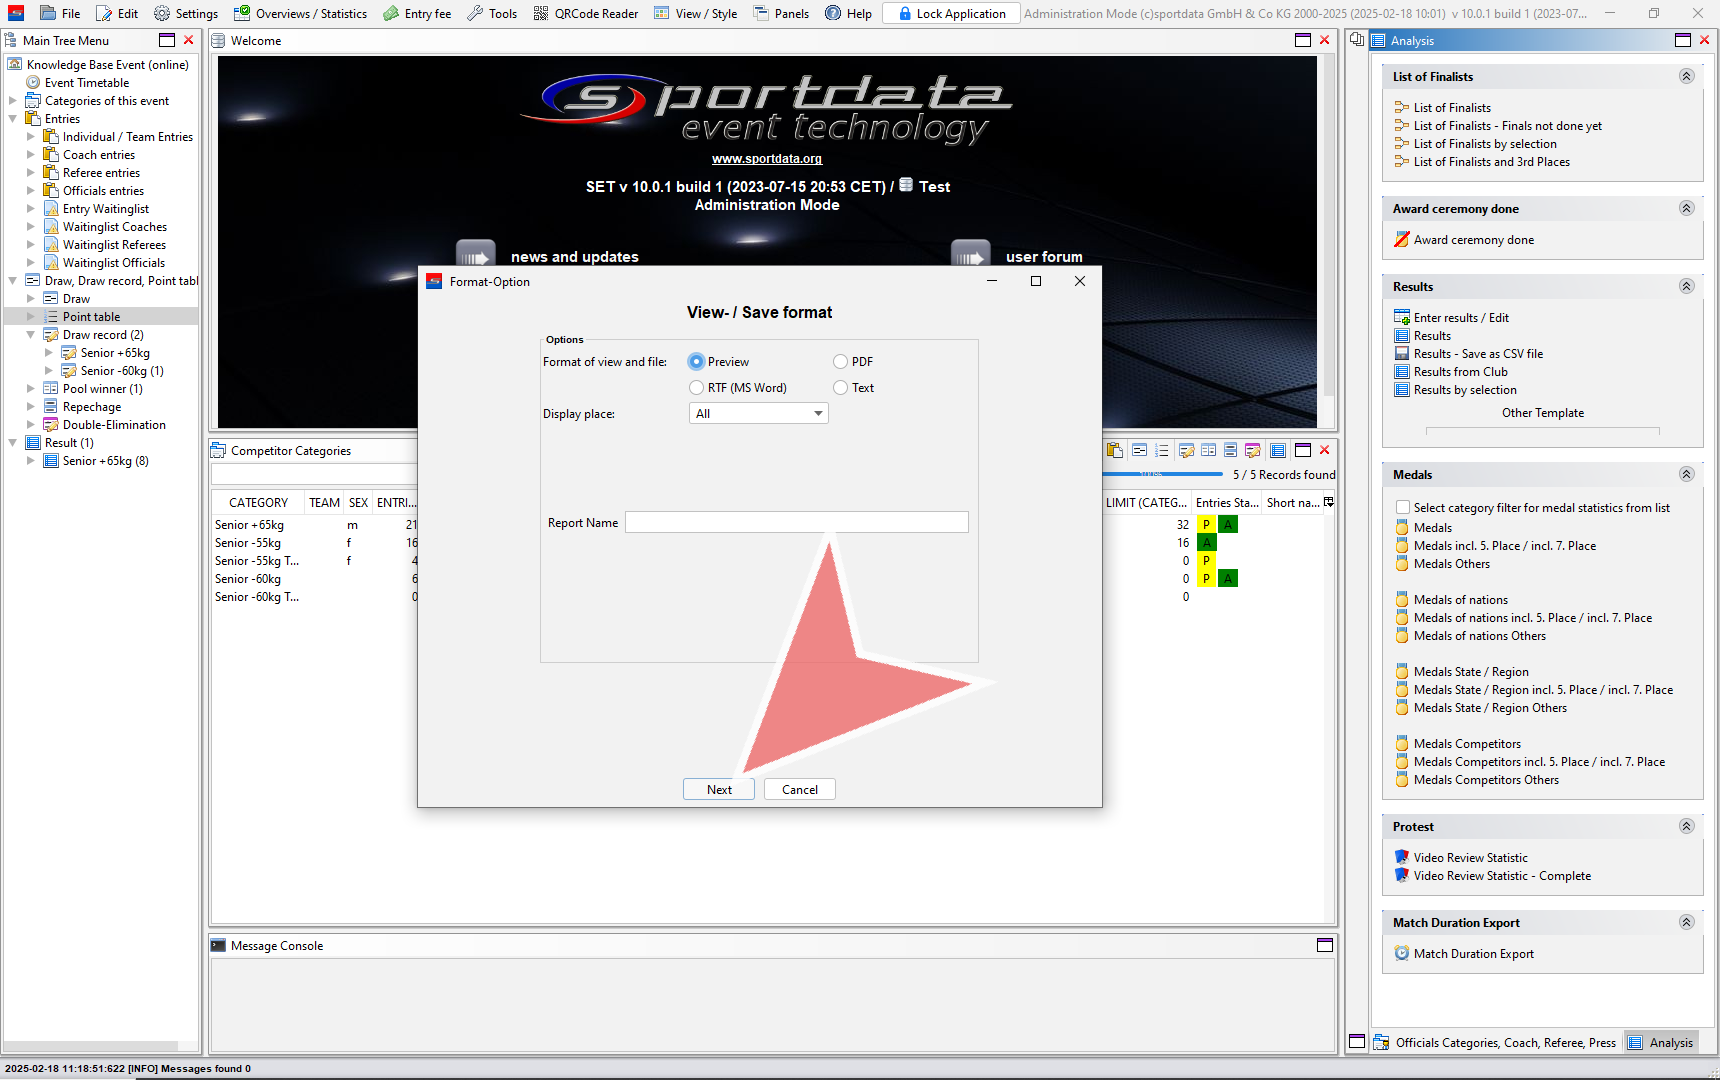
Select the viewing option, write the report name, and click next.
You can save, print or send it to the download section of your event page.
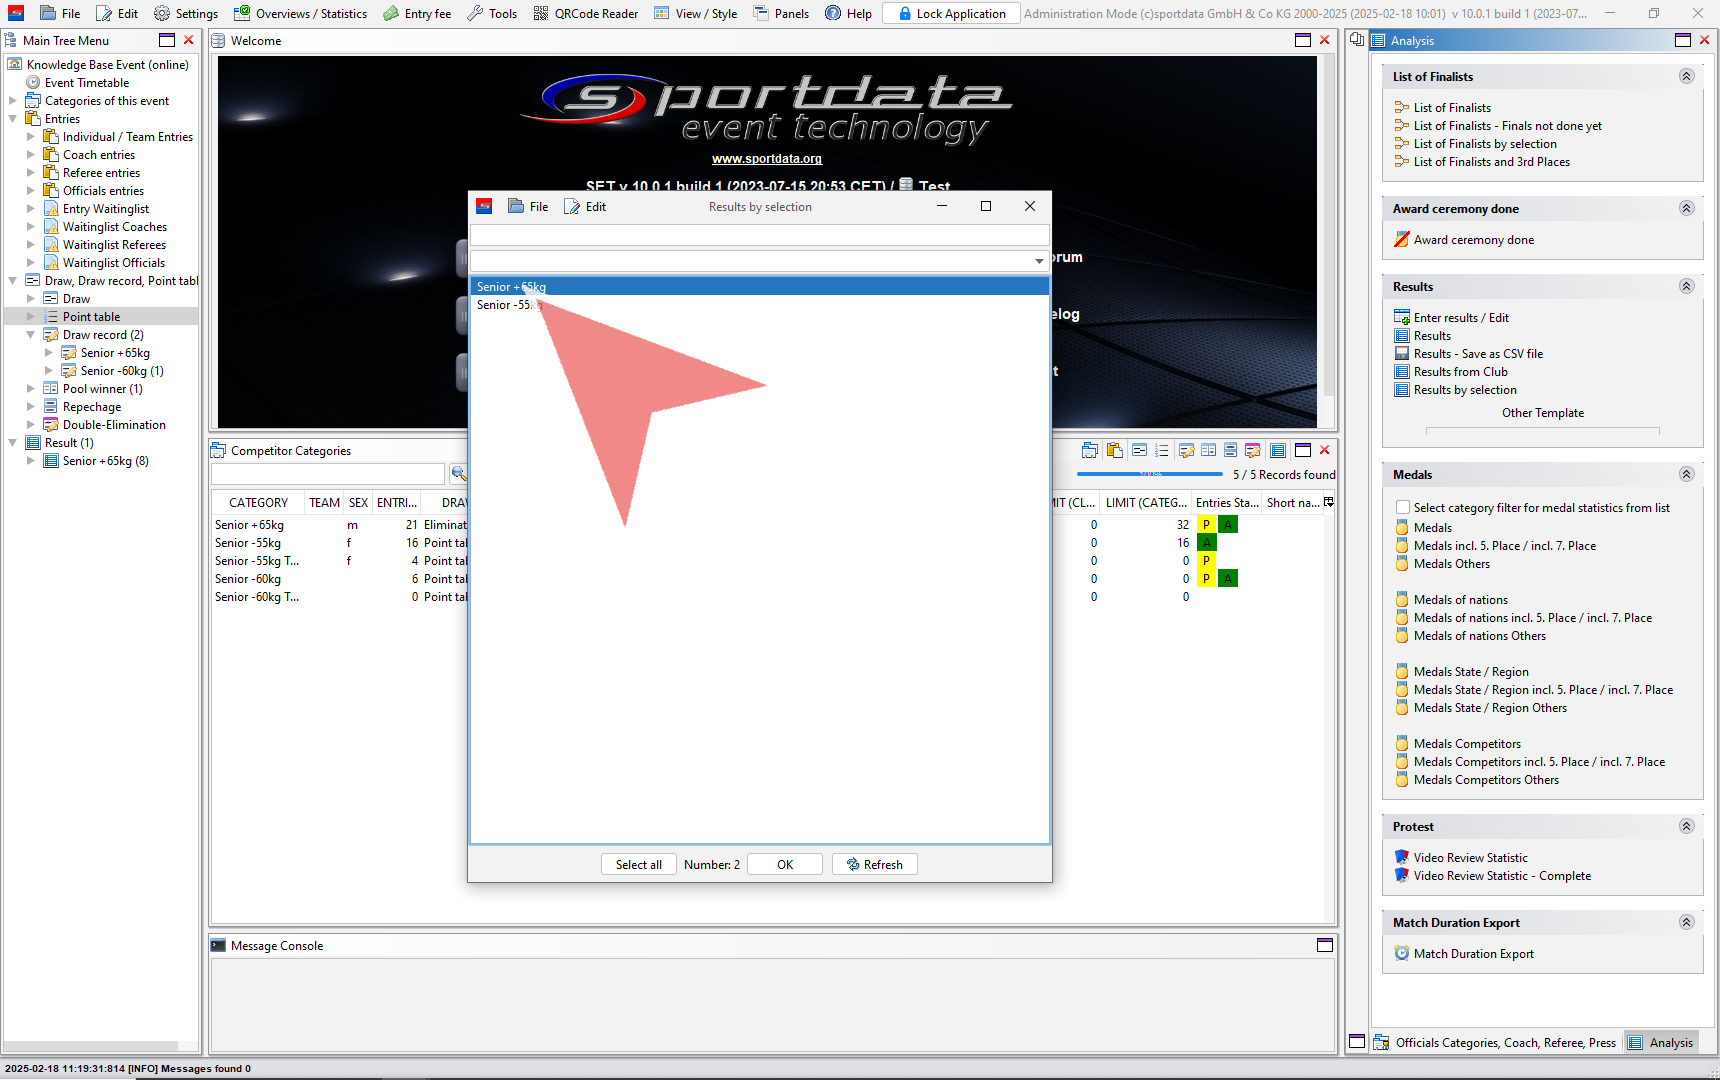
To select specific categories, click on results by selection.
Select multiple categories, by pressing the shift button and moving the arrow button, then double click.
Return to the “Format Options” and click on it.
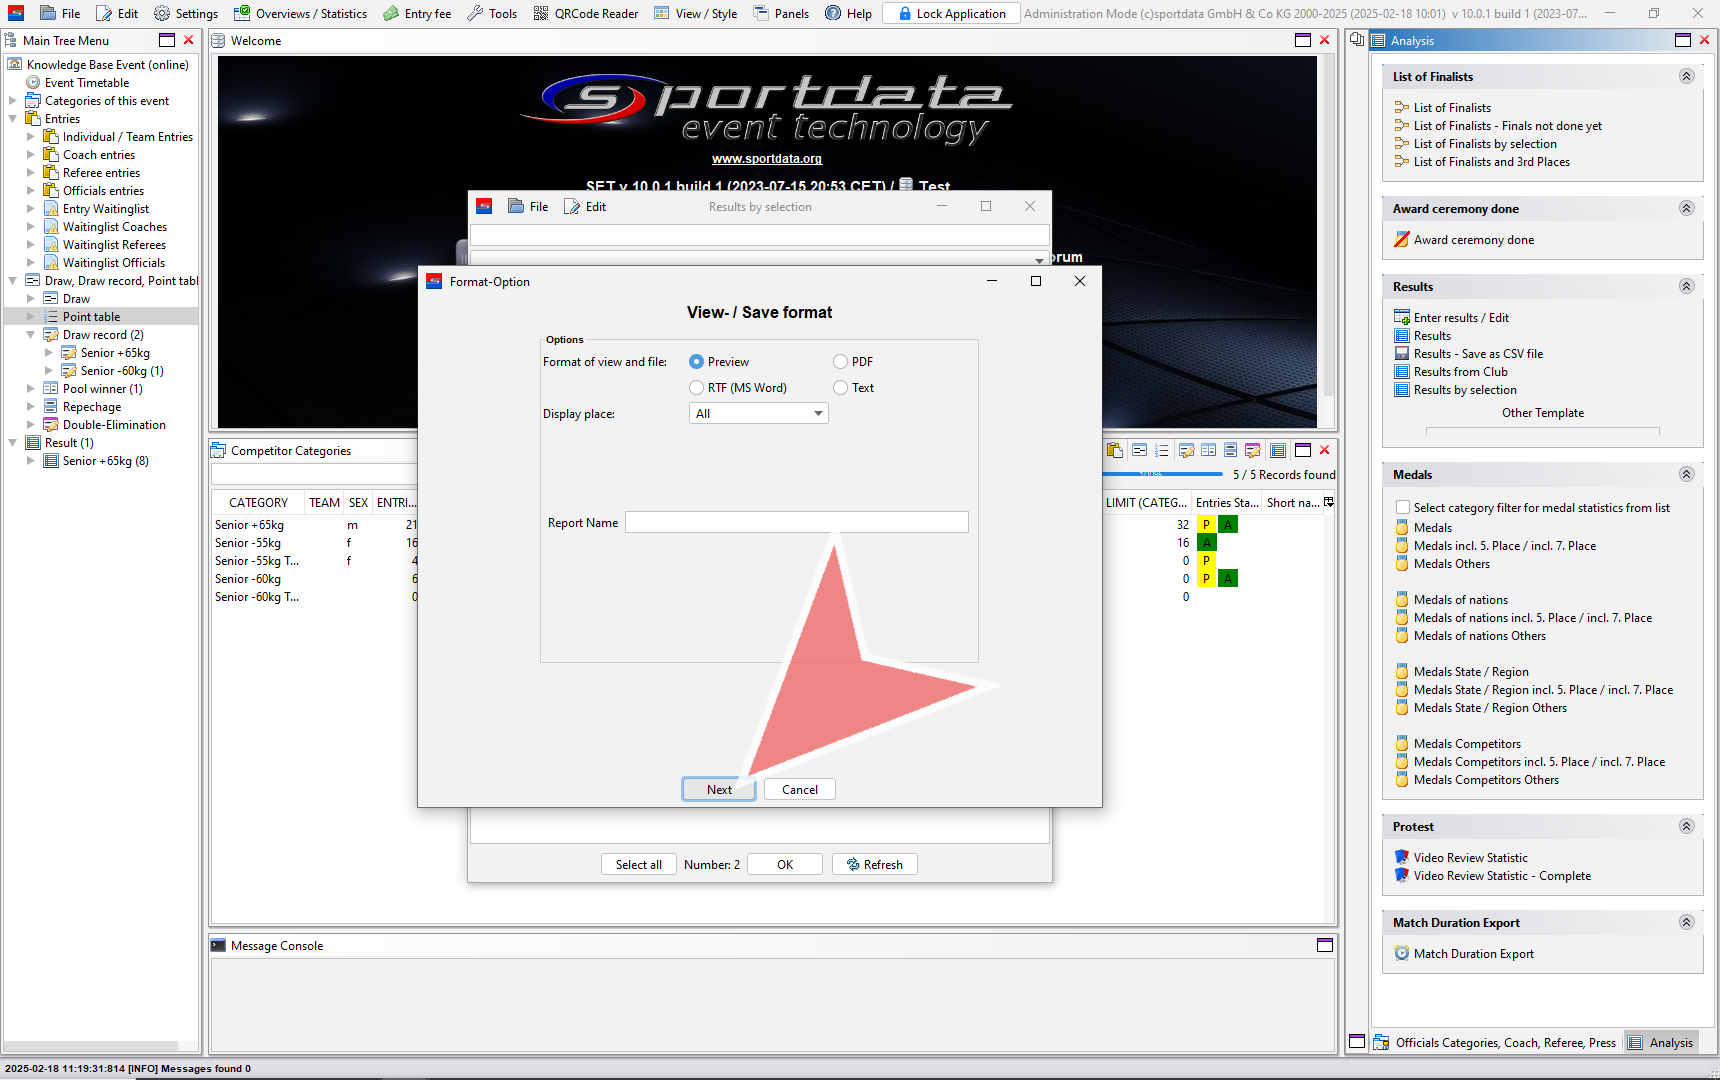
Select the “PDF Viewer” from the available options.
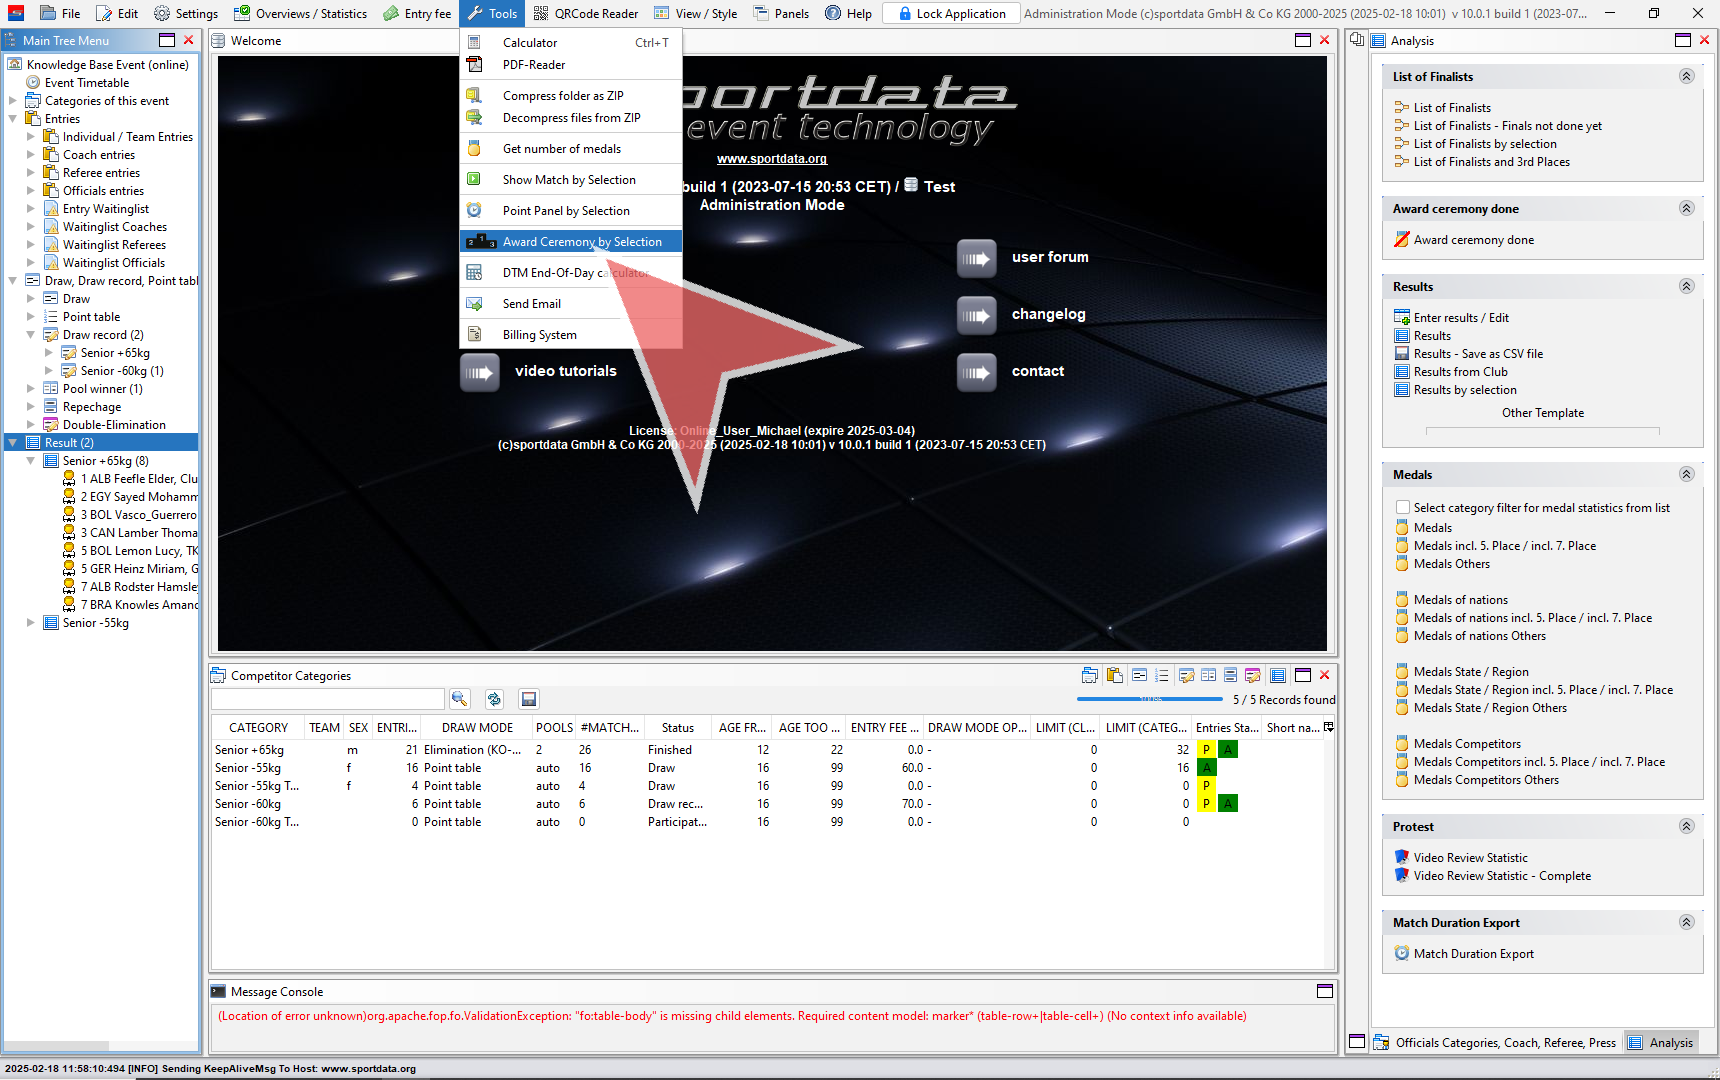
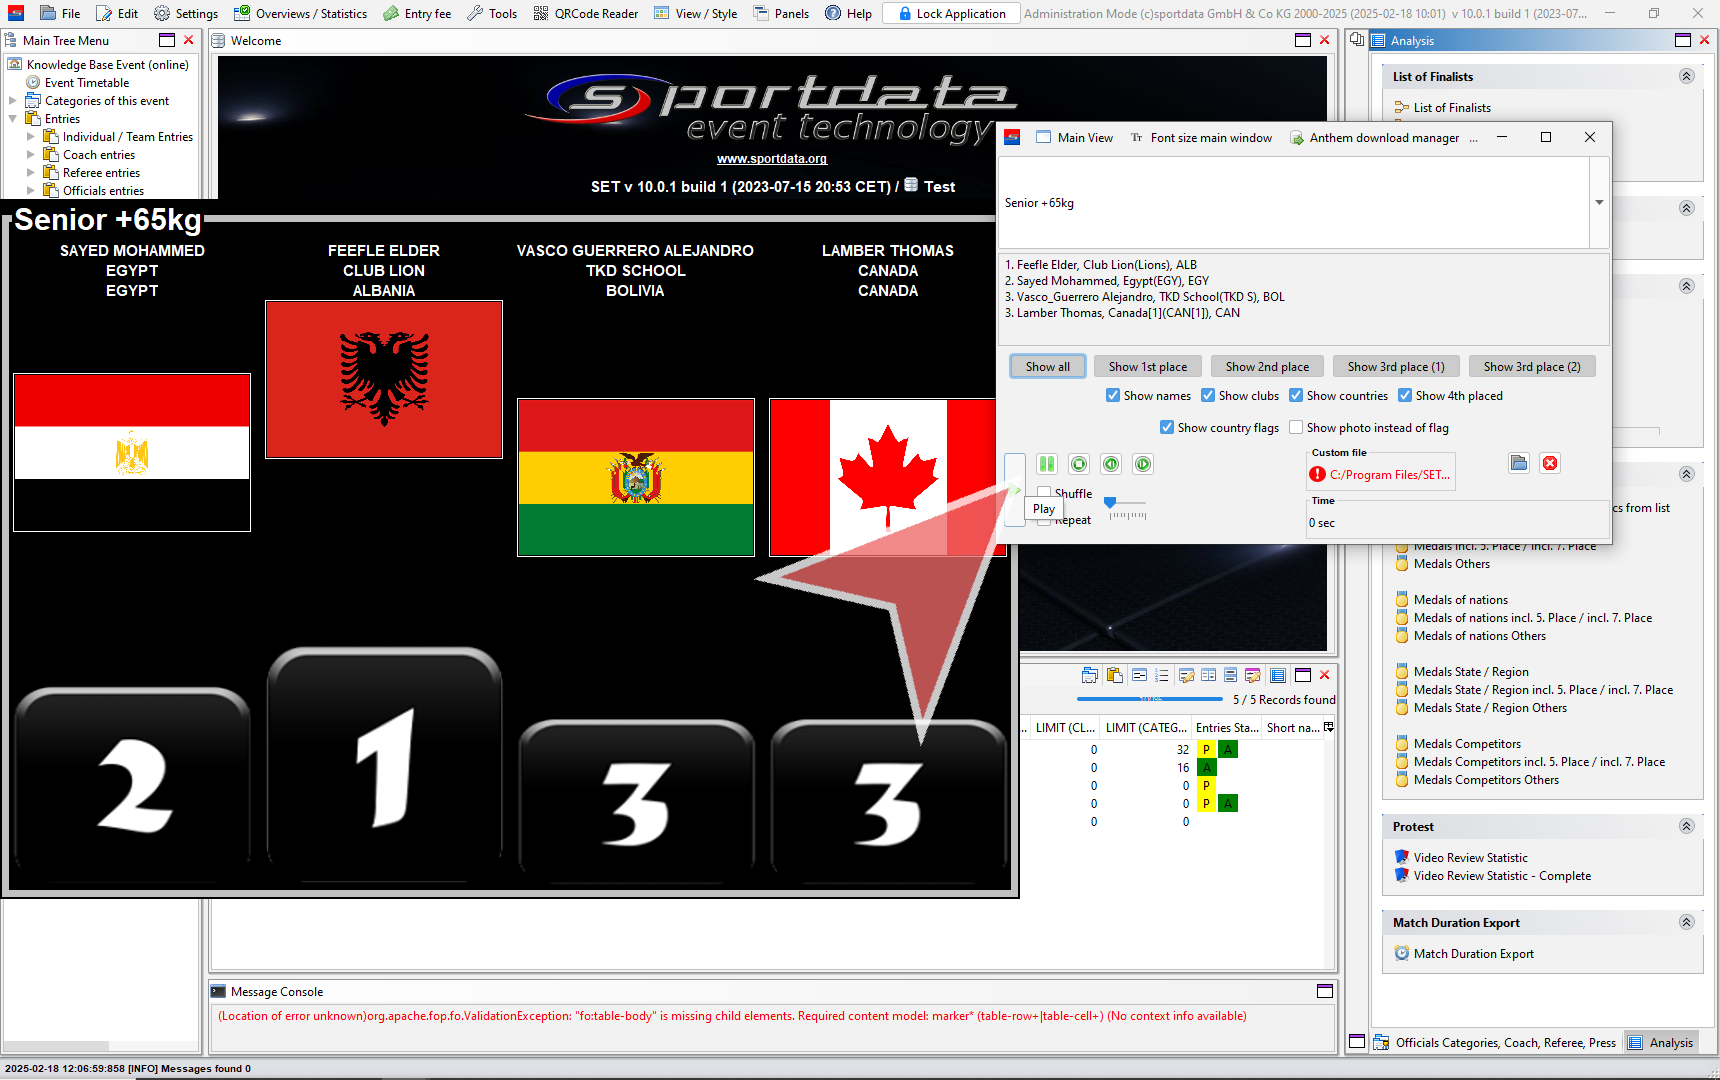
In the Tools section, select the desired award ceremony.
Click the drop-down arrow to view the available categories.
Choose the categories you want to include.
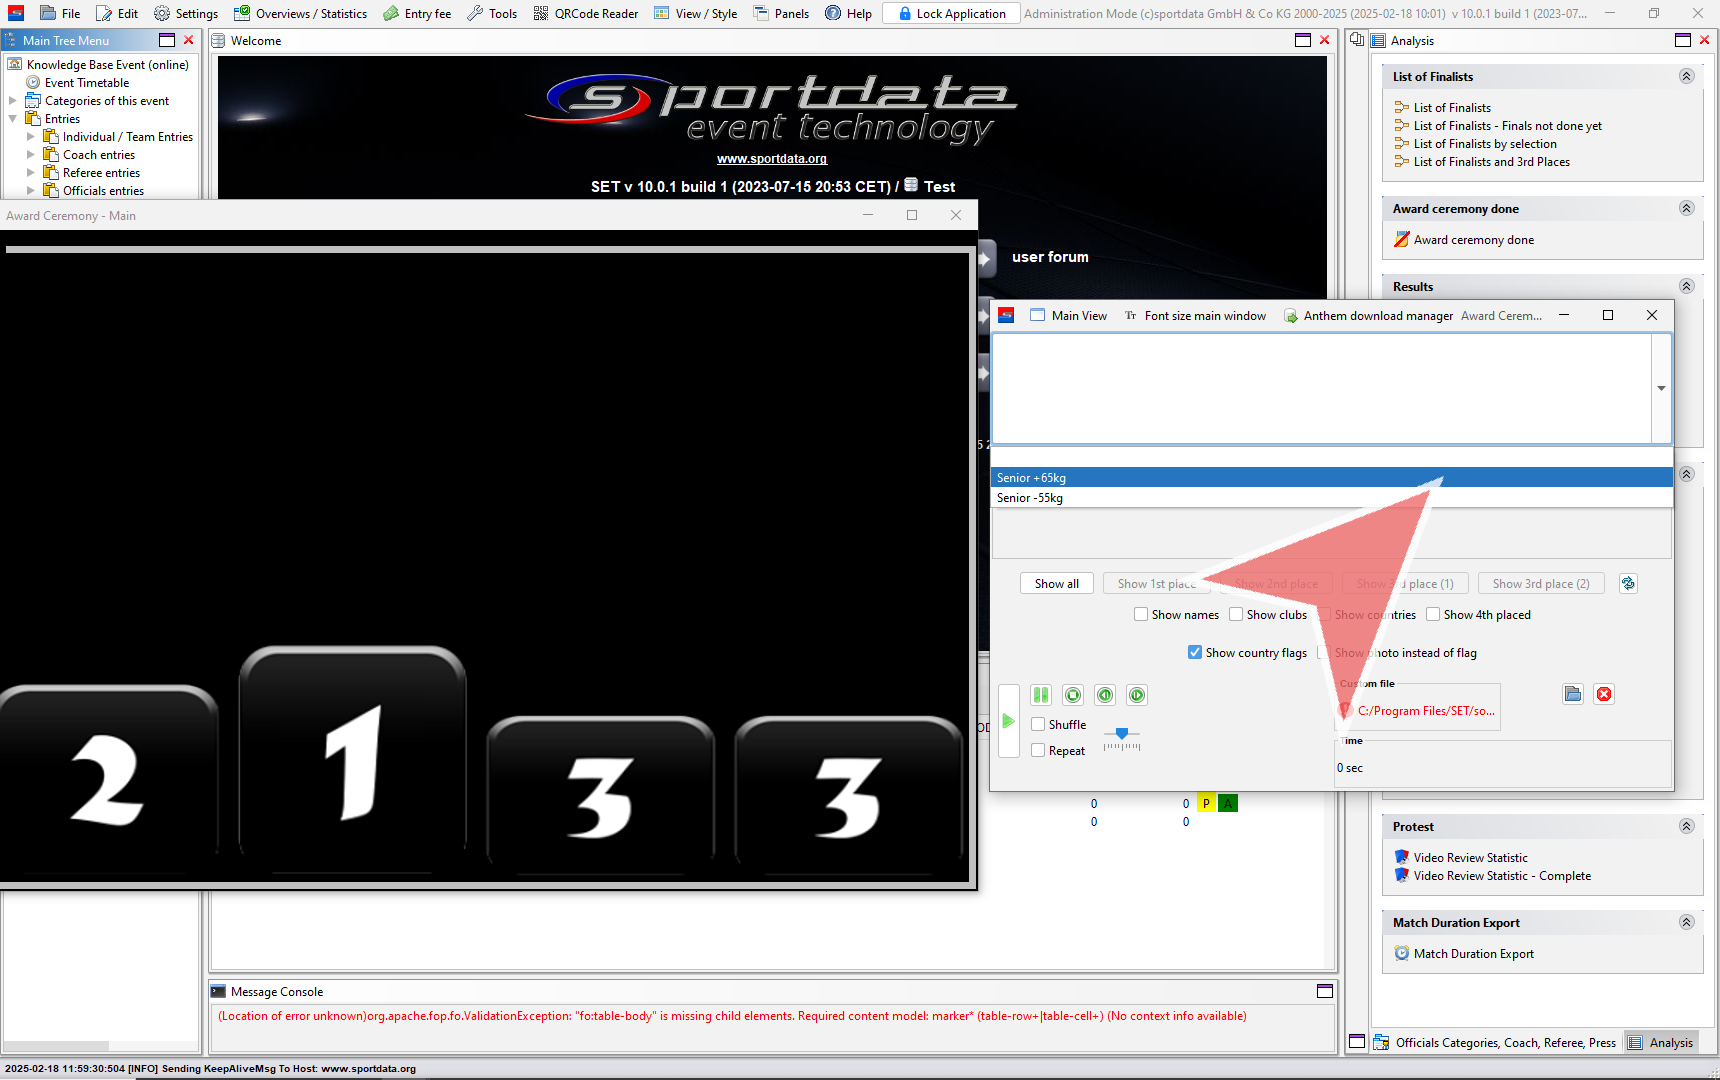
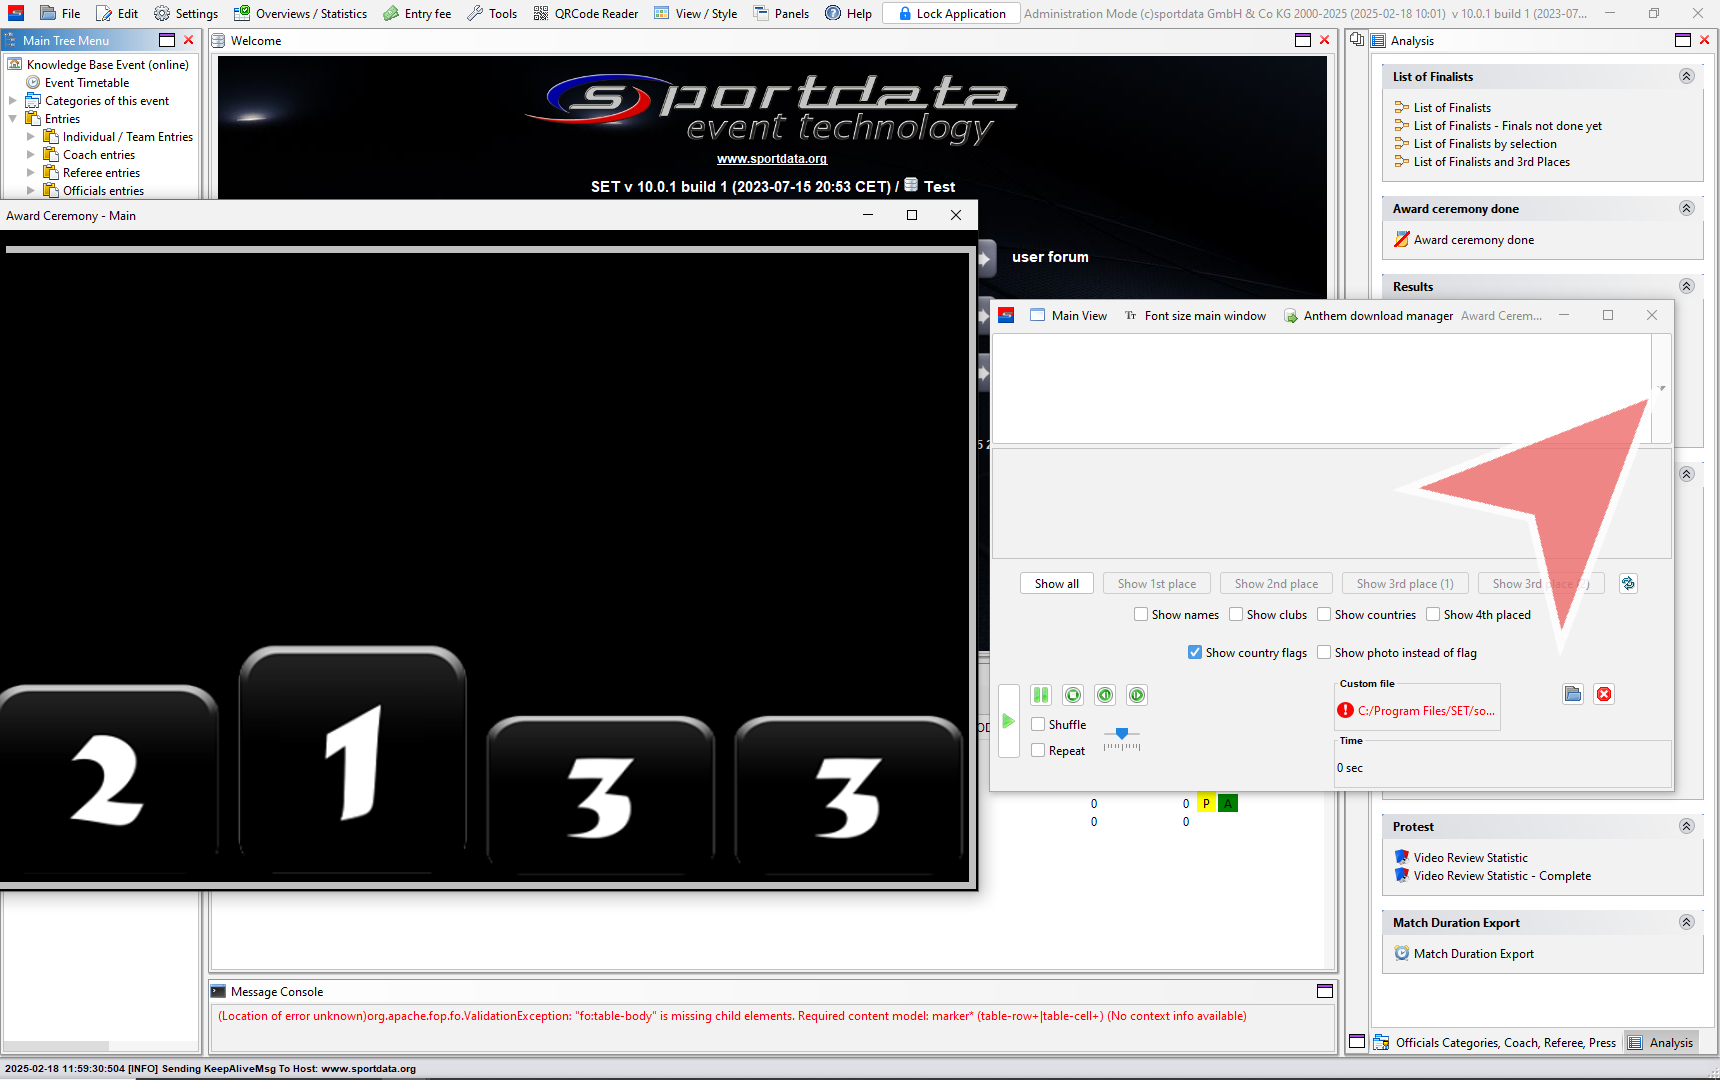
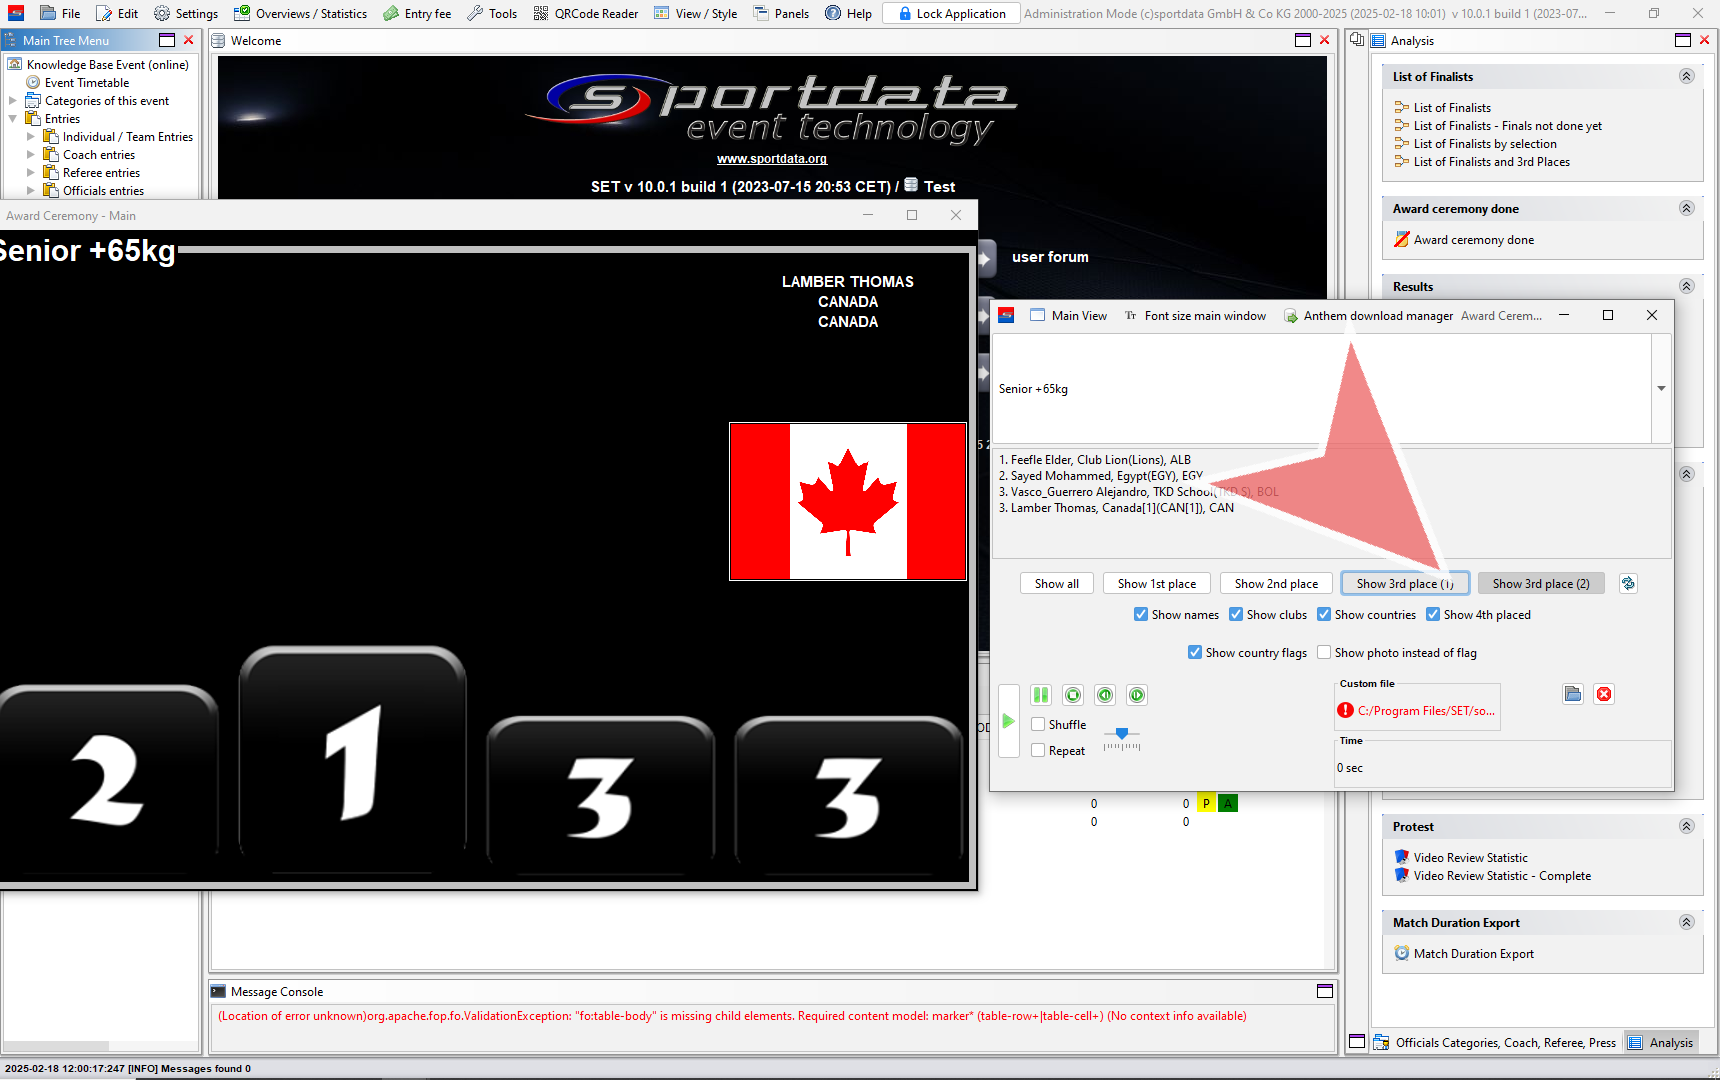
Activate or deactivate the Show names, clubs, countries, and 4th place options as needed.
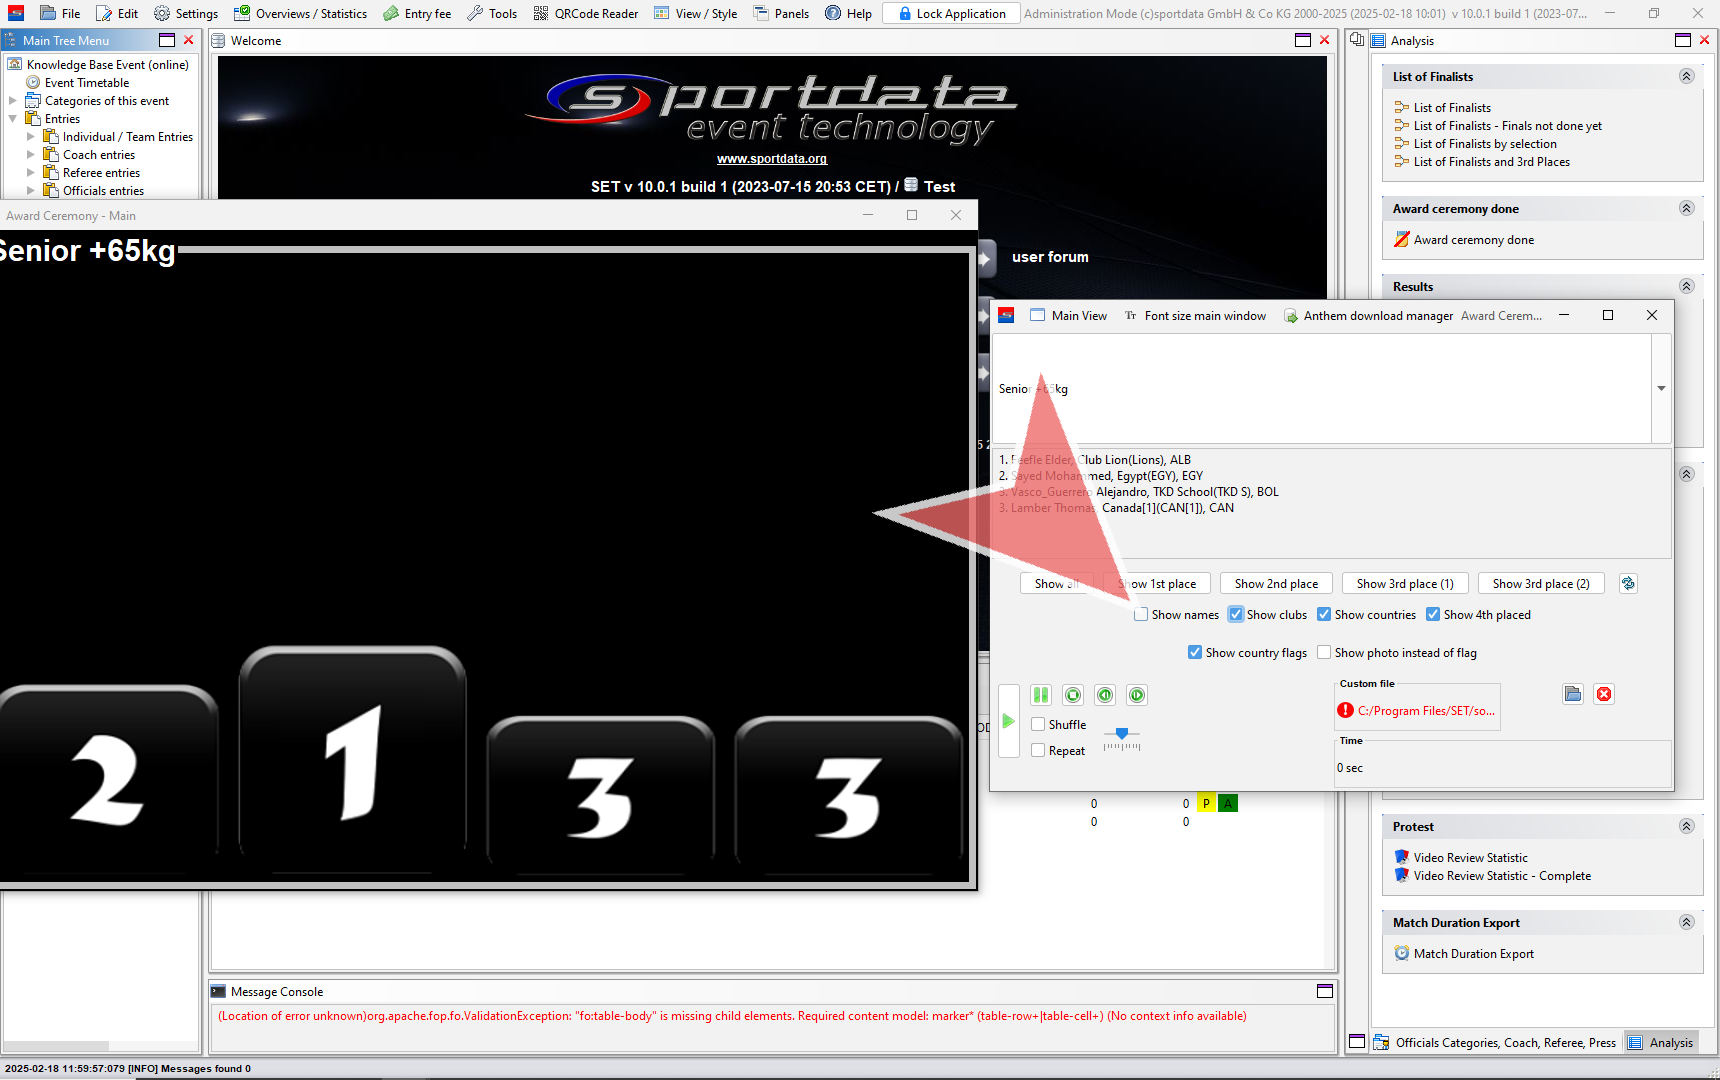
To present the medalists one by one, simply click on their respective places.
If you prefer to show all medalists at once, click on Show all.

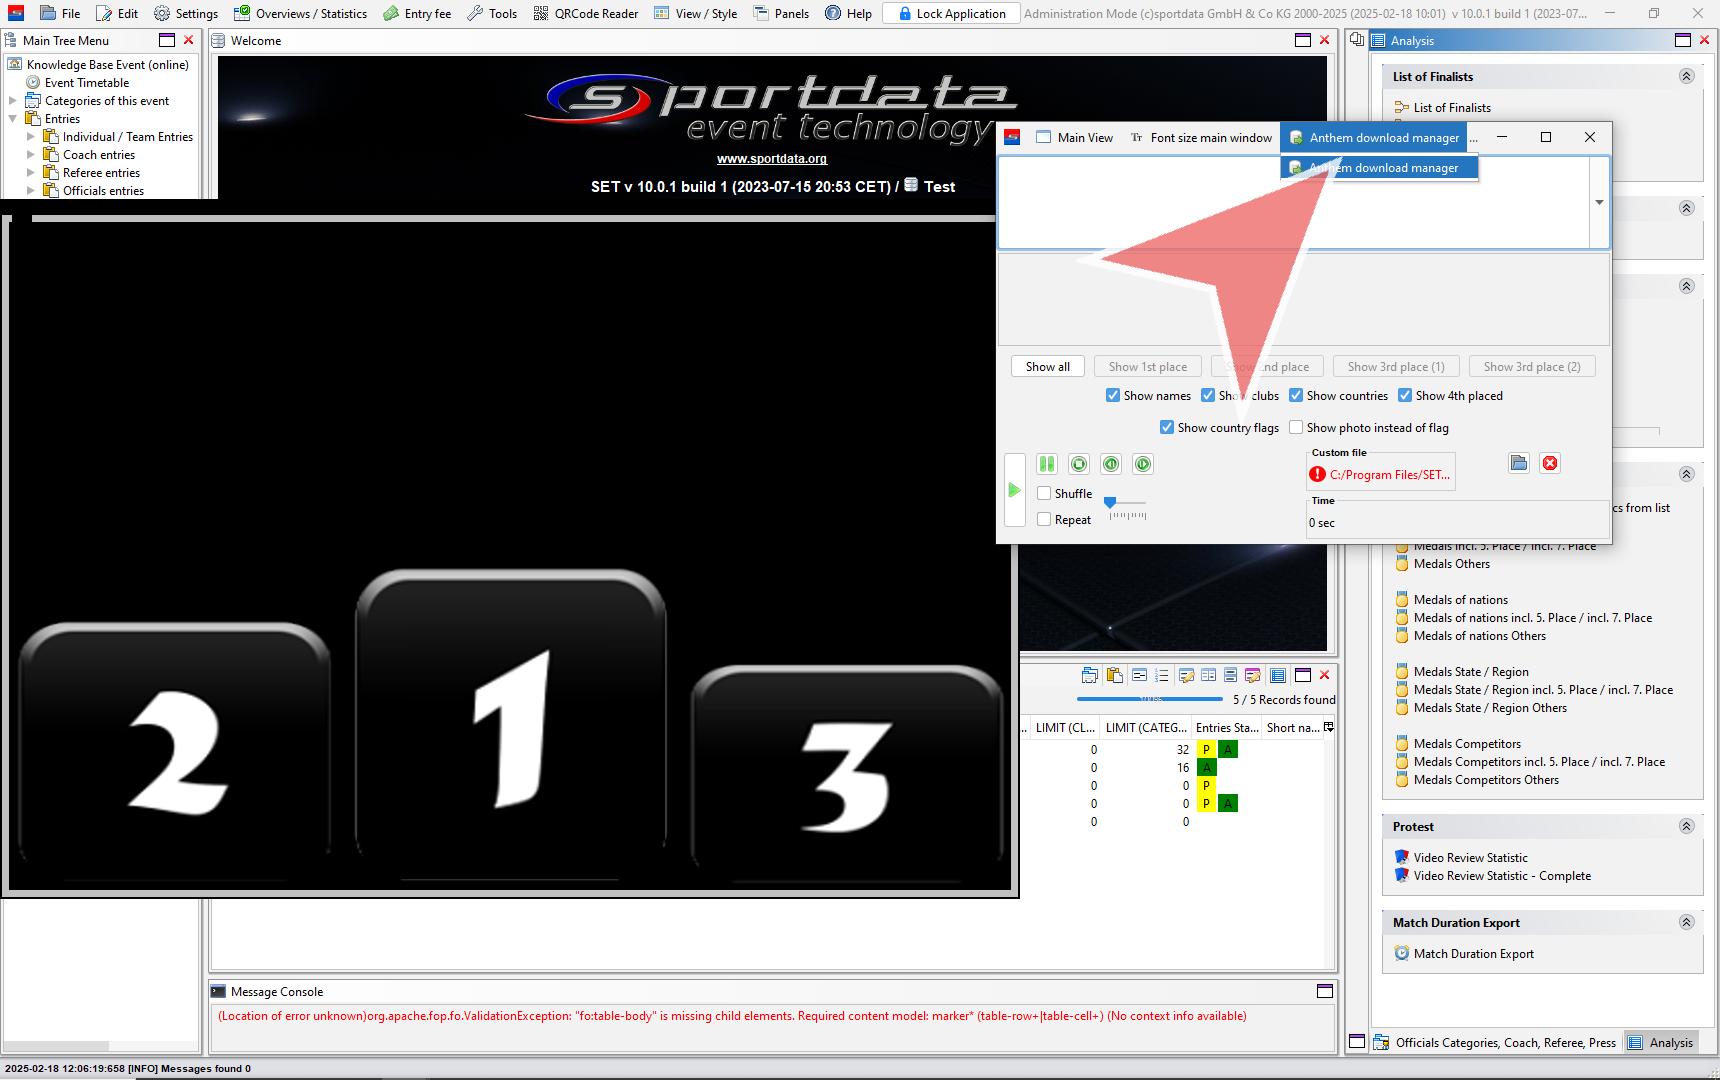
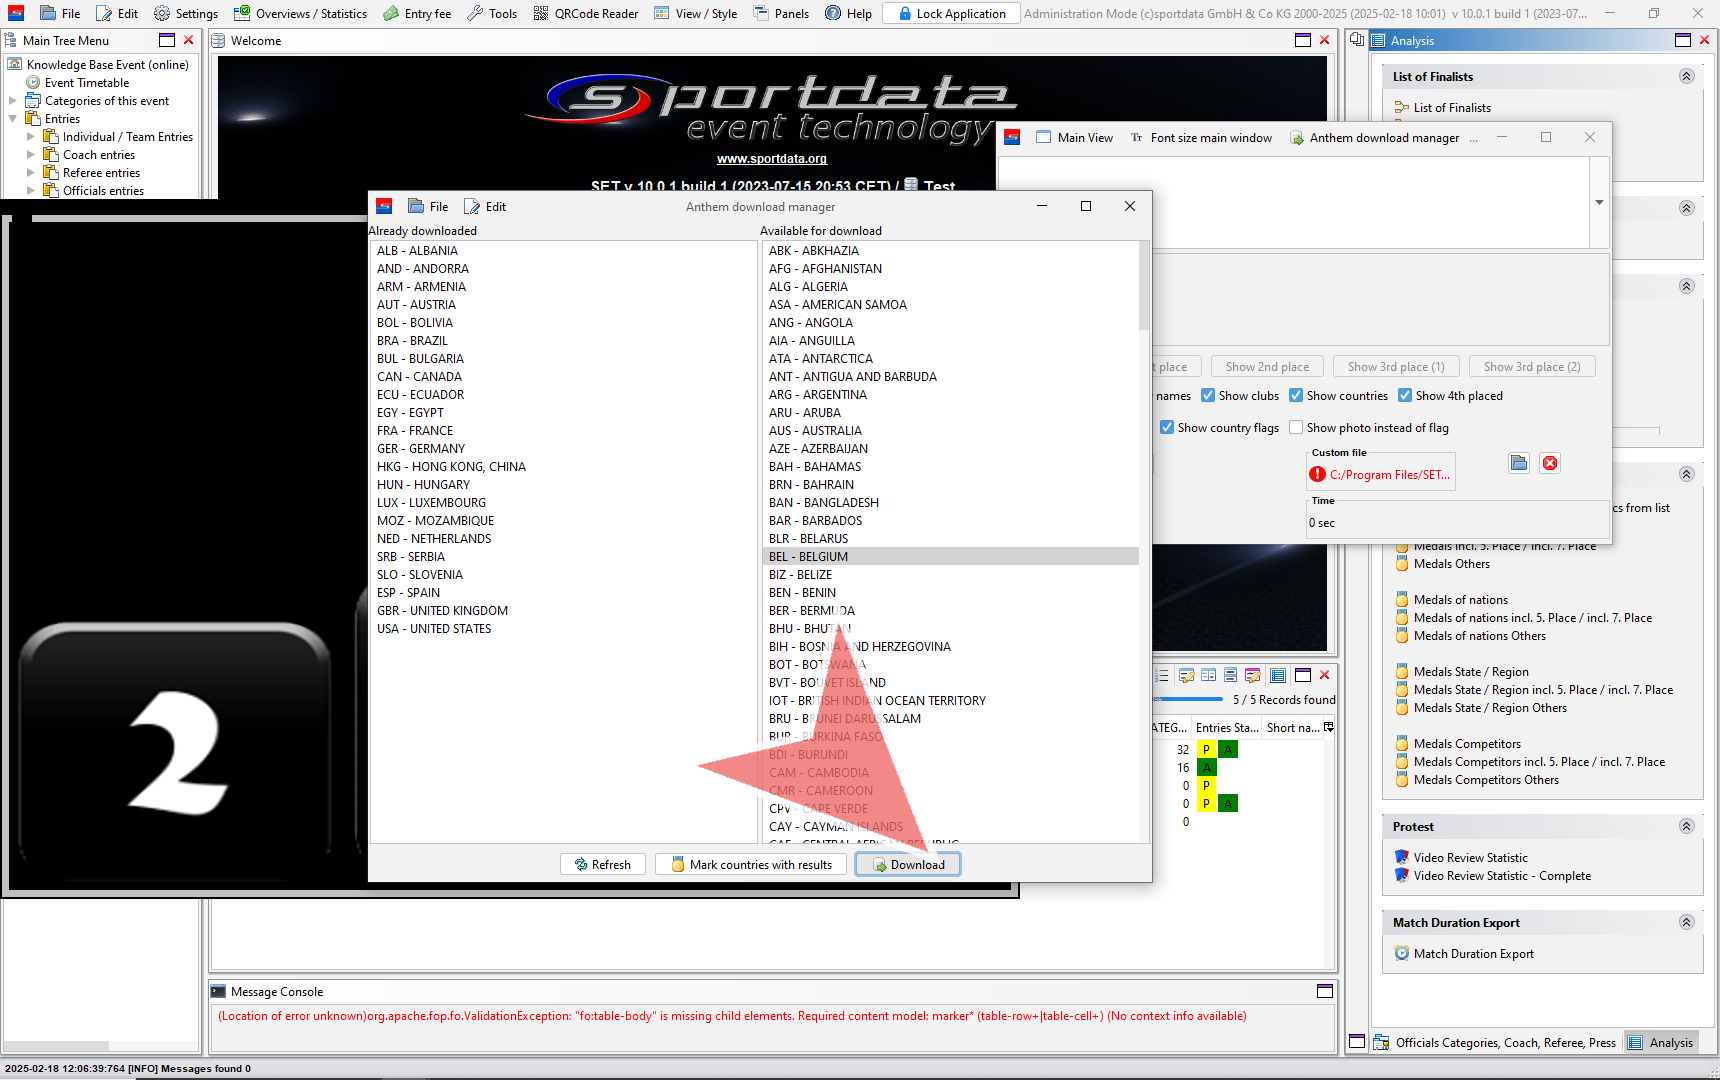
Feel free to download the national anthems that you need from the anthem download manager.
You have the option to mark countries with results or individually select the country anthems.
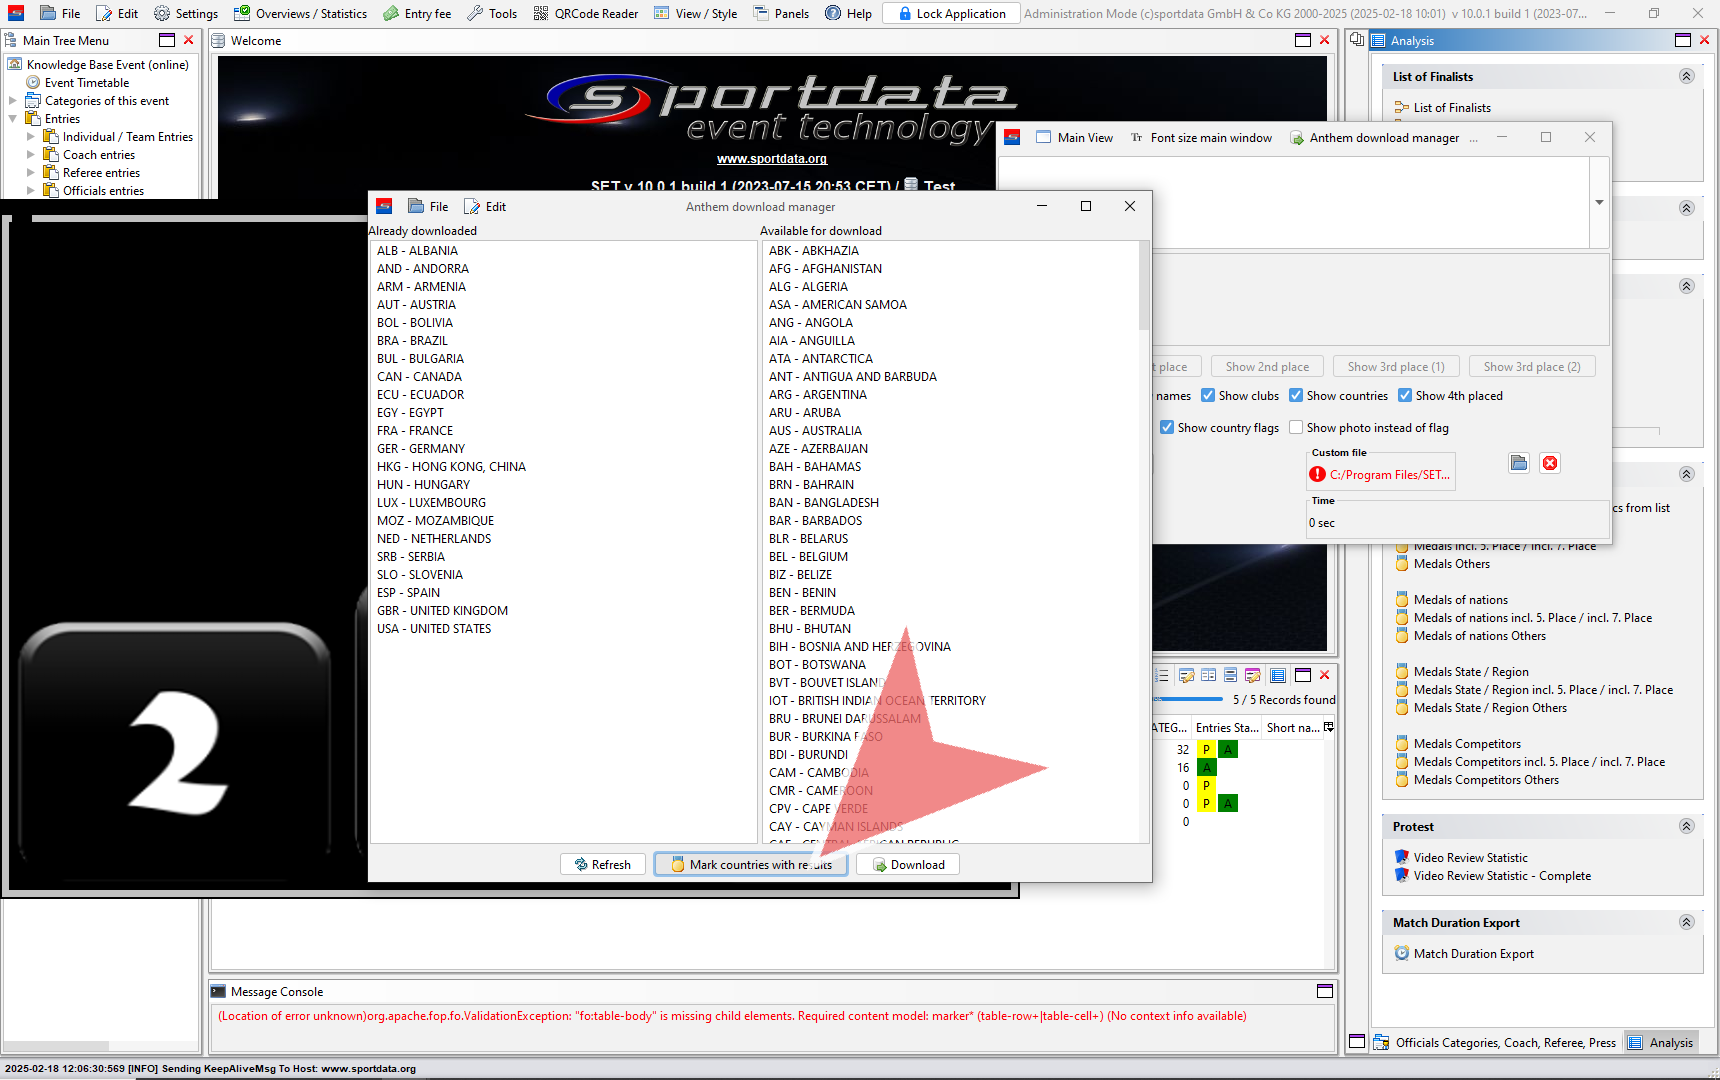
Once you have marked the desired country anthems, click on the download button to start the download process.
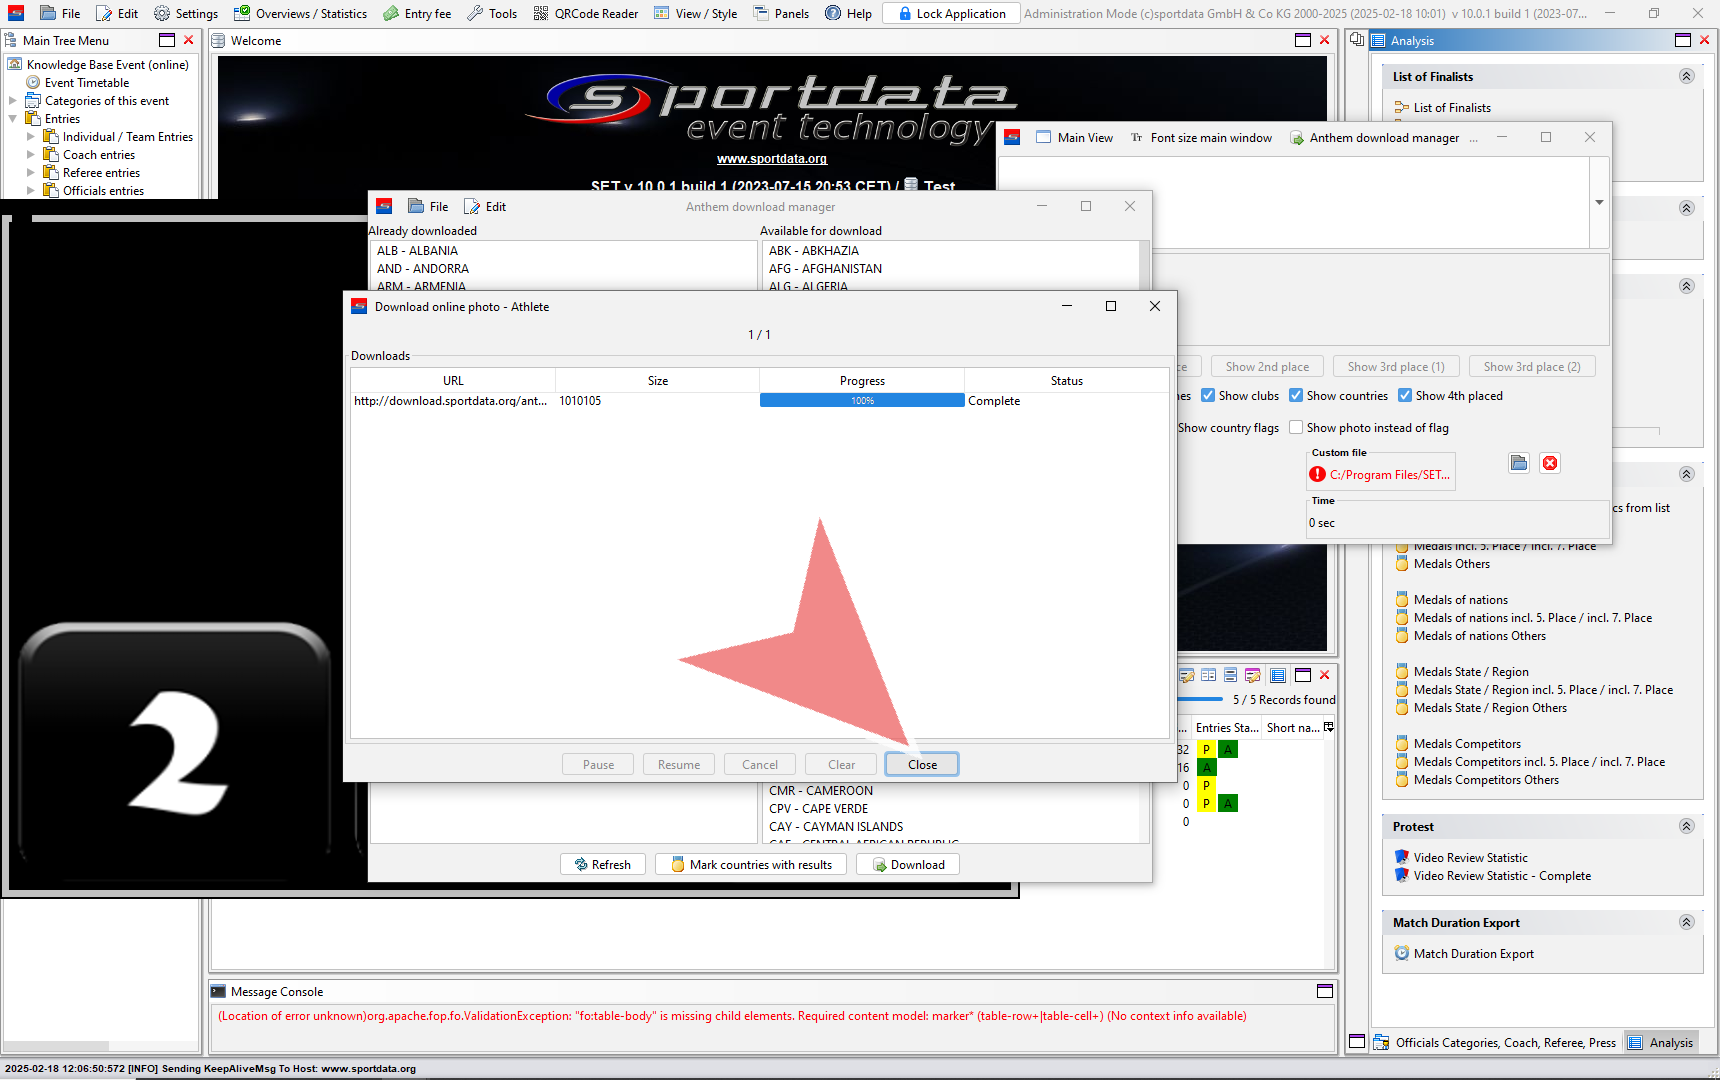
Once the downloads are complete, you can click on the close button.
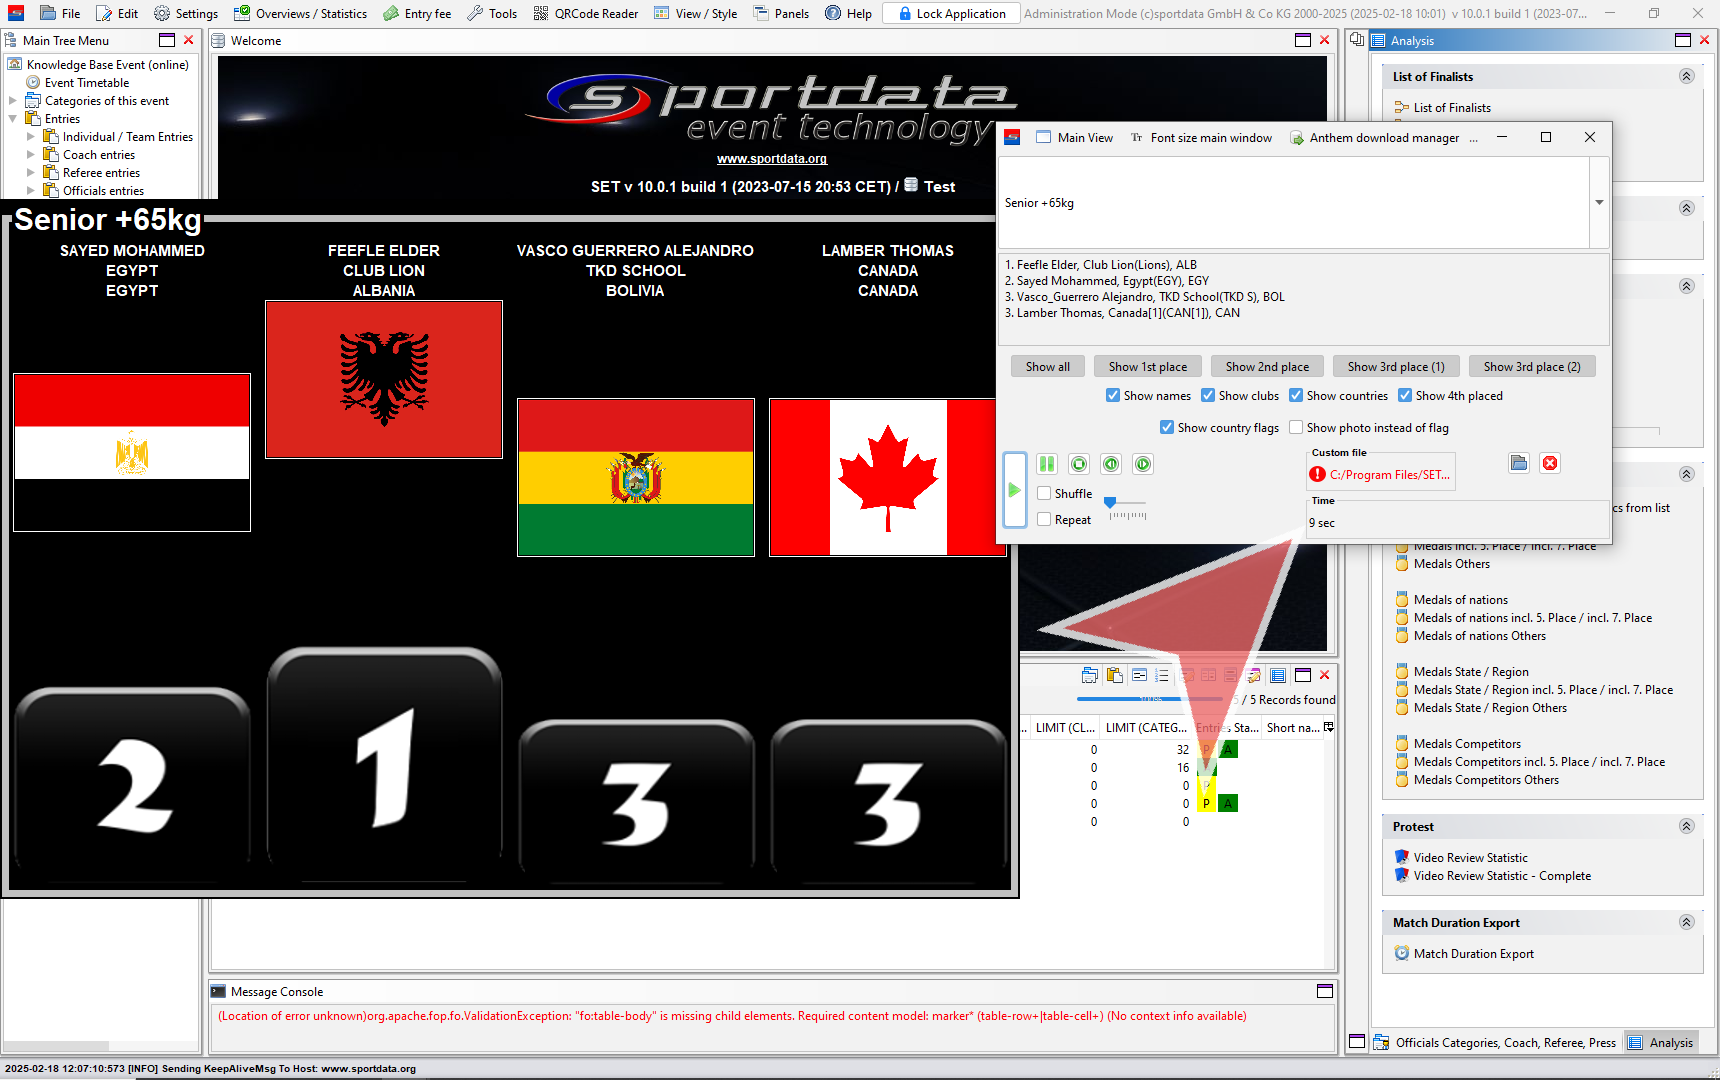
When you are ready, click on the play button to start playing the chosen anthem.
You can check the duration of the anthem to have an idea of how long it will play.
This article explains how to build the match caller, transfer the information to the SET DTM (Dynamic Time Manager) and generate session matchlist.
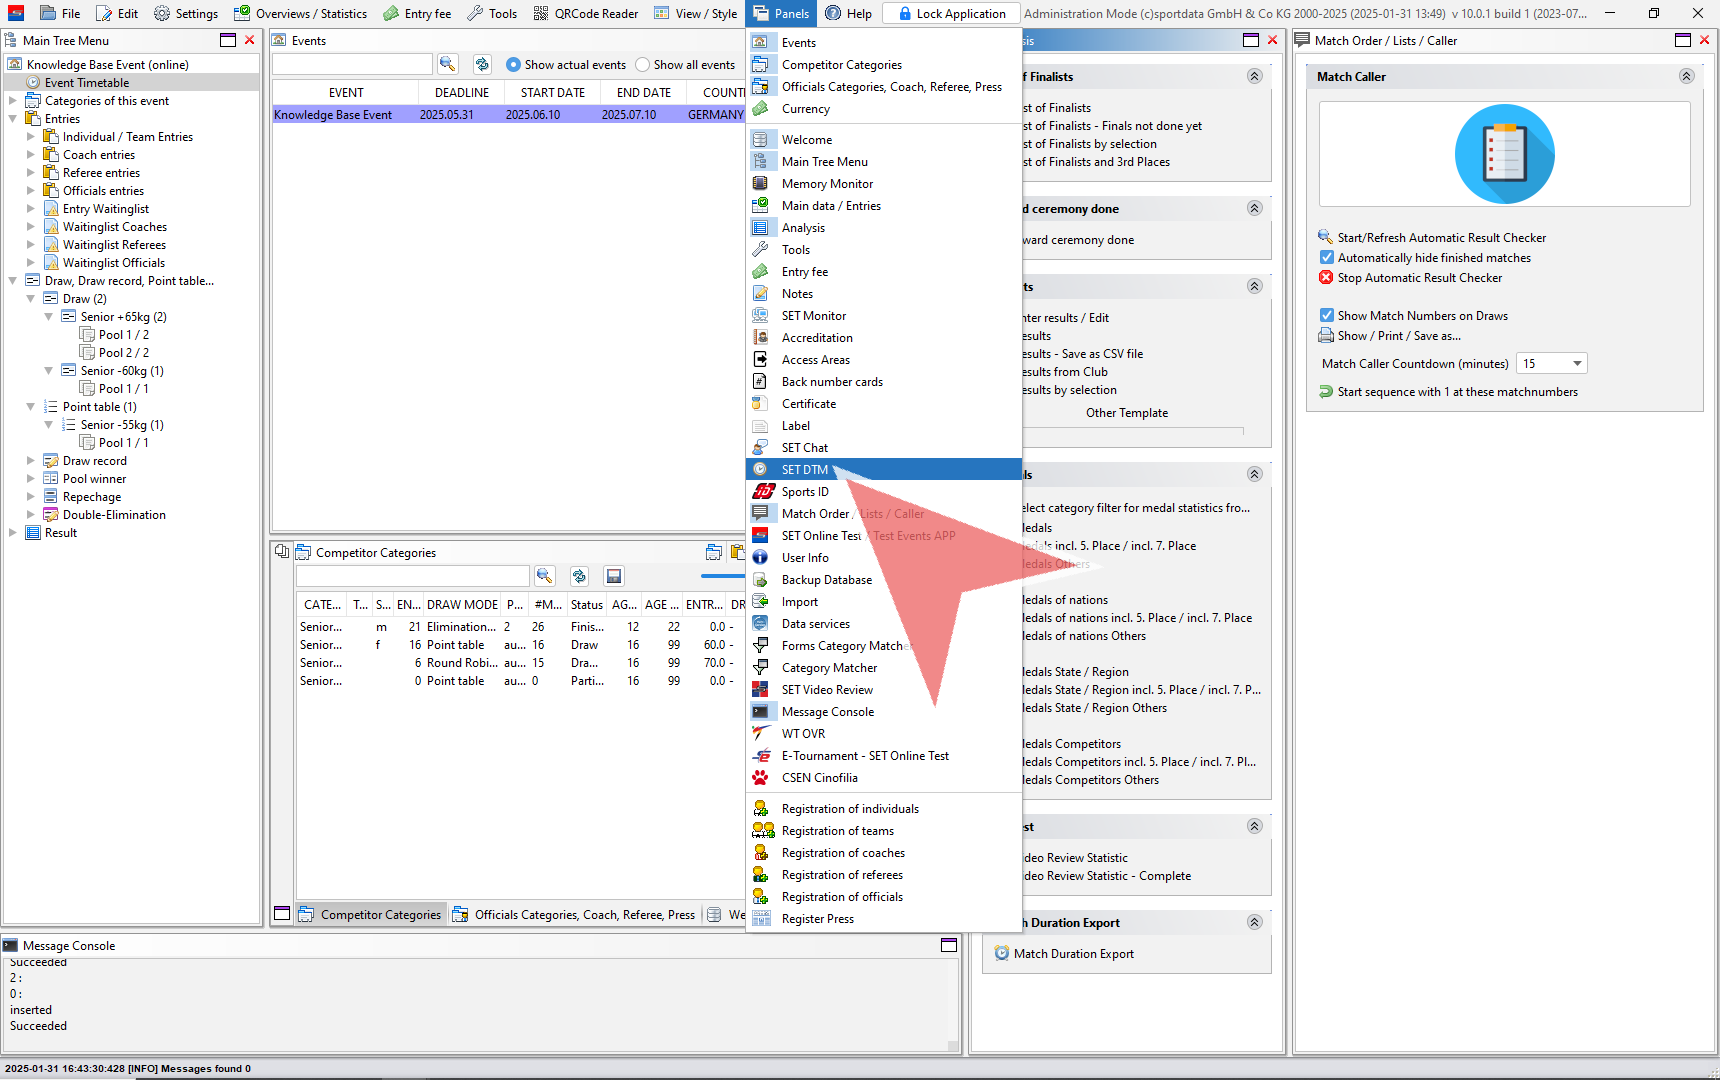
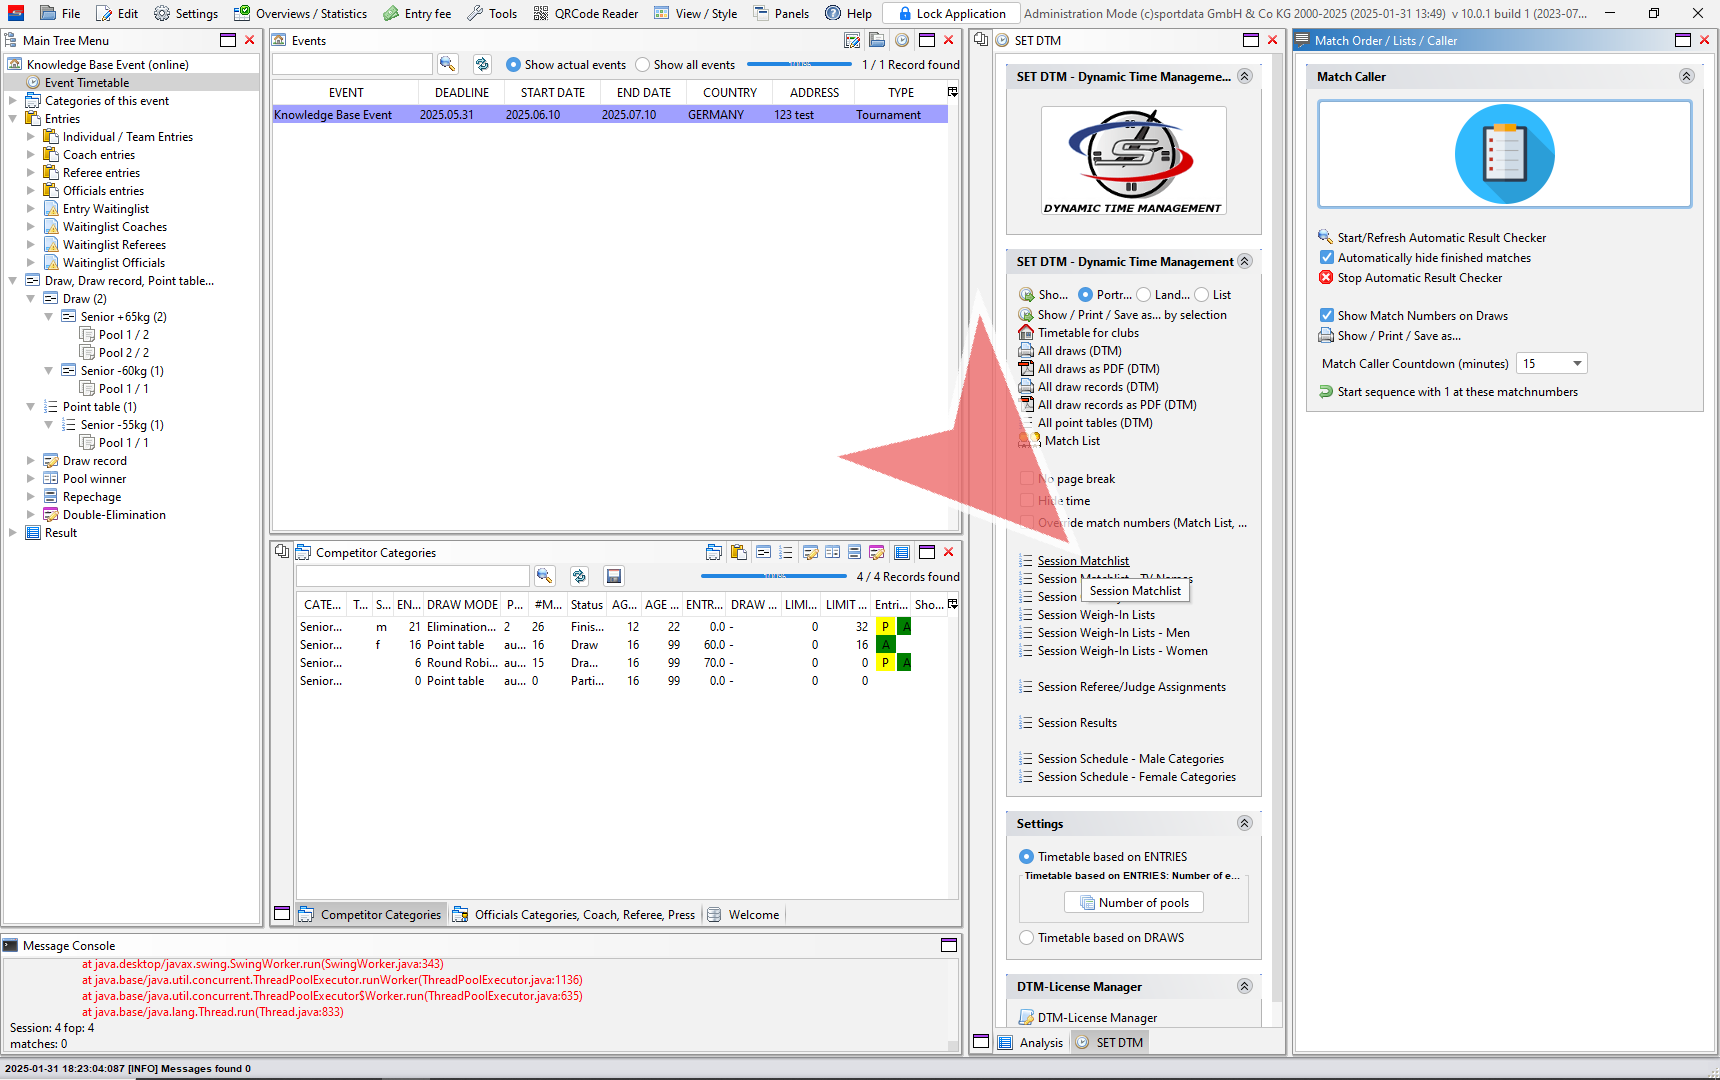
After finishing the draw record and before creating a matchcaller, go to SET DTM and select the number of match areas, which you can find in Panels.
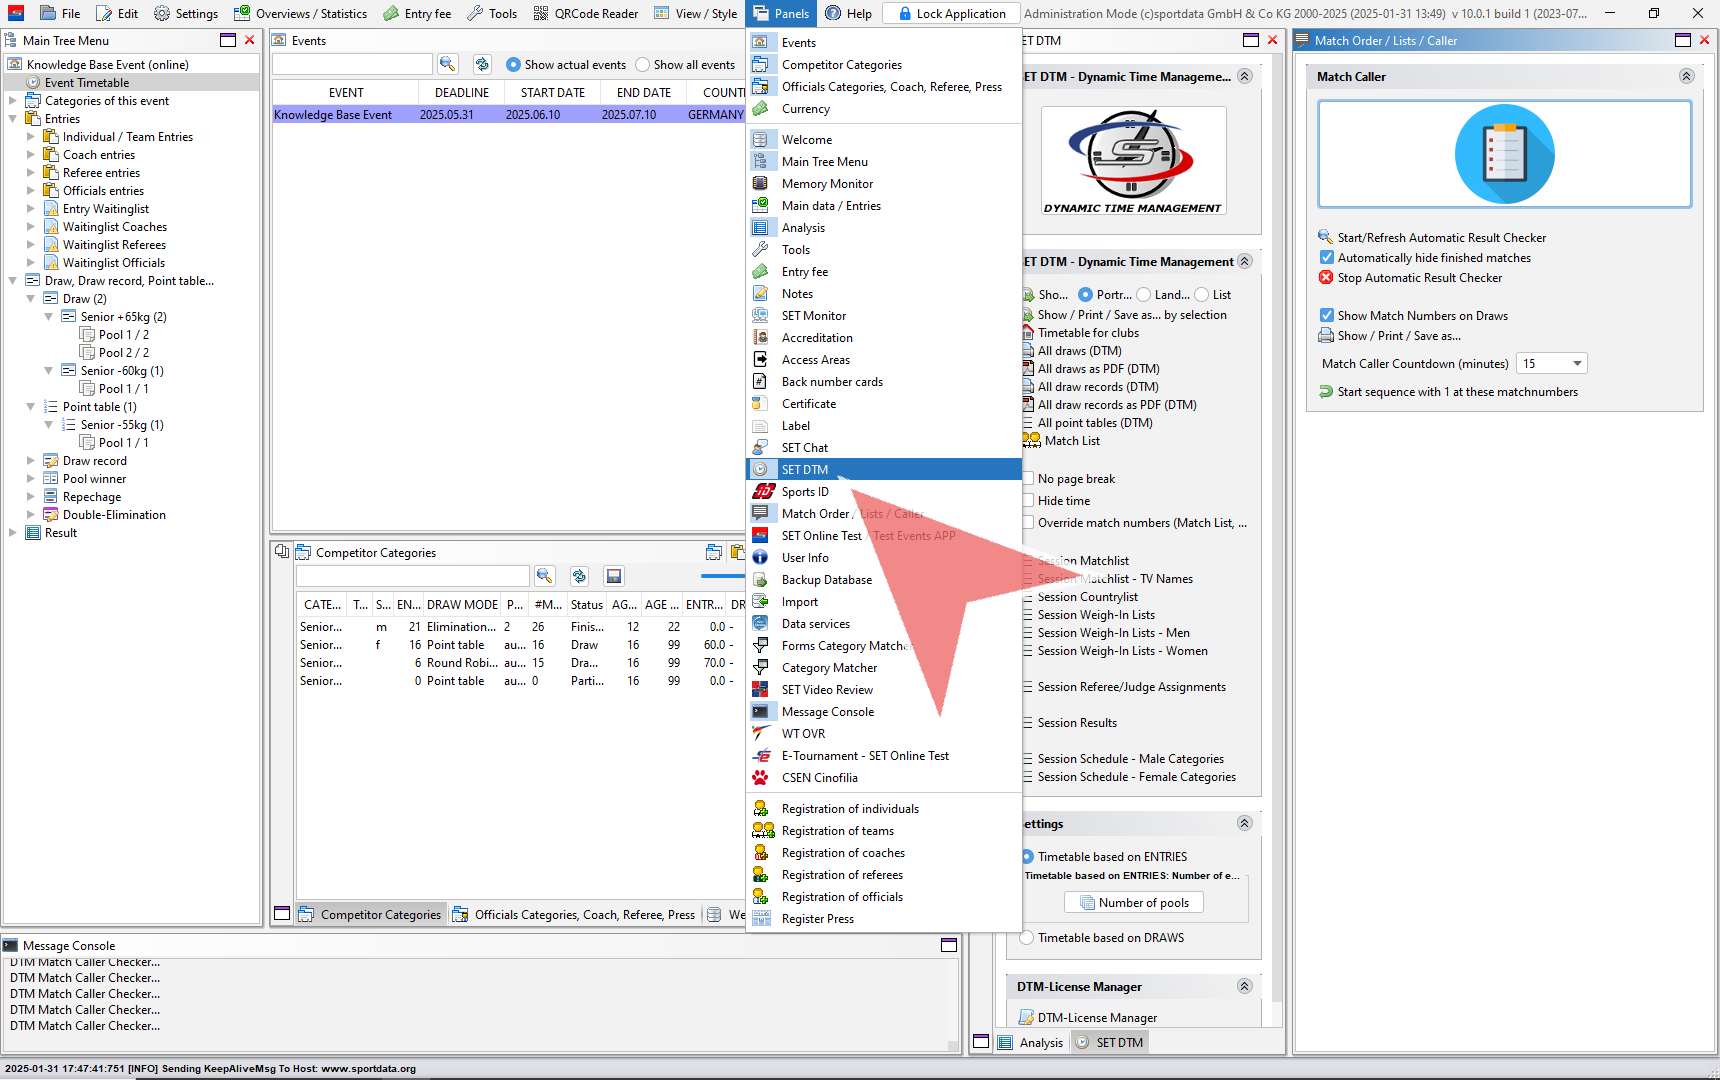
Click the button to be able to enter SET DTM.
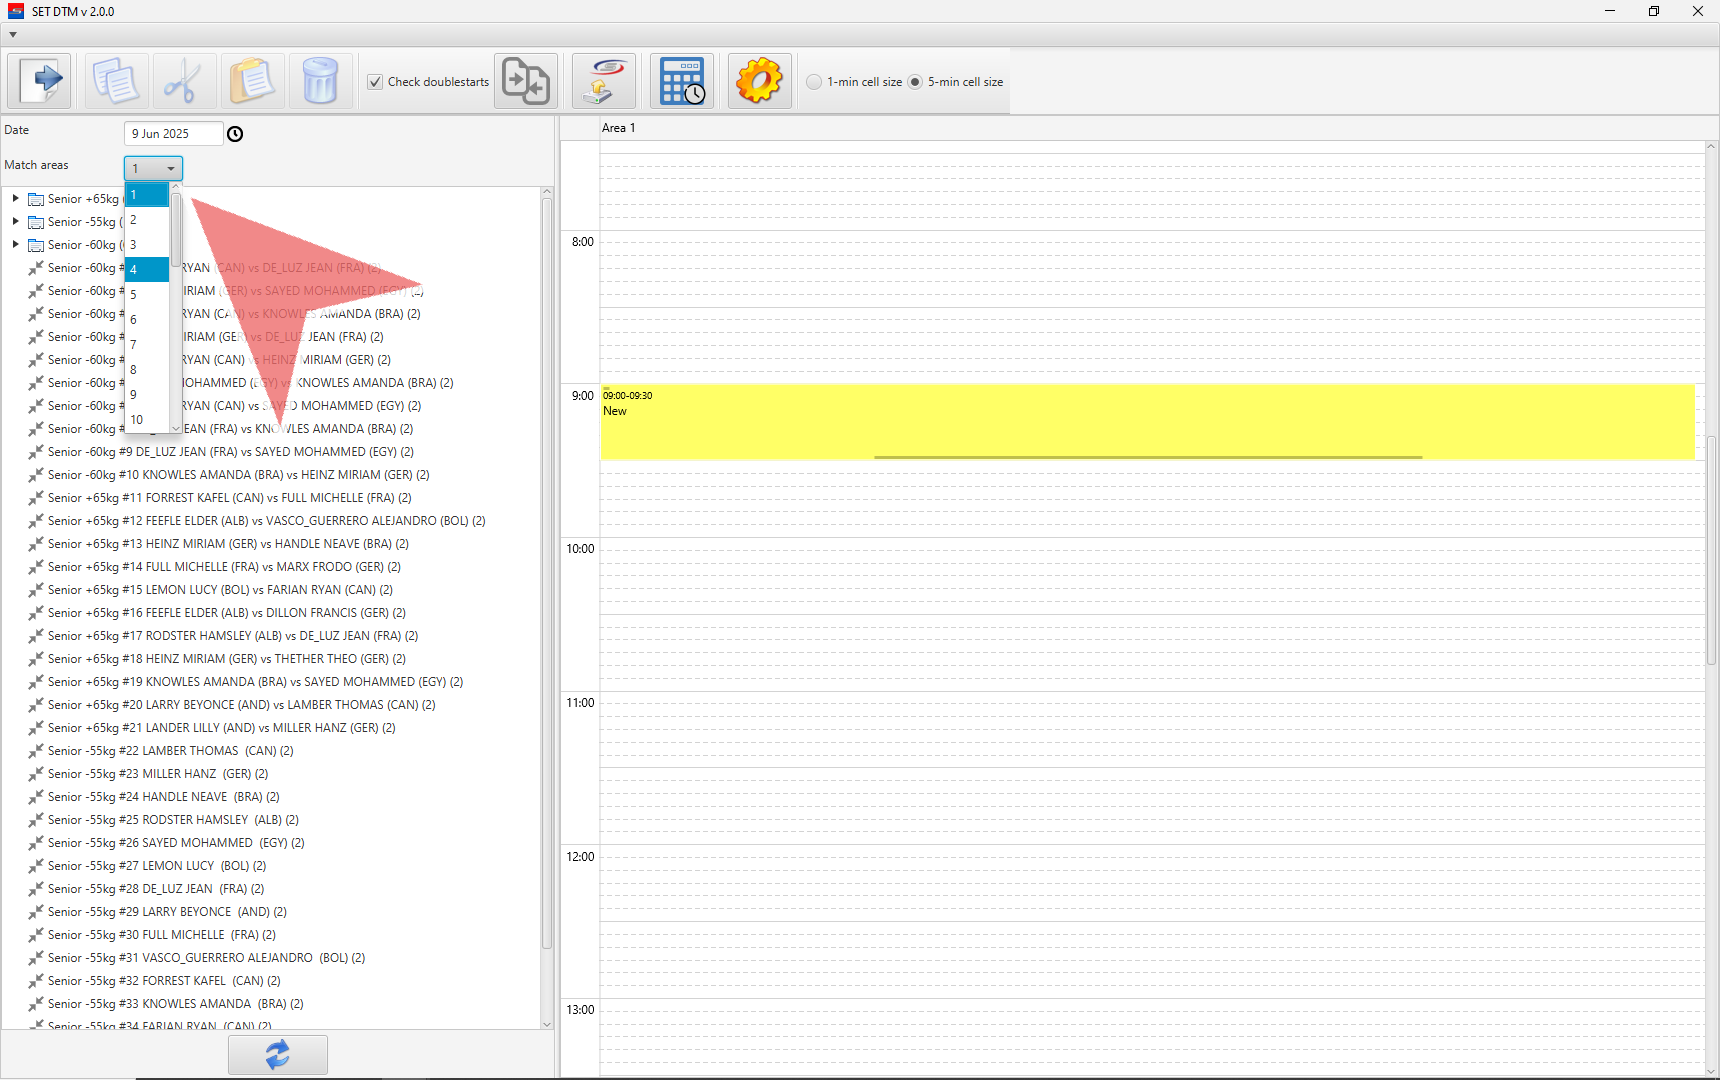
Select the number of match areas you will have at your event.

If you will be generating a matchlist, you will need to add the custom item with ´Session #´ to the item names of each custom item. Additionally, placing custom items will maintain the number of areas while you are working in the matchcaller.
After determine match areas and creating custom items, go to Panels and click on Match Order/ Lists / Caller.
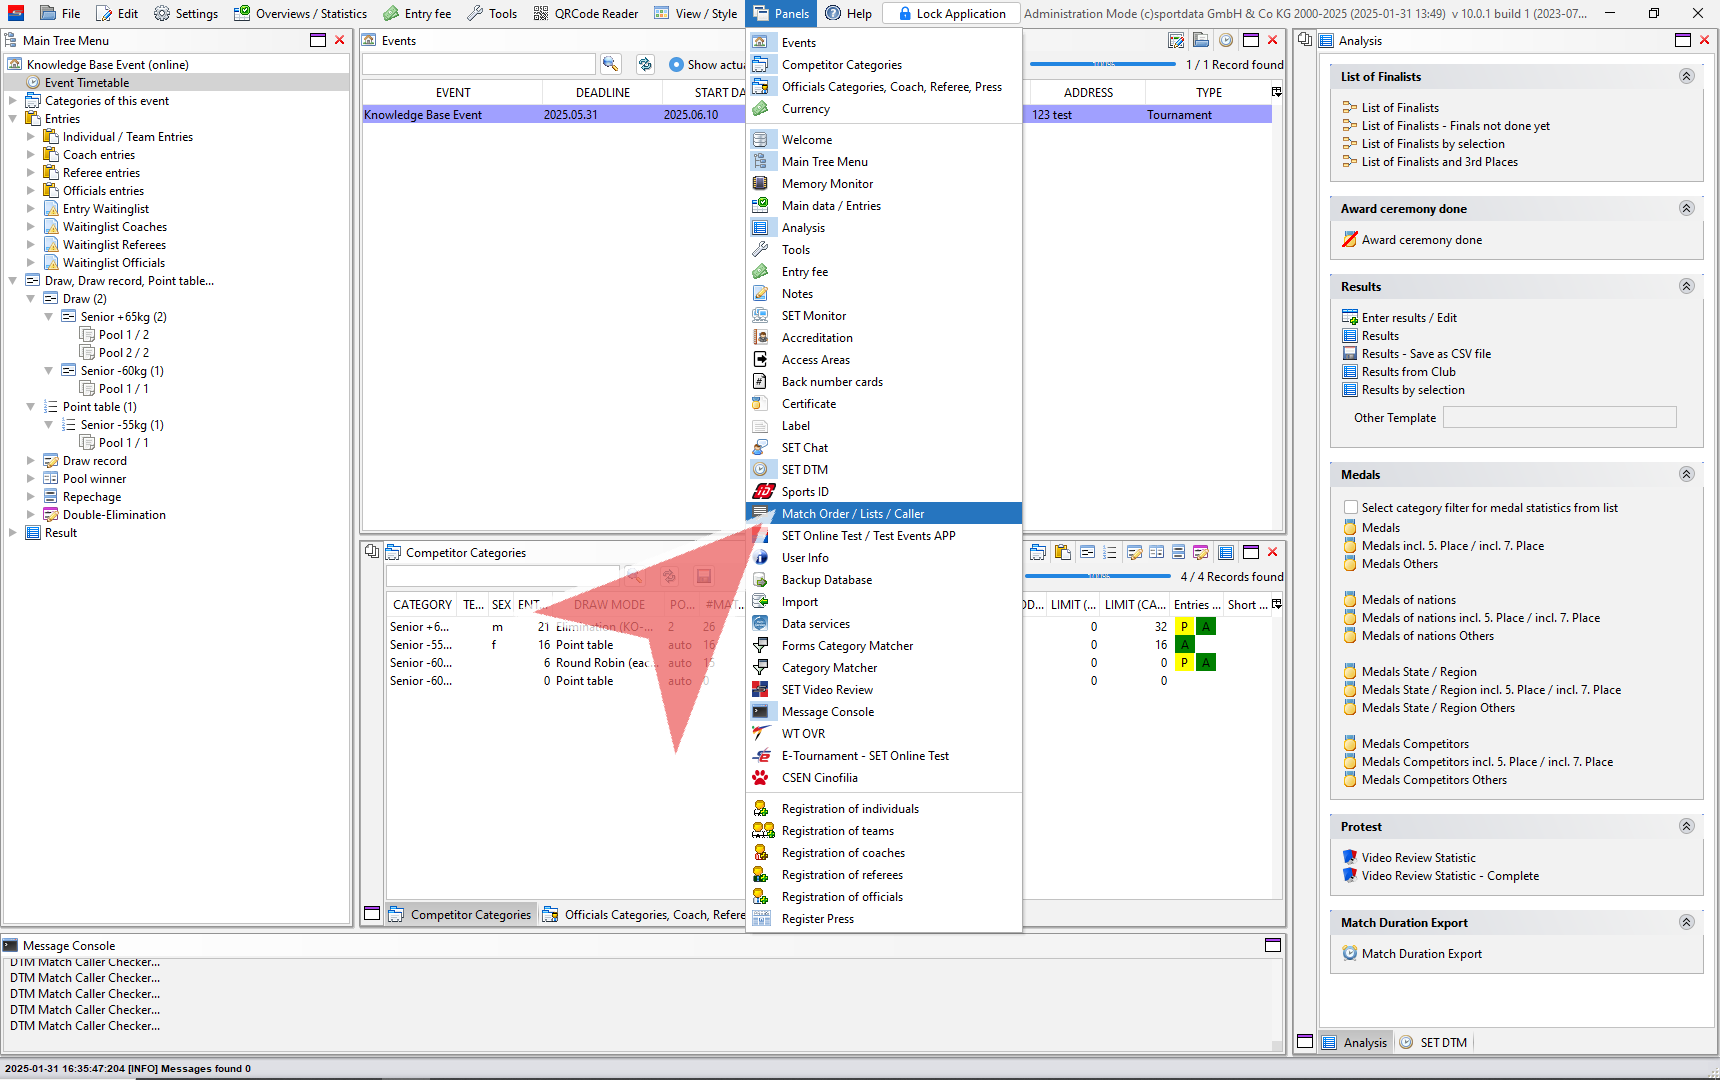
The matchcaller window will pop up with a button. Click this button to begin.
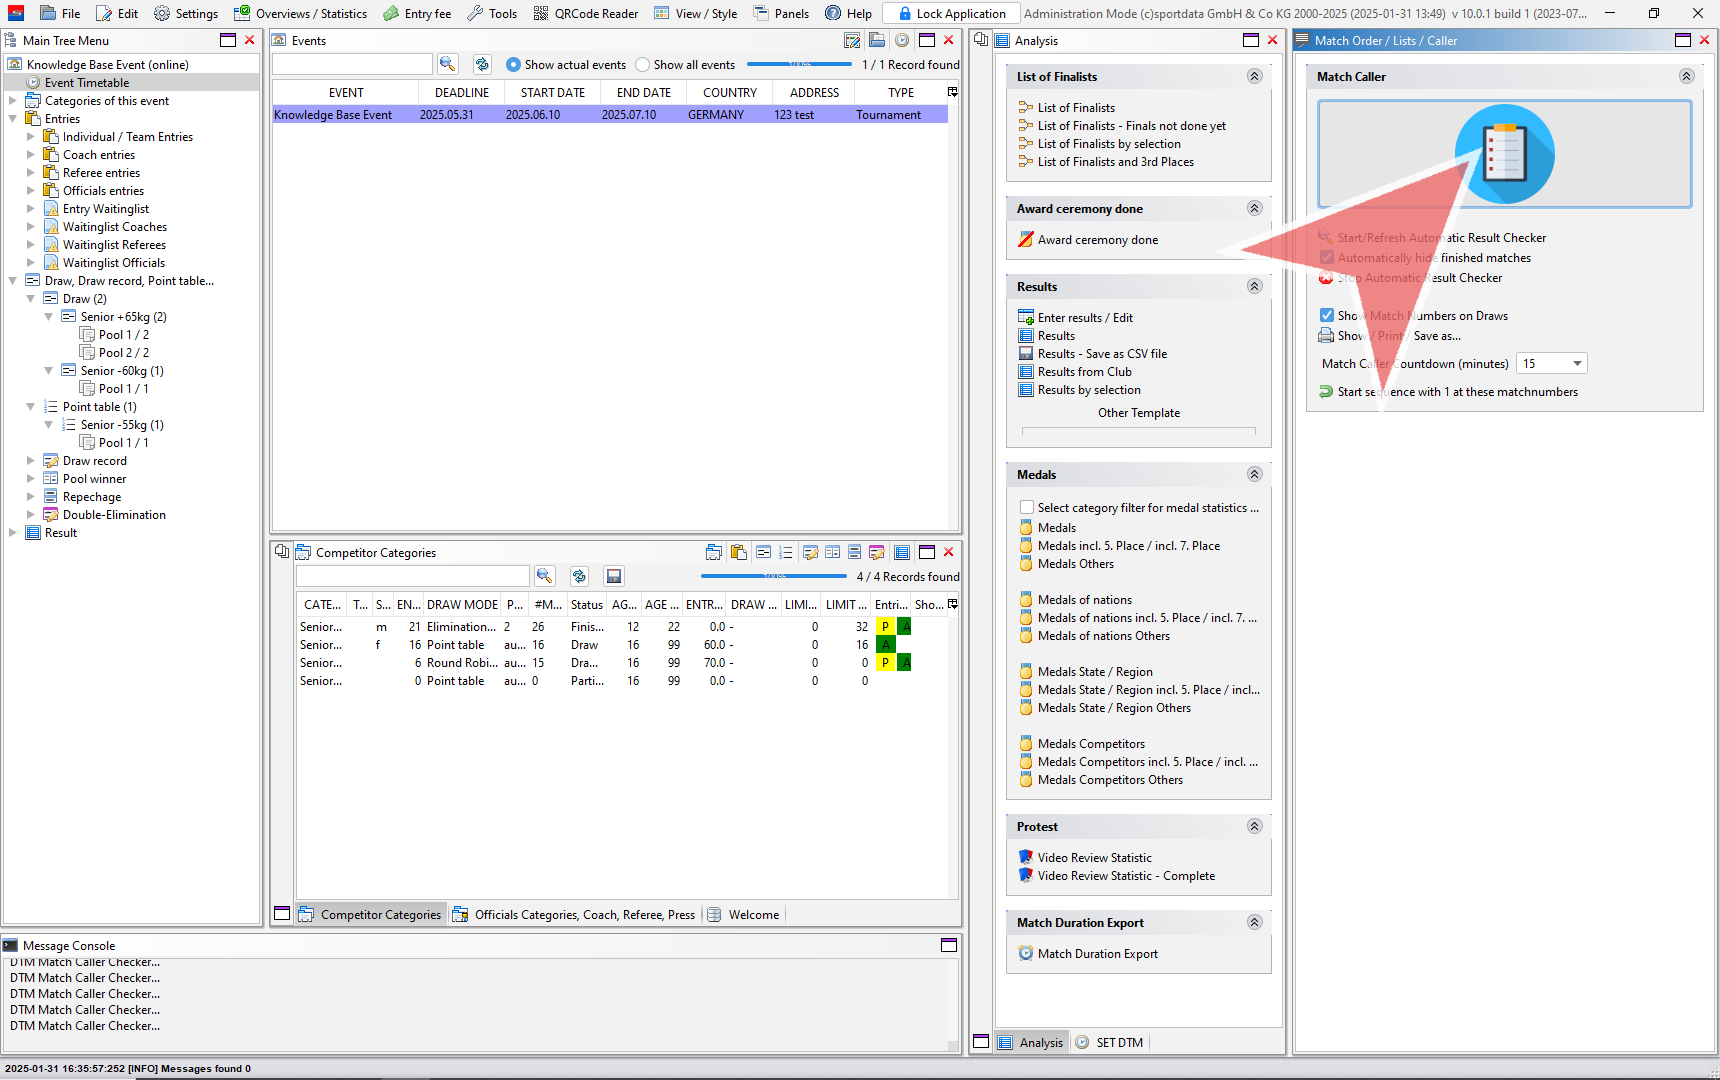
The matchcaller window appears, and click on the categories to see the individual matches.
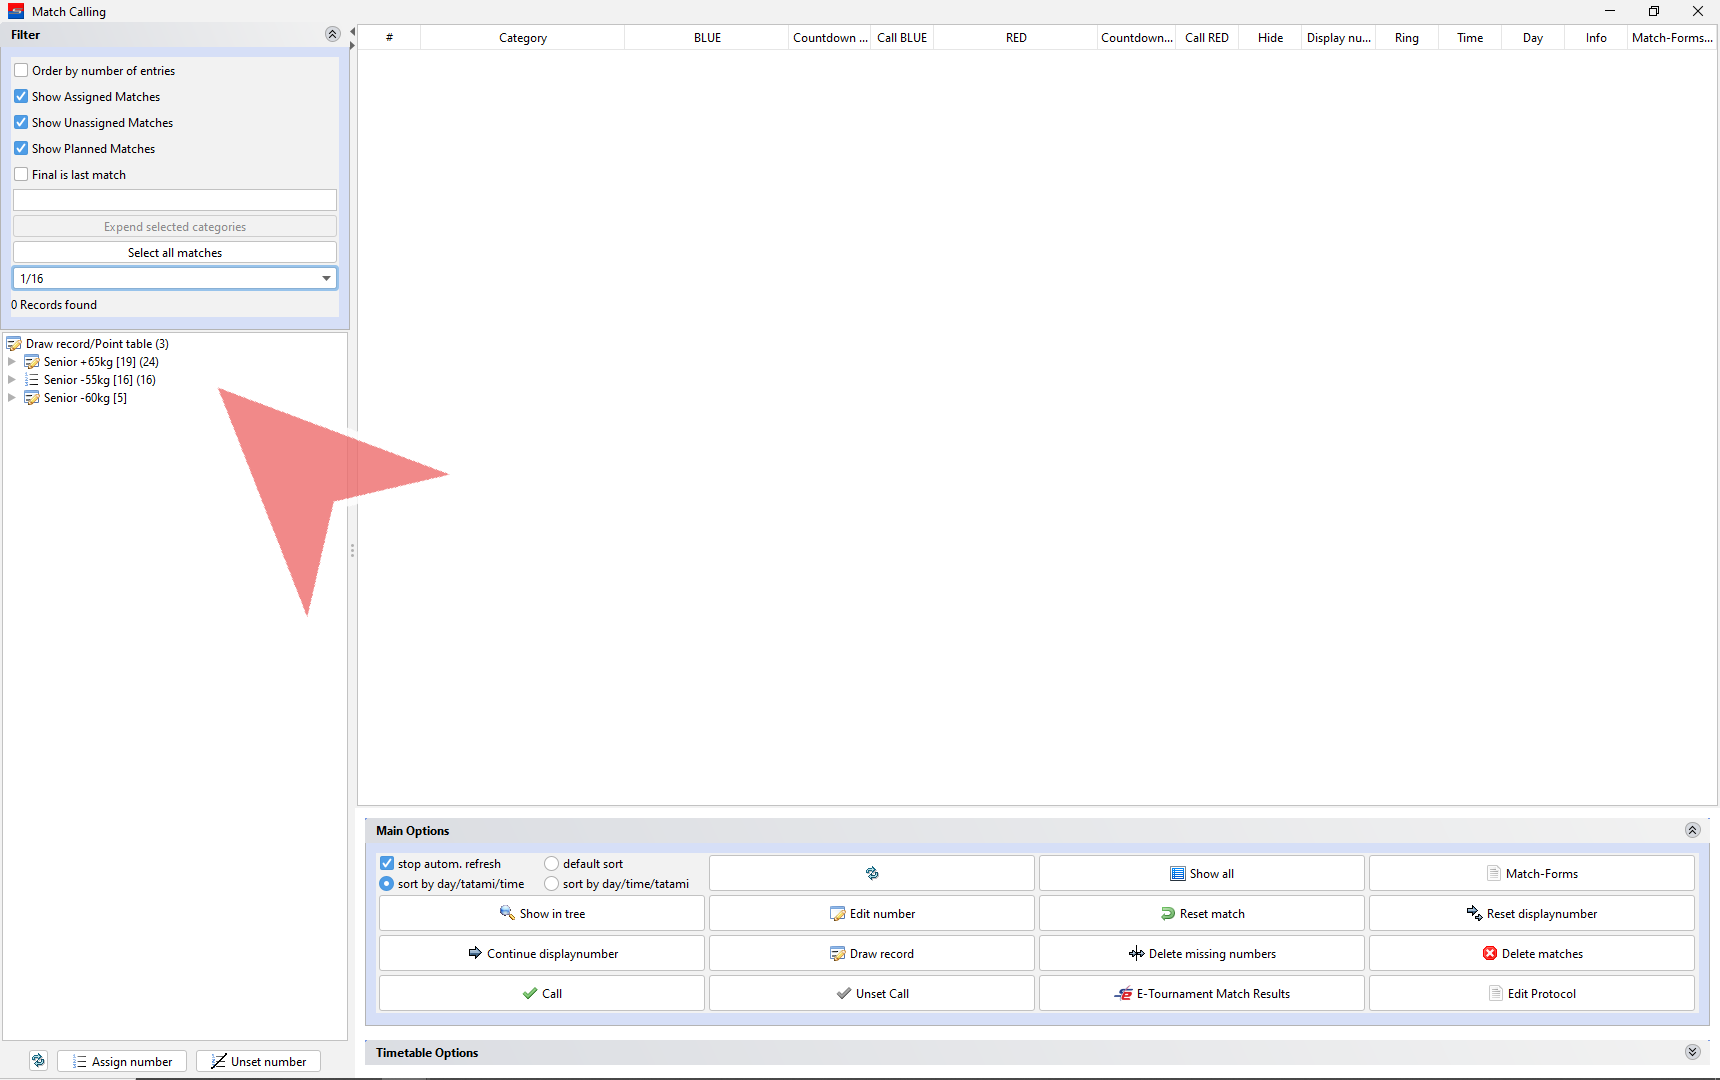
Selecting all matches according to the rounds

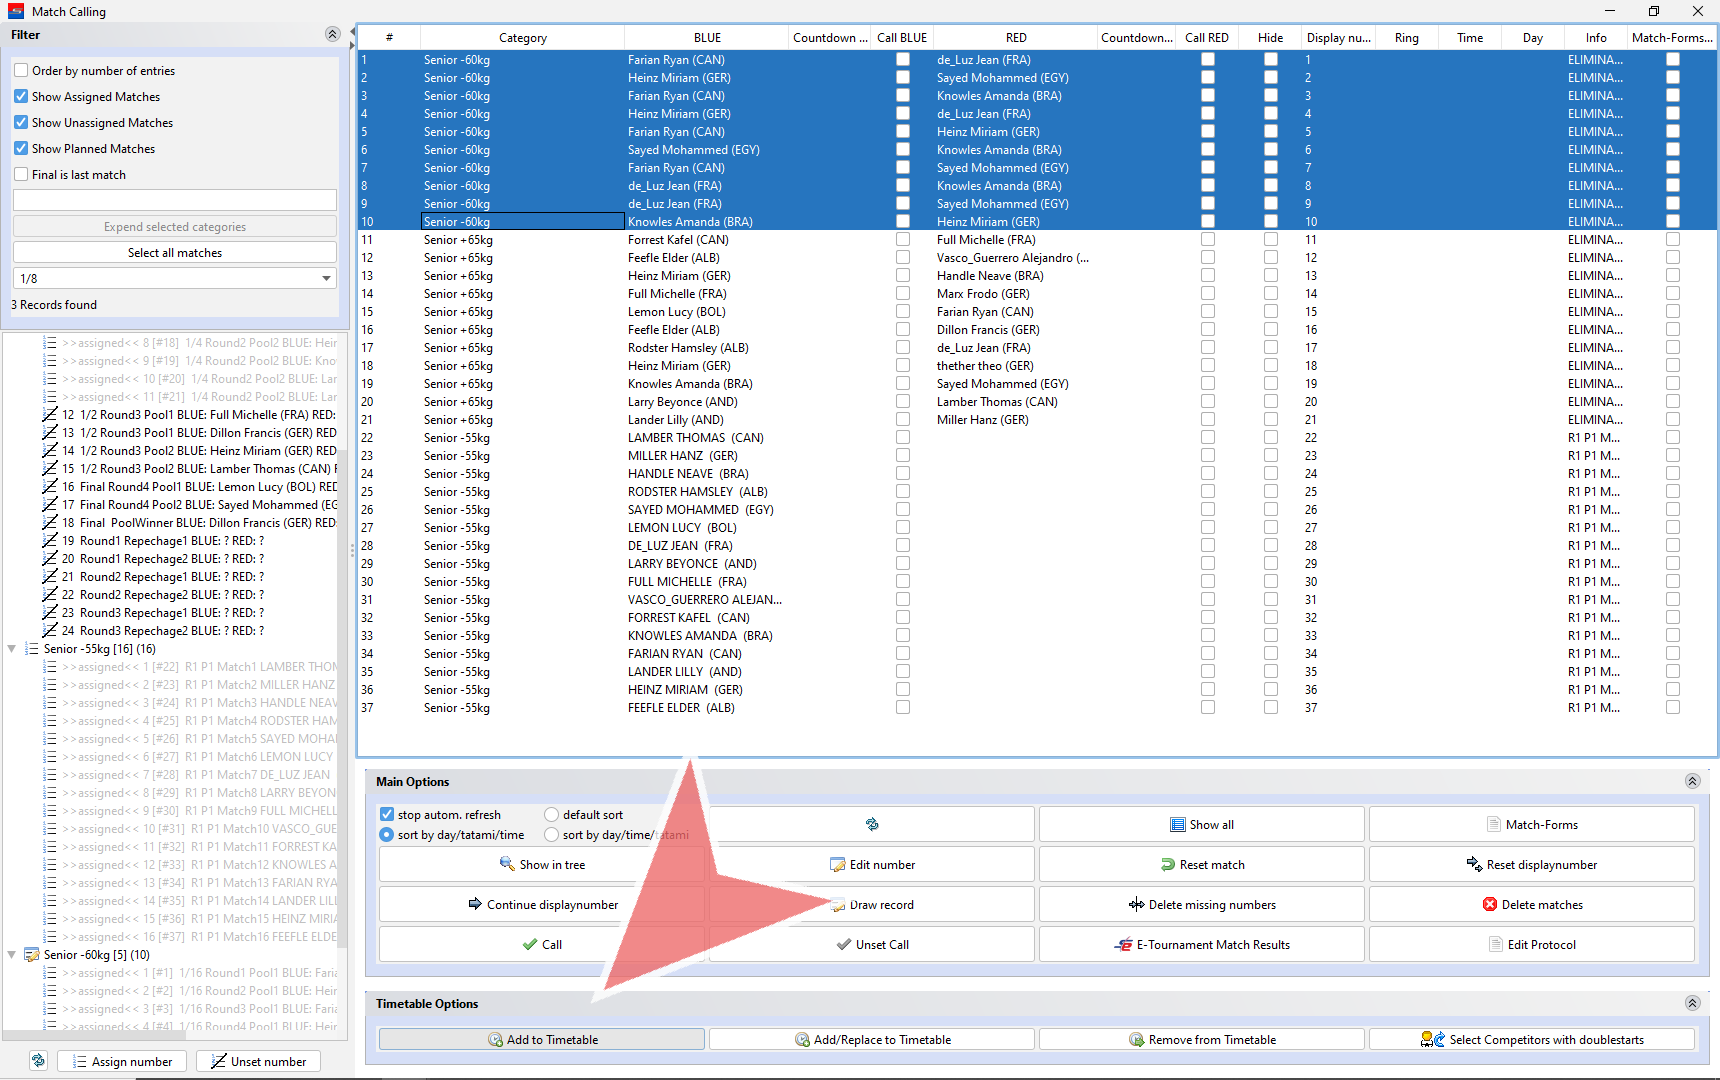
When the matches are selected, click assign number to include it in the matchcaller.

You can change the order of the selected matches prior to assigning the individual match numbers

Click Start new matches with this number # to confirm the starting number.

After repeating the previous process you will have a list of matches with assigned unique numbers which can be seen in the first column. Now, it’s time to add these to the Dynamic Time Manager (DTM).
Note: Assigned matches are grey and unassigned matches are black in the left column.
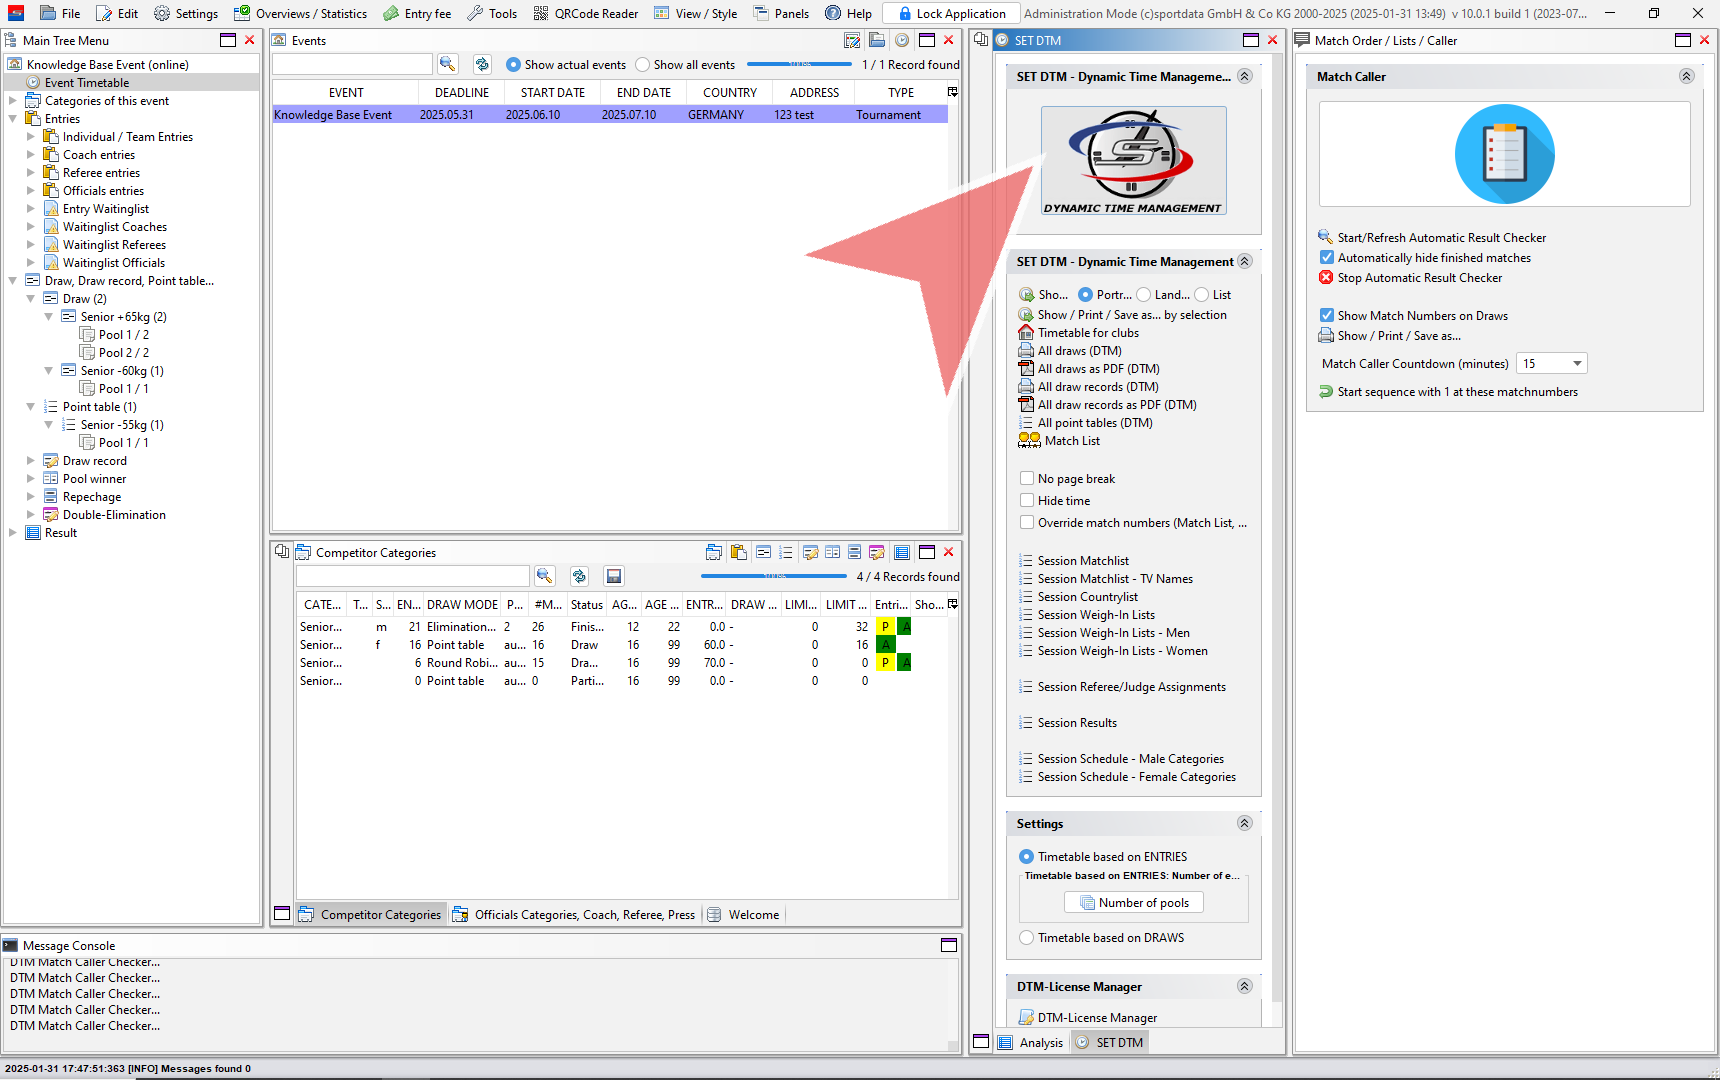
Assign the matches to the day and field of play. In this example, we have assigned custom items in the SET DTM, therefore, no confirmation of time.

When you do not have custom items with sessions in the item title, then match caller will ask you to select the starting time.

Repeat the previous process until you have assigned dates and fields of play to each match. Notice how under the column ring, time and day, you will see the newly assigned matches have populated fields and have been dropped to the end of the match caller.
Now that you have finished assigning match order, dates and field of play, you can return to the Dynamic Time Manager.
Click the SET DTM button.
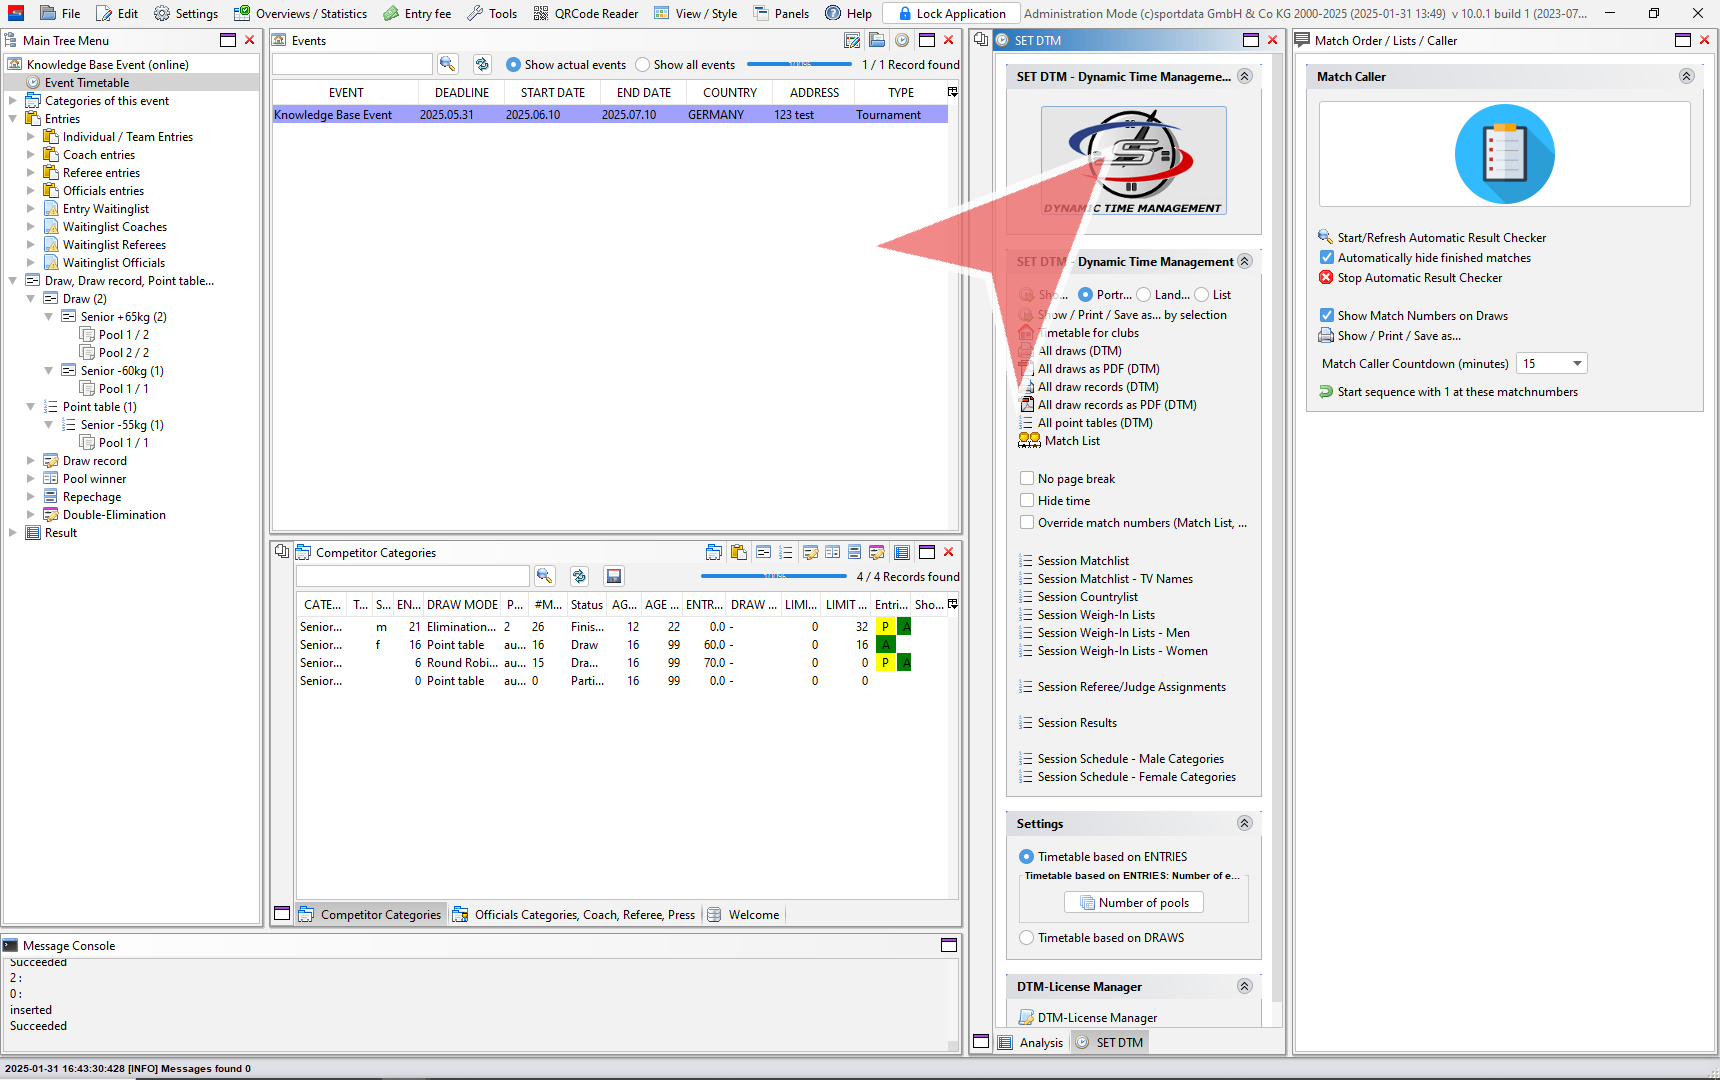
You can see that each individual match includes match numbers and names.
To delete a match right click on your mouse, and click on delete item.
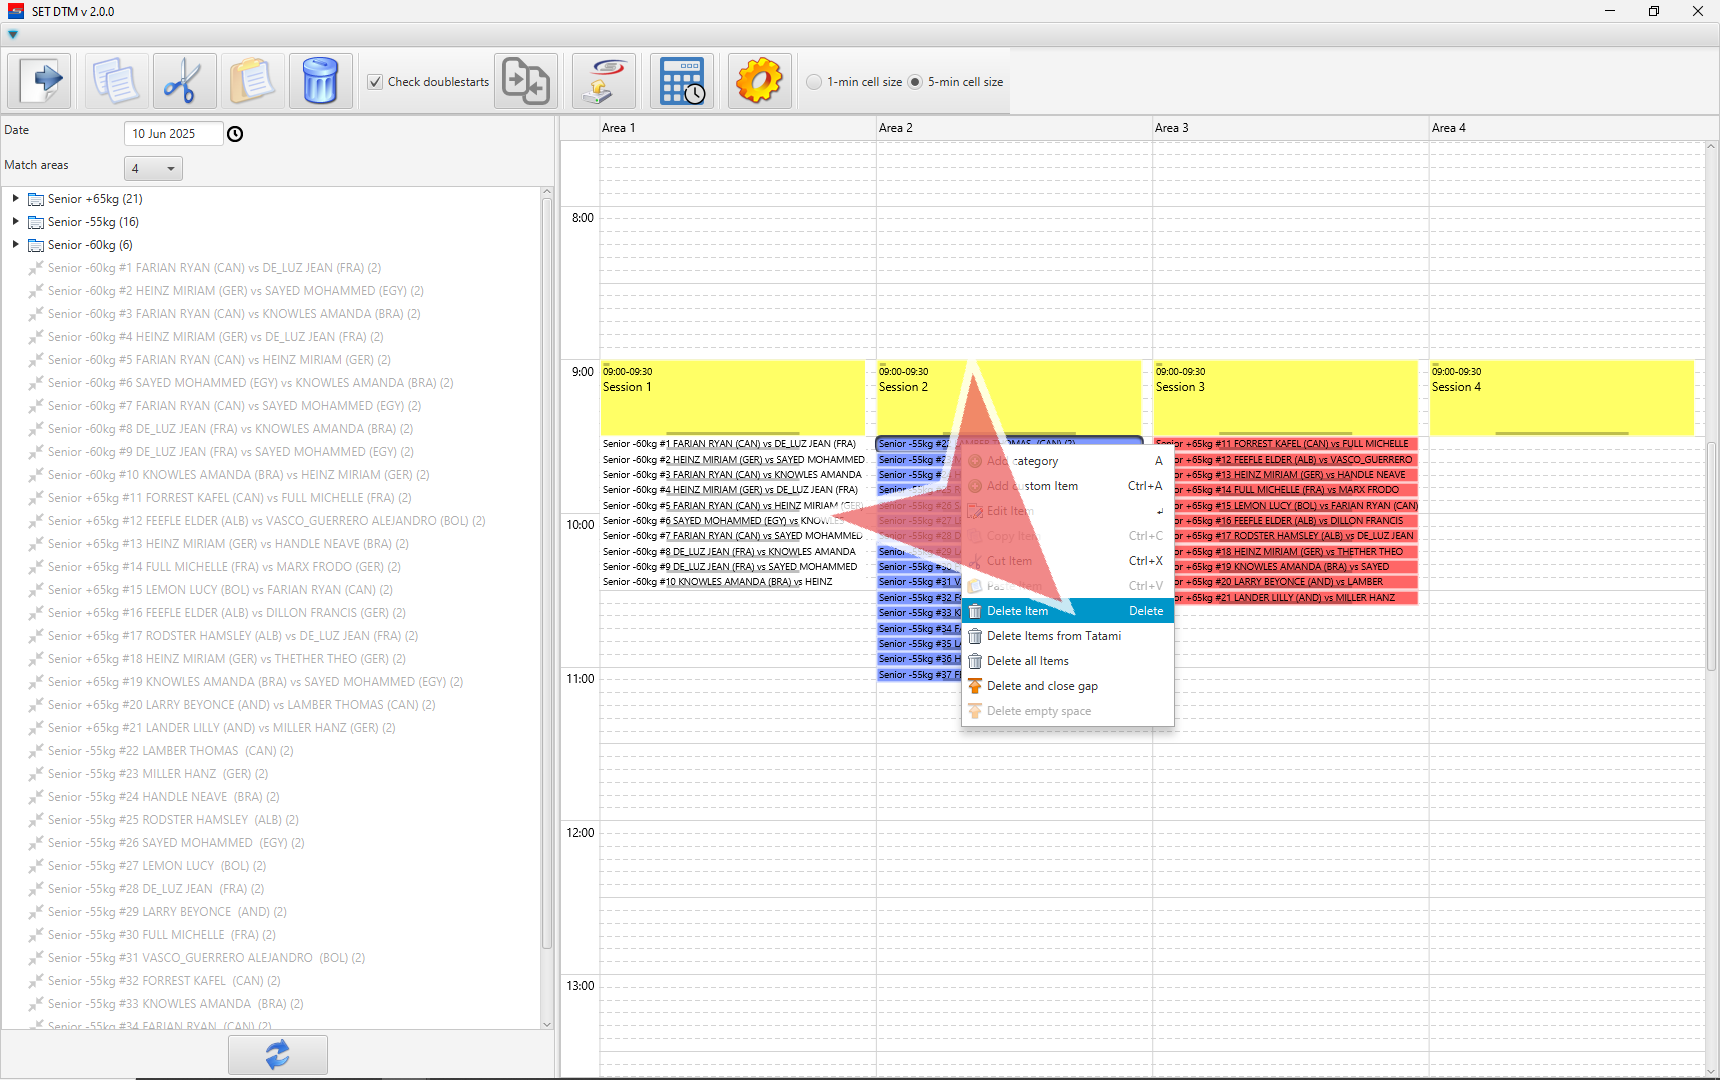
You will see the deleted match returns to the left column.
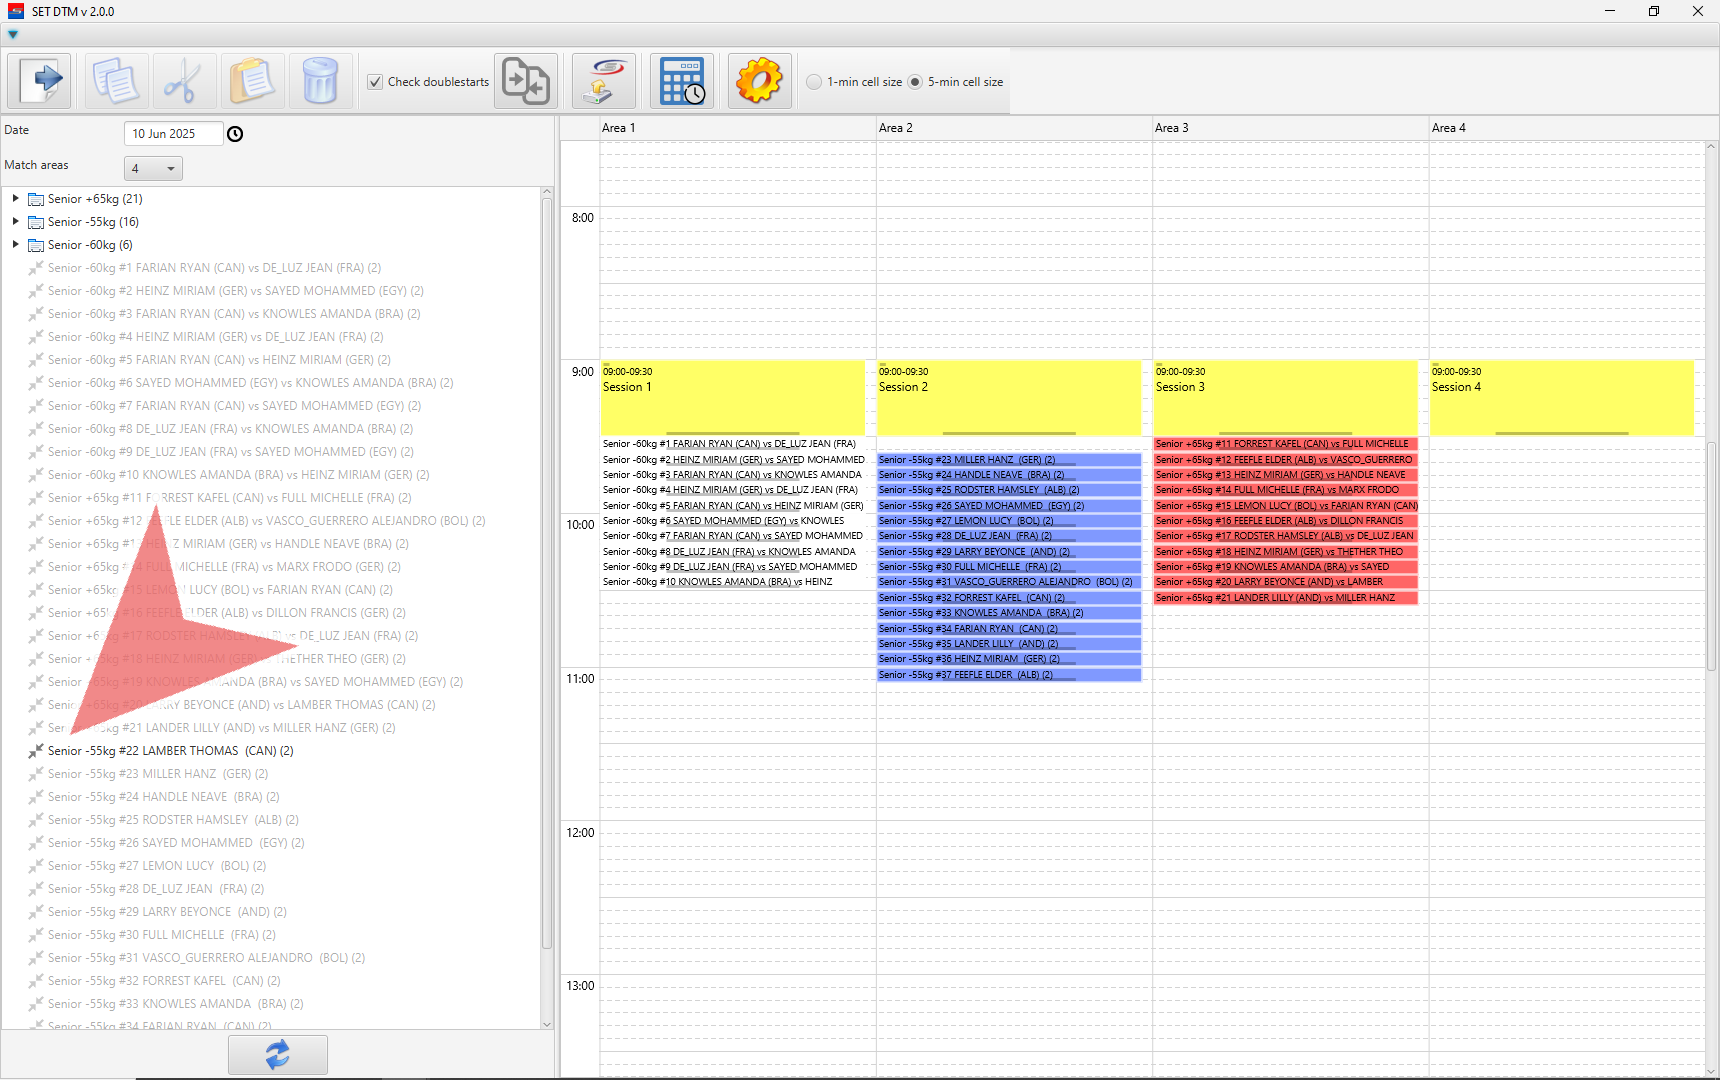
To add it back, you can drag and drop, or Press A button on your keyboard.

If you want to delete matches from the match caller,select match and press delete matches

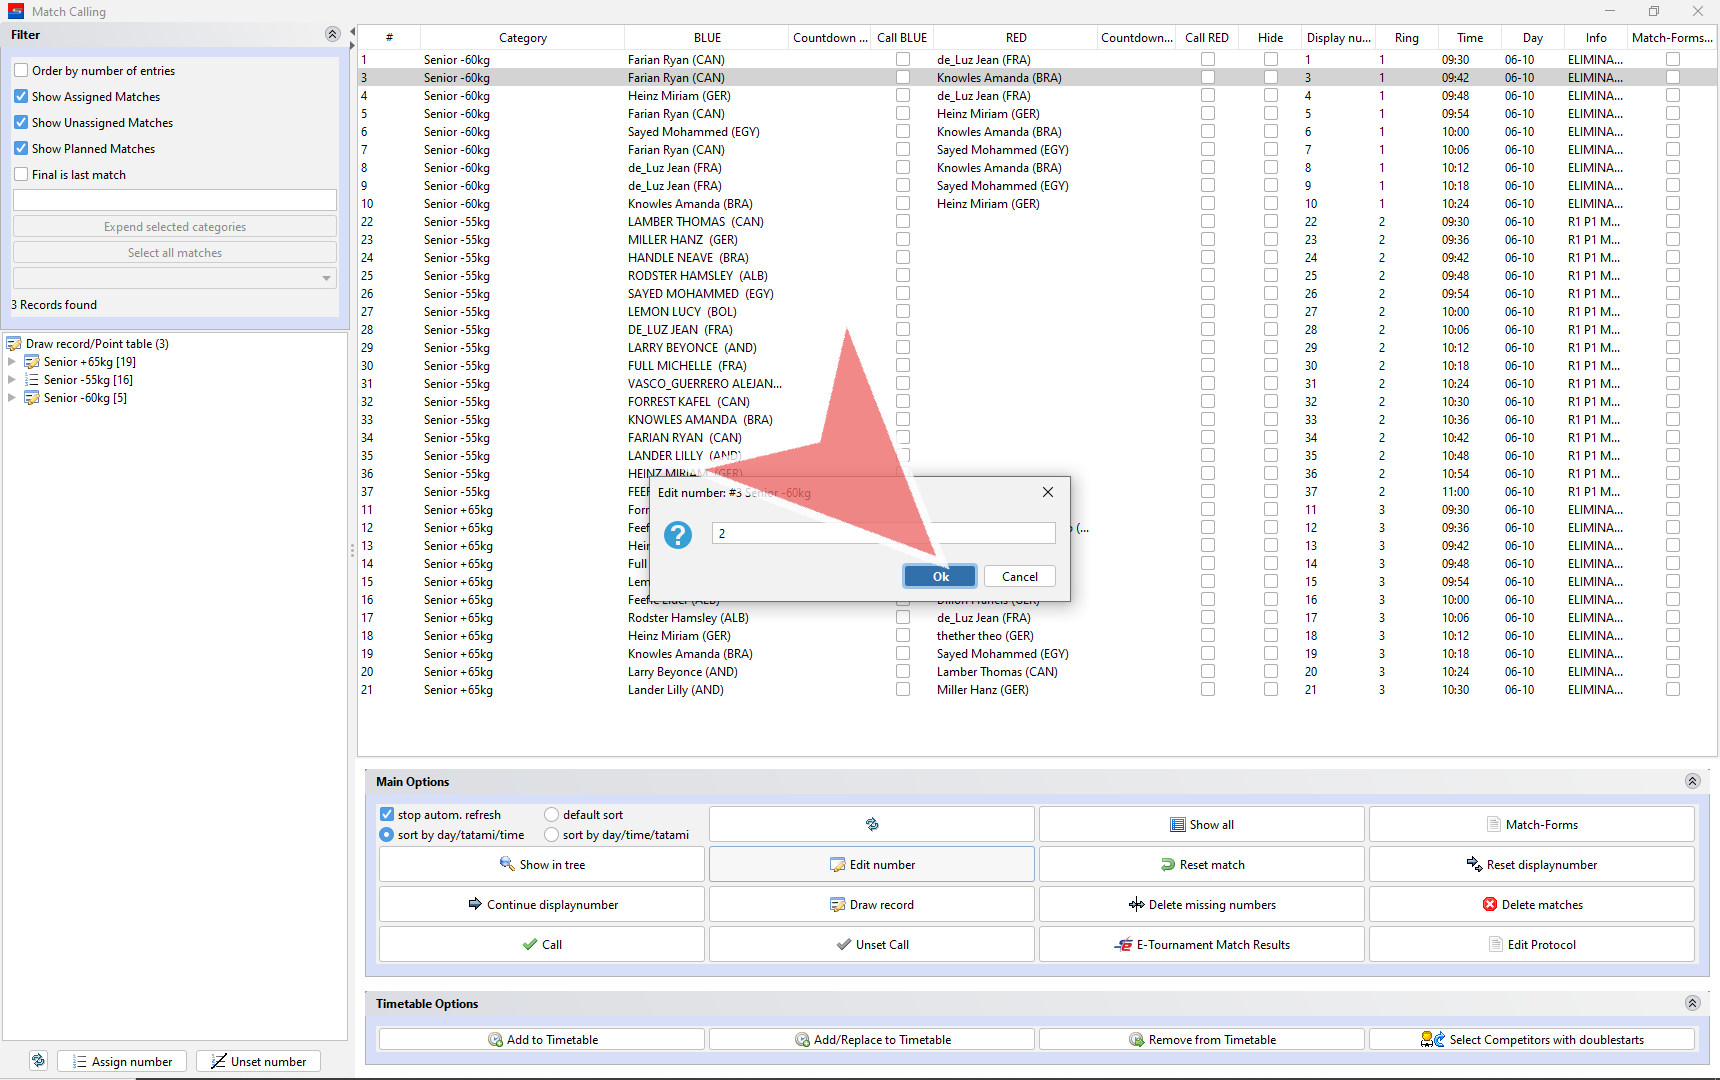
You can also edit the unique number in the first column by pressing edit number.

Assign a new number and press okay.
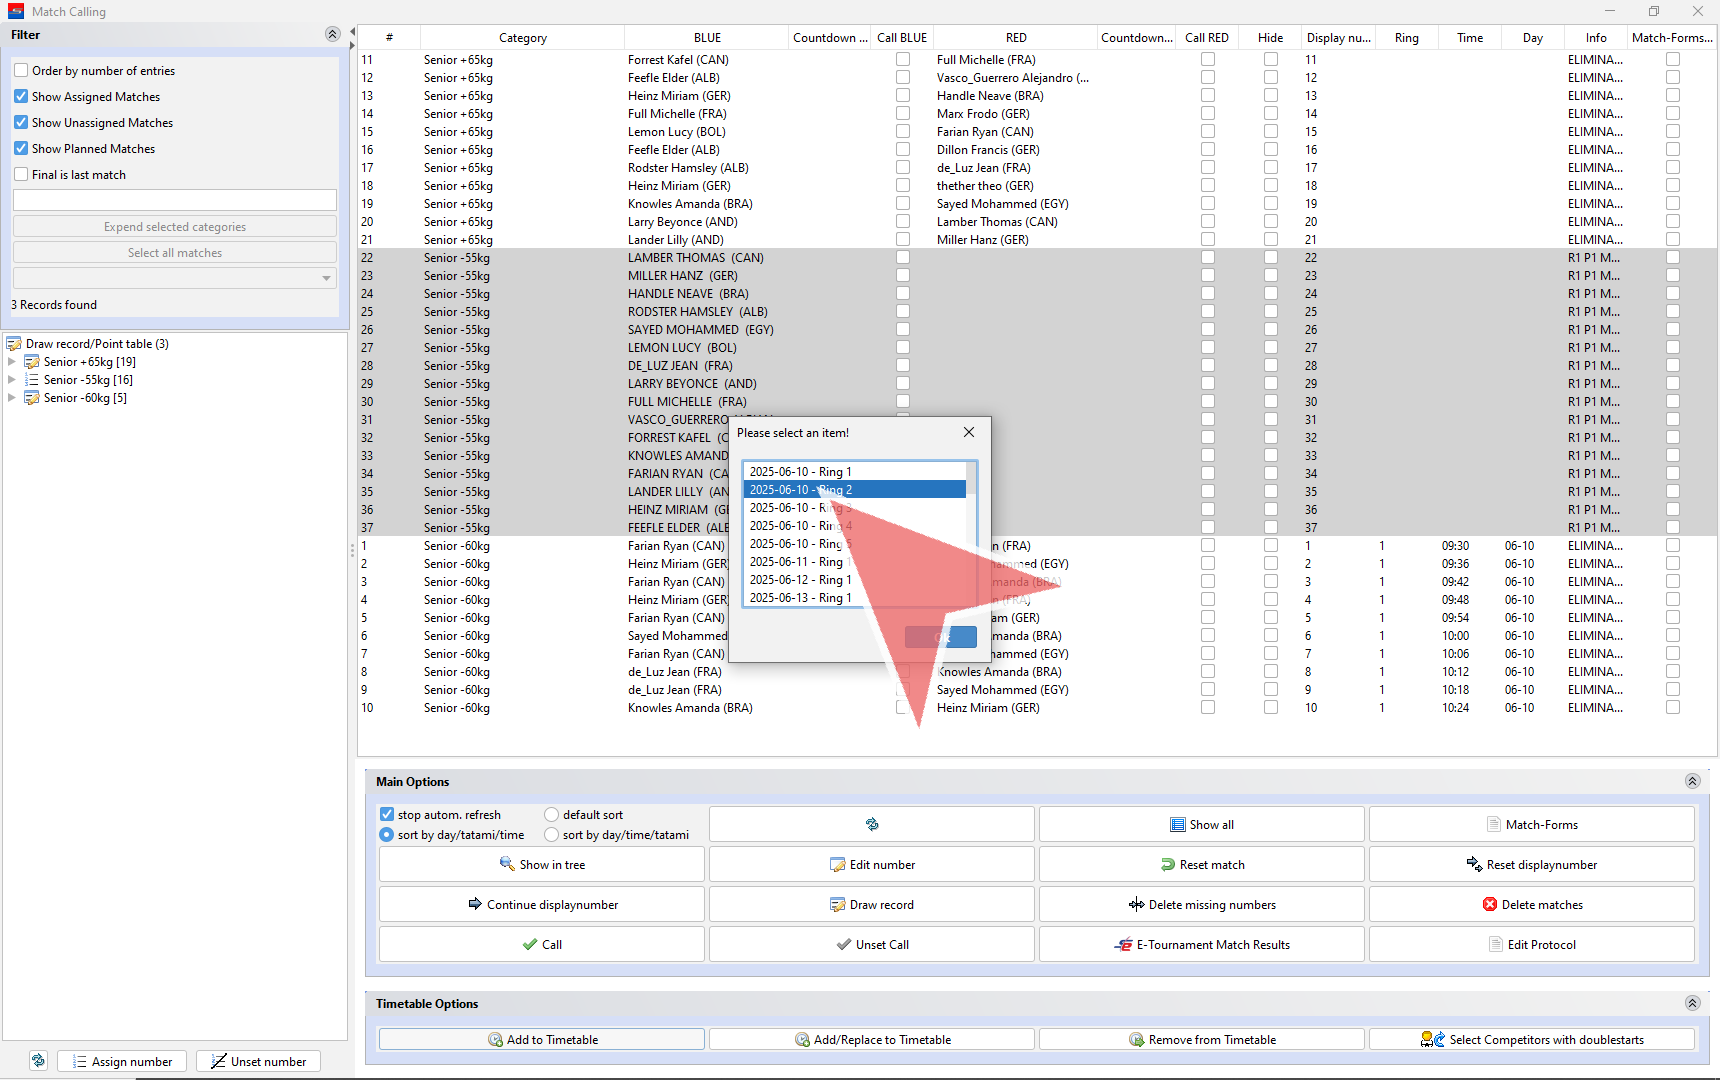
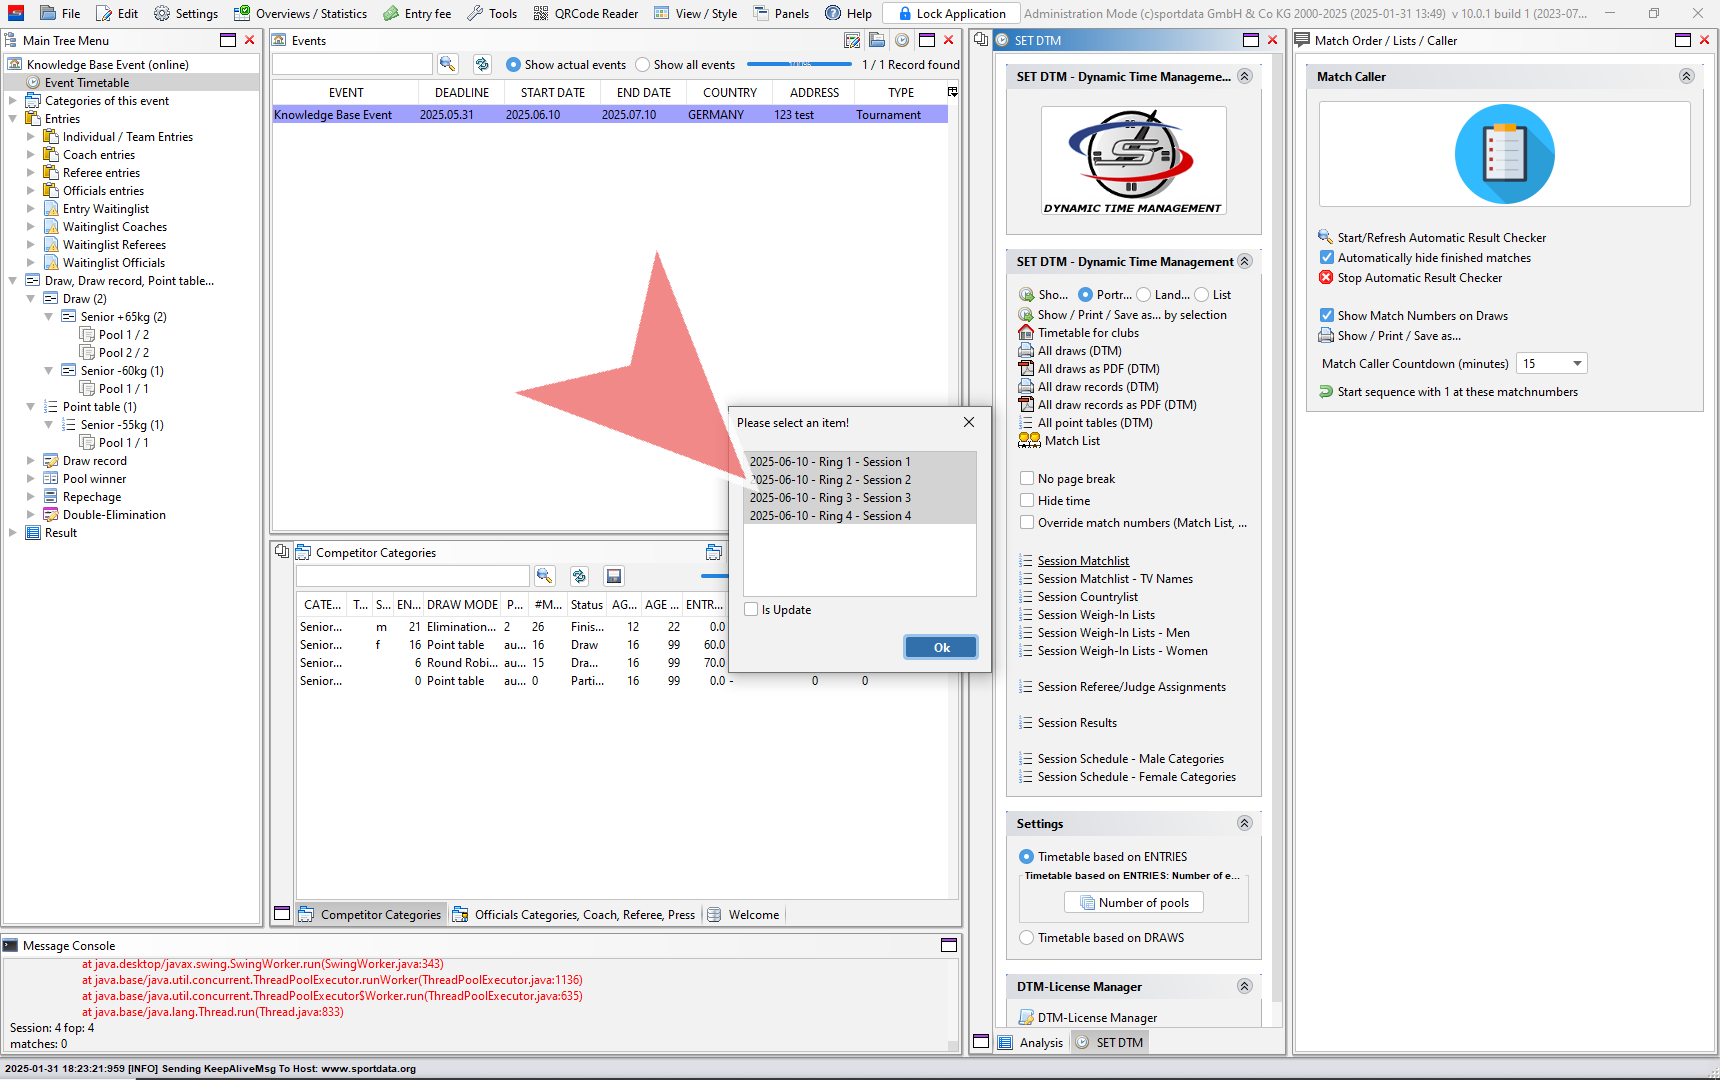
Now, that your match caller and timetable are finished you can now generate session matchlists.
Select the match area you wish to see. You can select more than one.
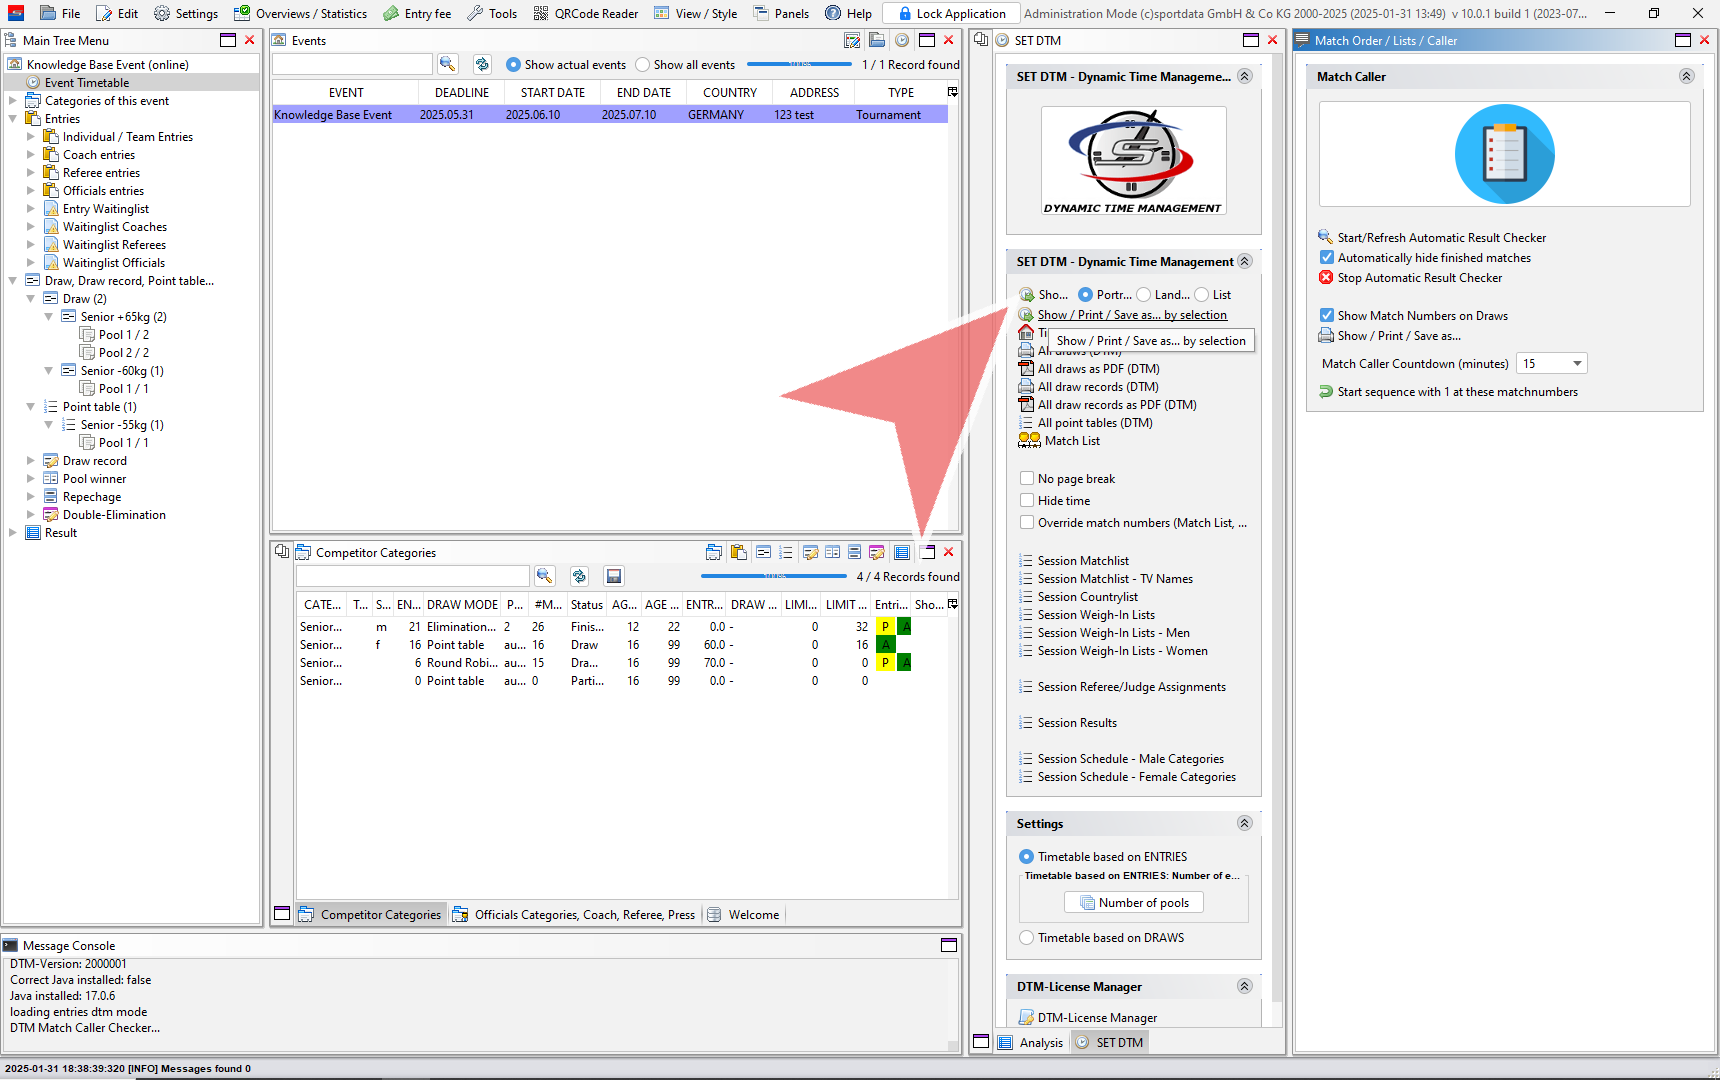
You can add logos to the top right and left of the page by going to the setting, uploading your logos, and regenerating the lists.

You can also generate the timetable with all match areas side by side by clicking the first button, and one area at a time by clicking the second show button.
Click on the match areas you will to have in the matchlist. To highlight all areas press the shift button while pressing the down arrow on your keyboard.
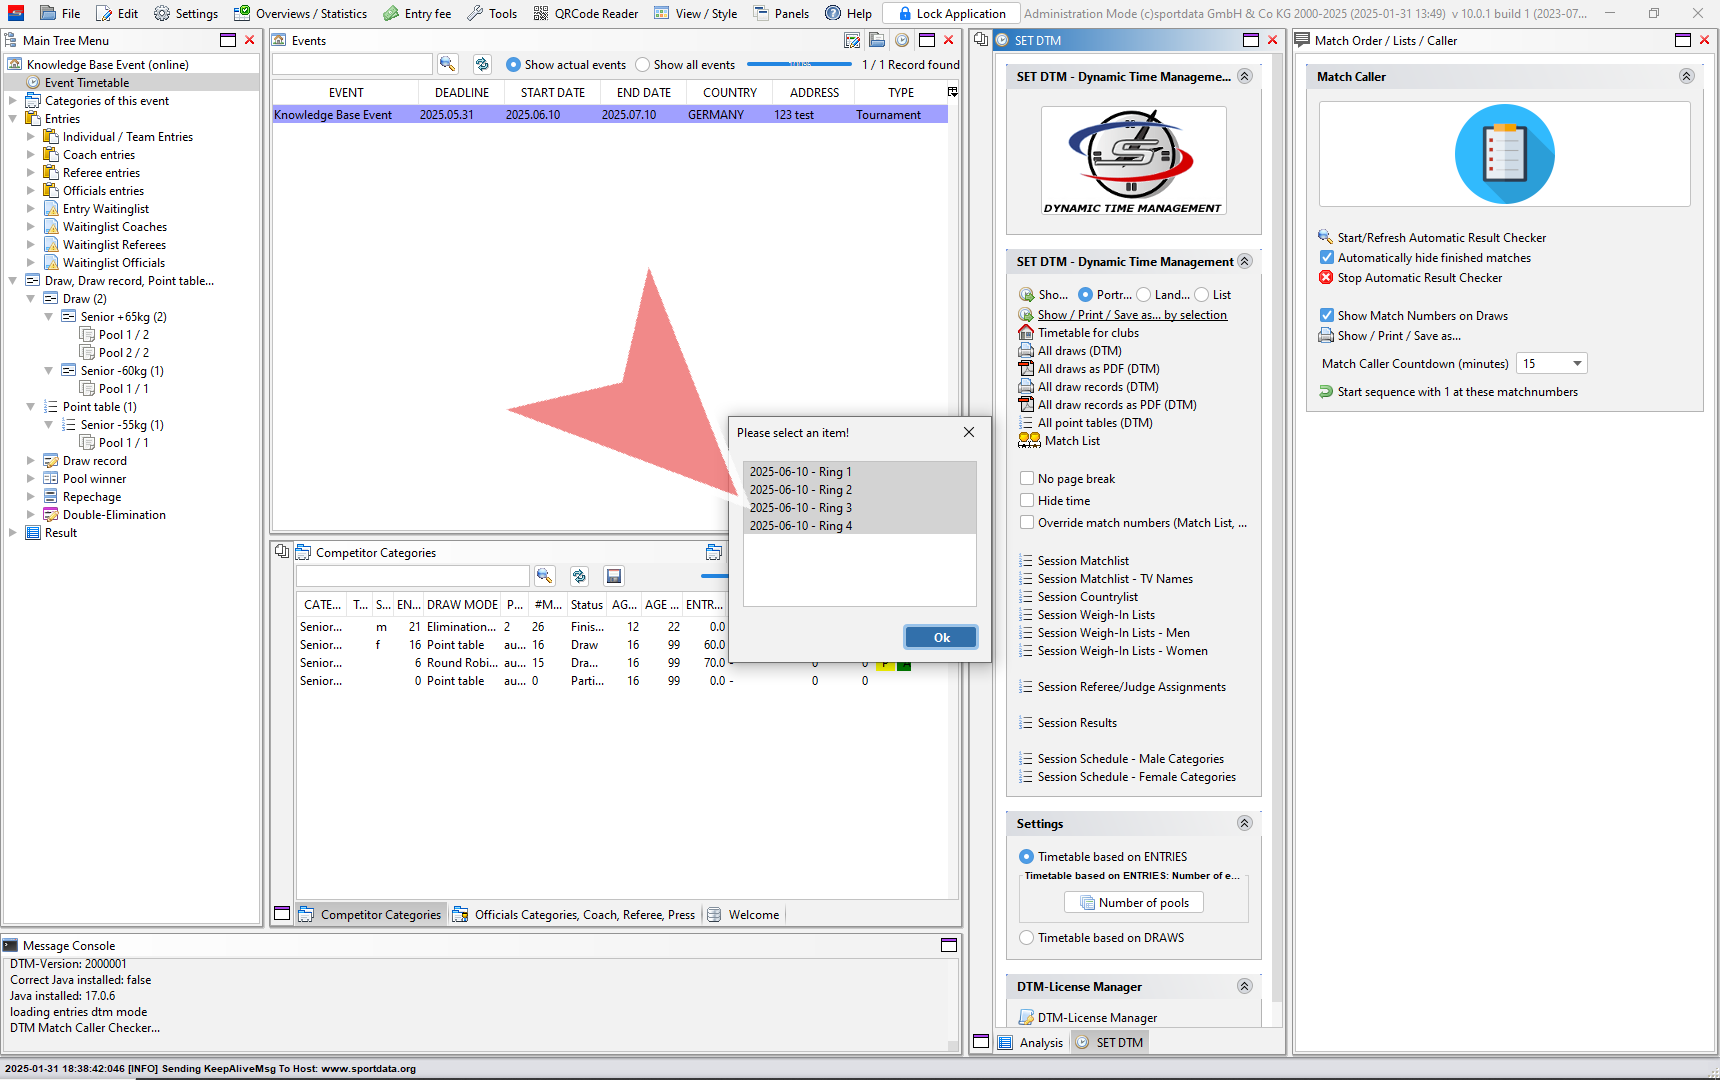
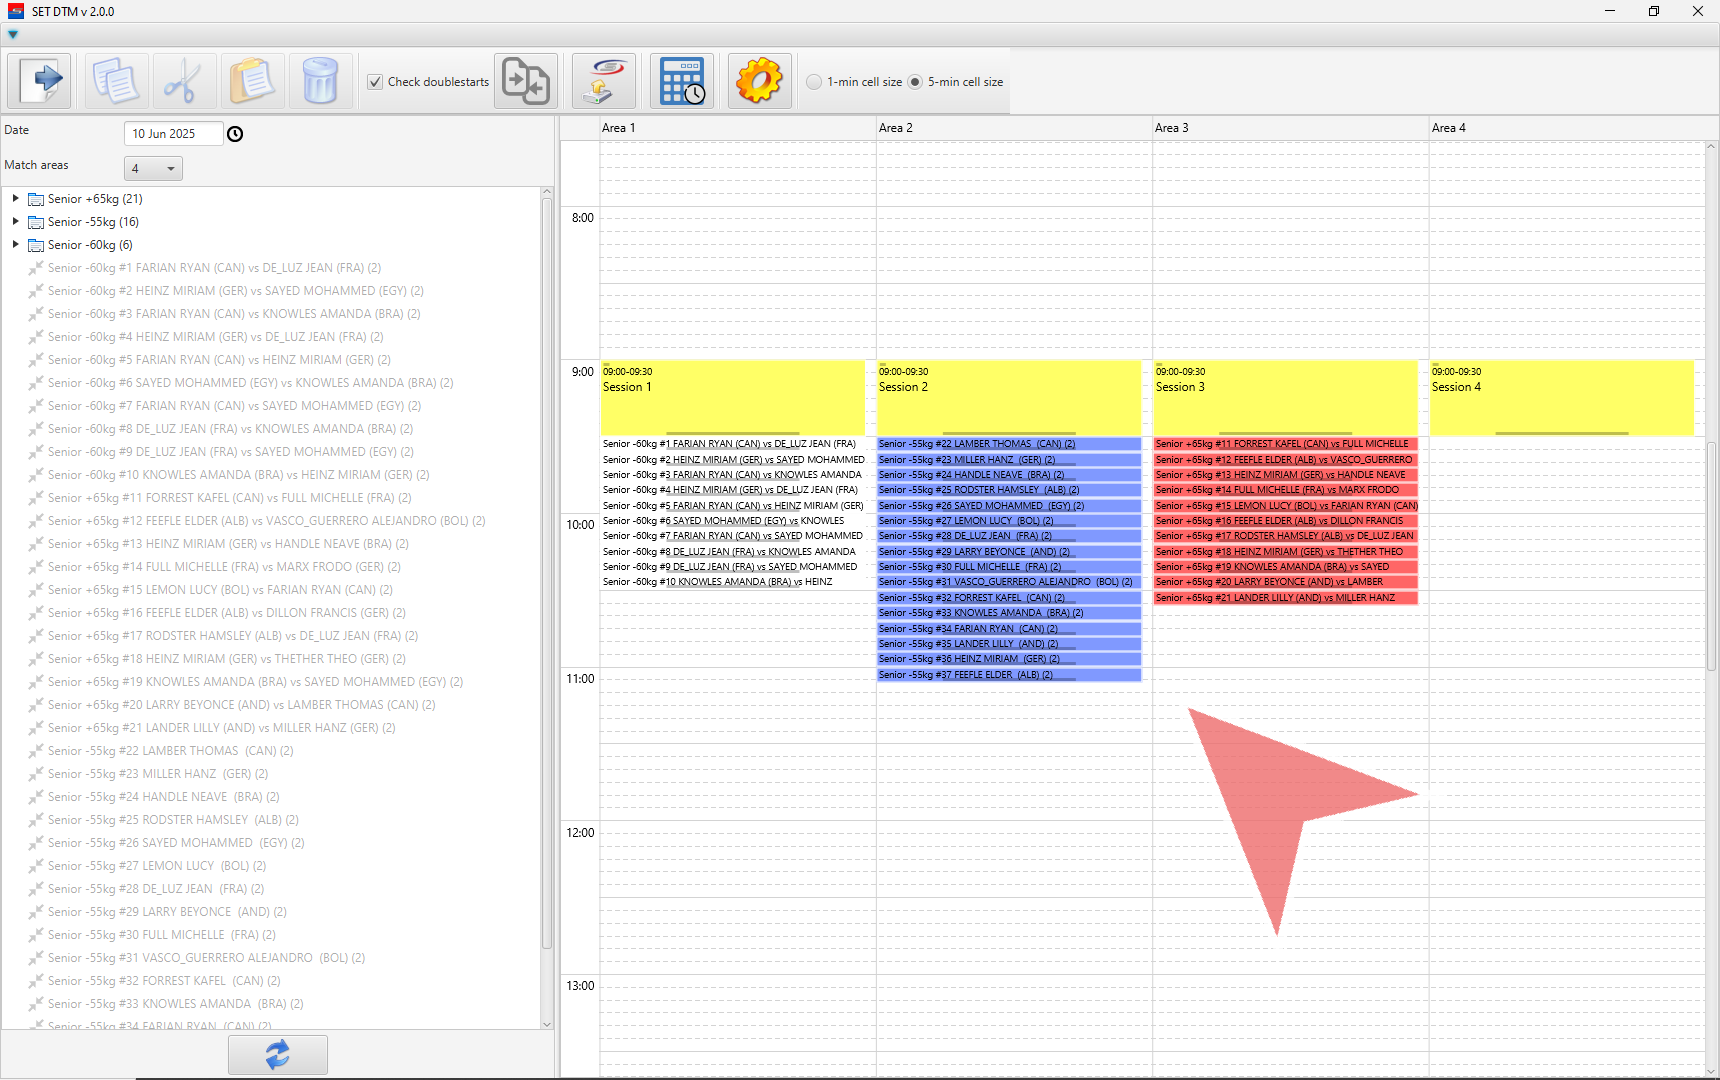
Select option. In preview, you can later convert to PDF and print.

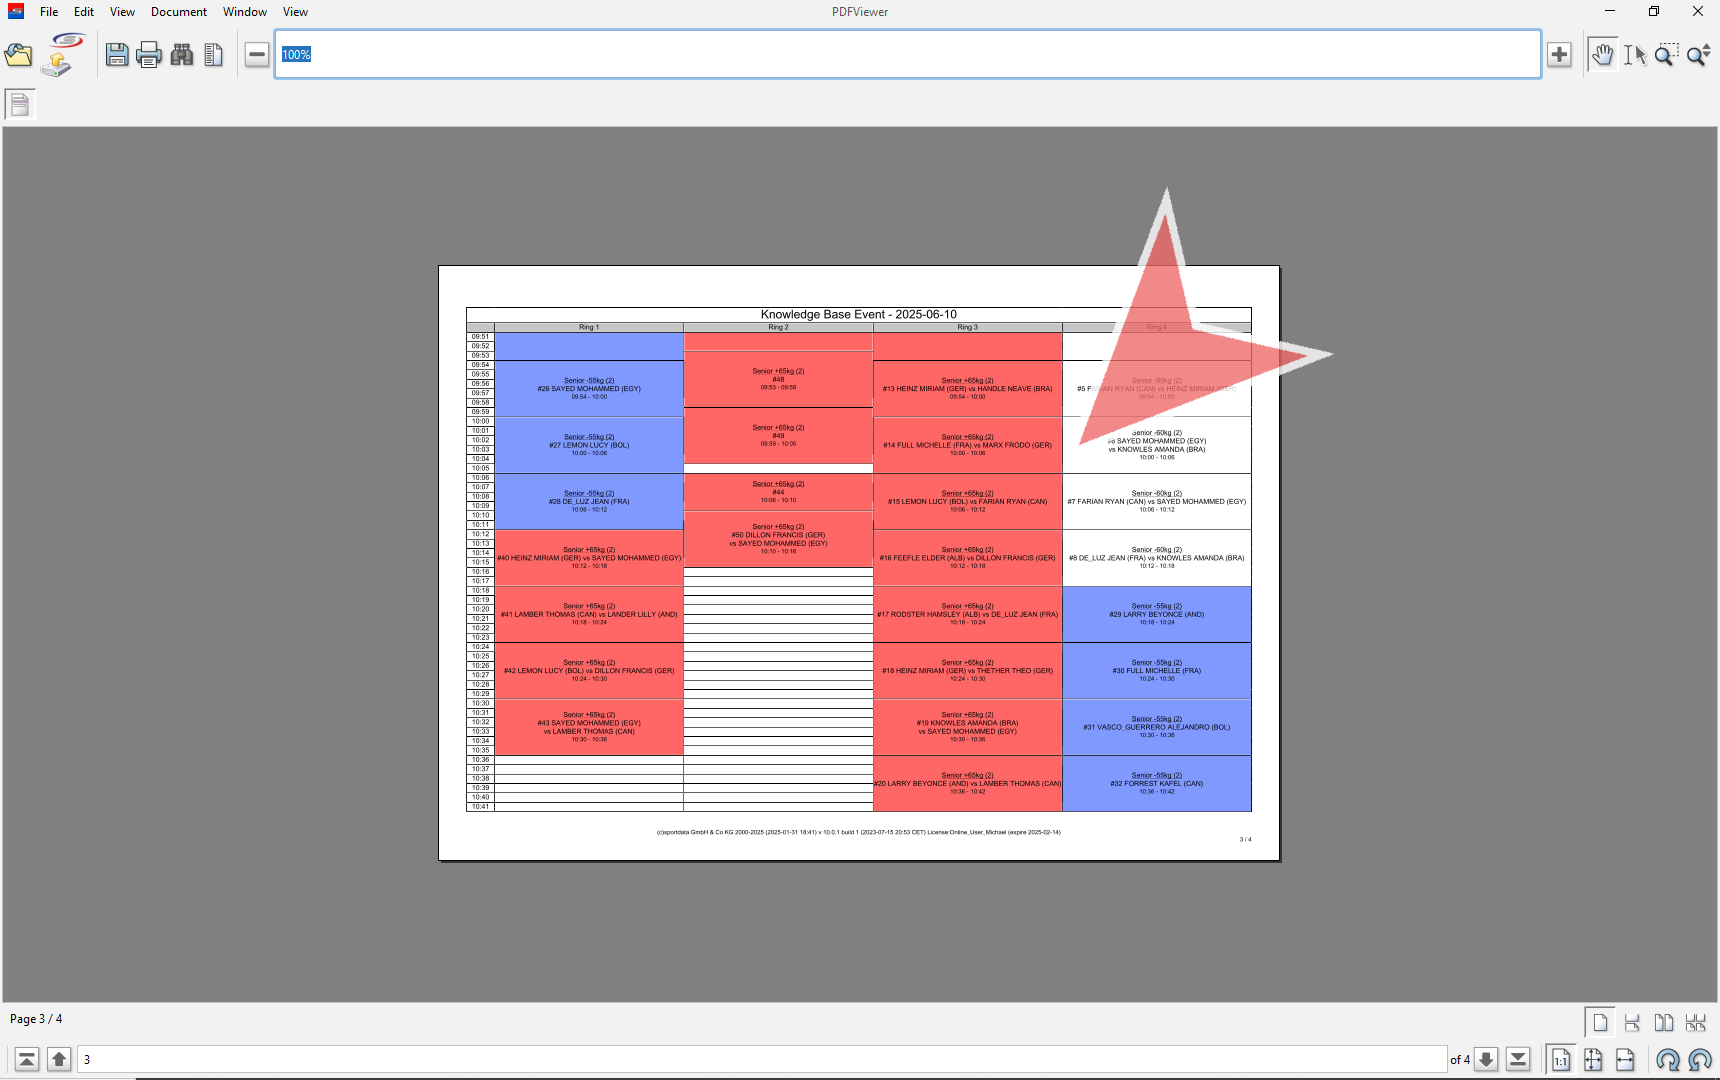
Example of the timetable generated using match caller. This table can also be produced just by adding categories and pools to the timetable, however you will need to determine the match order which can be done by the draw records by going from top to bottom.
This guide is your roadmap to confidently planning and executing events with SET Pro. It covers event planning, hardware, and procedures, with links to step-by-step instructions for setting up and managing your tournaments.
Maximize your expertise with resources like our Knowledge Base and the SET Pro Demo Platform—a free tool that grants full access to the events platform and SET OVR software, allowing you to practice and refine your skills.
The SET Pro is an event-based licence that provides access to the events platform, SET OVR, Timing & Scoring, and Video Review software. Your licence is activated when you create an event in your chosen Events Platform.
Download the SET OVR, video review and SET Scoring app, then sign in to your SET OVR app using your event manager username and password.
Go to settings in the menu bar, and select settings in the drop down menu.
![]()
Find and click on the Event and Sponsor logo option.
![]()
Select your image files by clicking on the search button for the event logo, sponsor logo, federation logo and, or billing invoice header logo.
![]()
Locate and click on the desired image file option.
![]()
With the images files uploaded and automatically saved, you can now check the report or form (statistics, match-list, match-form etc.) to see how it fits with your new photos.
![]()